Festival Totem: Pressurized
in Making on November 20, 2021 | ESP32 APA102 Fusion 360 Soldering Prototyping PCB Design Electronics 3D Printing C++
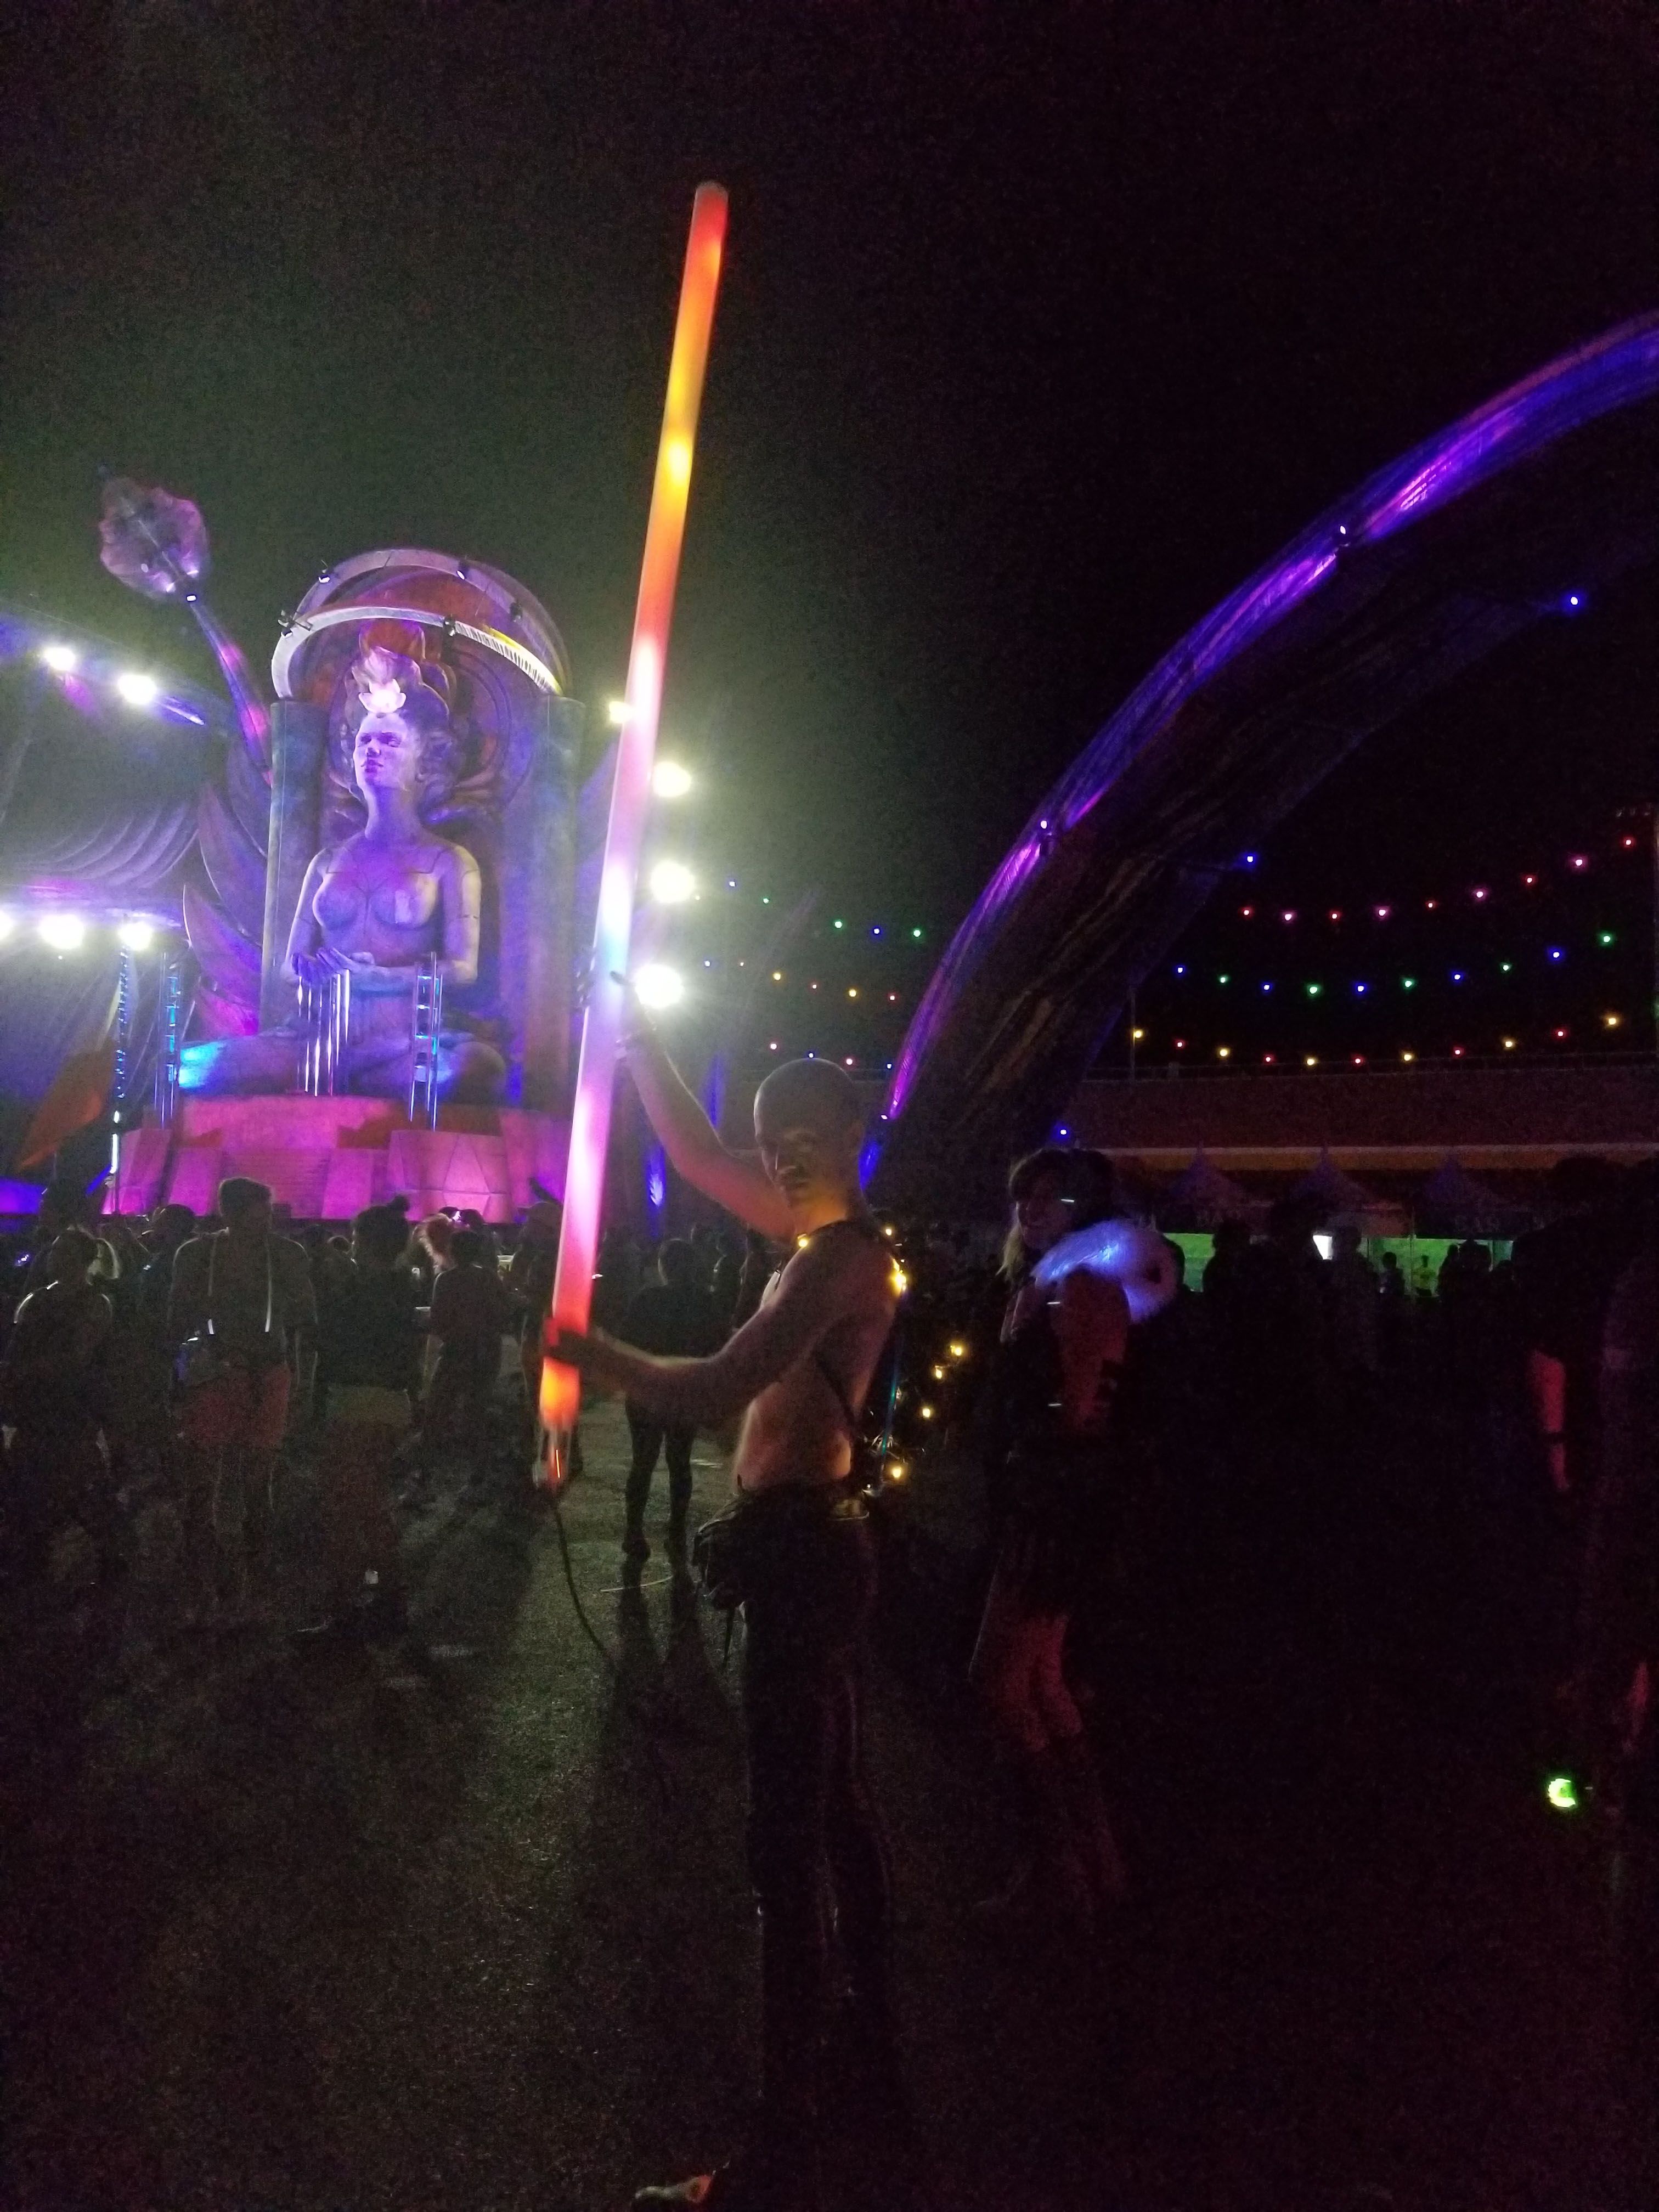
Earlier this year with EDC 2021 getting scheduled, I decided I wanted to take a stab at creating a new totem with a bunch of the accidental features I loved from my cobbled together in 24-hours version from 2019.
- Highly compliant for maximum wiggles
- Rattles for audio/haptic stimulus
- Minimum weight so it can be reasonably carried for 10+ hours
Skip Ahead
Pressurized Tube
I decided to pressurize the main body of the totem as my hunch for the prior totem’s failure was a repeated stress fracture right in the middle of the tube. I figured pressurizing it would make quite a bit harder for the plastic to ‘kink’ while still being very wiggleable.
Creating the pressurized tube took a bunch of prototyping and while I tried many things to avoid epoxying everything shut, in the end that’s what happened. This part of the project was drawn out over months because how apprehensive I am when working with epoxy as glue.
Parts of the tube
Tube
The tube is made from a T8 Fluorescent Tube Guard 96"
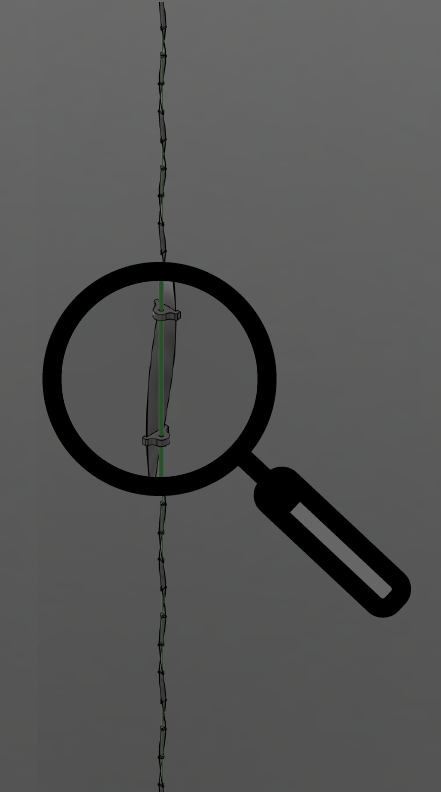
Spine
The spine is created from a plastic coated steel cable and has 3d printed platforms epoxied at regular intervals and radial offset to hold the led strip and give it a little twist.

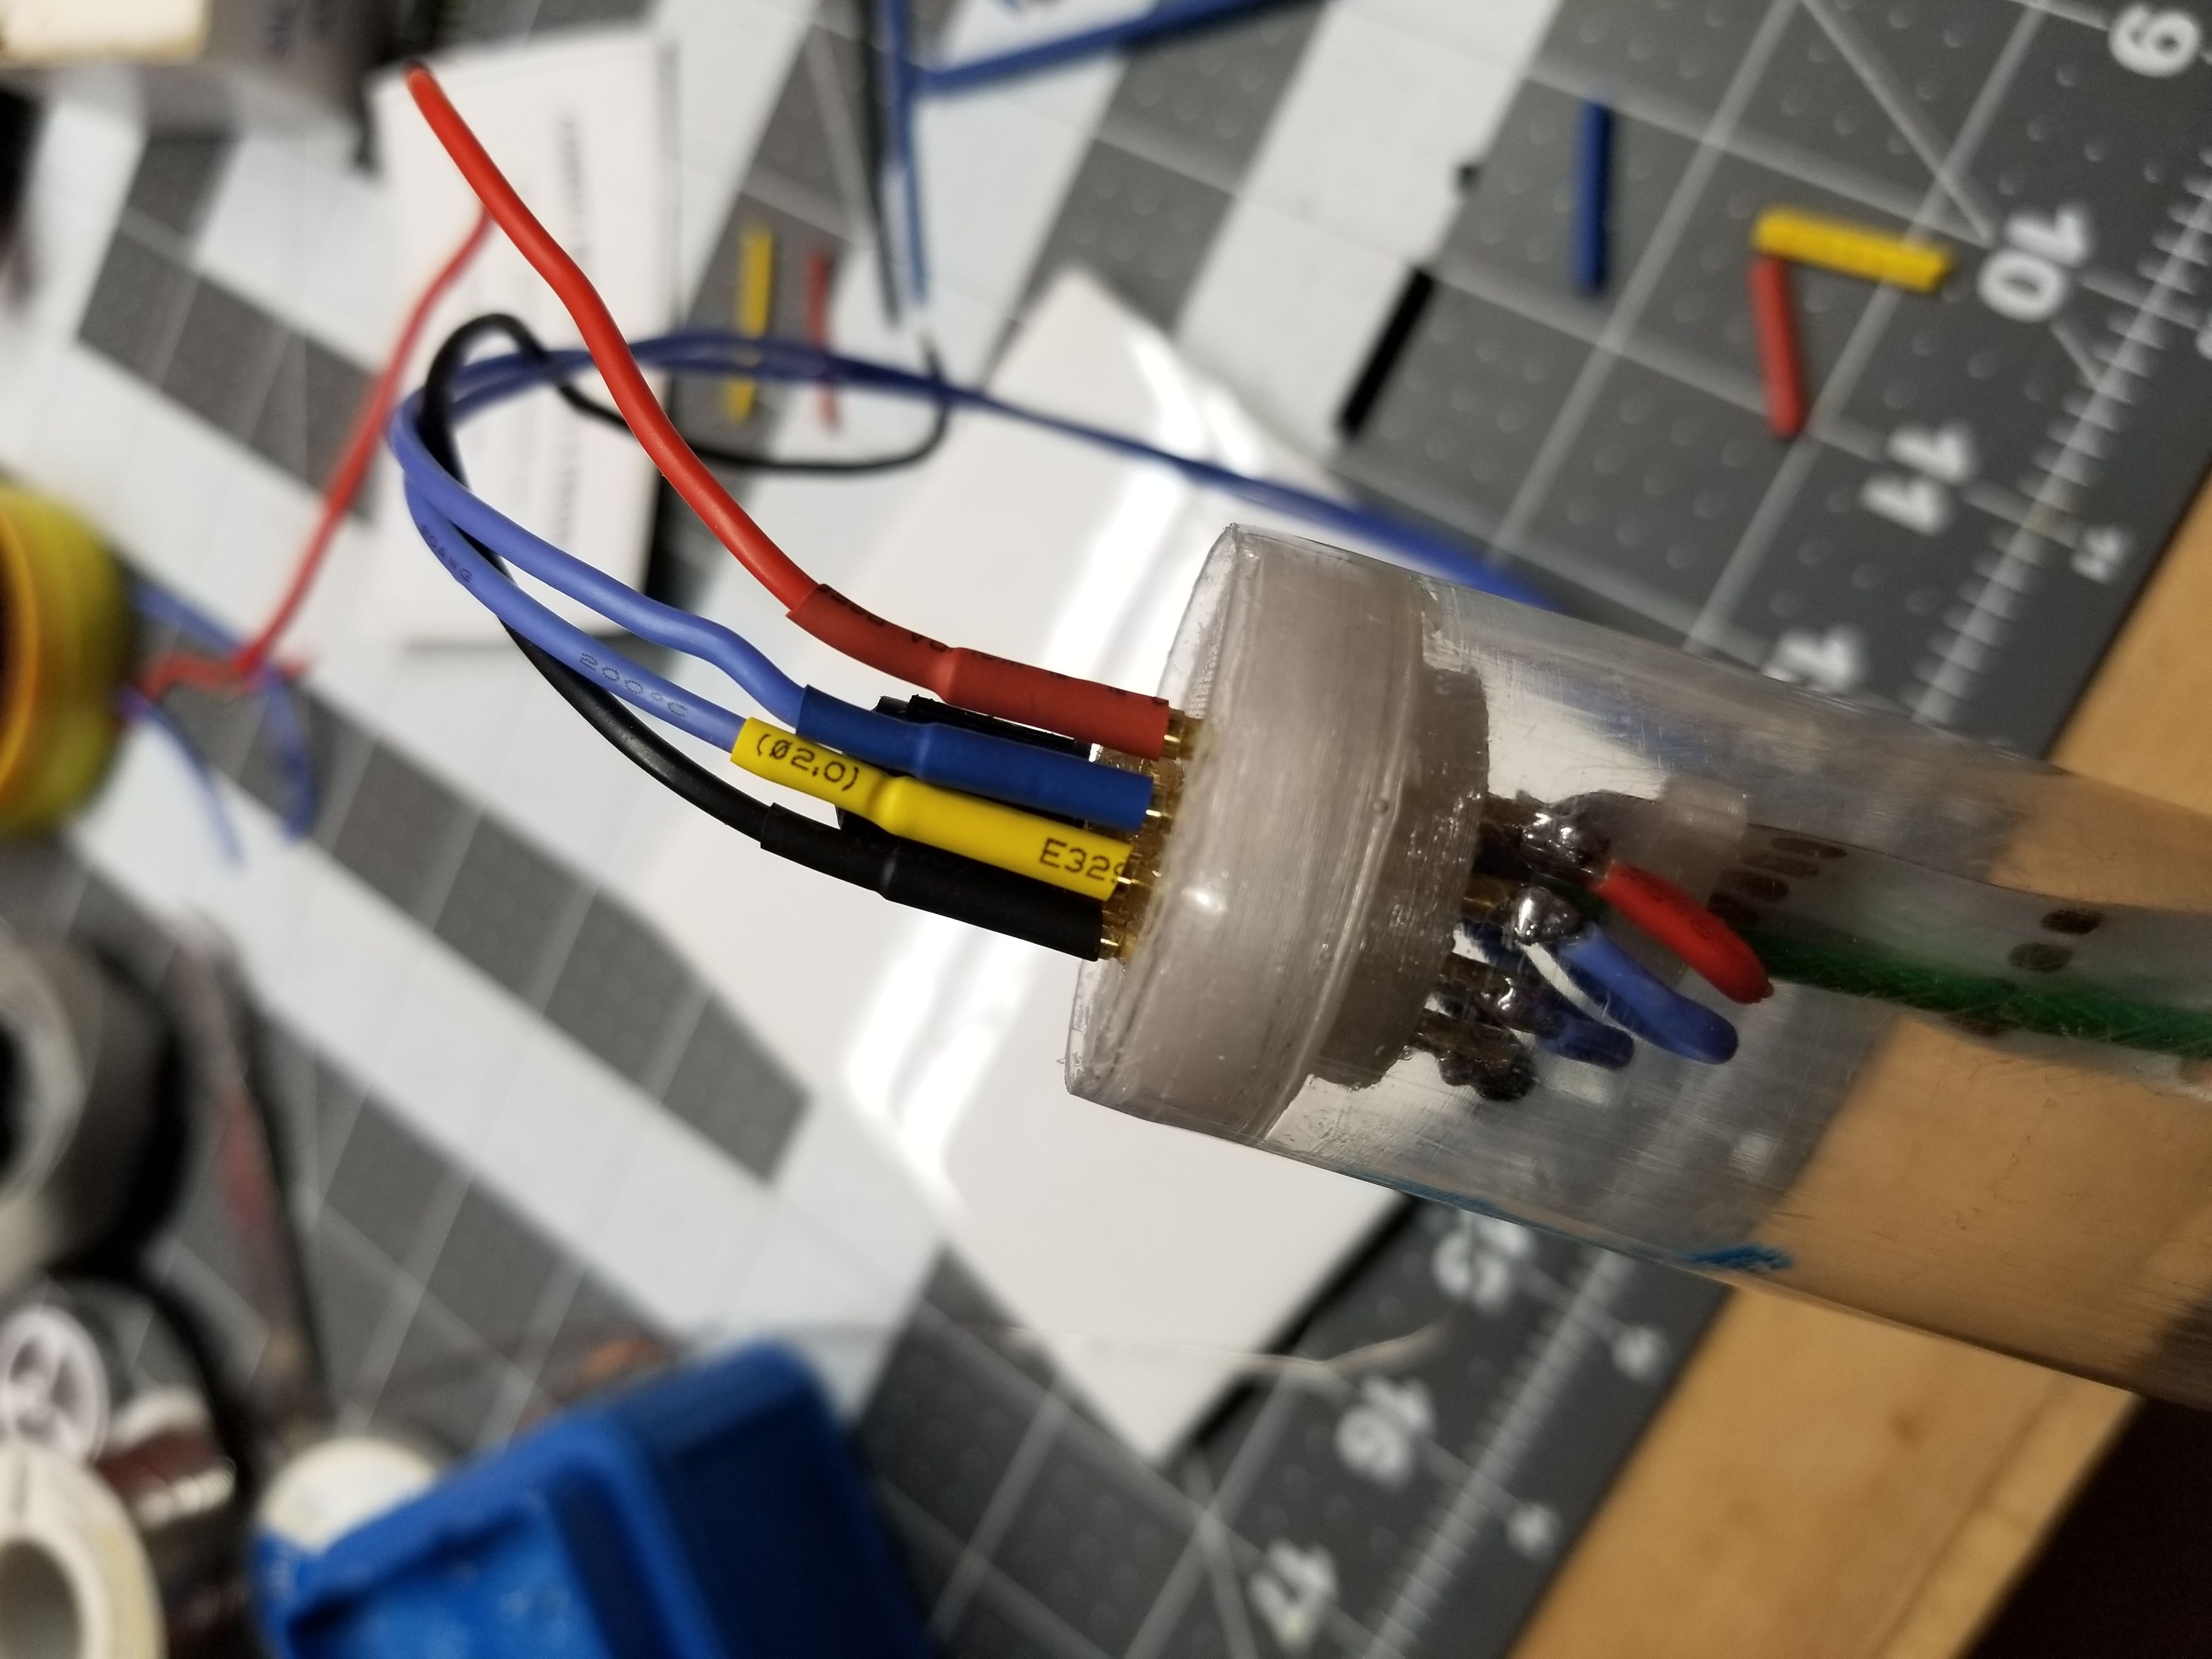
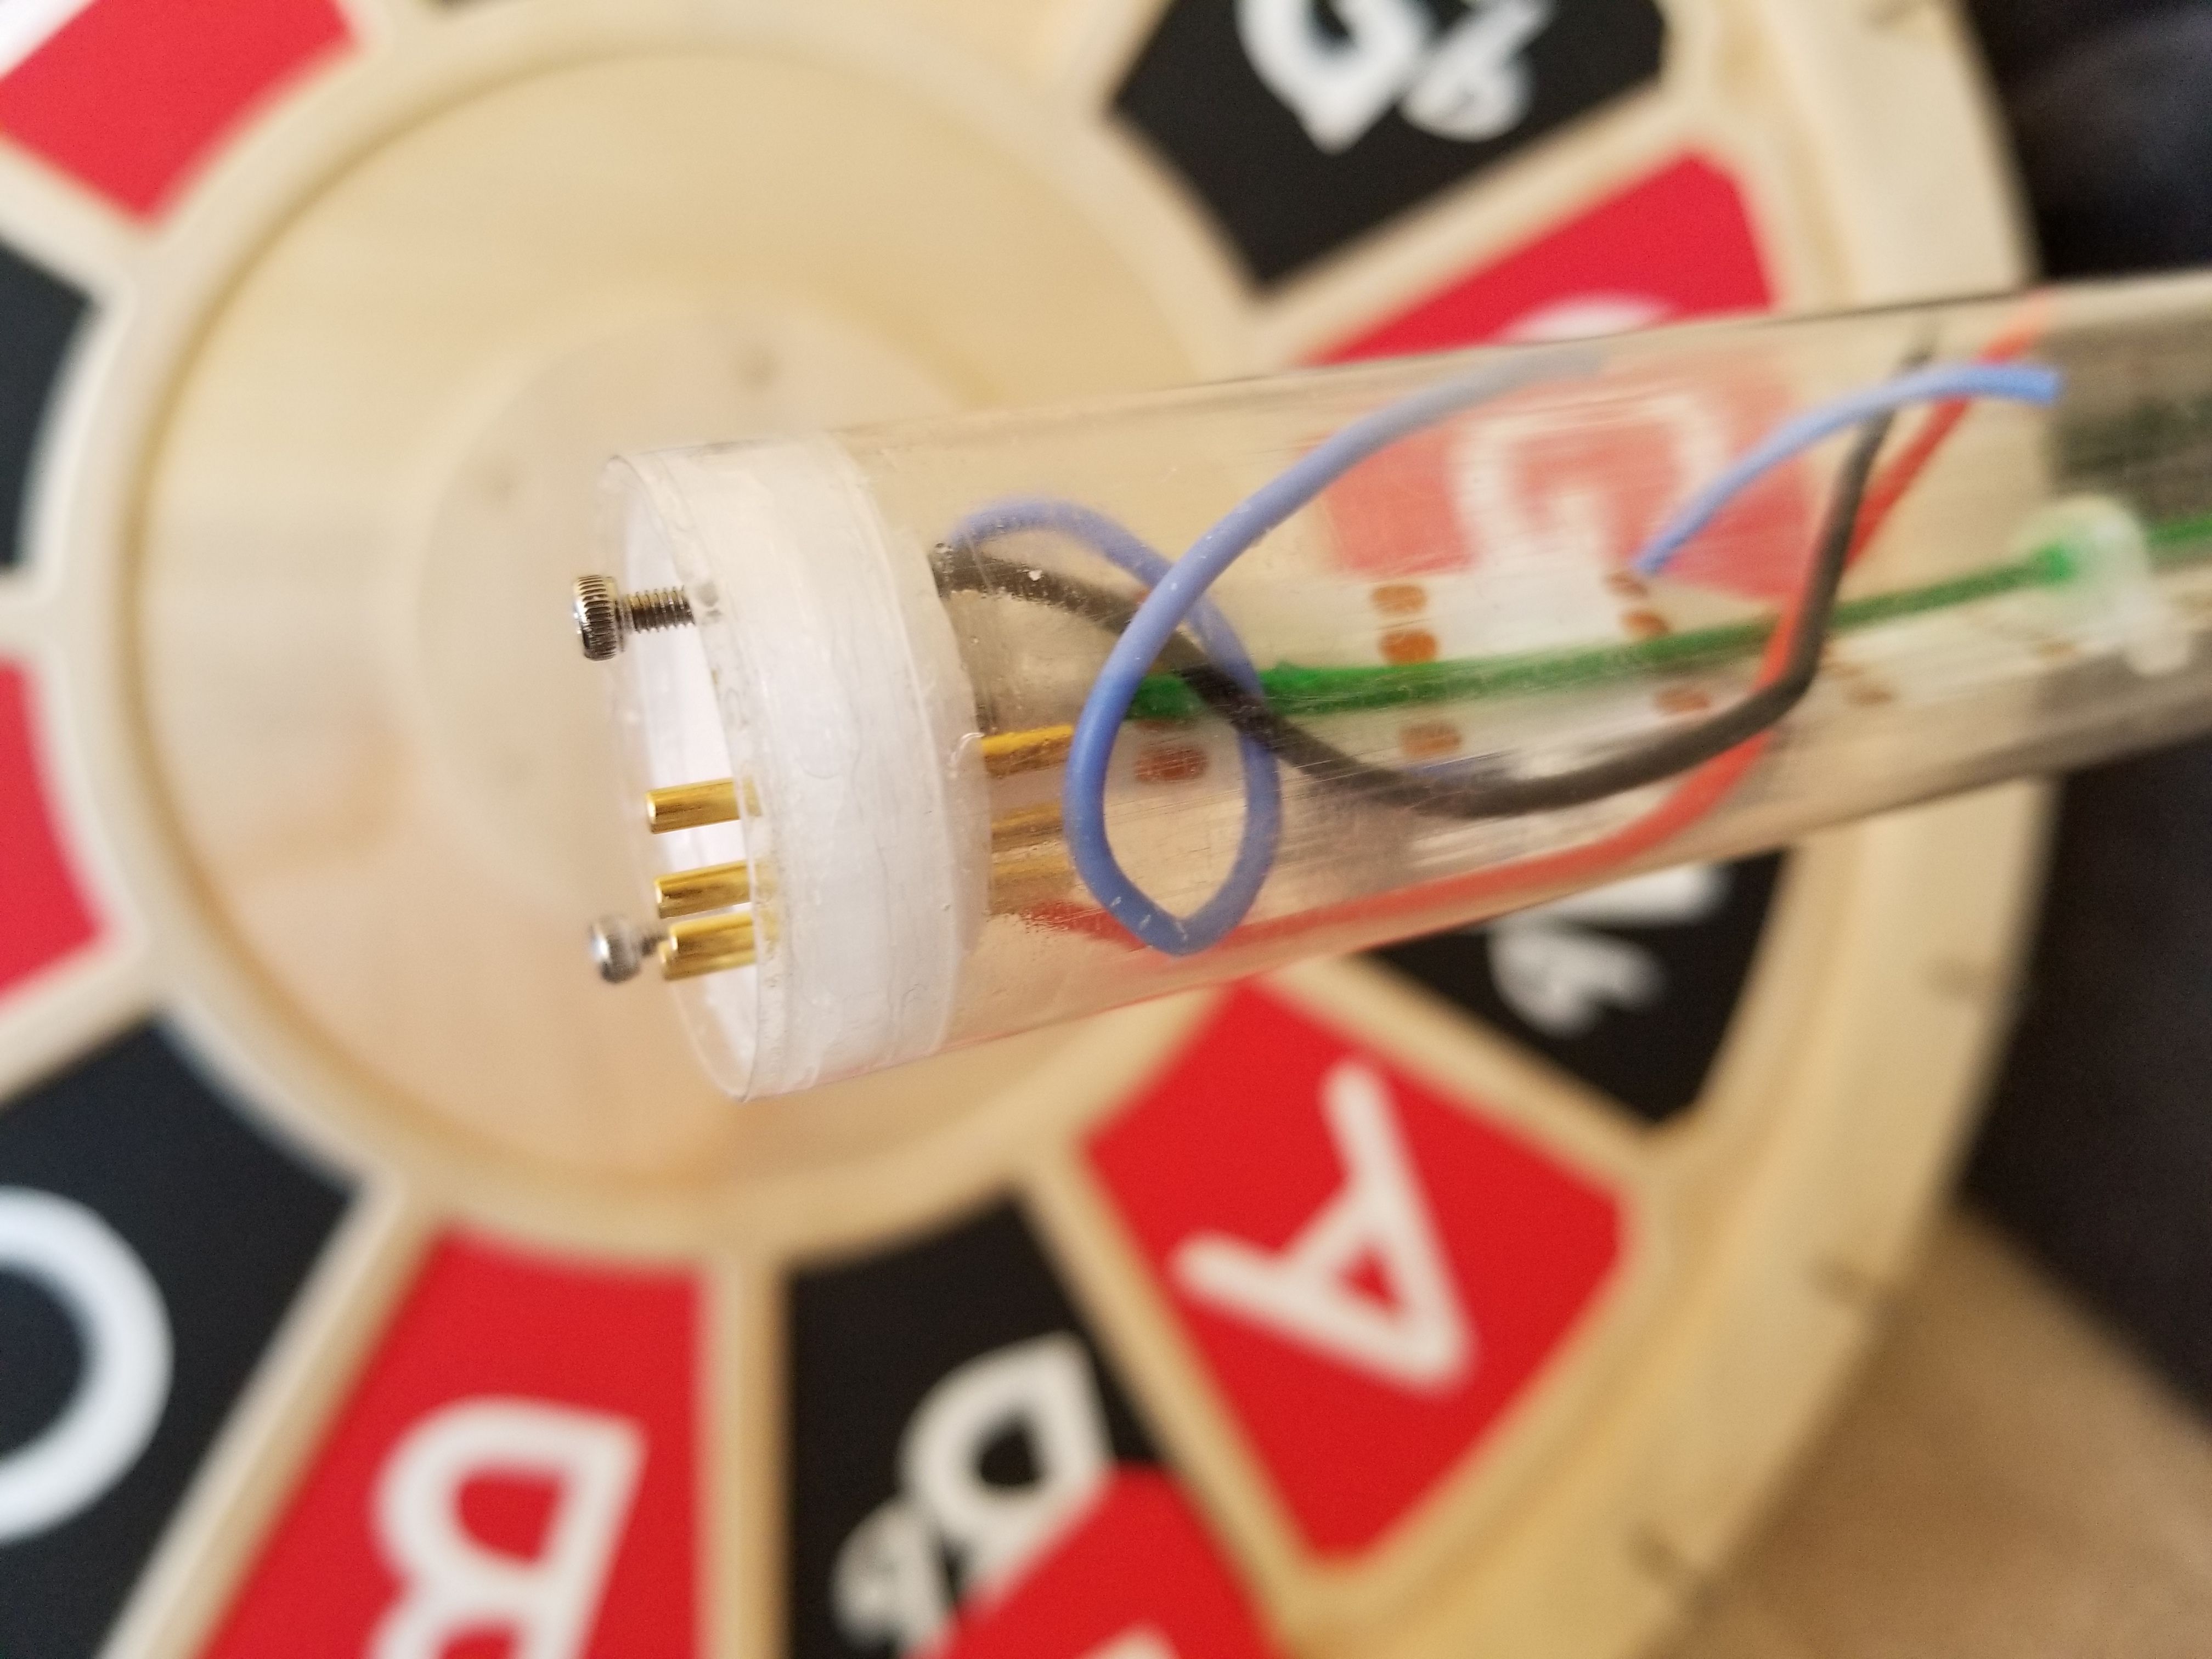
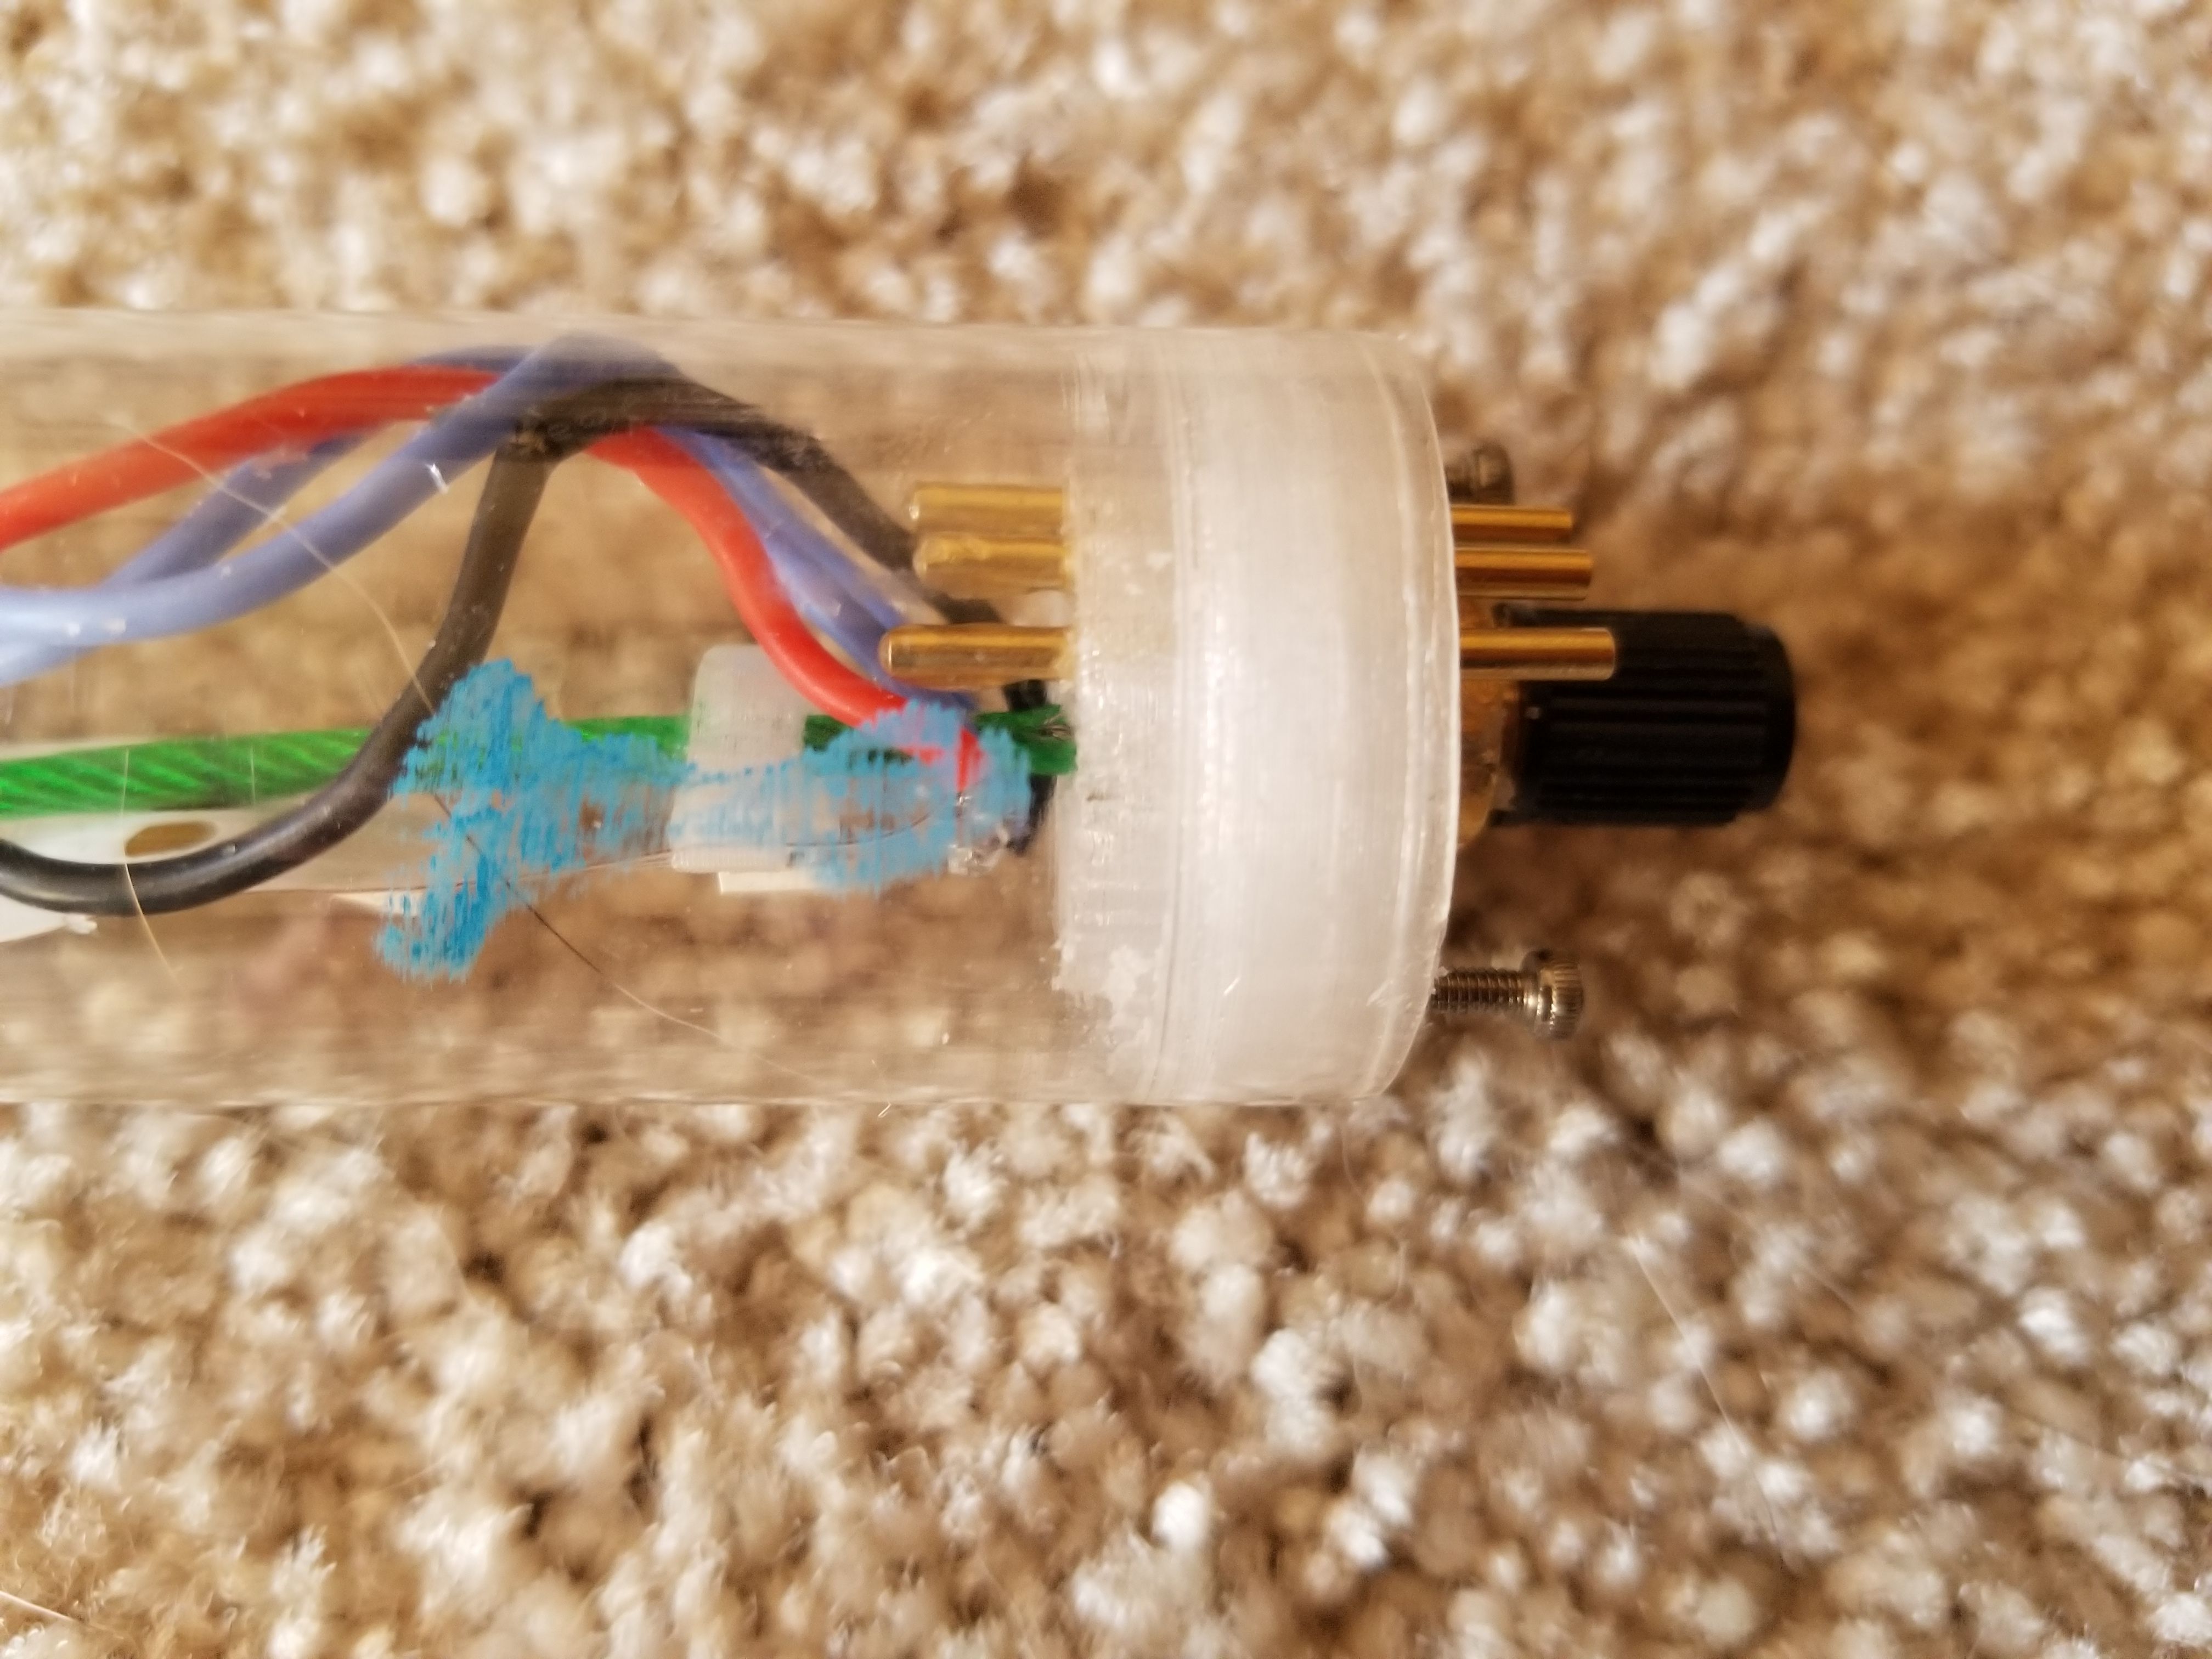
Passthrough conductors
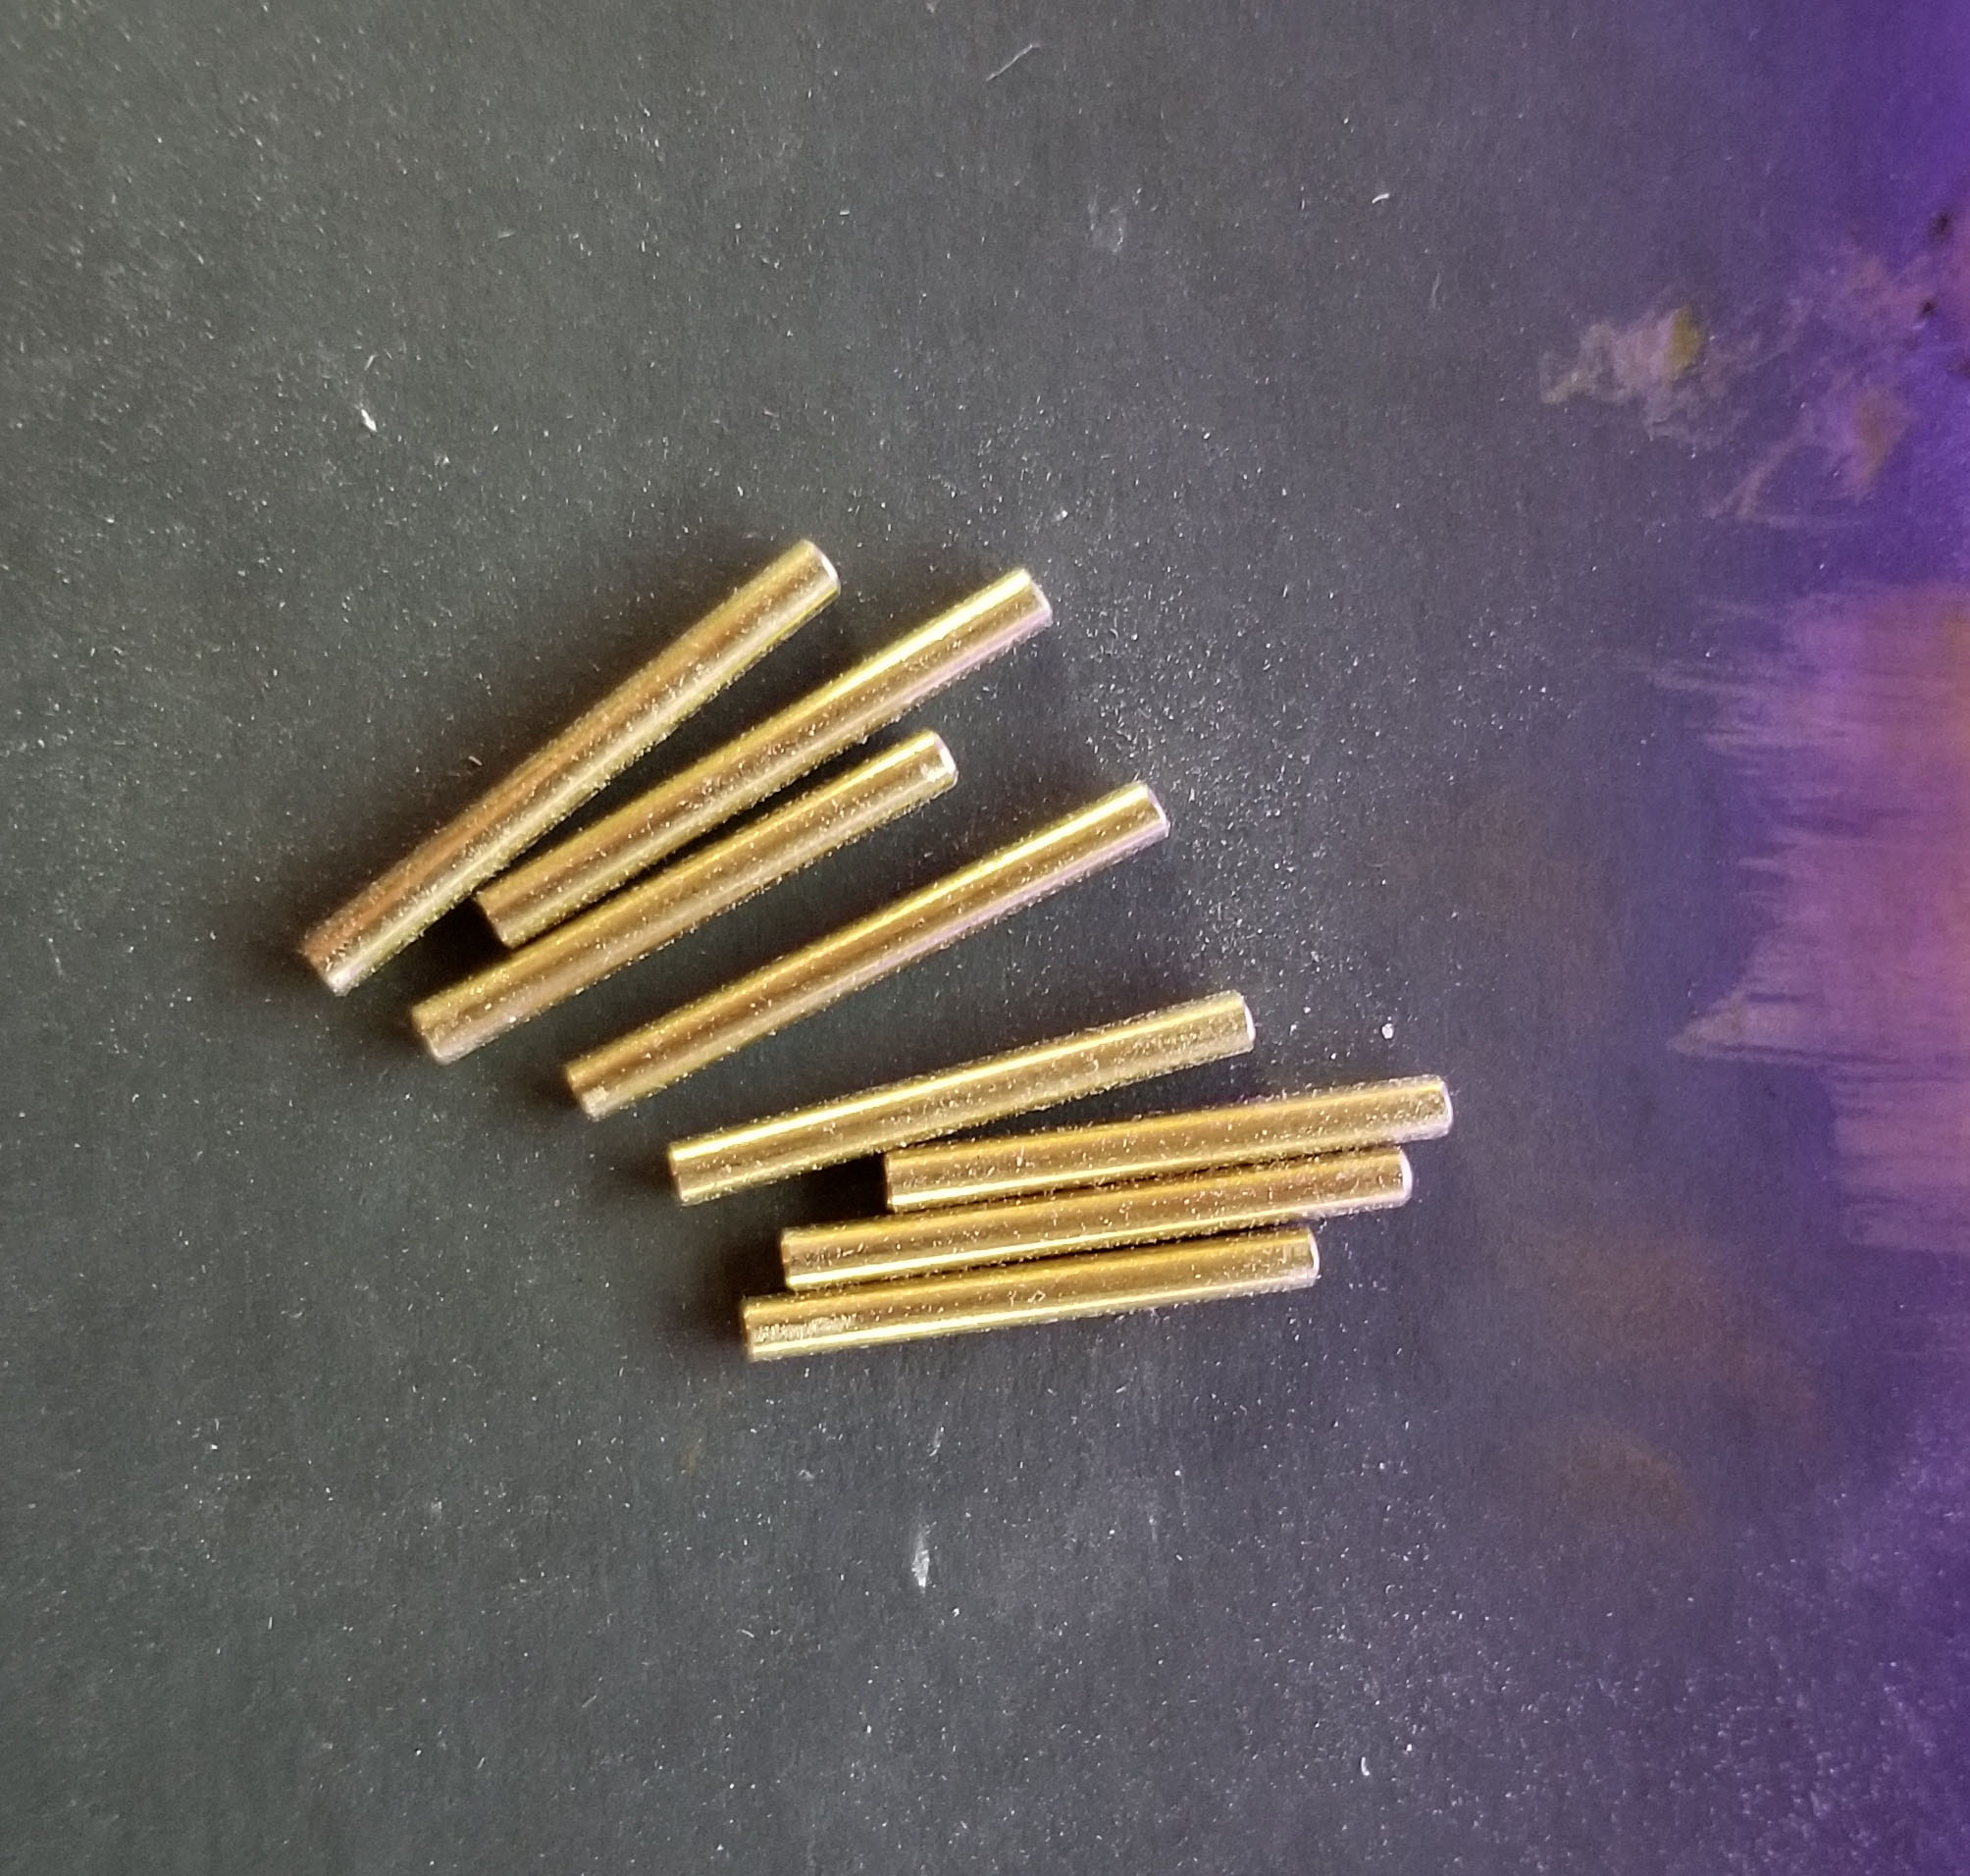
My first sealed tube with conductors had a major flaw in that I attempted to simply epoxy wires through the endcap. Not only would the insulation have pulled away but also I think the air leaked out through the space between the strands in the wiring.
I ended up using some solid 2mm brass rods, which worked wonderfully. I was also able to use some off the shelf 2mm female bullet connectors without any modifications.
Endcaps
The endcaps have a few functions they must perform:
- Seal the tube
- Hold the shrader valve
- Provide electrical passthrough
- Accomodate spine tension during assembly
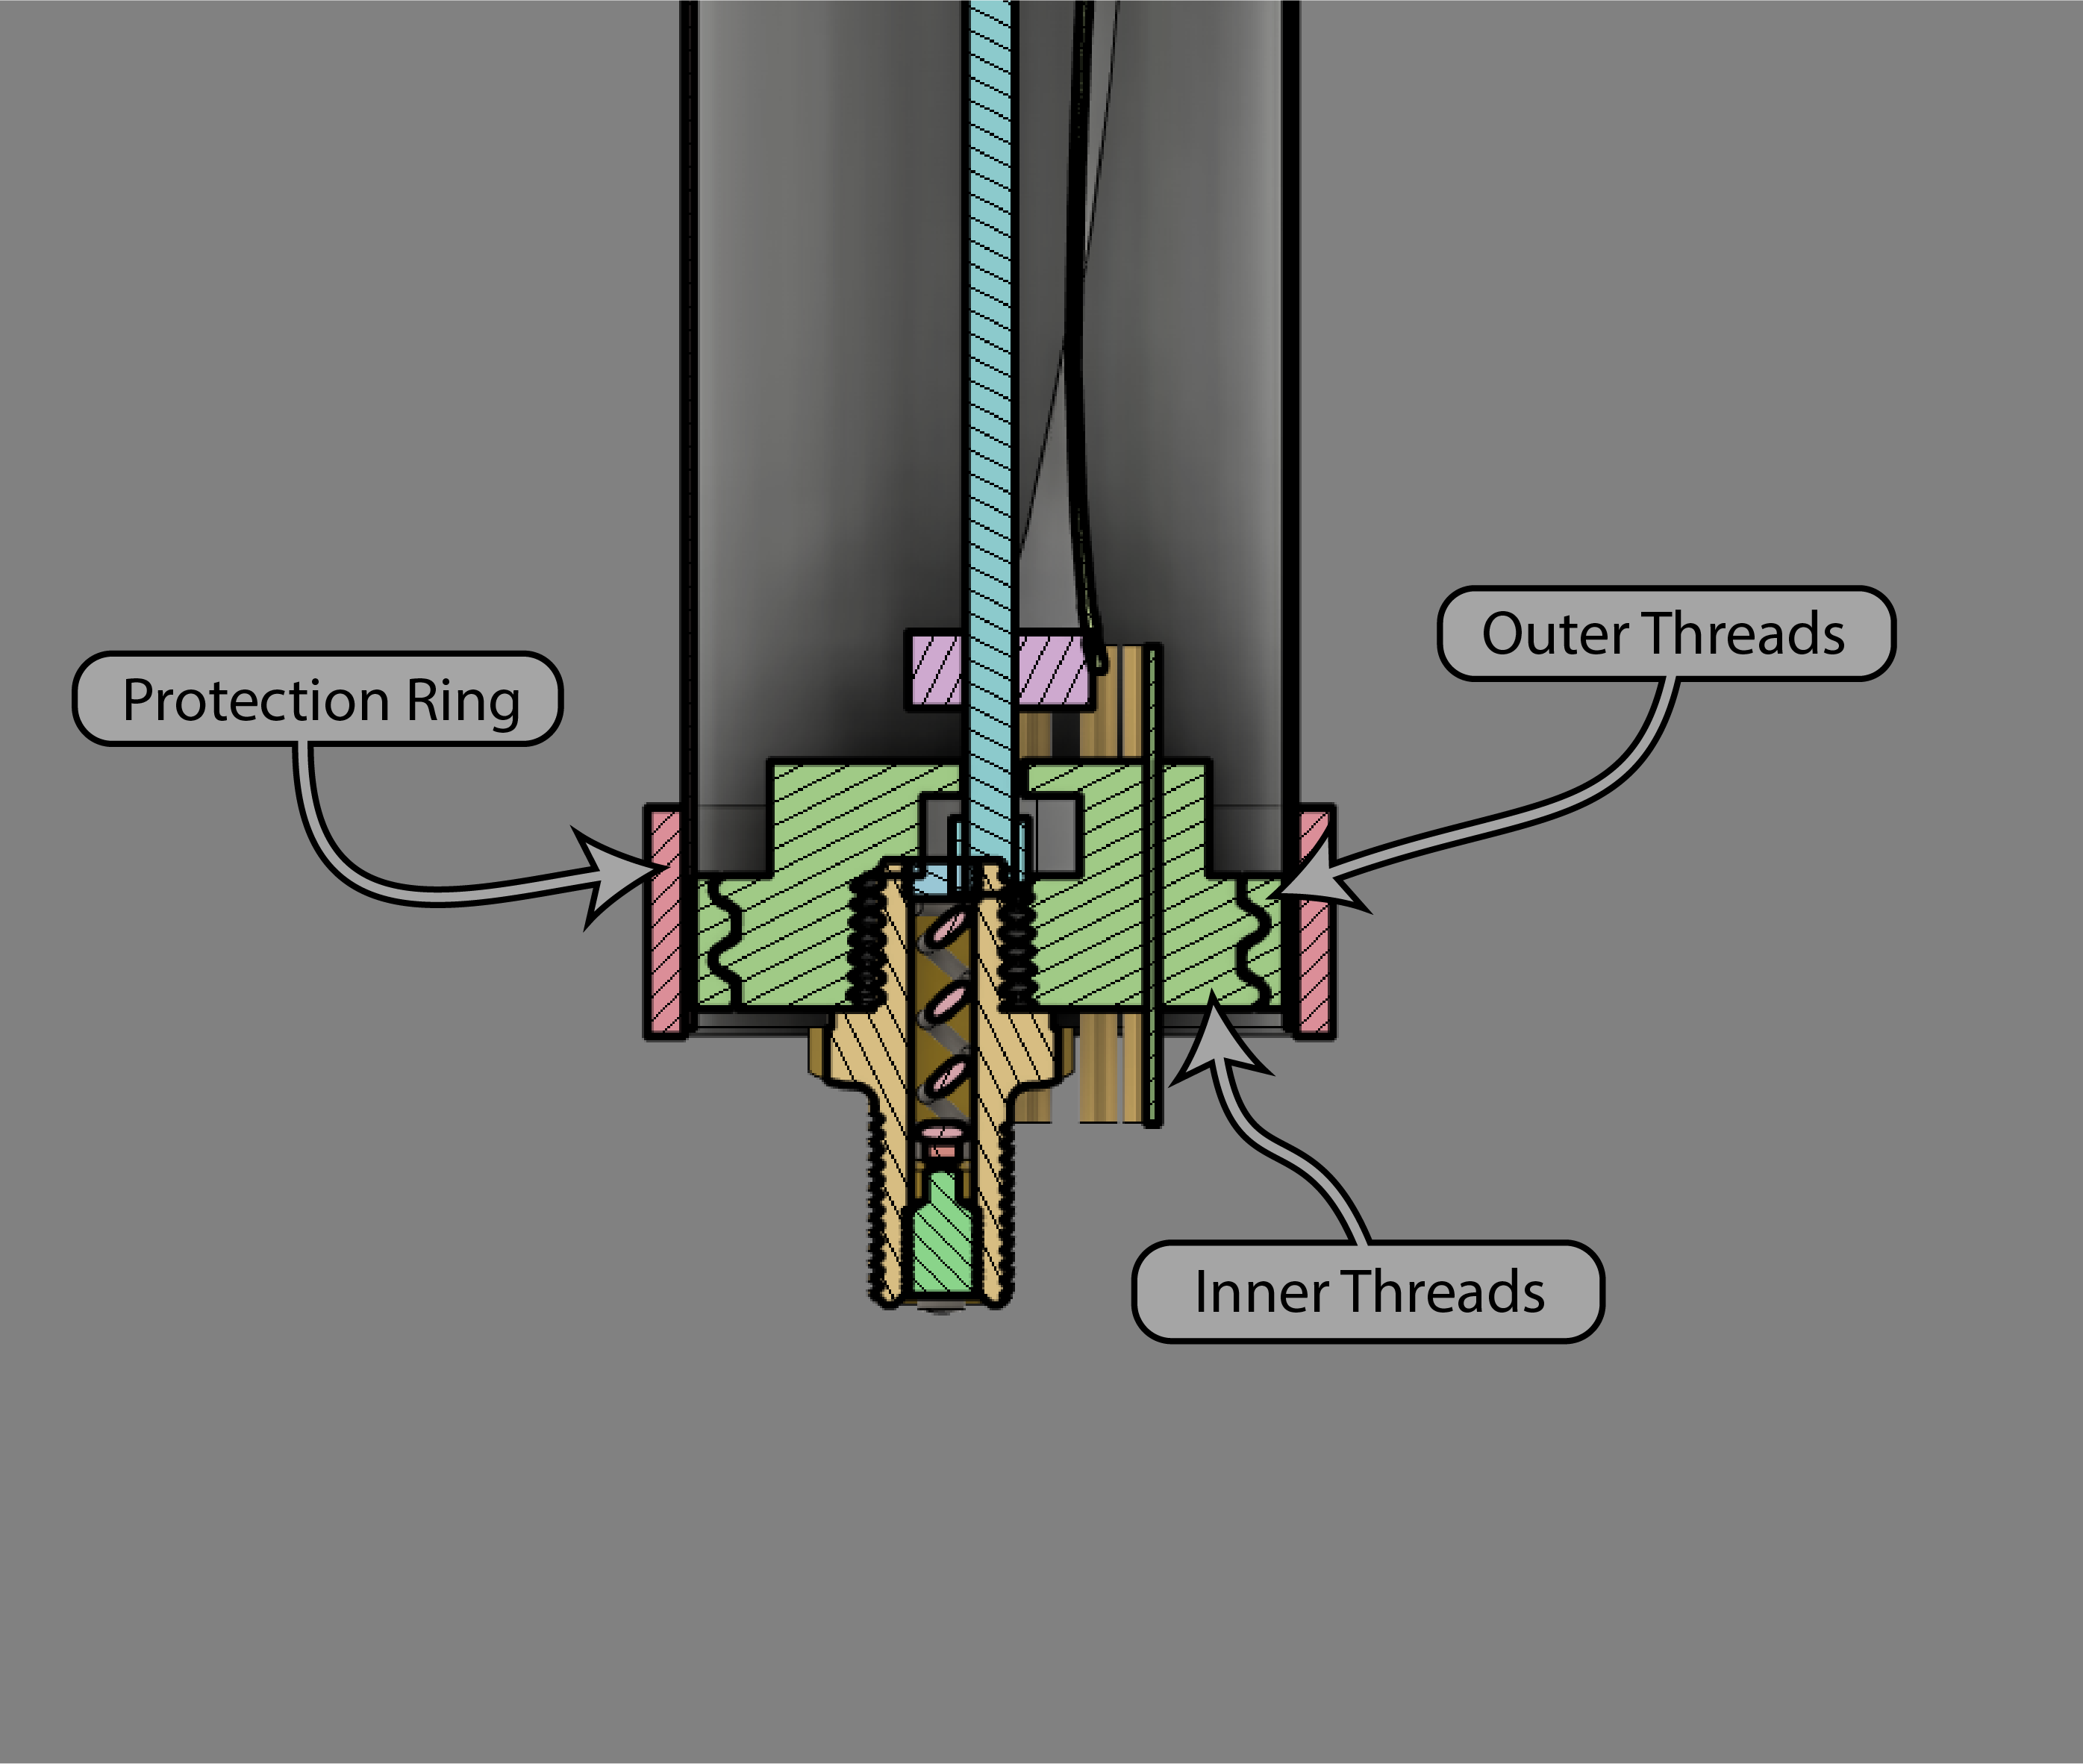
The endcaps are made from three pieces, an innermost piece that is epoxied to the inside of the tube and provides threads for the inner cap that holds the spine, schrader and conductors. The final piece is a ring that is epoxied onto the outside of the tube to strengthen and protect the epoxy that is providing the seal.
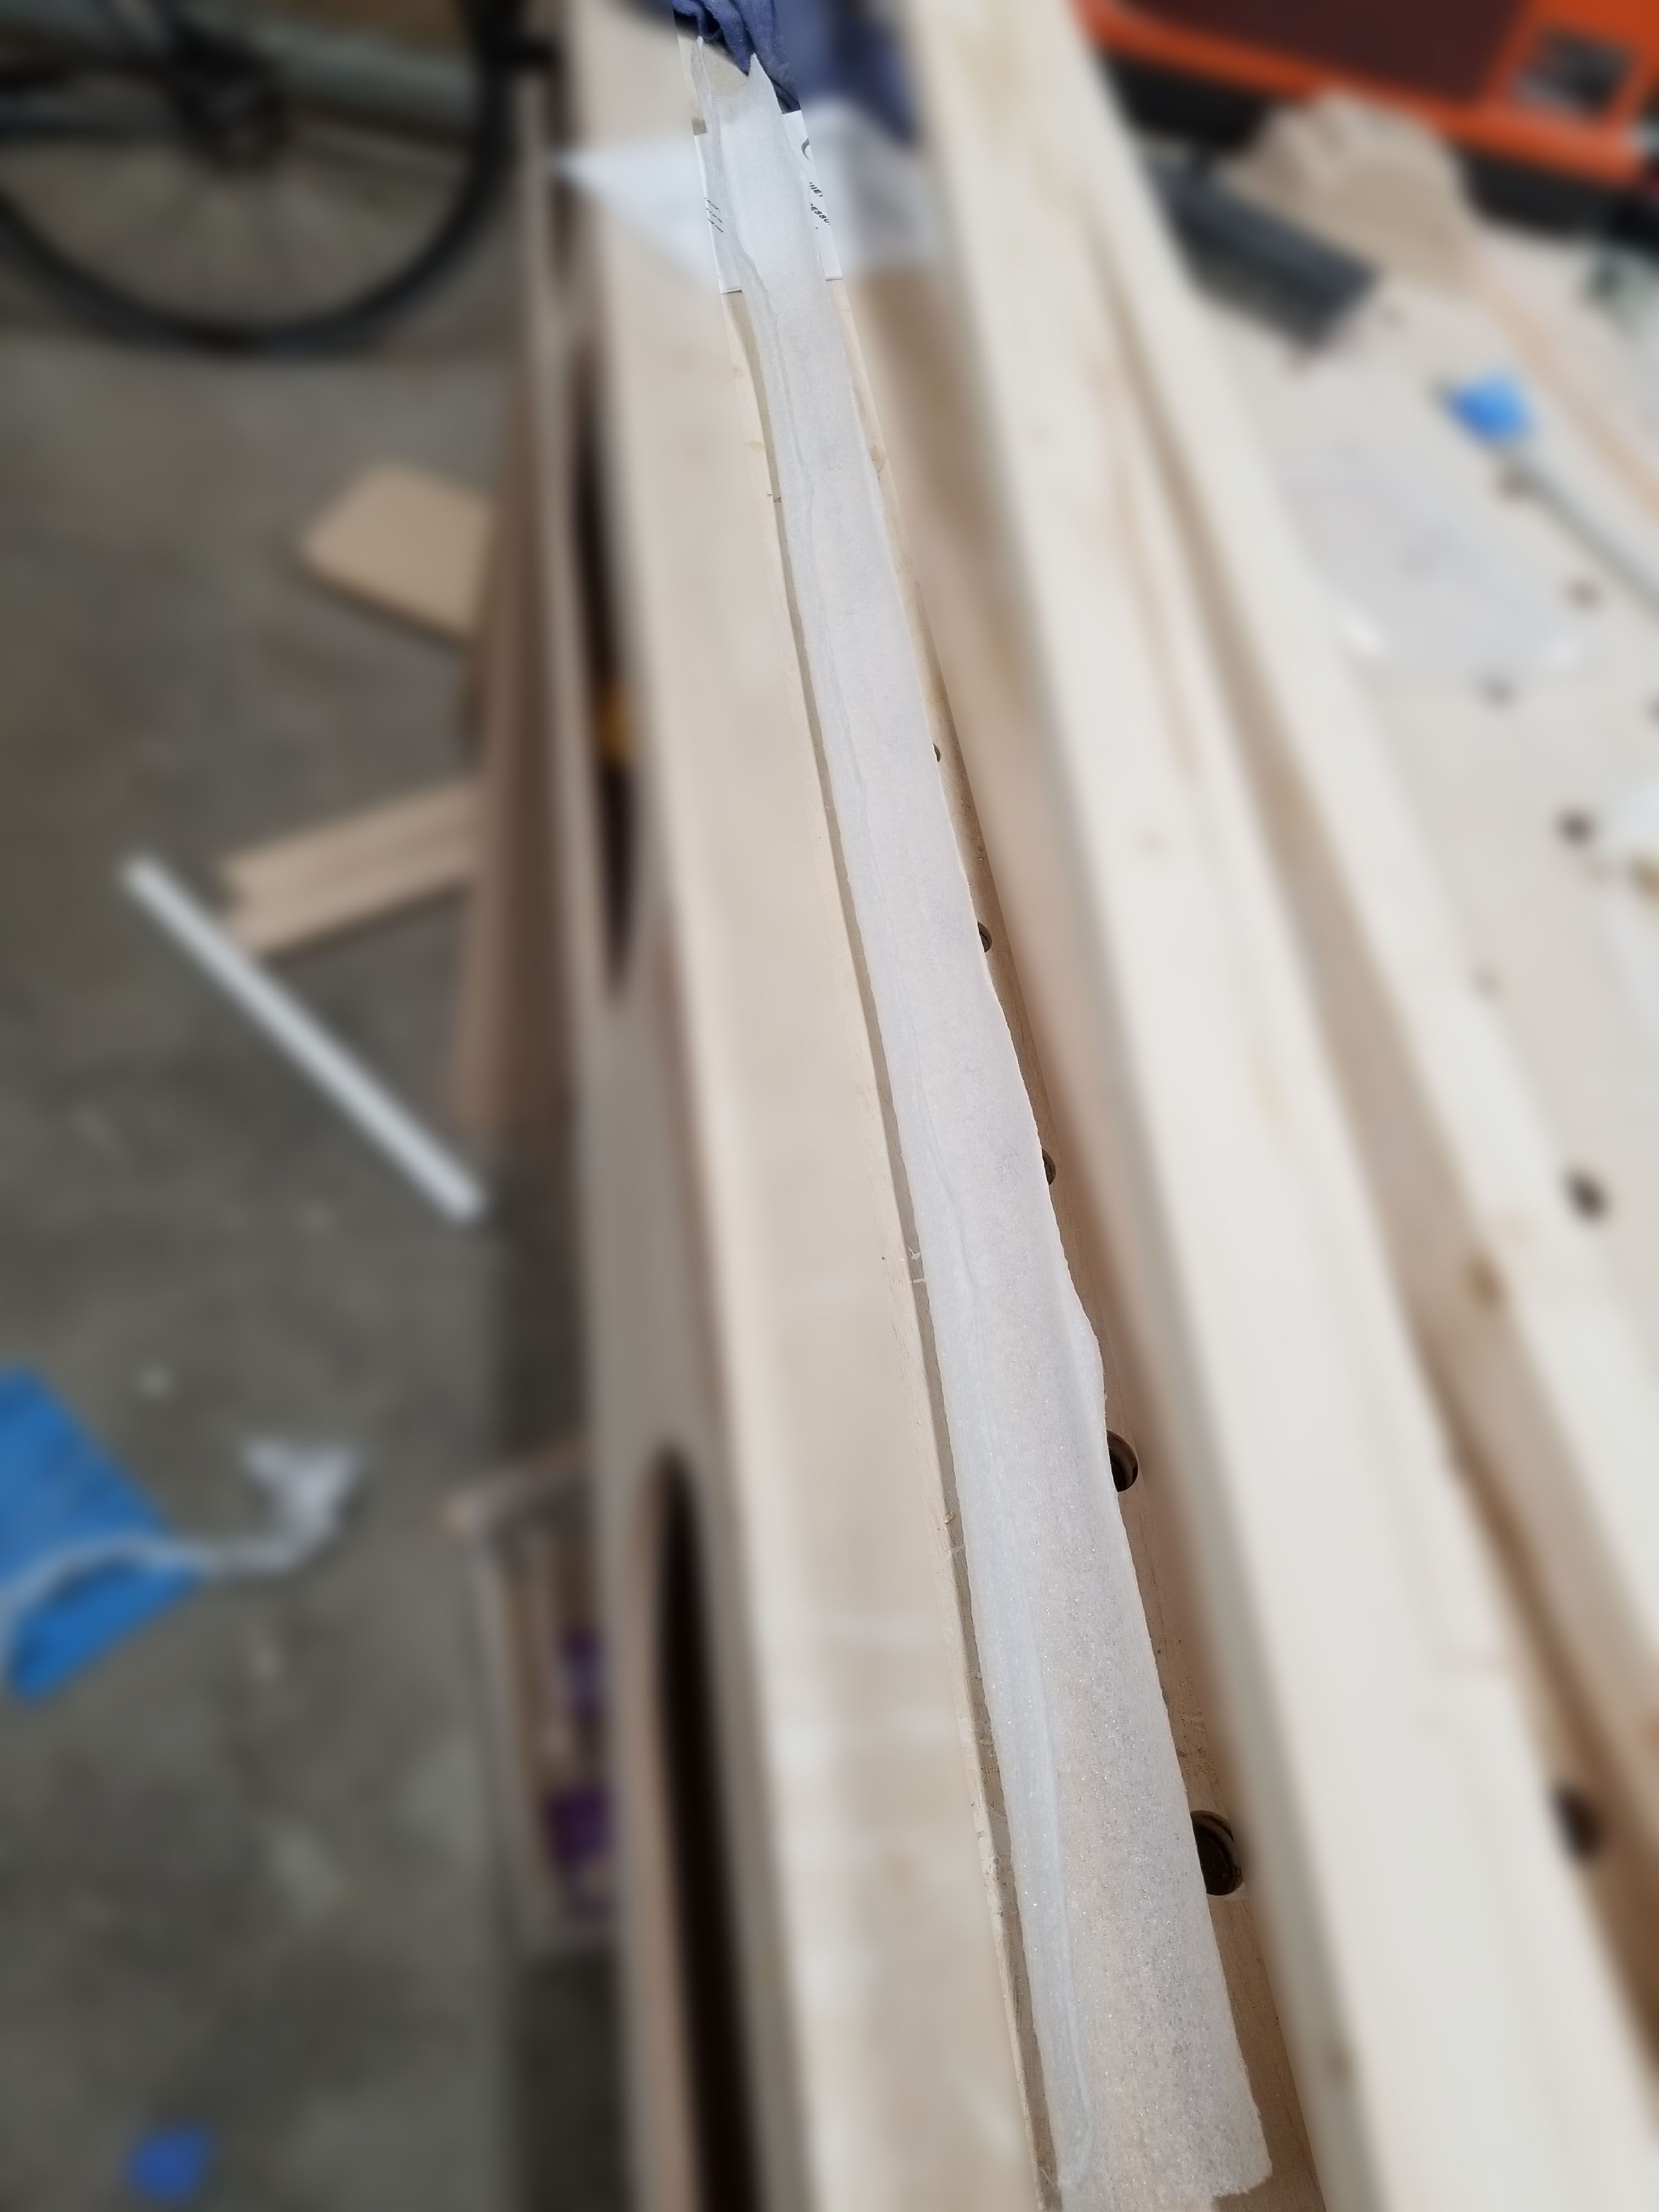
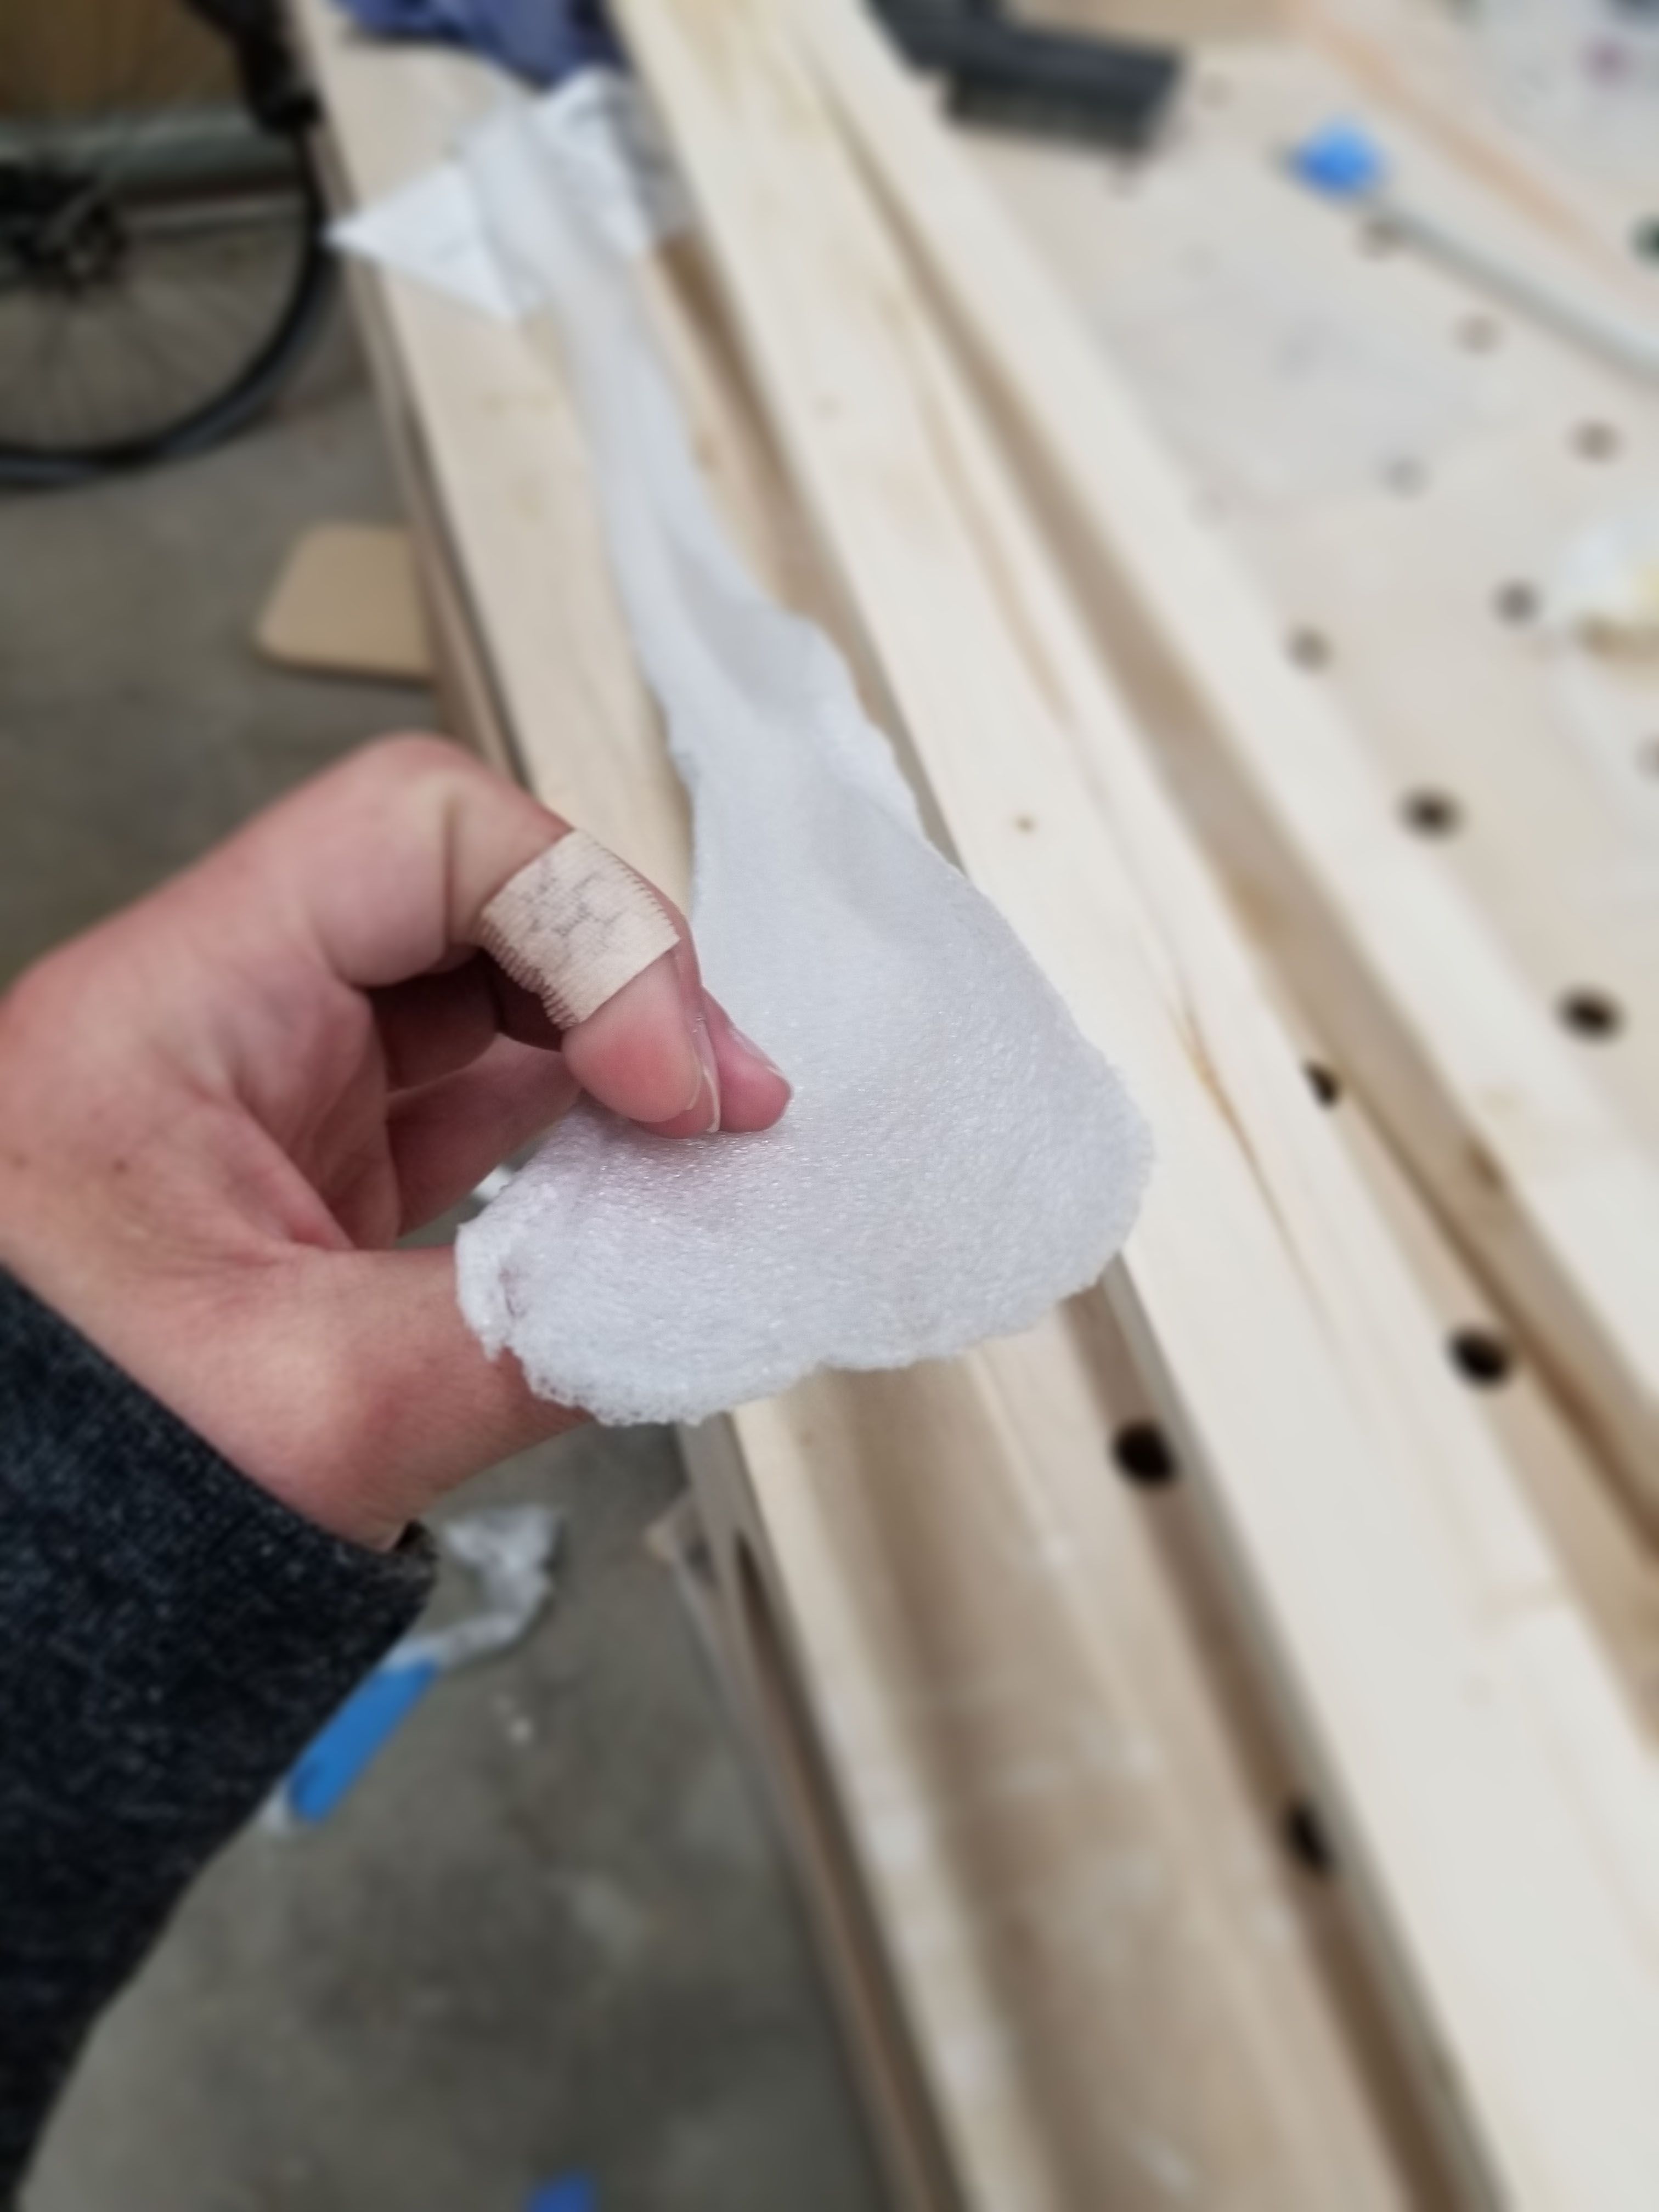
Coring out a pool noodle
I needed to shave off about 3 mm from the diameter of the inner hole in the pool noodle. Trying to force the tube into the foam just created too much friction regardless of adding lube. I was also worried that most lubes would have a negative effect on the foam.
For the original totem I just cut the foam long ways and added in a section to fill the gap once wrapped around the tube. For this totem, I wanted a cleaner look.
With some help from Jason I made a 4 foot long foam cutter.
It only took a couple tries with a bit of tweaking before we had a great result.
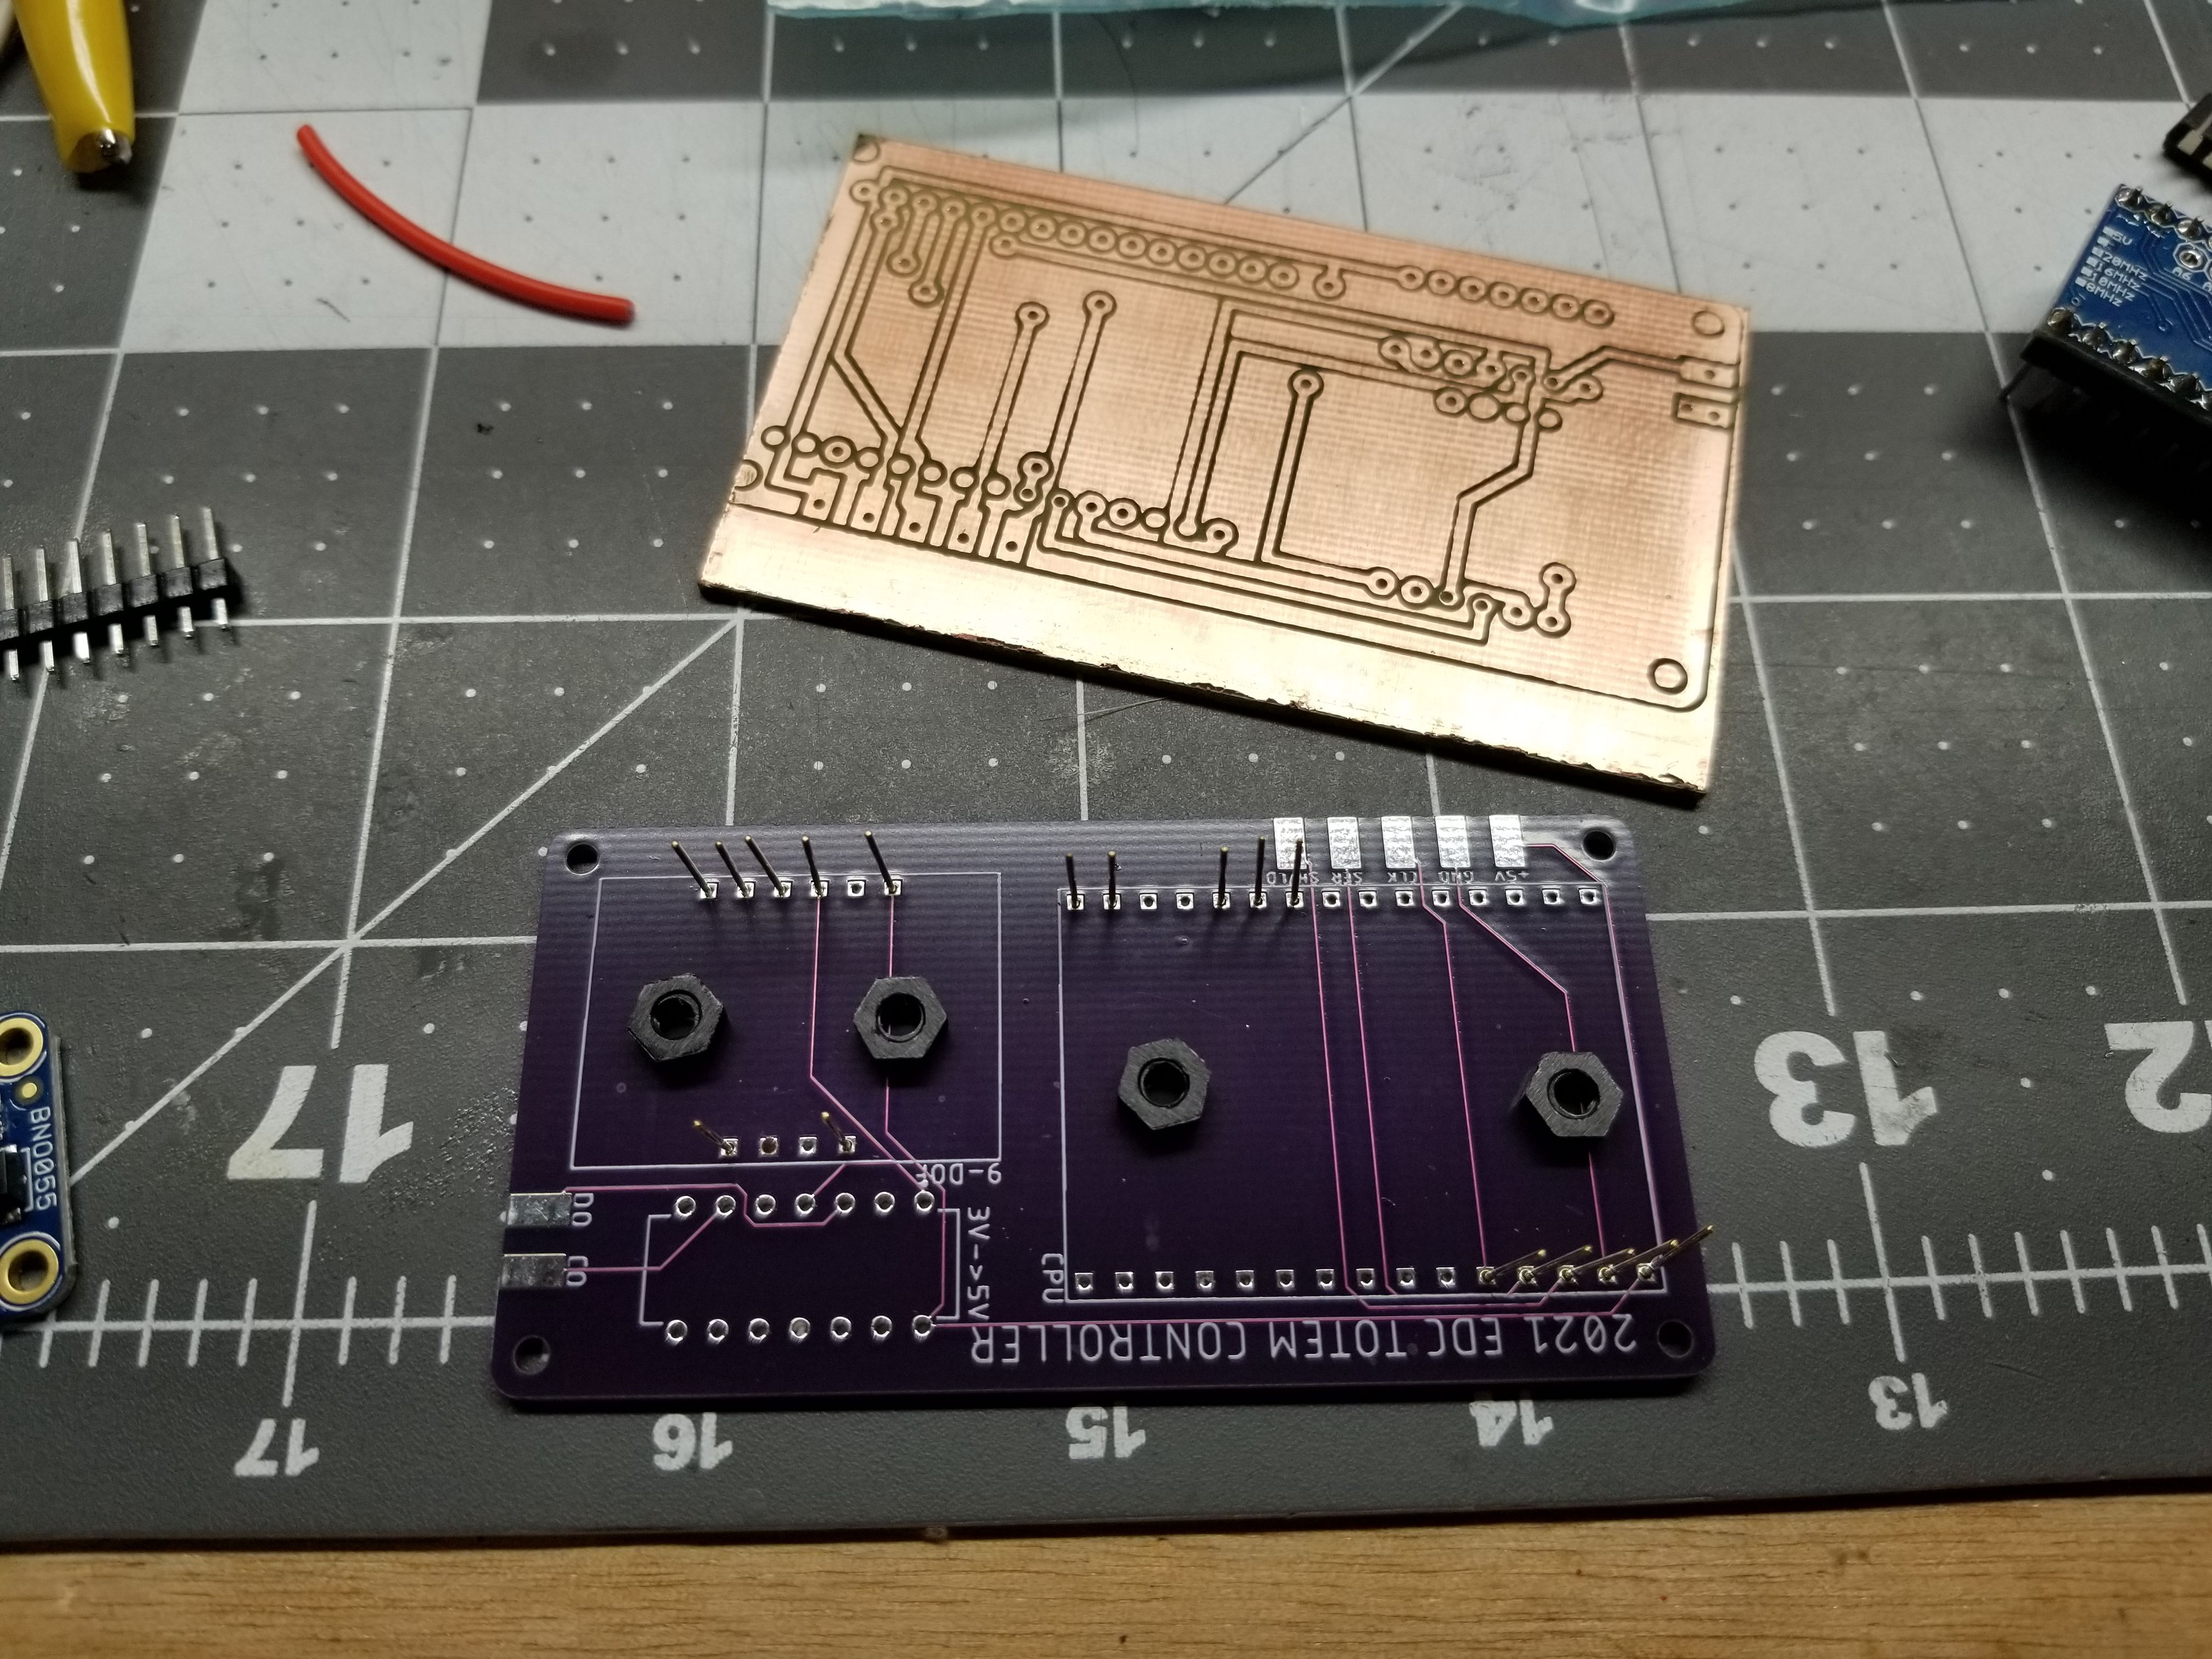
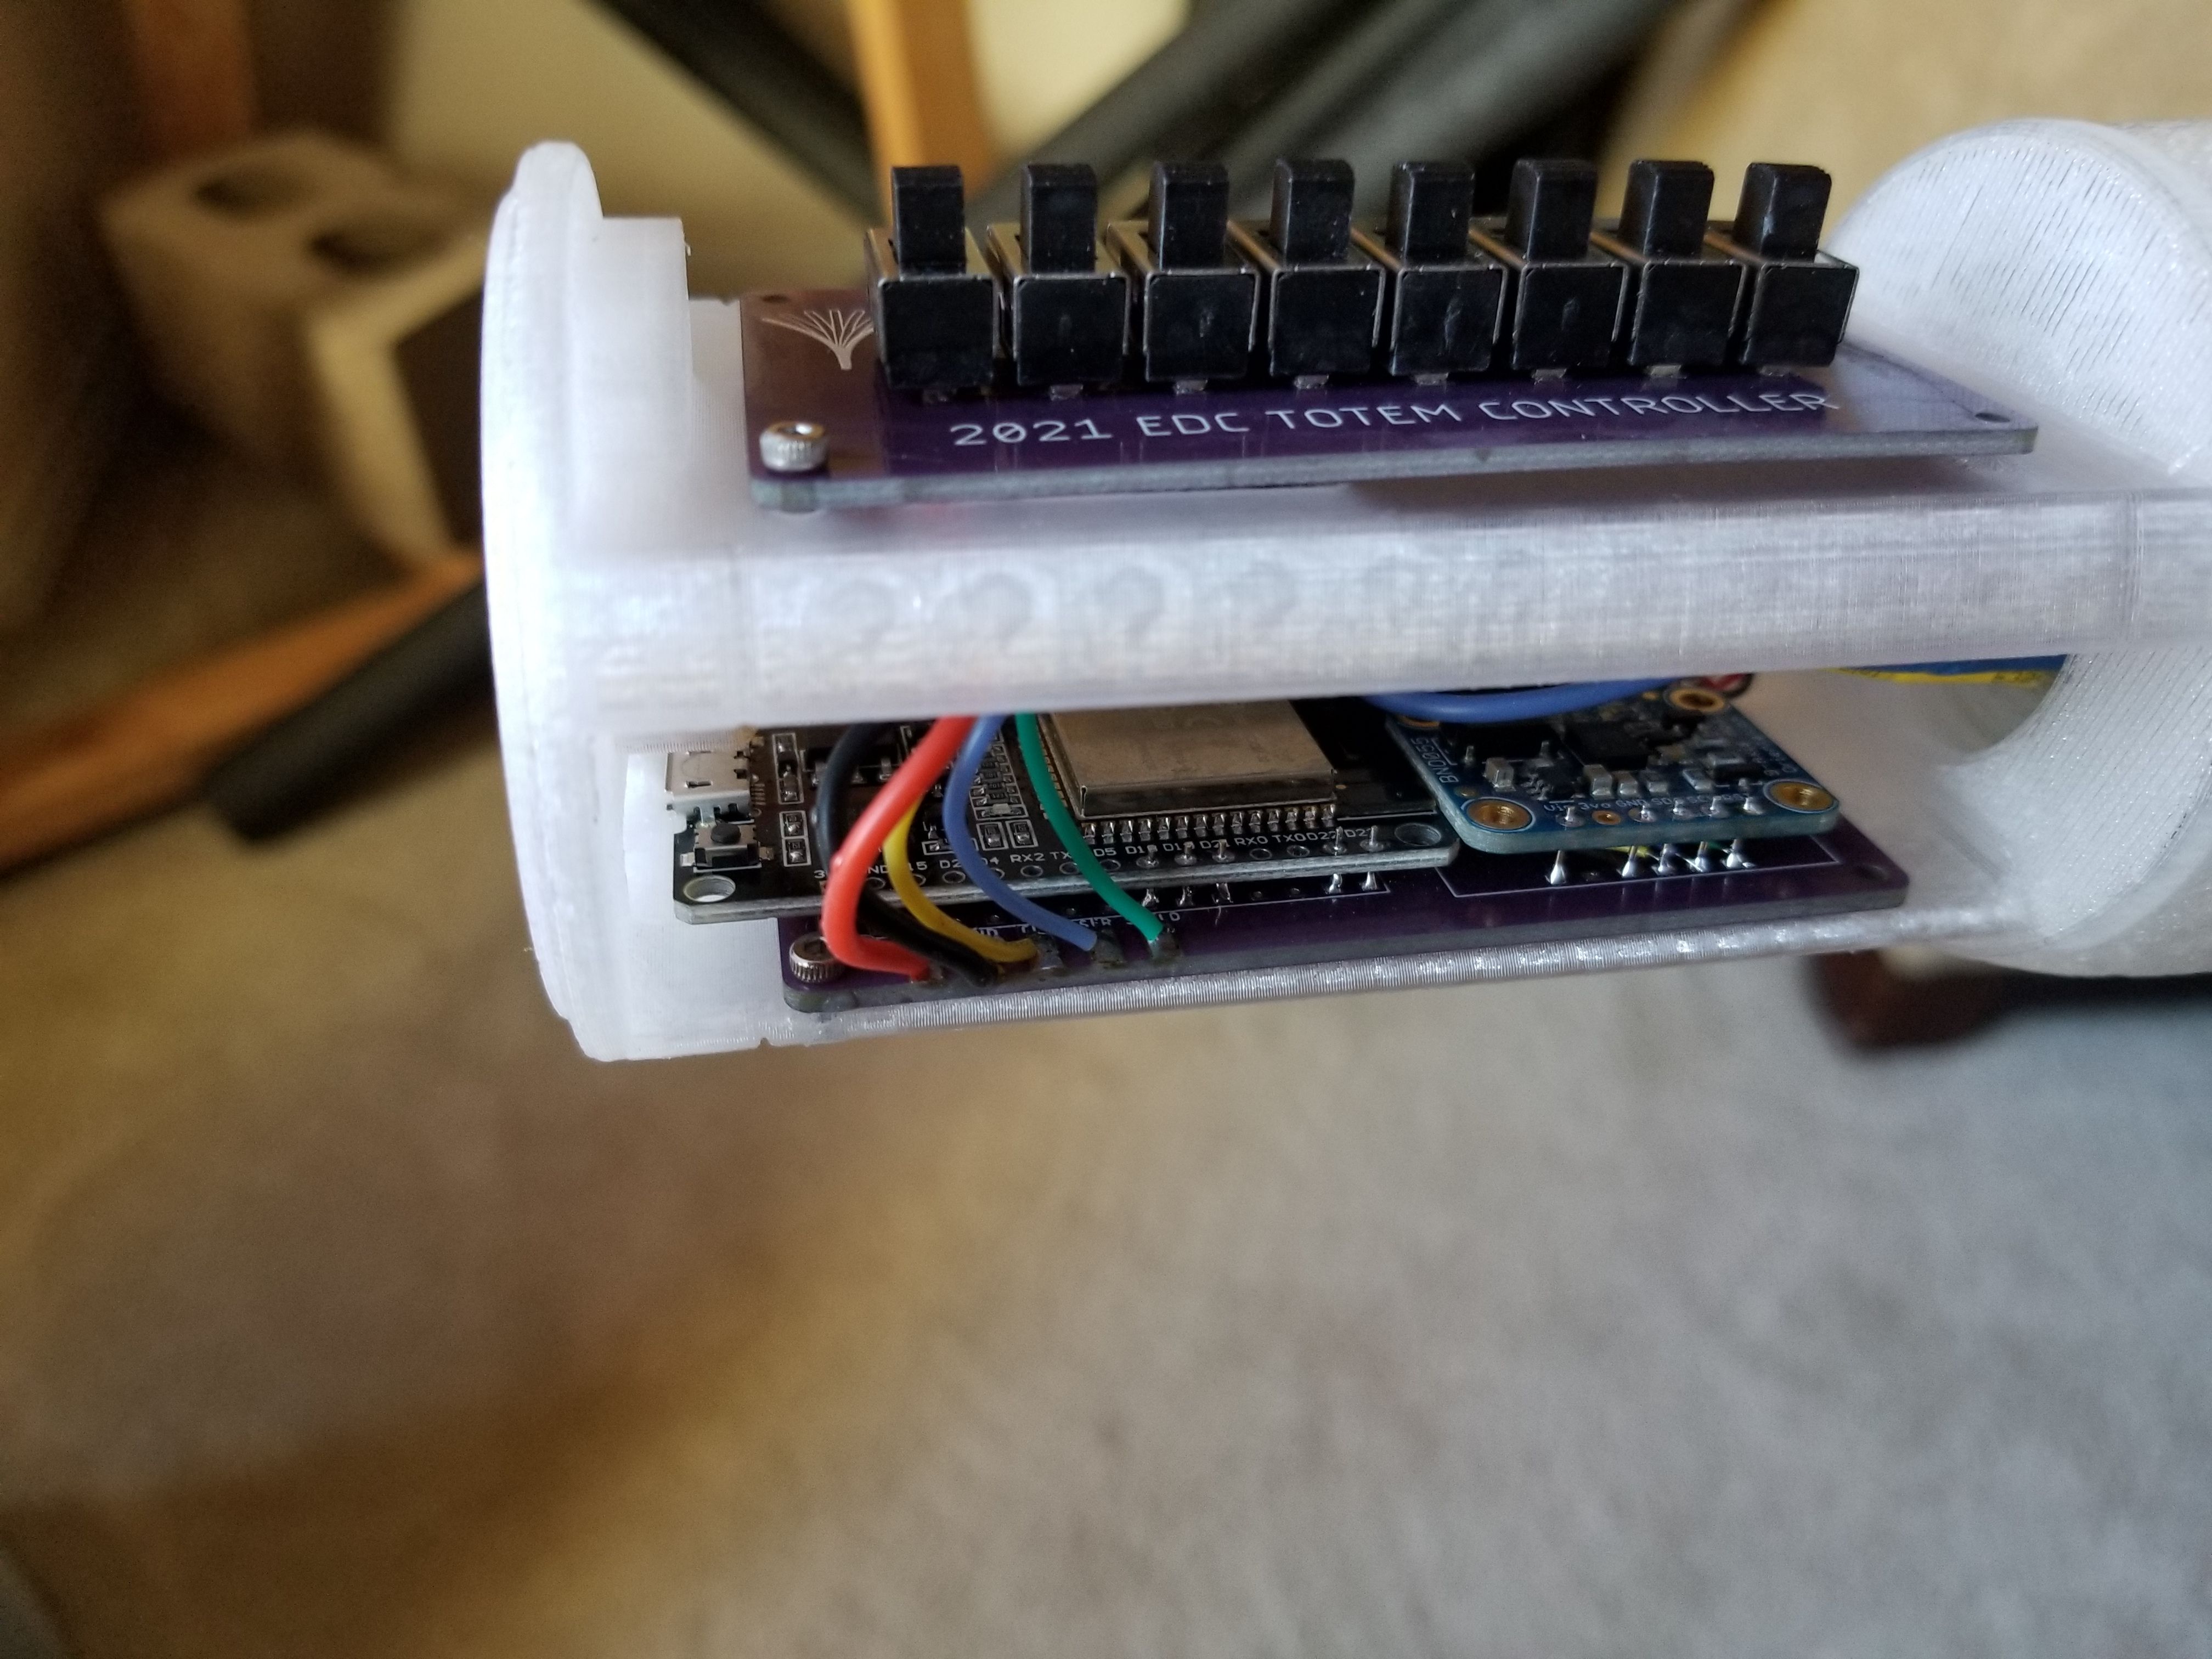
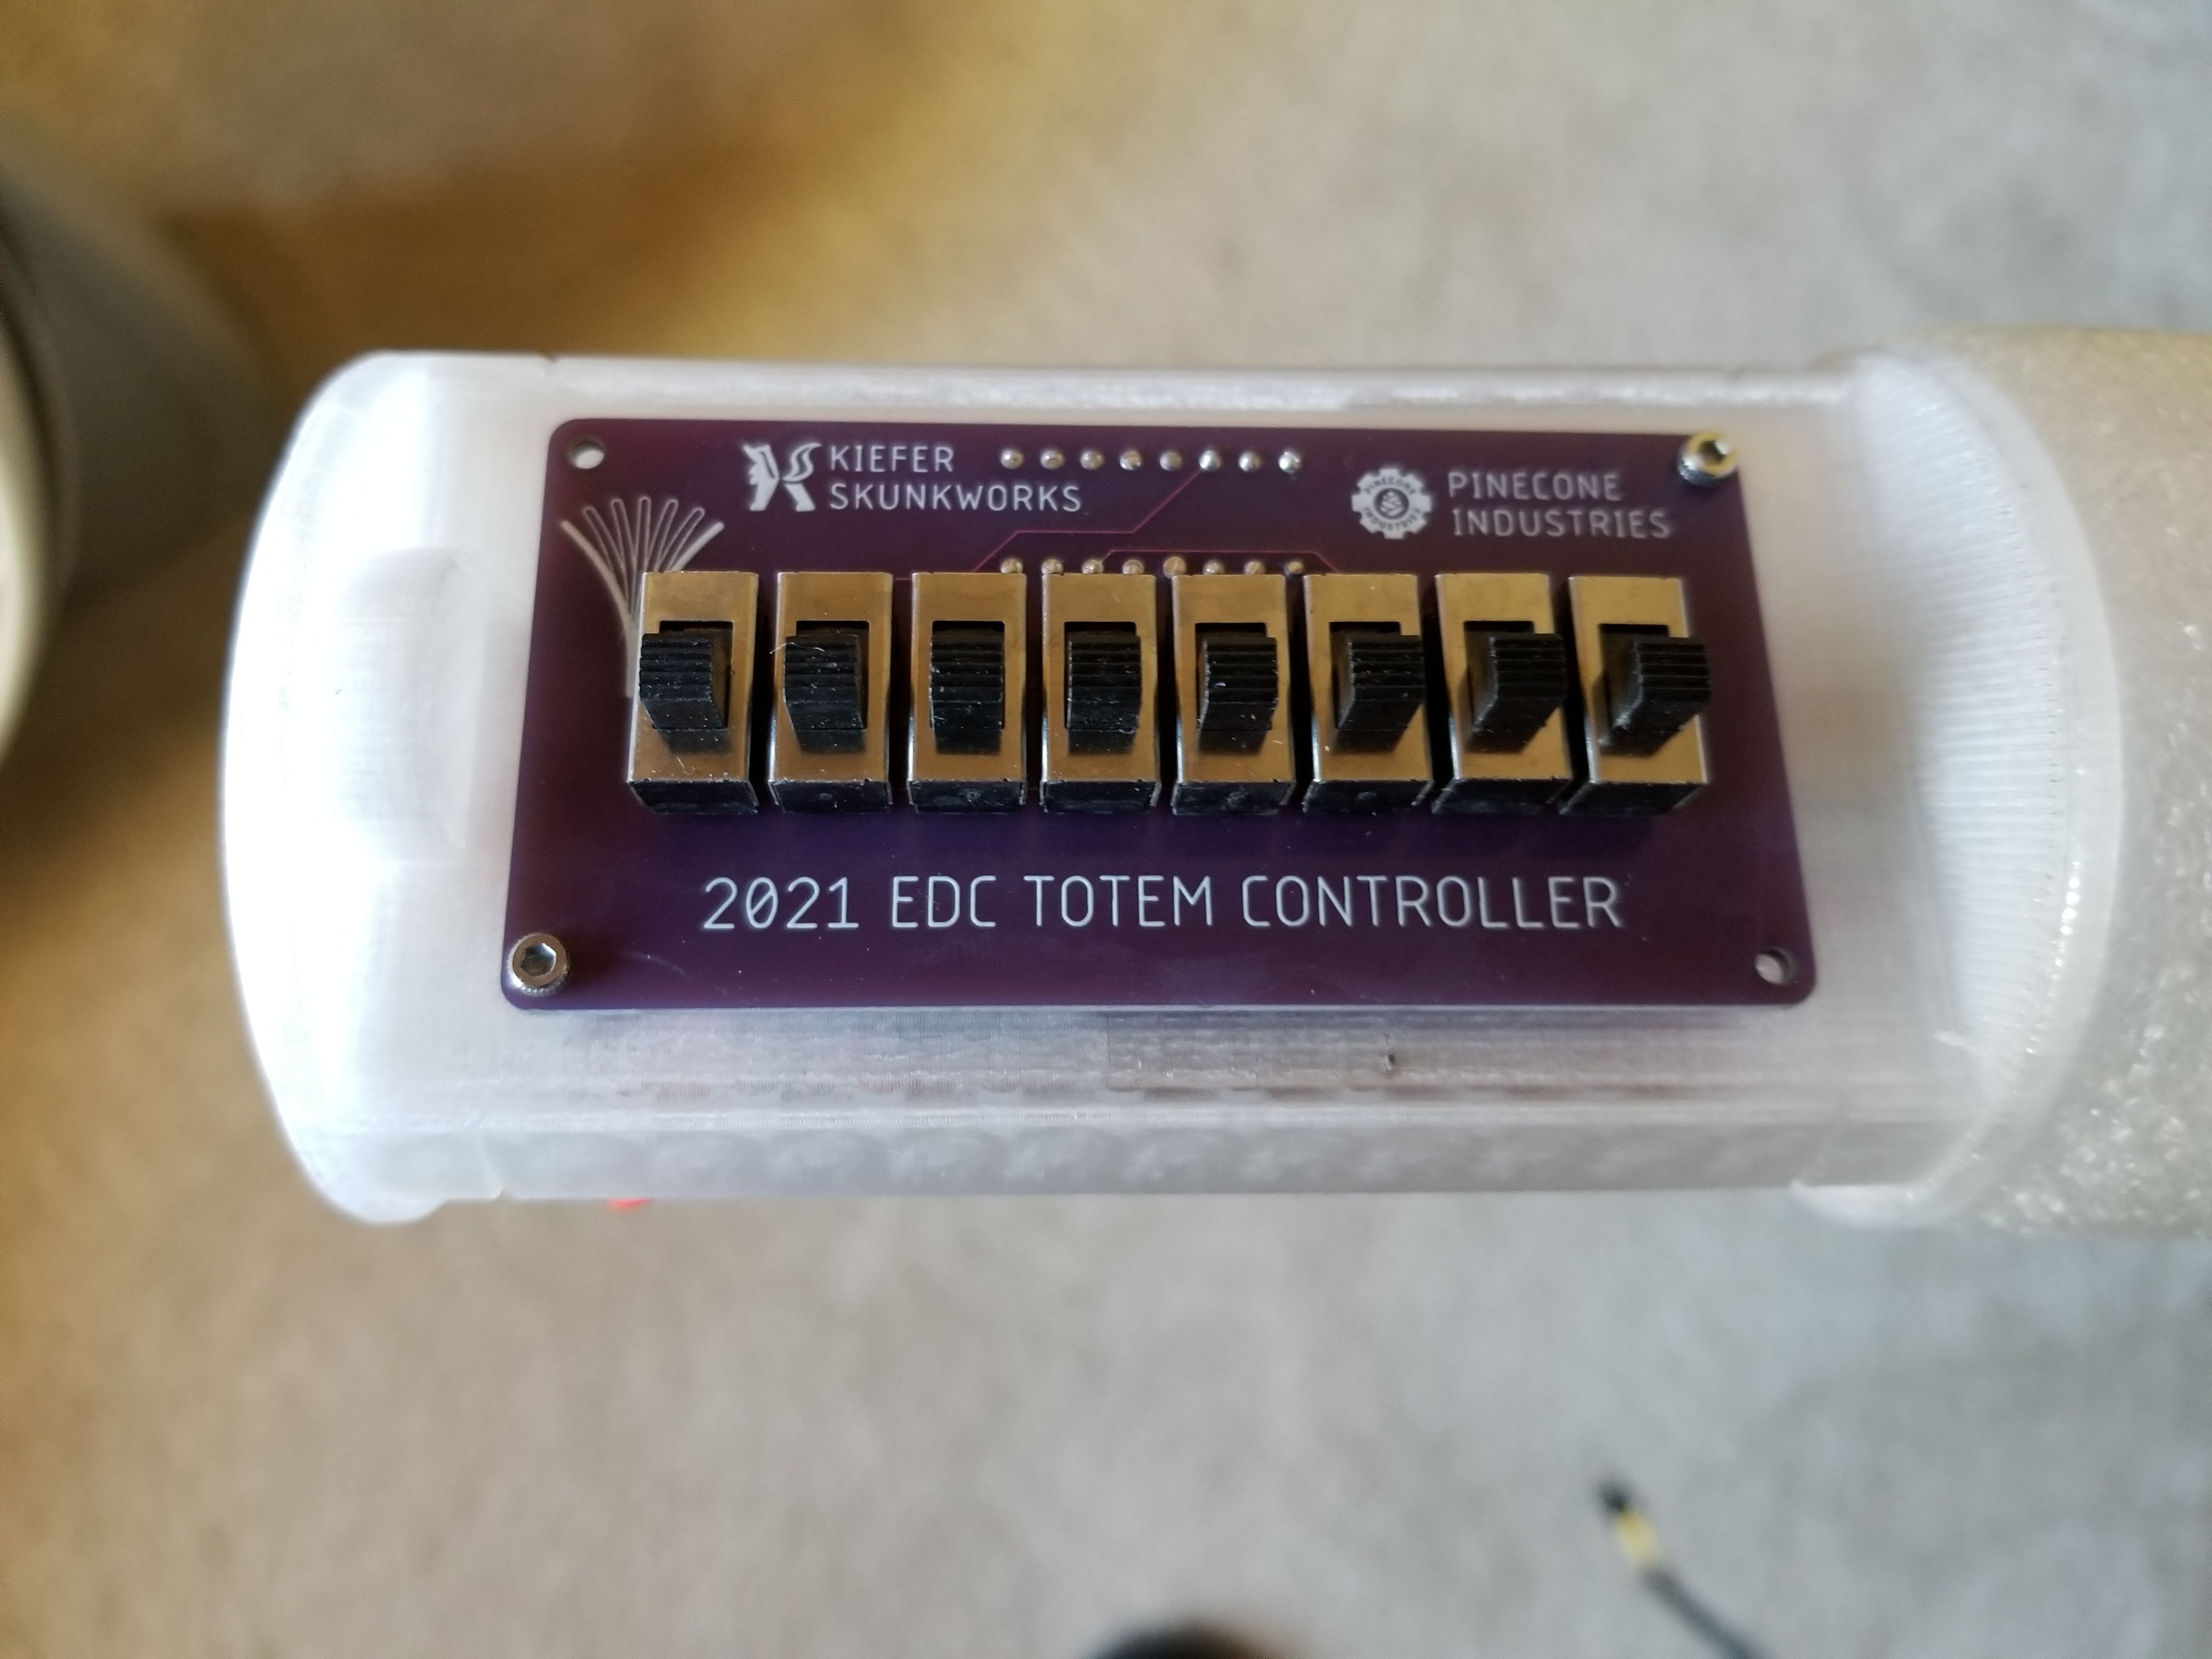
Custom PCBs
I decided I wanted this project to finally be the one where I create design boards and have a fabshop create them for me.
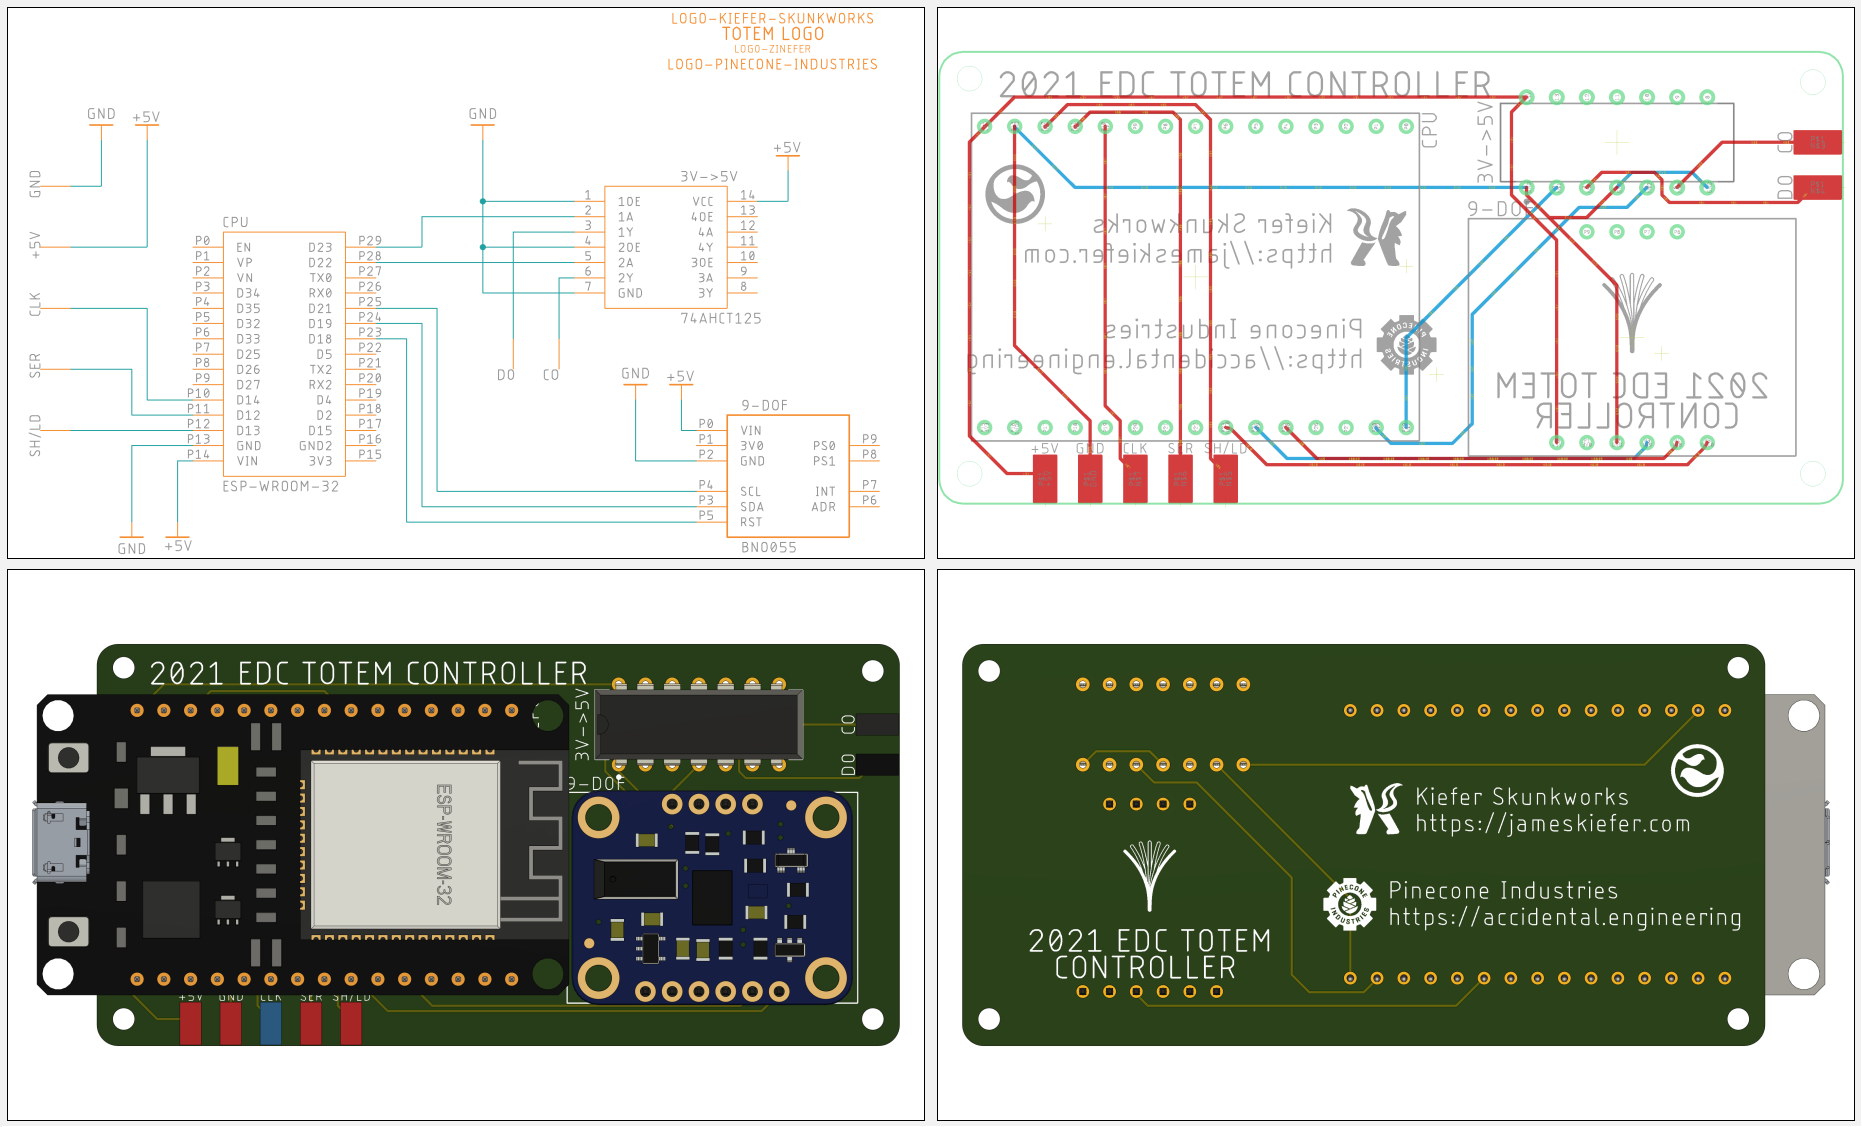
The controller board has a level-shifter to be able to communicate with the APA102s as well as a BNO055 Position sensor.
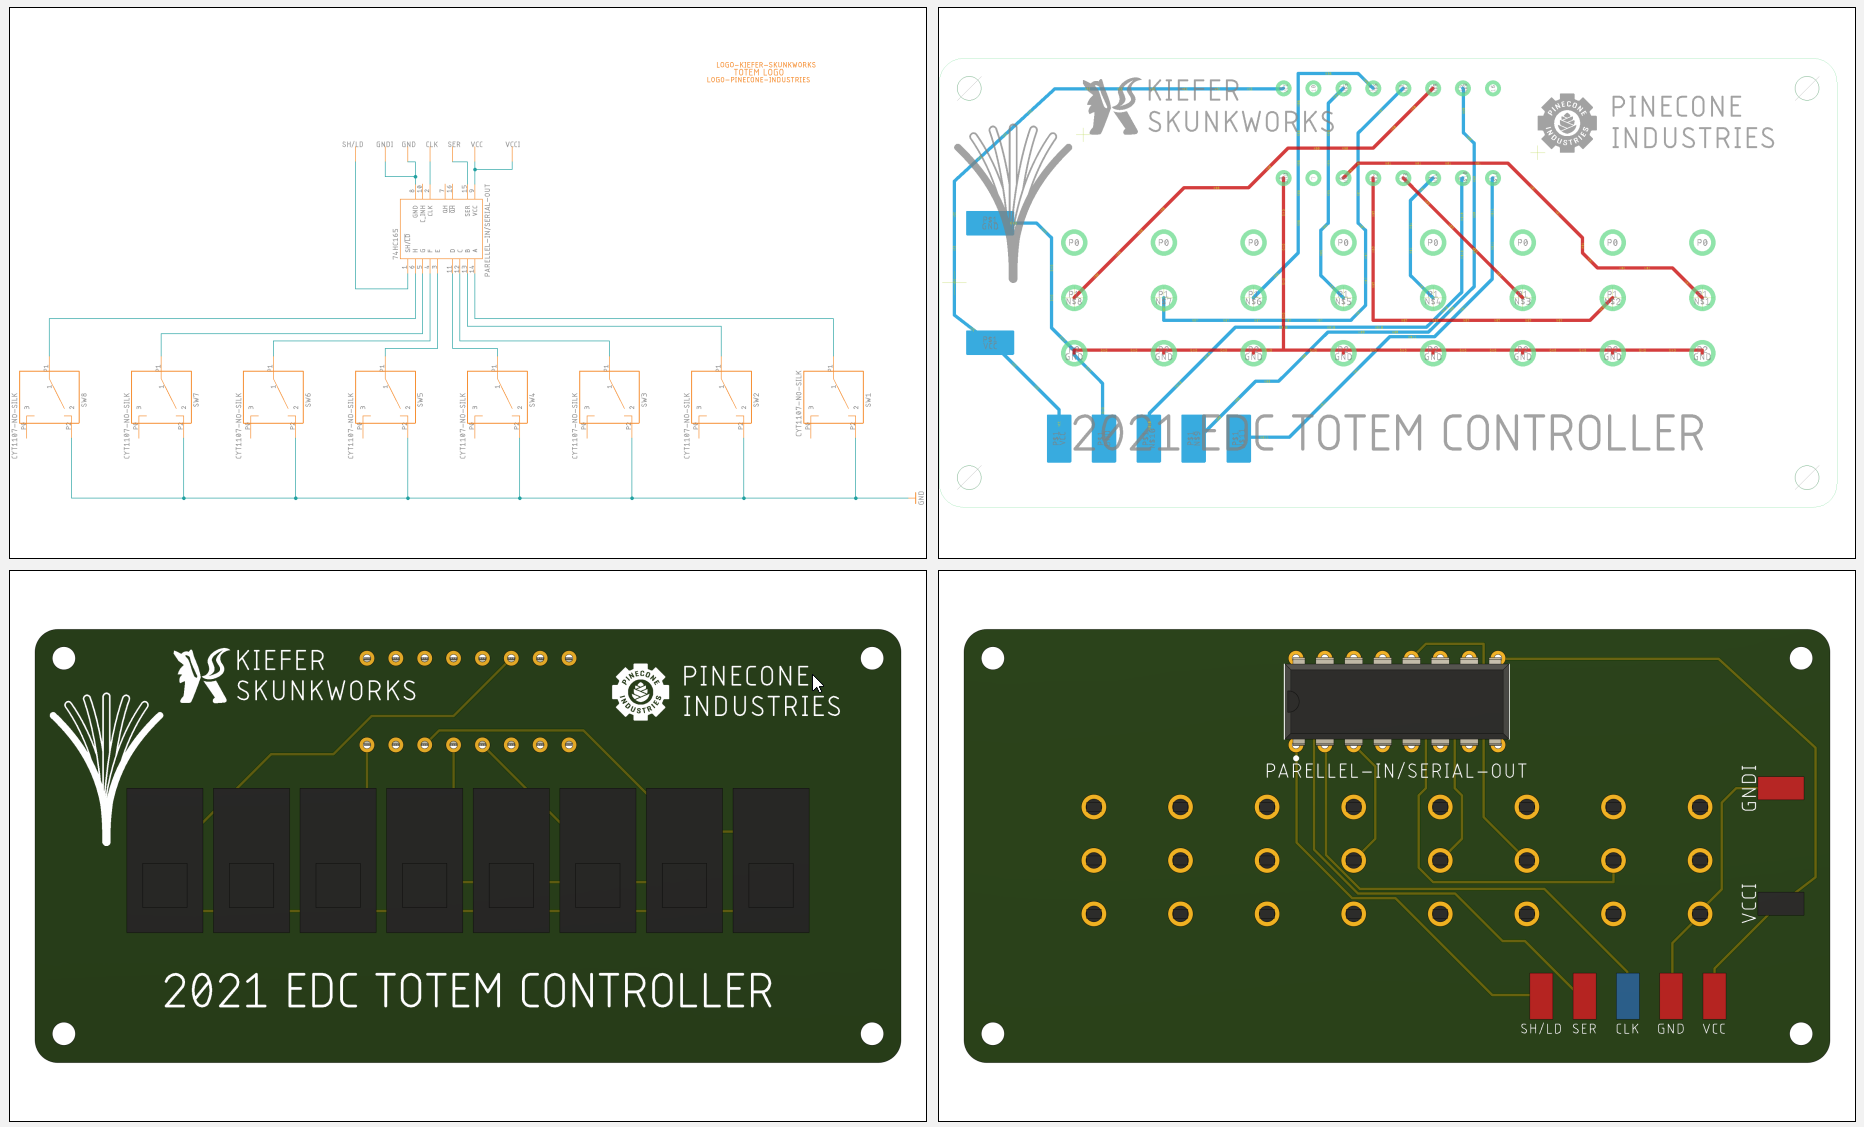
I also created an input board that has a parallel-shift-in to read from 3 position slide switches.
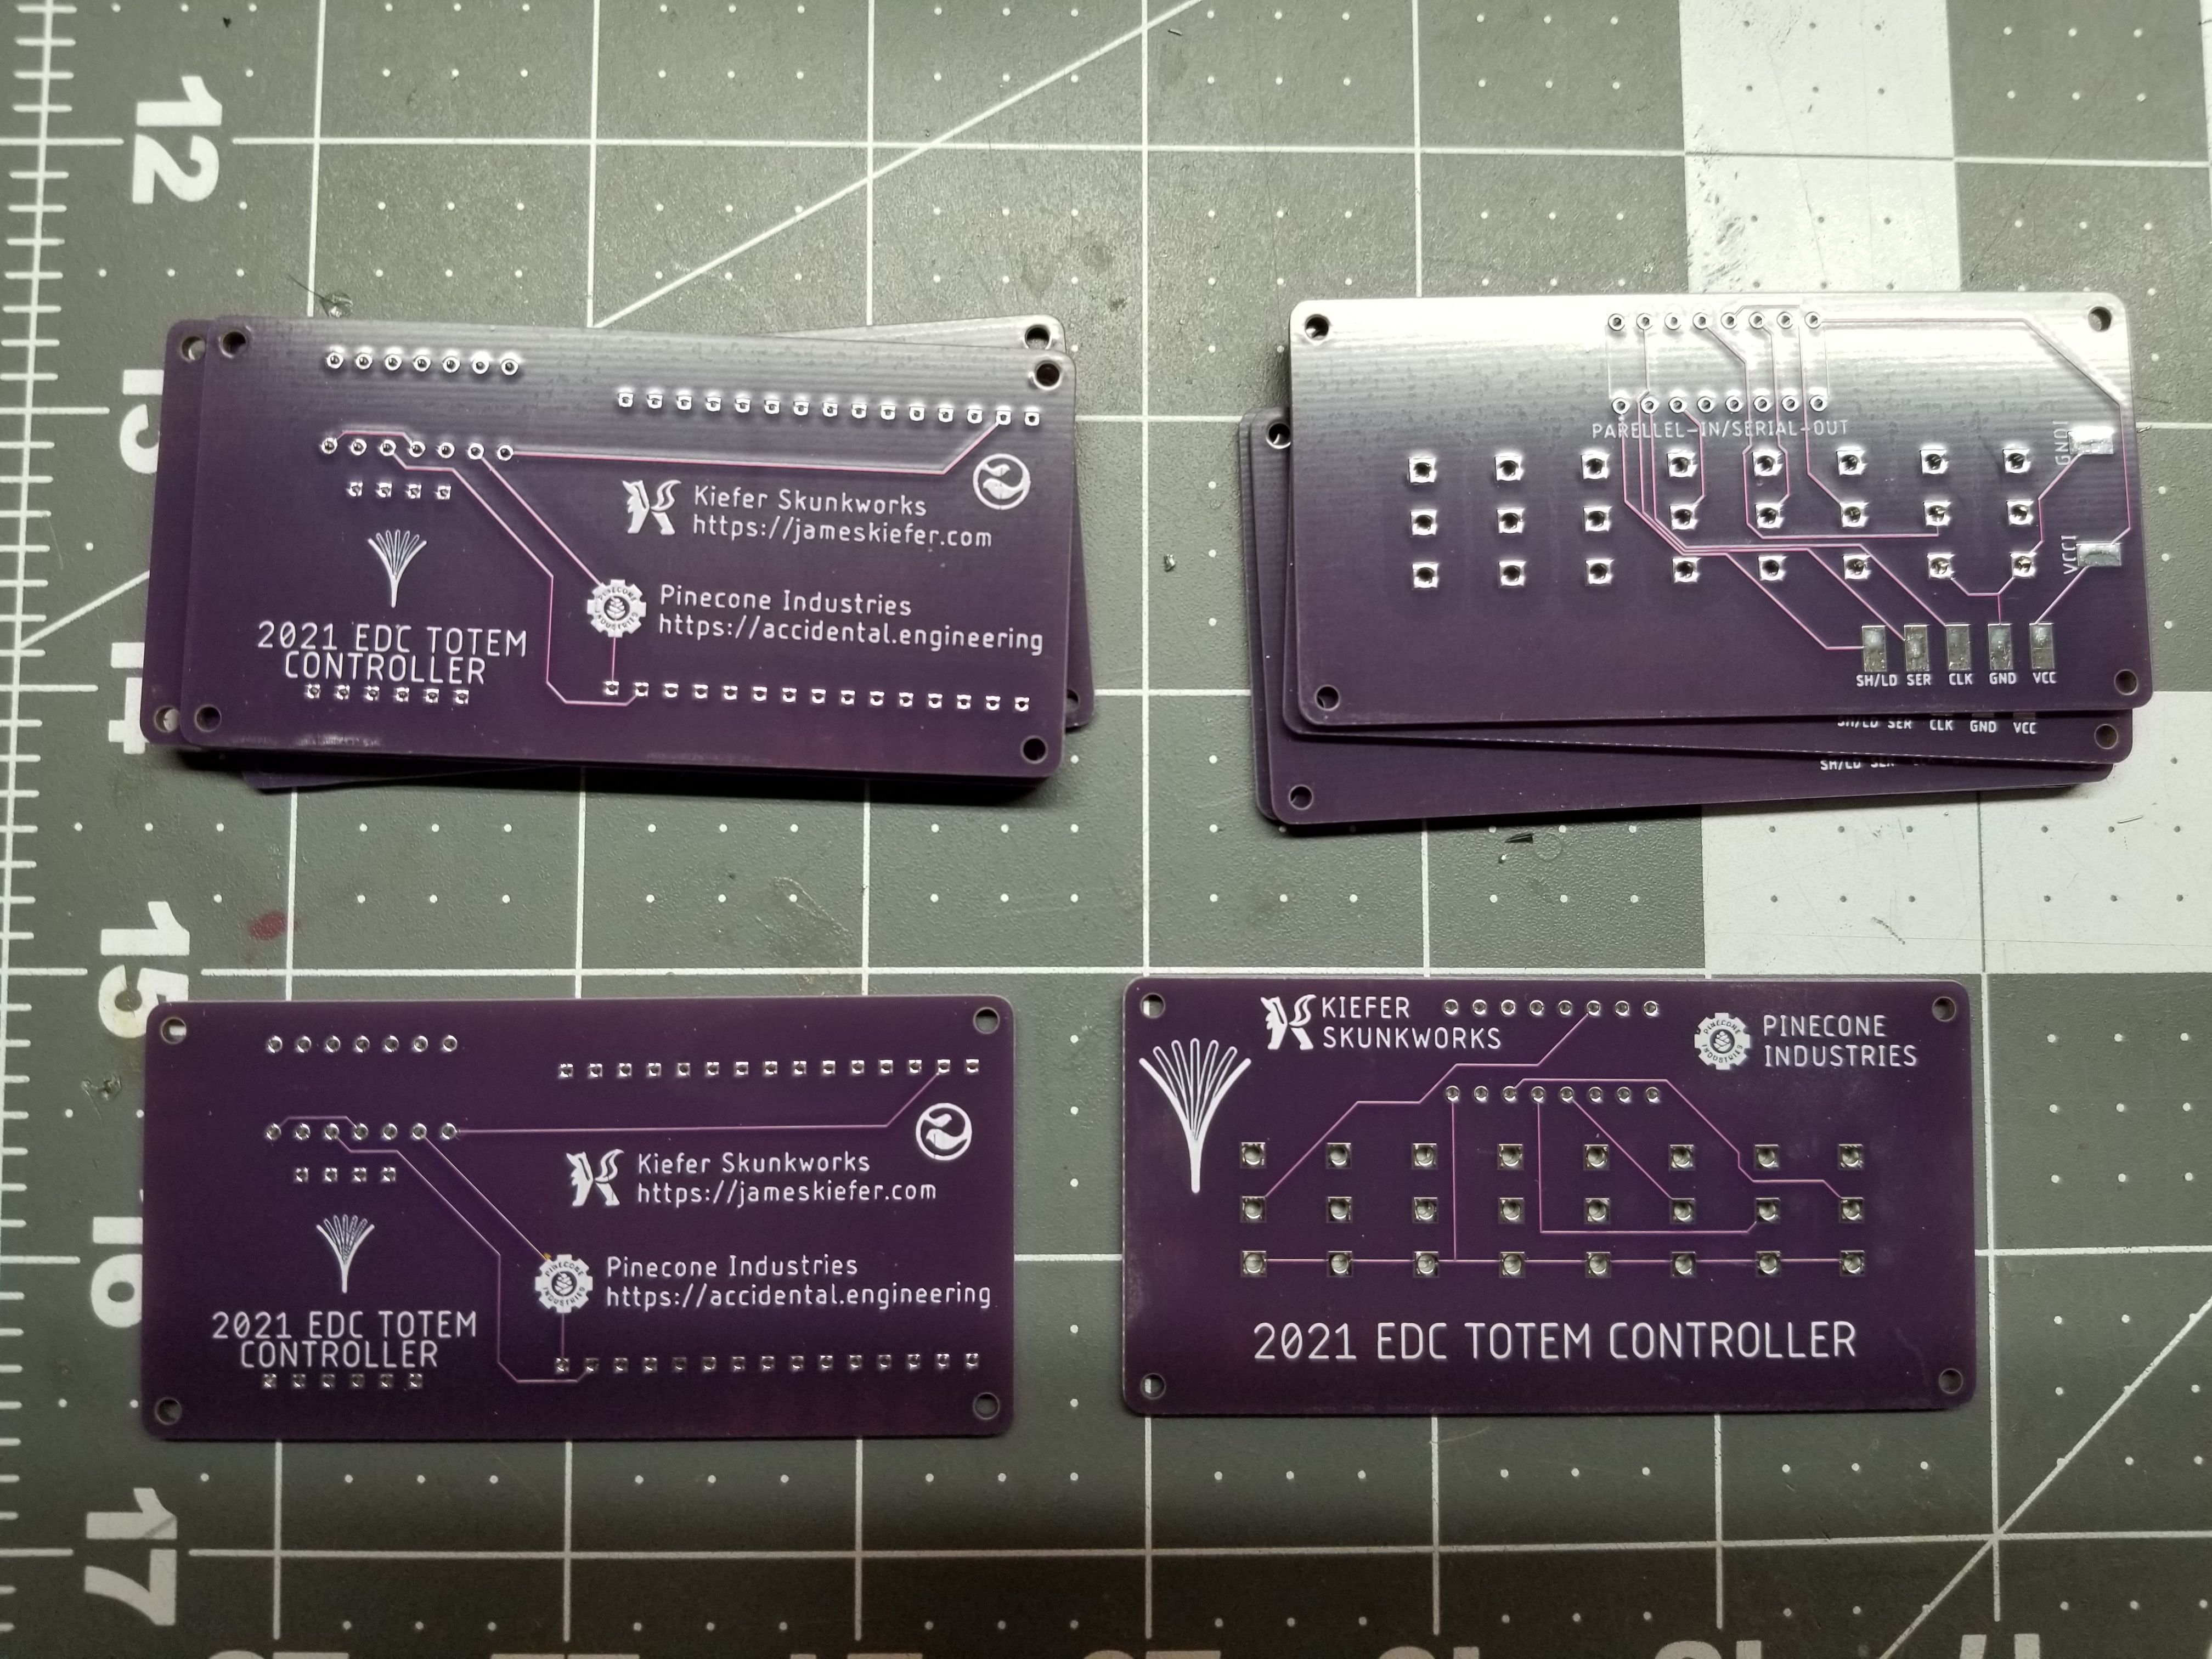
I was so happy to get the boards, but then I quickly realized I had sized pretty much every single pad hole smaller than the component’s legs. I panicked and immediately fixed the GERBERS and sent them back off to the fab shop. This was about a week before we had to leave, so I started on a new plan to use the laser and some acid to try to etch my own.
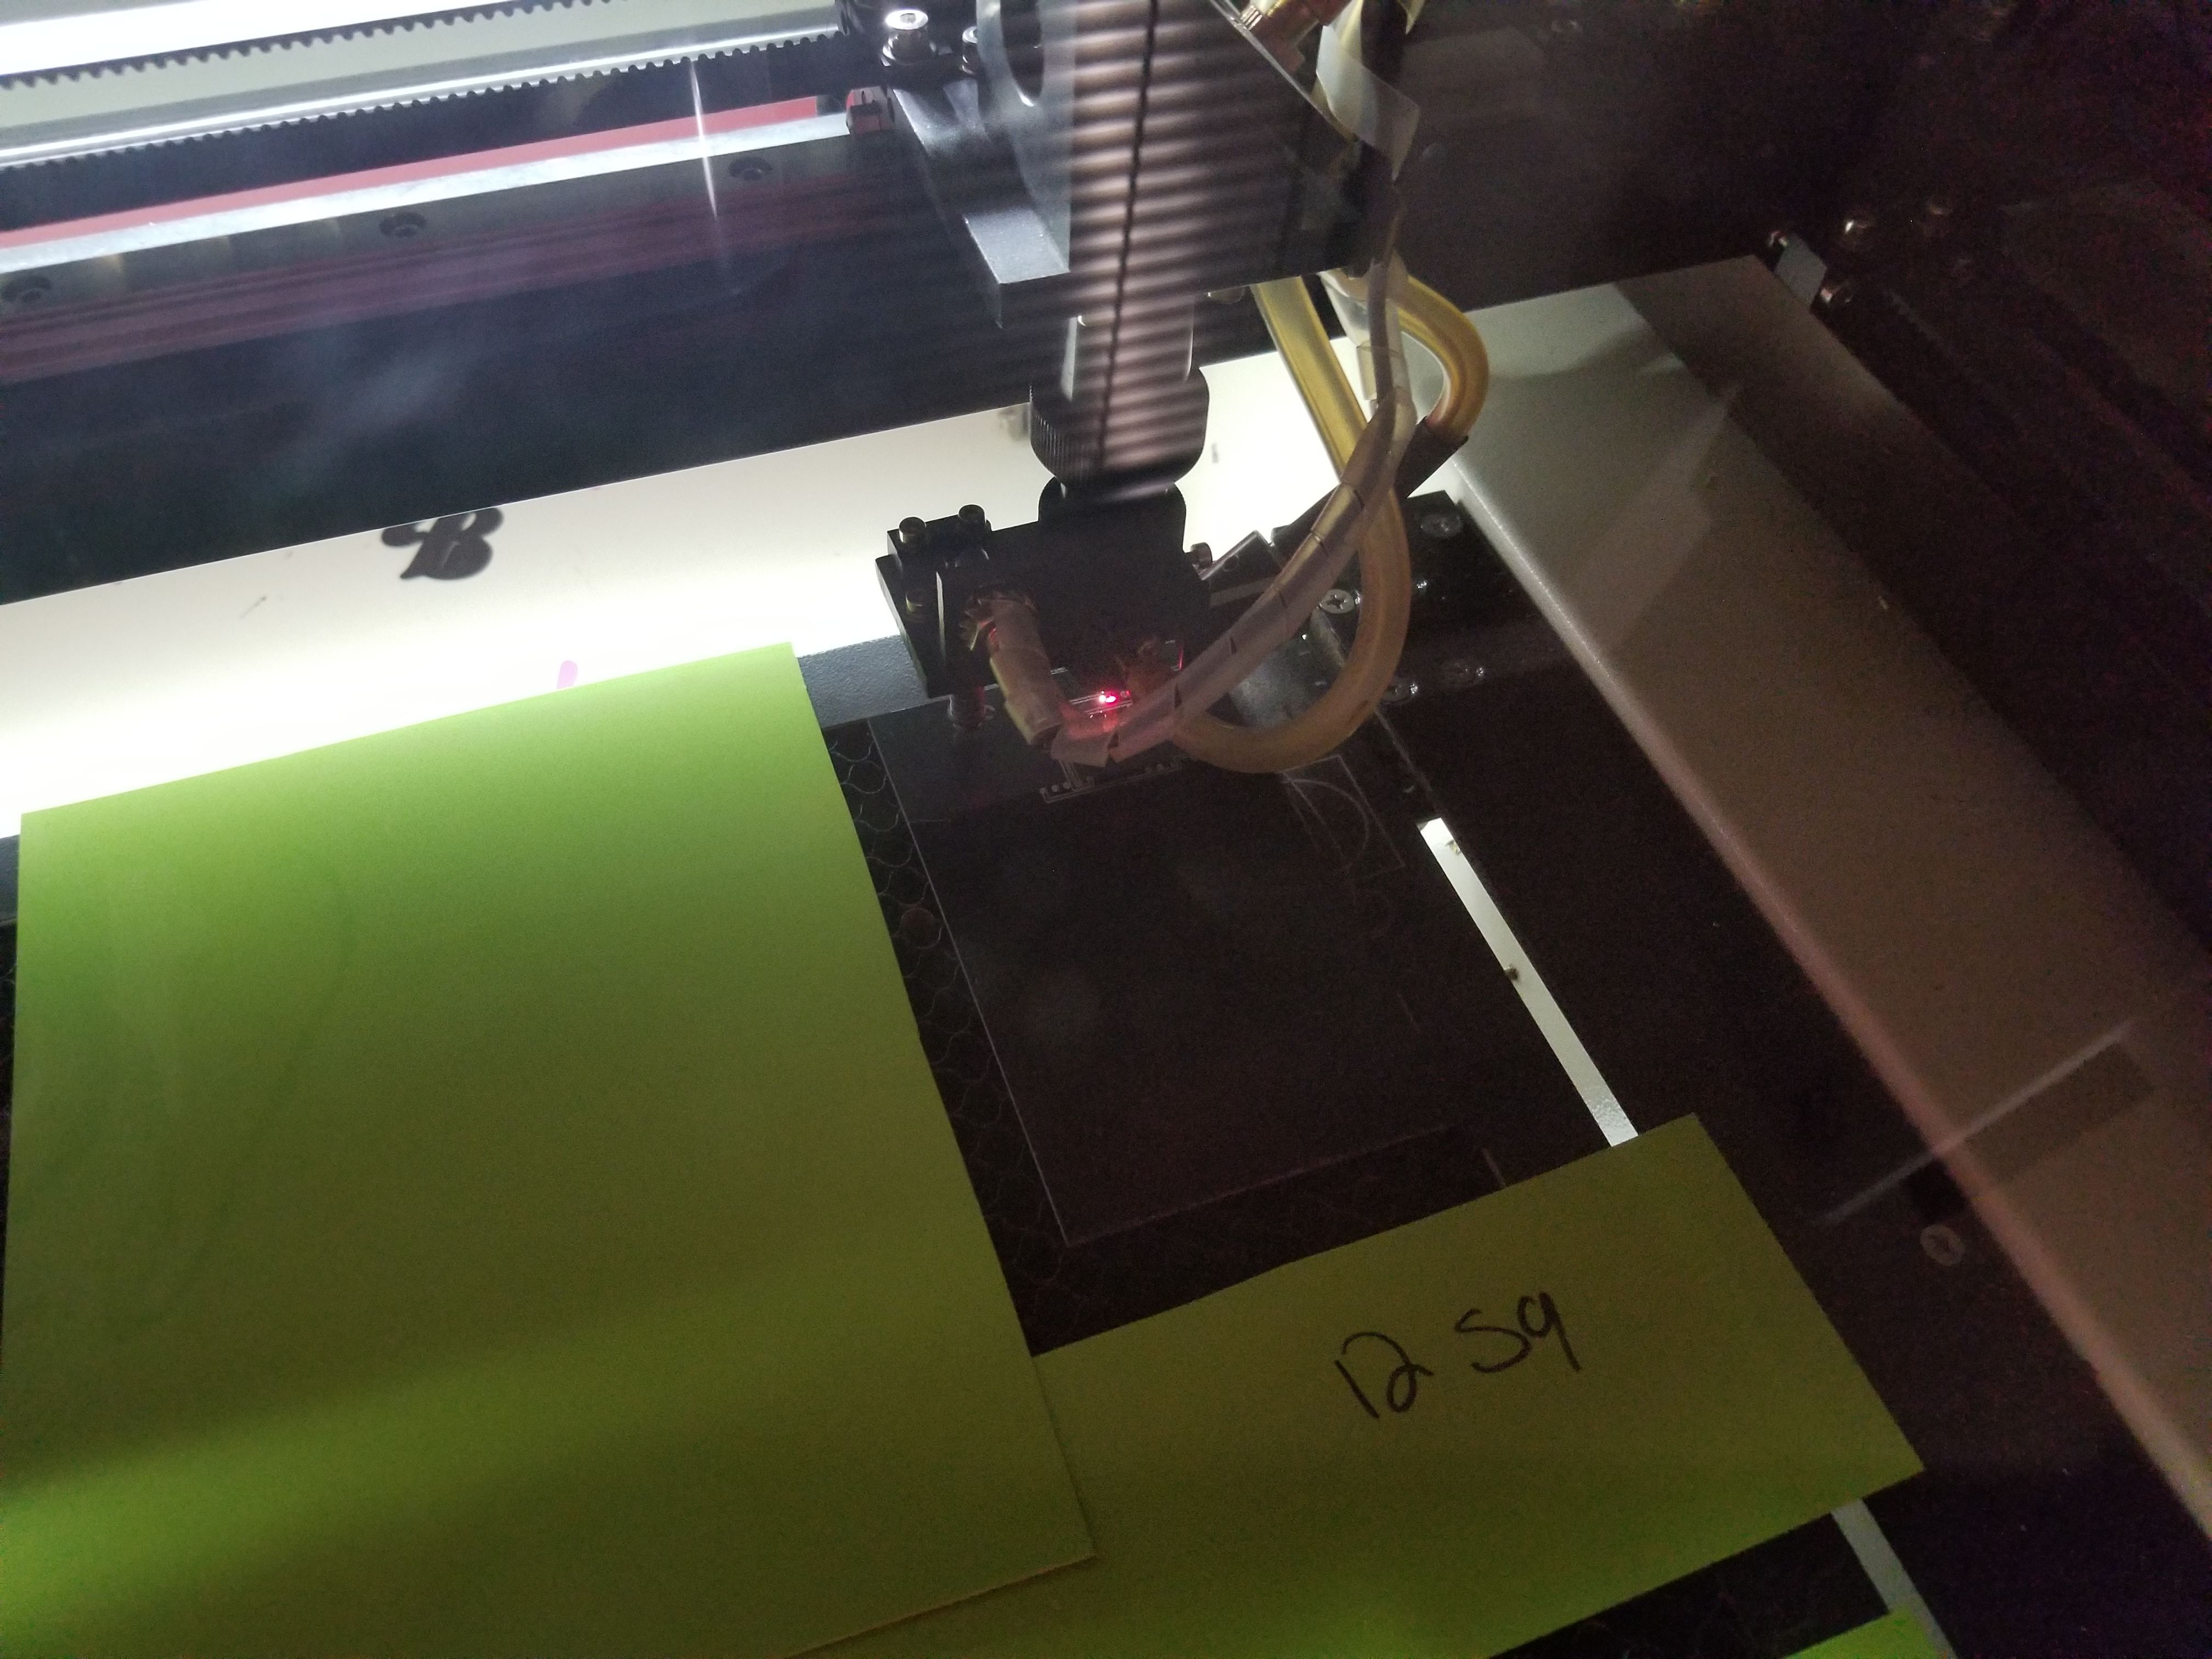
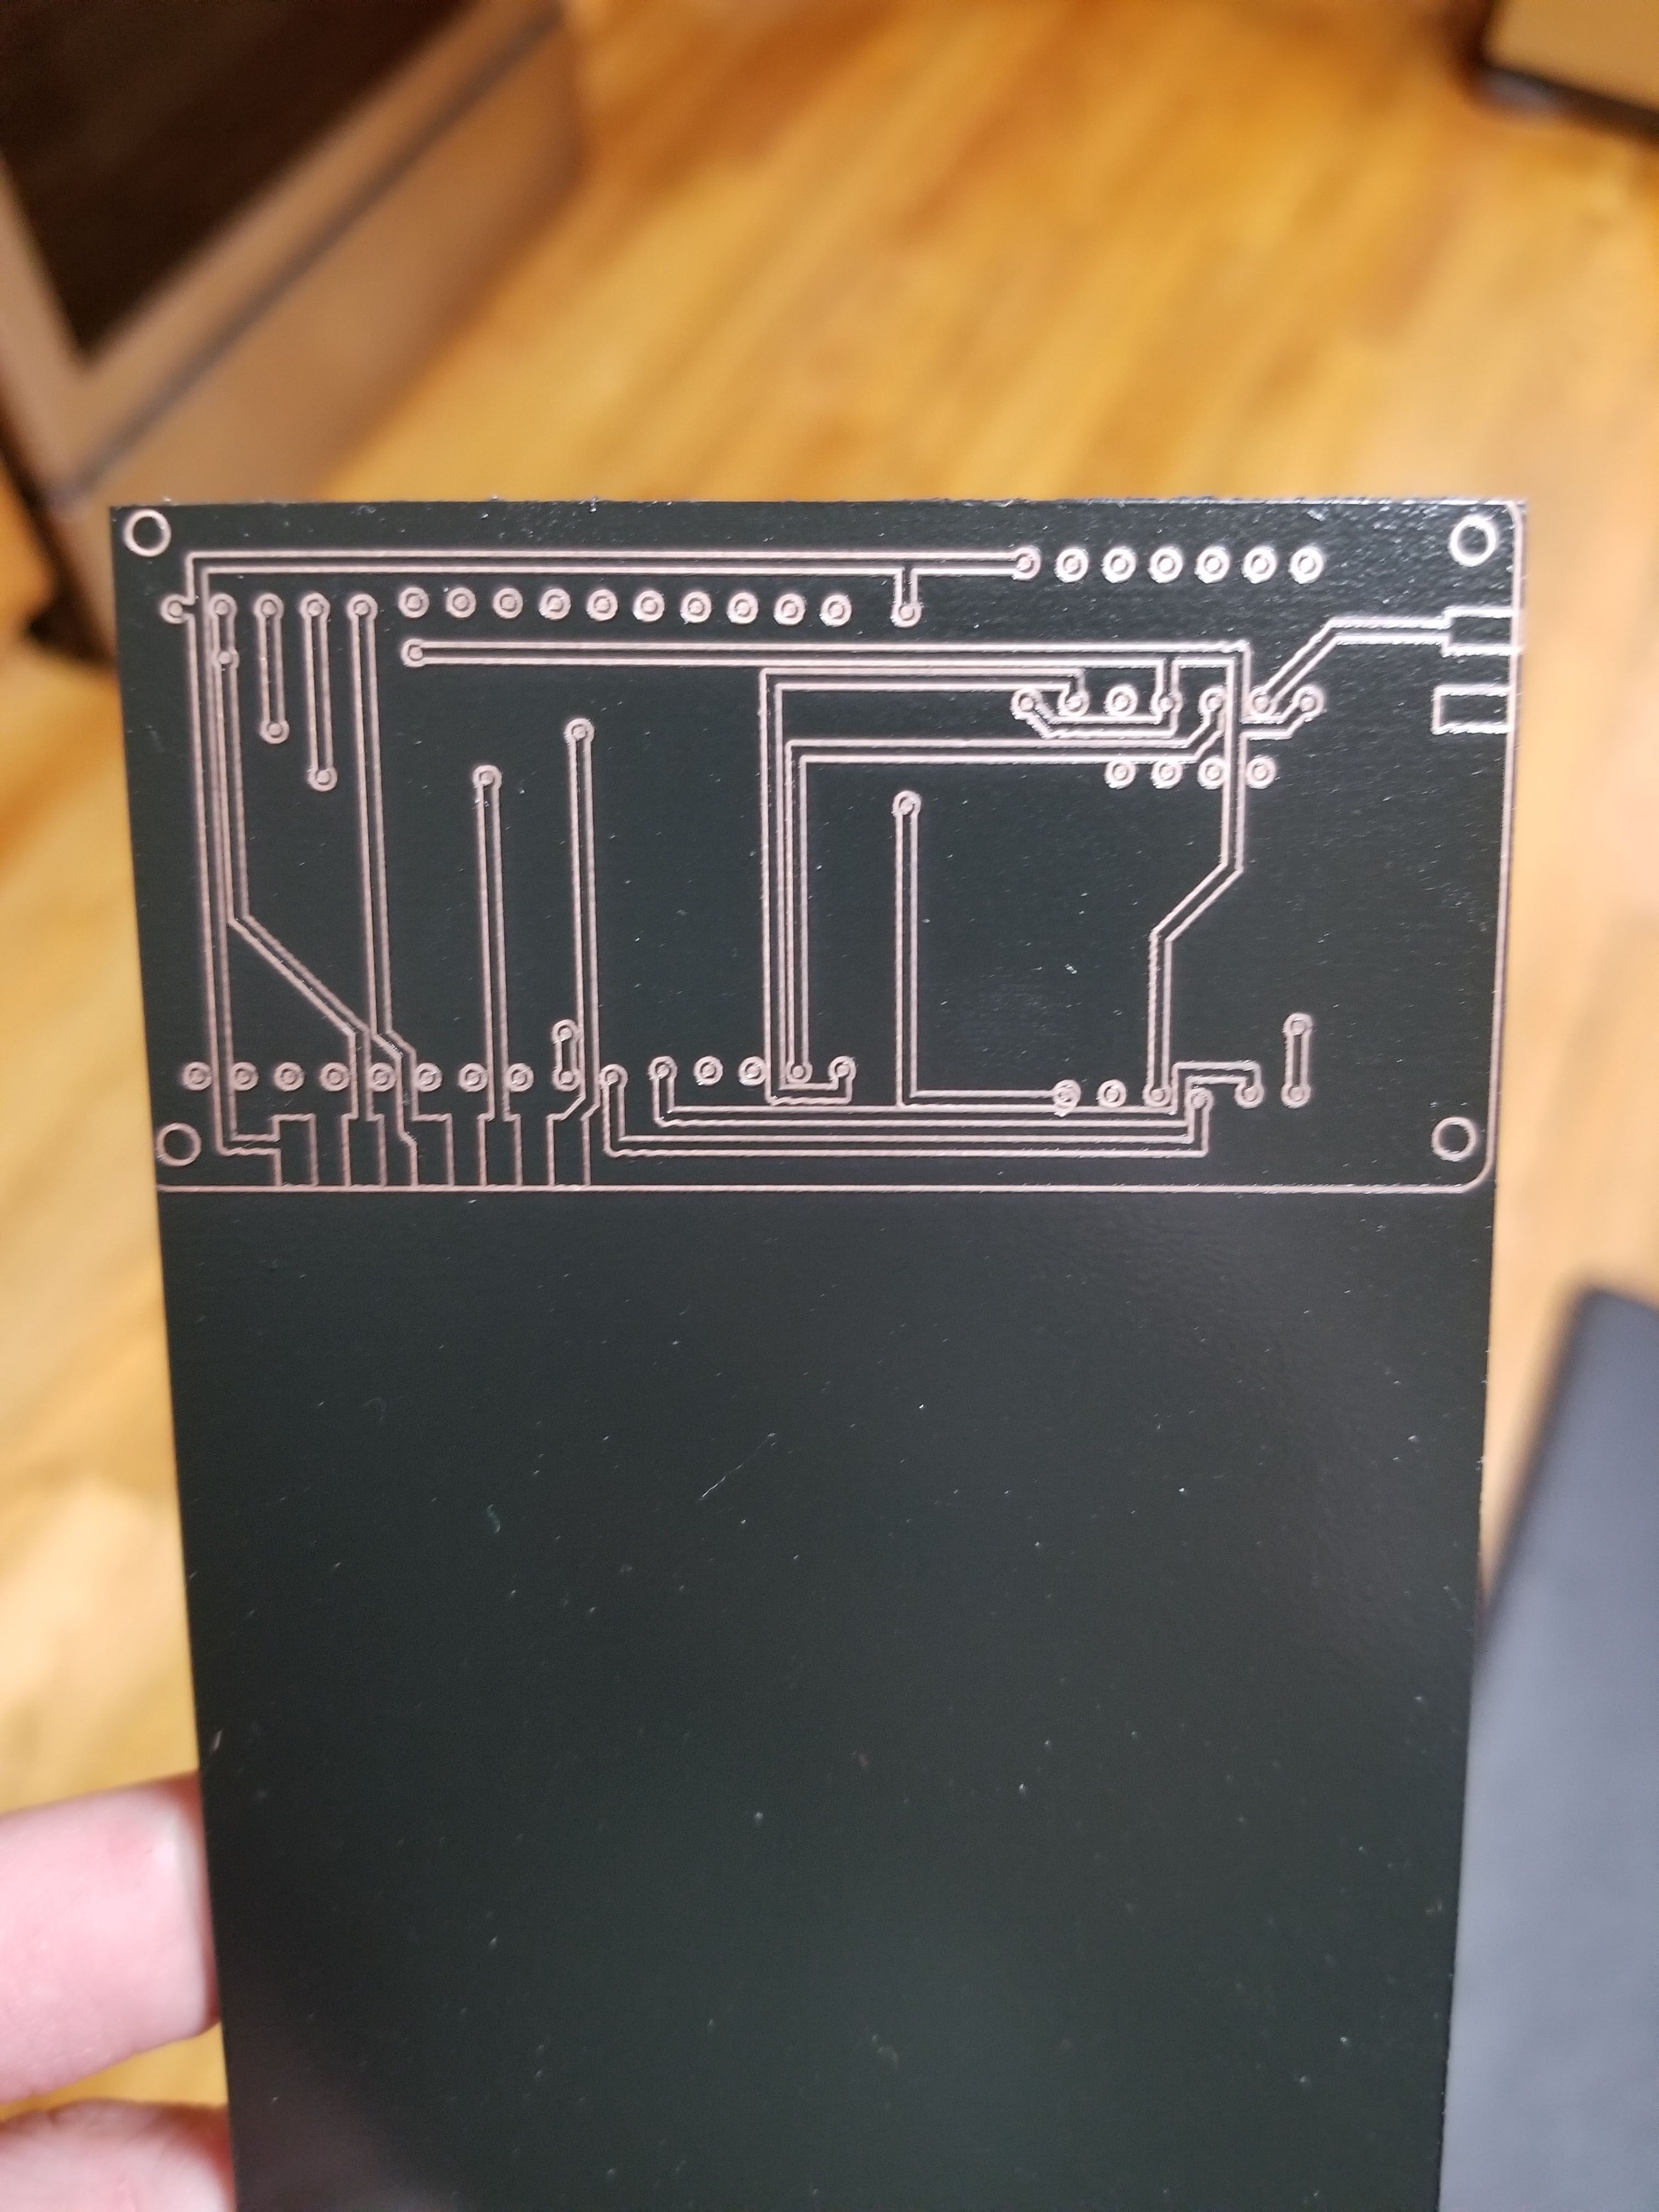
It’s actually a simple process: get a copper blank and give it a nice, even coat with a spray primer. Since we’ll be creating our mask with the laser we probably don’t want a high heat paint, but I have not tested it.
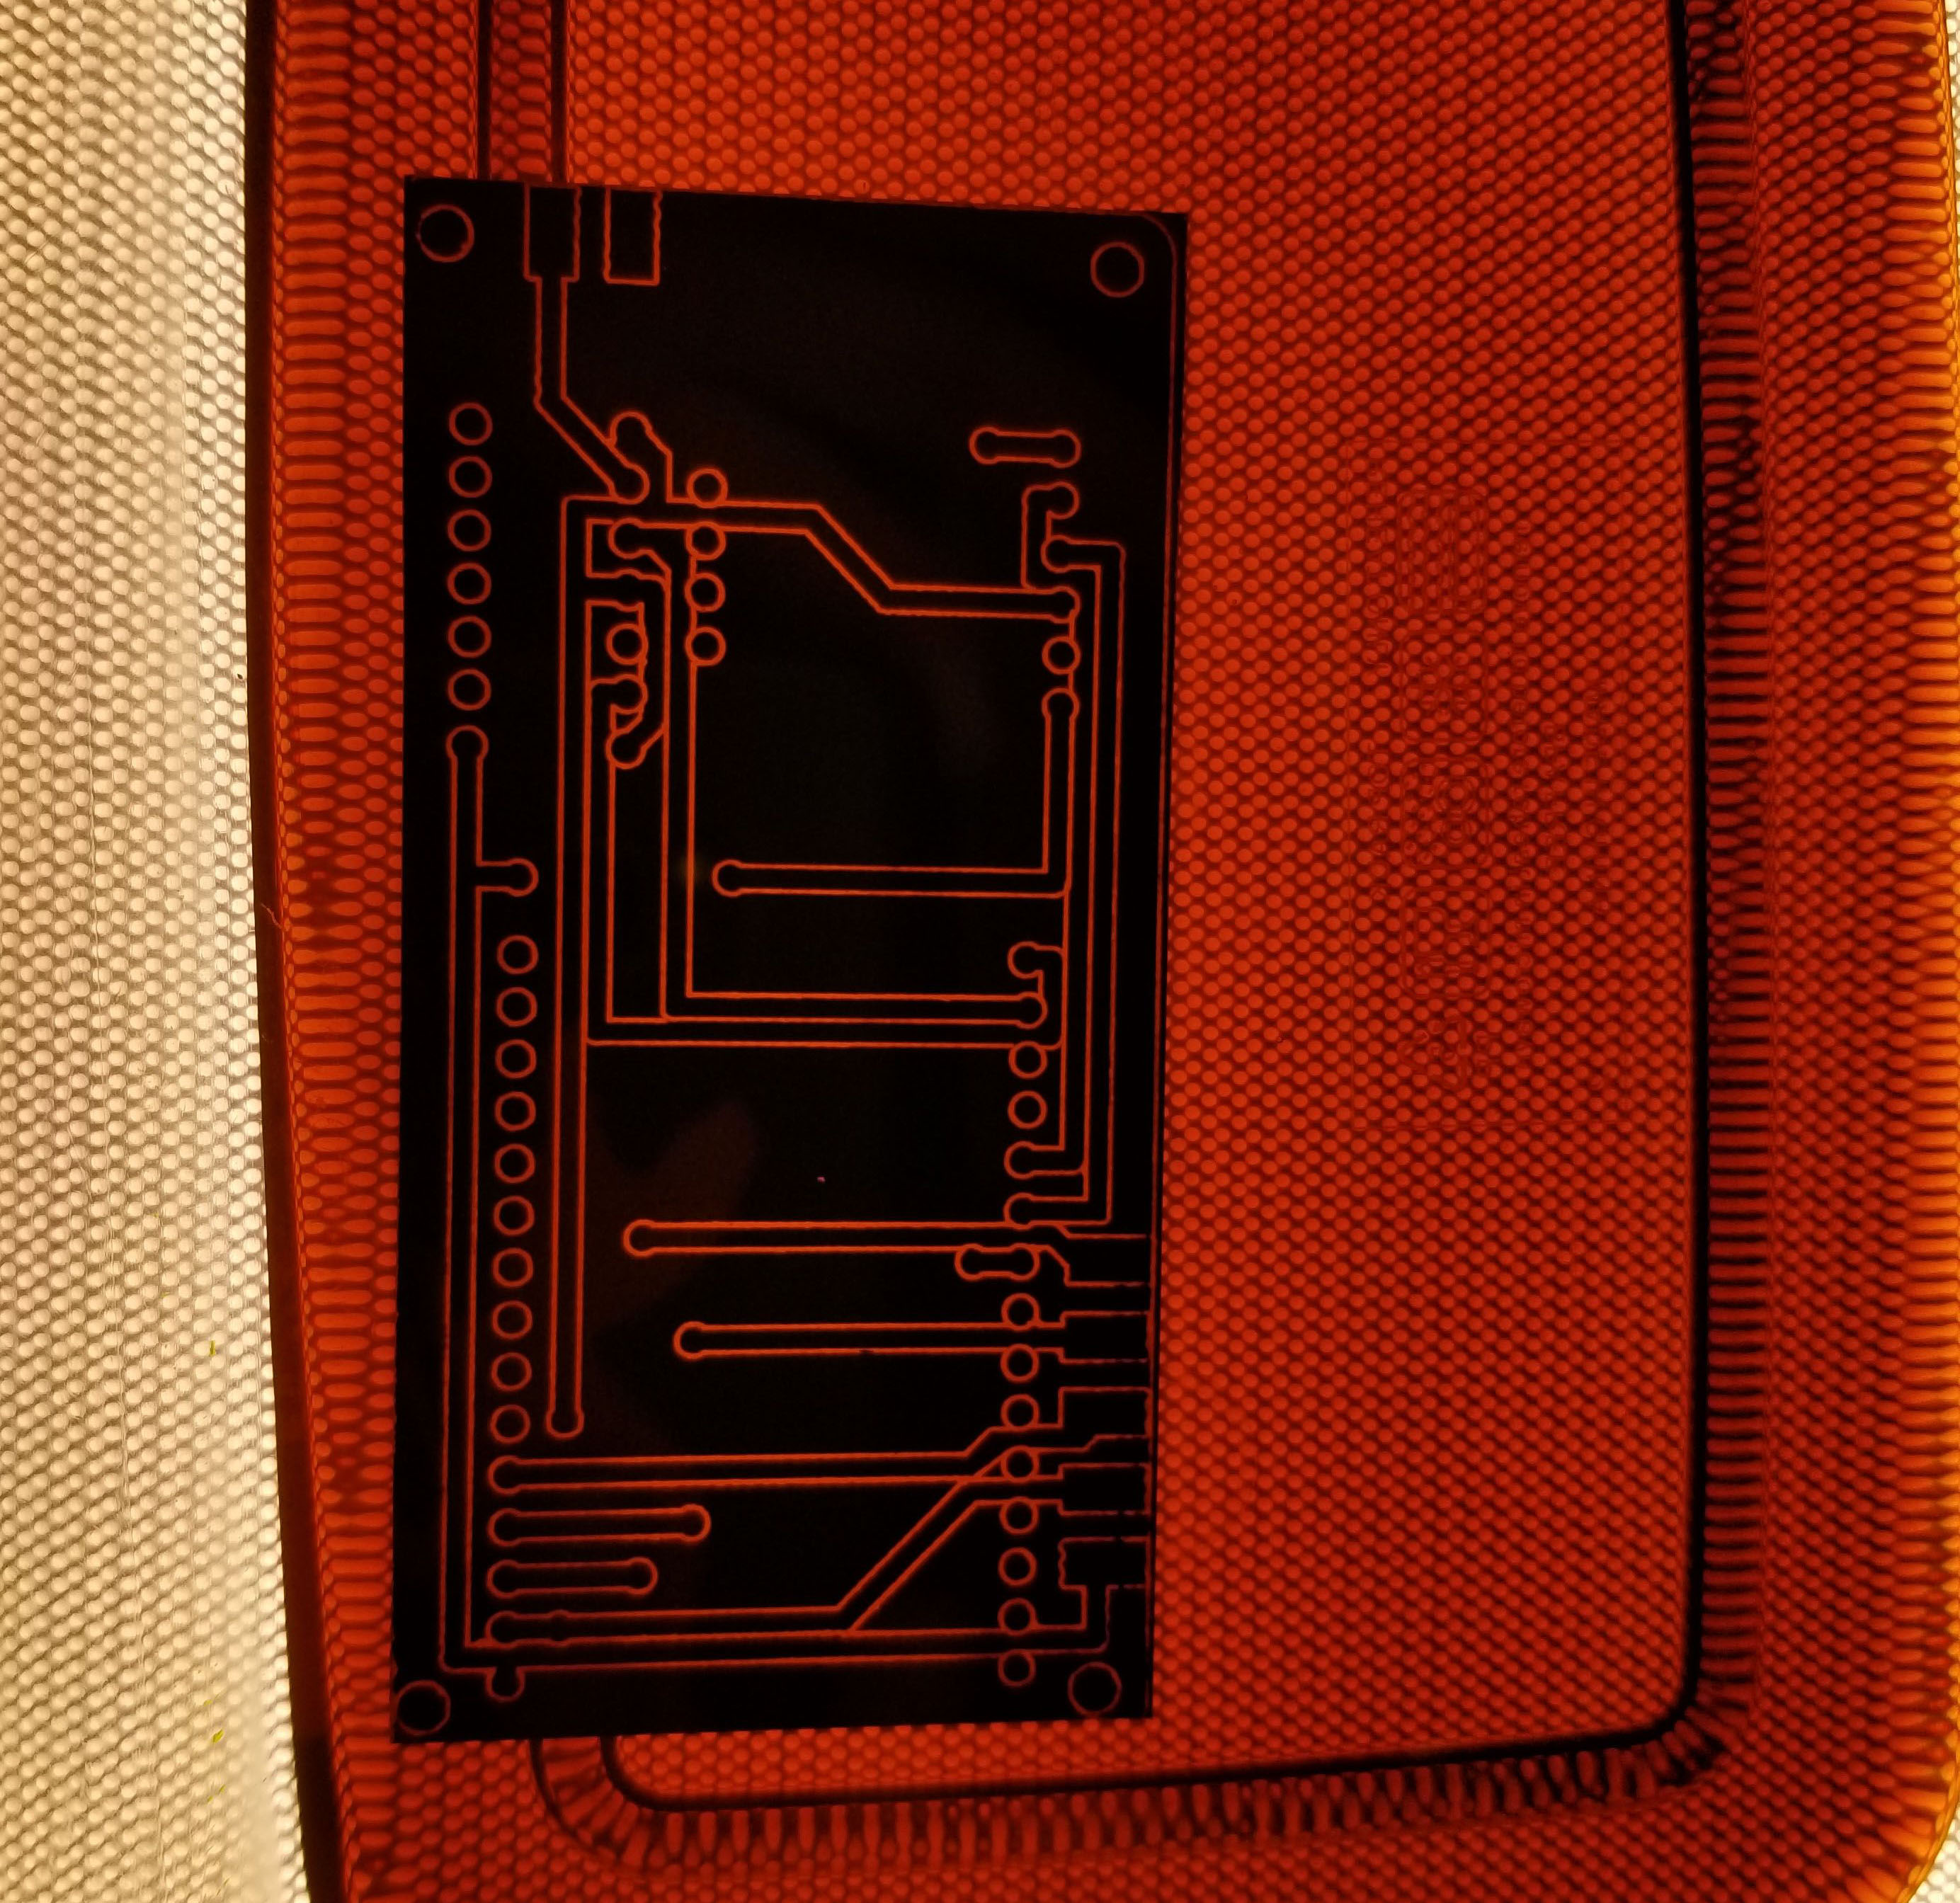
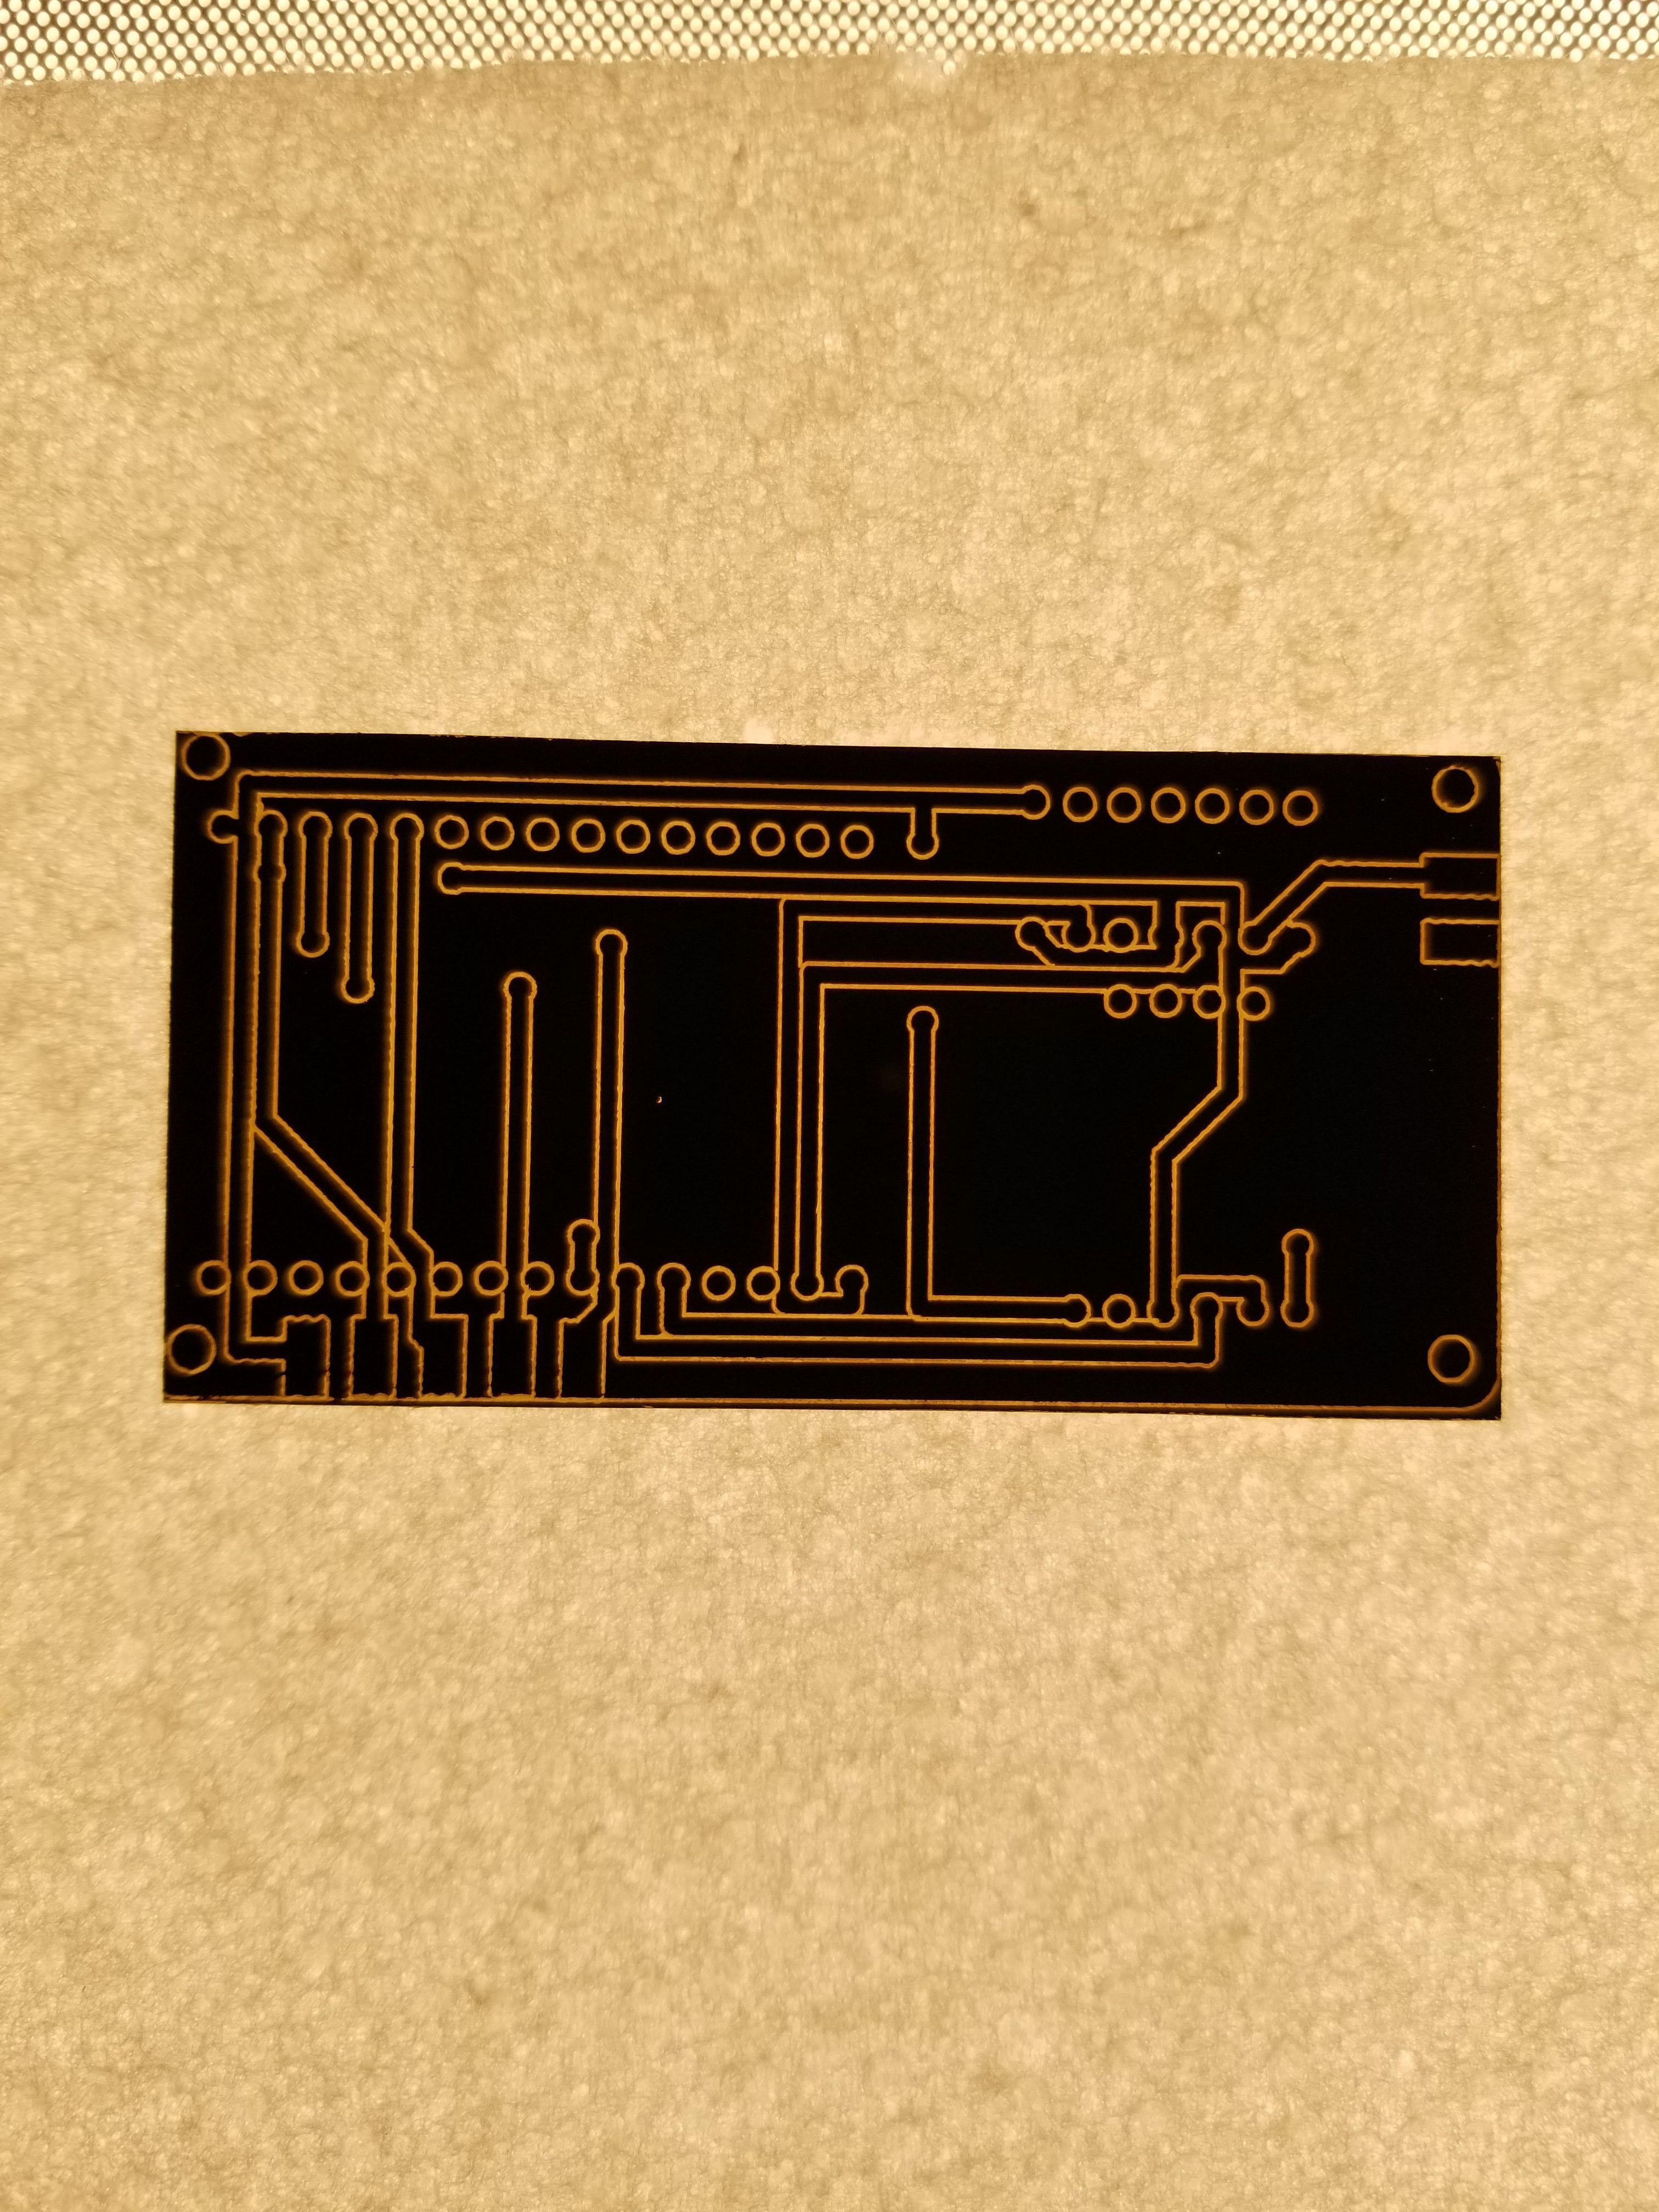
Once the mask is created just submerge it in some Ferric Chloride acid. I suggest using a clear bottom container and placing it ontop of a nice even backlight. The acid will remove any exposed copper and you’ll begin to see the light shining through. Then it’s just a matter of waiting for all of your traces to be nicely separated.
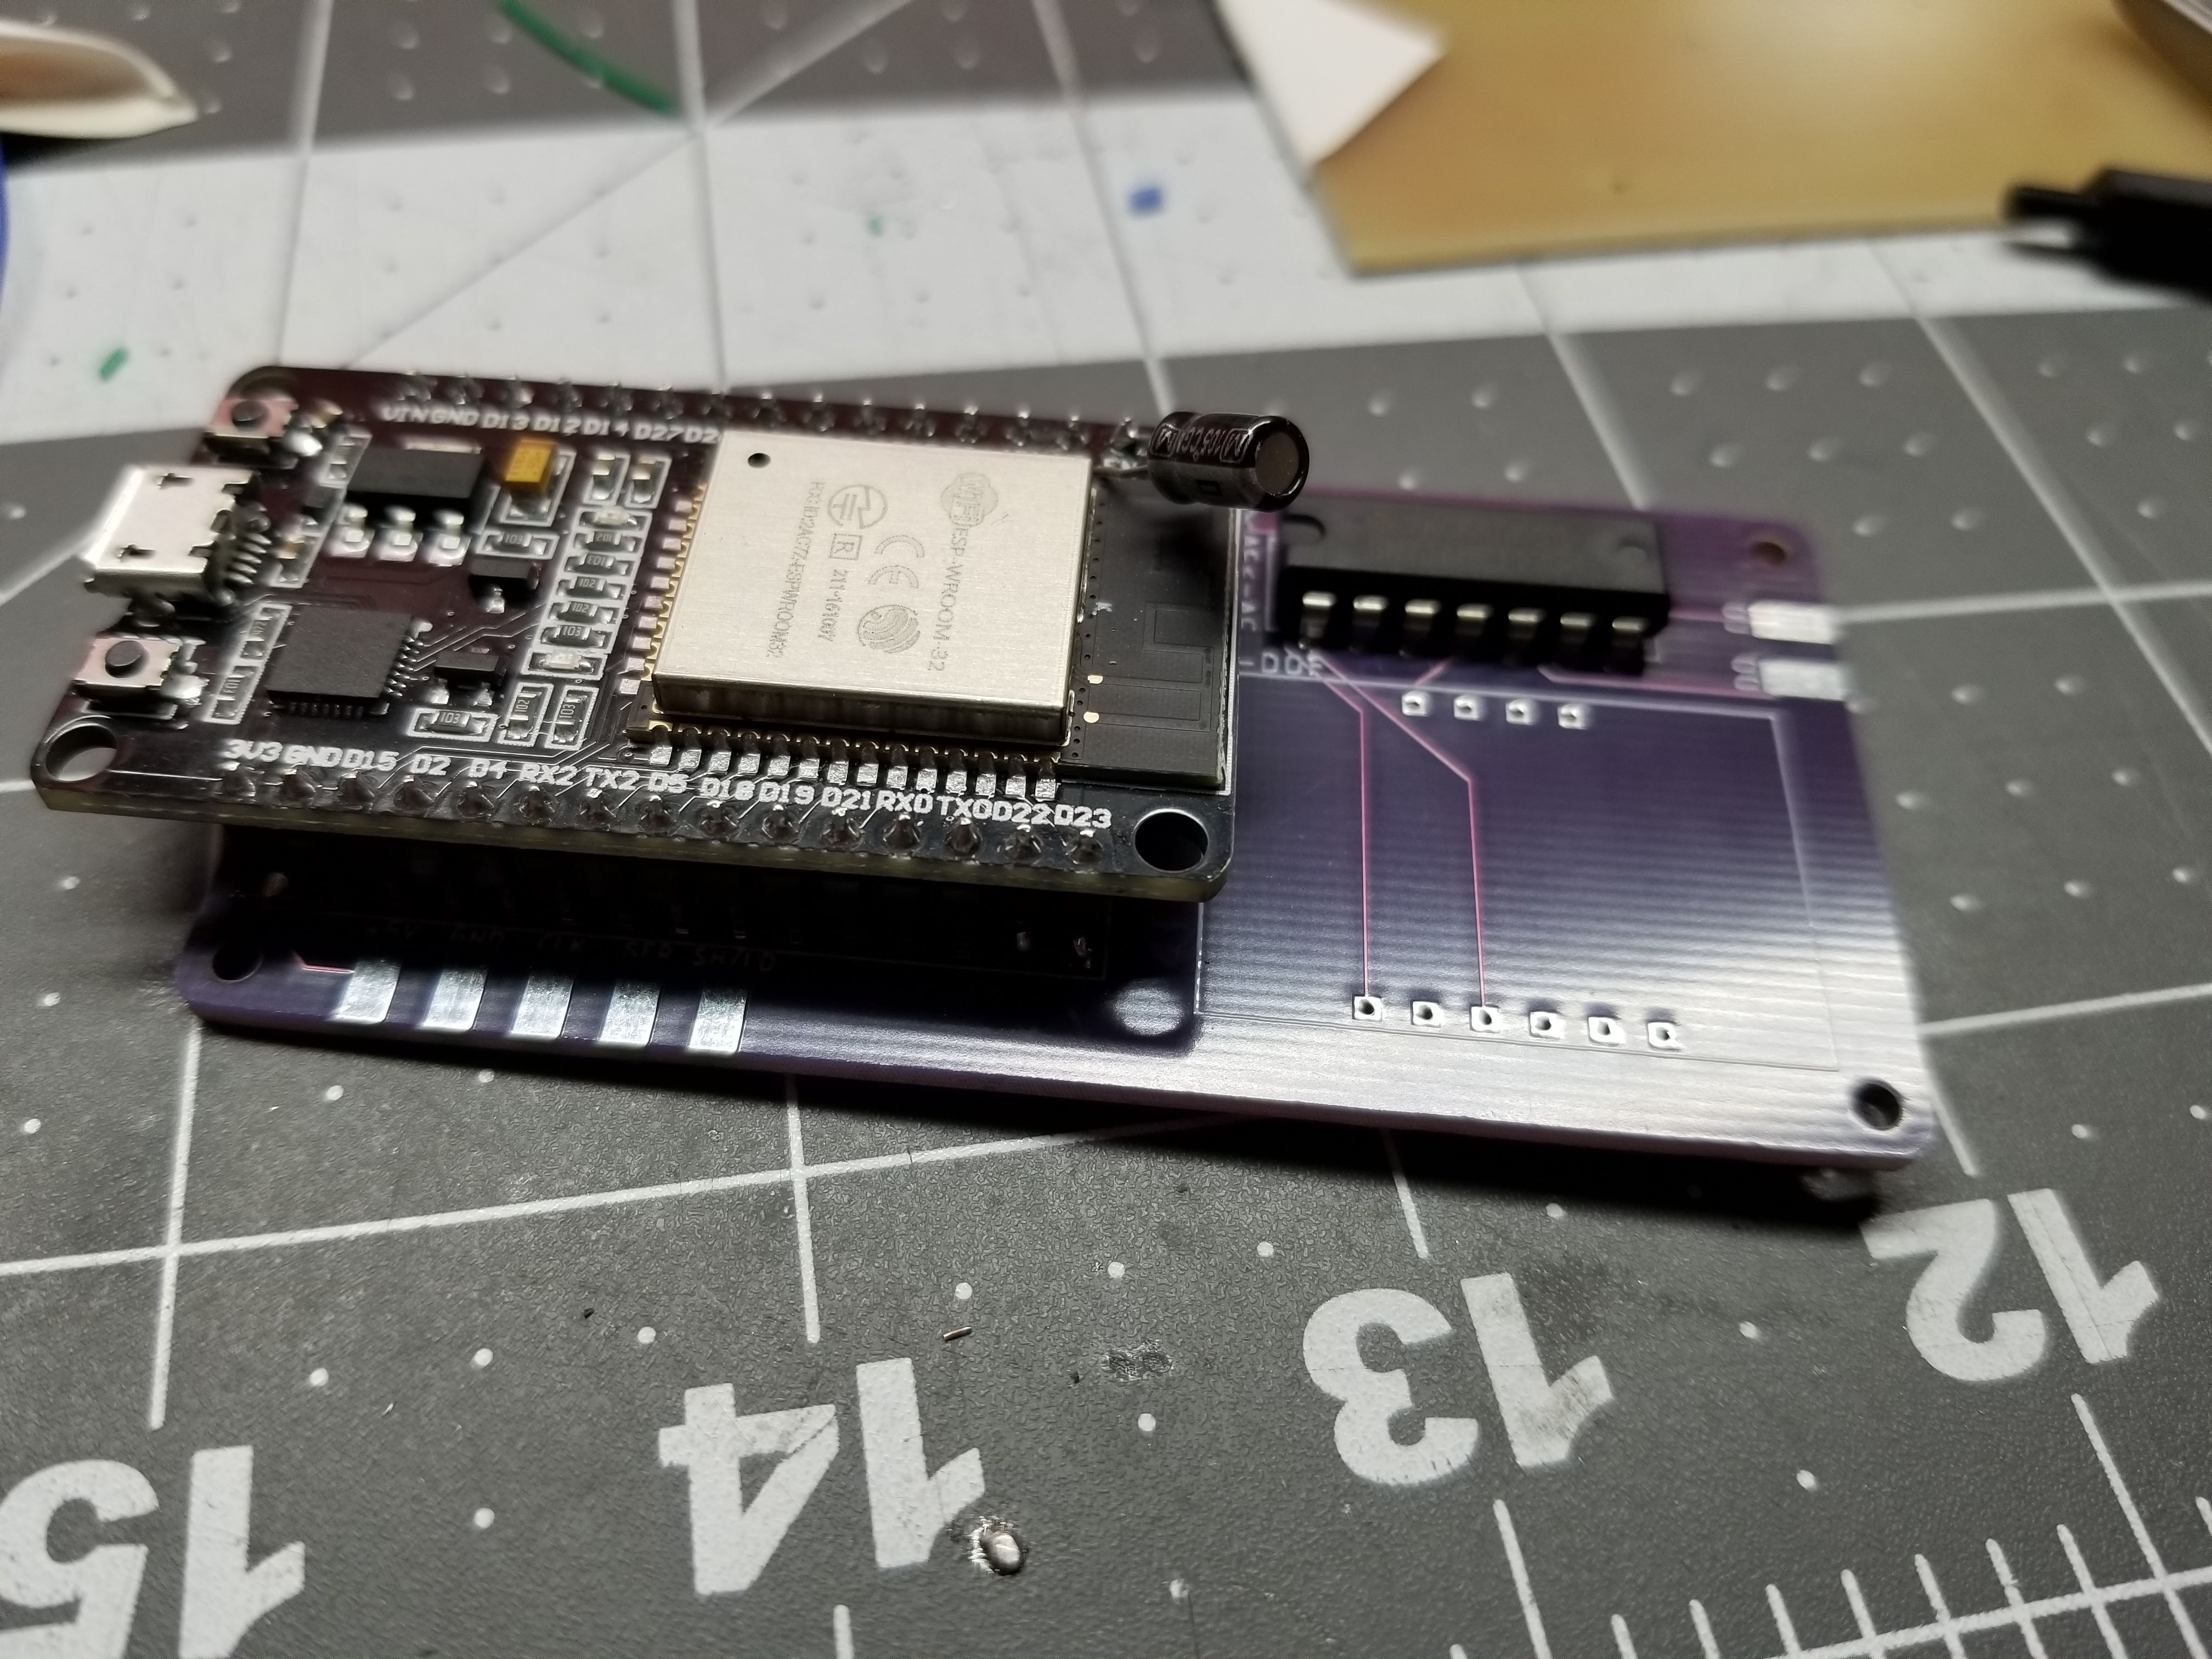
The last step was to drill the holes. I ended up pulling out my Dremel 4000 and got really lucky and found a Dremel press workstation at a store locally. I threw in a cheap PCB drill bit from a set I got for free with the purchase of some other tool and this combo was exceptional. I did have to go back a single time and repeat the process because I initially made my pads too small. Make any pads you’ll be drilling through as large as you can as there’s an upwards force when the bit comes up and it has a tendency to rip your pad up.

Now I had a really nice board in the same layout as the PCB fab although it would be a little thicker and was only single sided I figured it would do the job.
I threw it on the bench and warmed up the soldering iron when it hit me. I didn’t need a new board. I could use really thin pins instead of headers for pretty much all the components. The Input board had enough extra pad area that I was able to use the dremel pcb drill setup to enlarge them enough for the switch leads without too much trouble.
For some reason I did not get a complete photo of the boards outside the handle ¯\_(ツ)_/¯
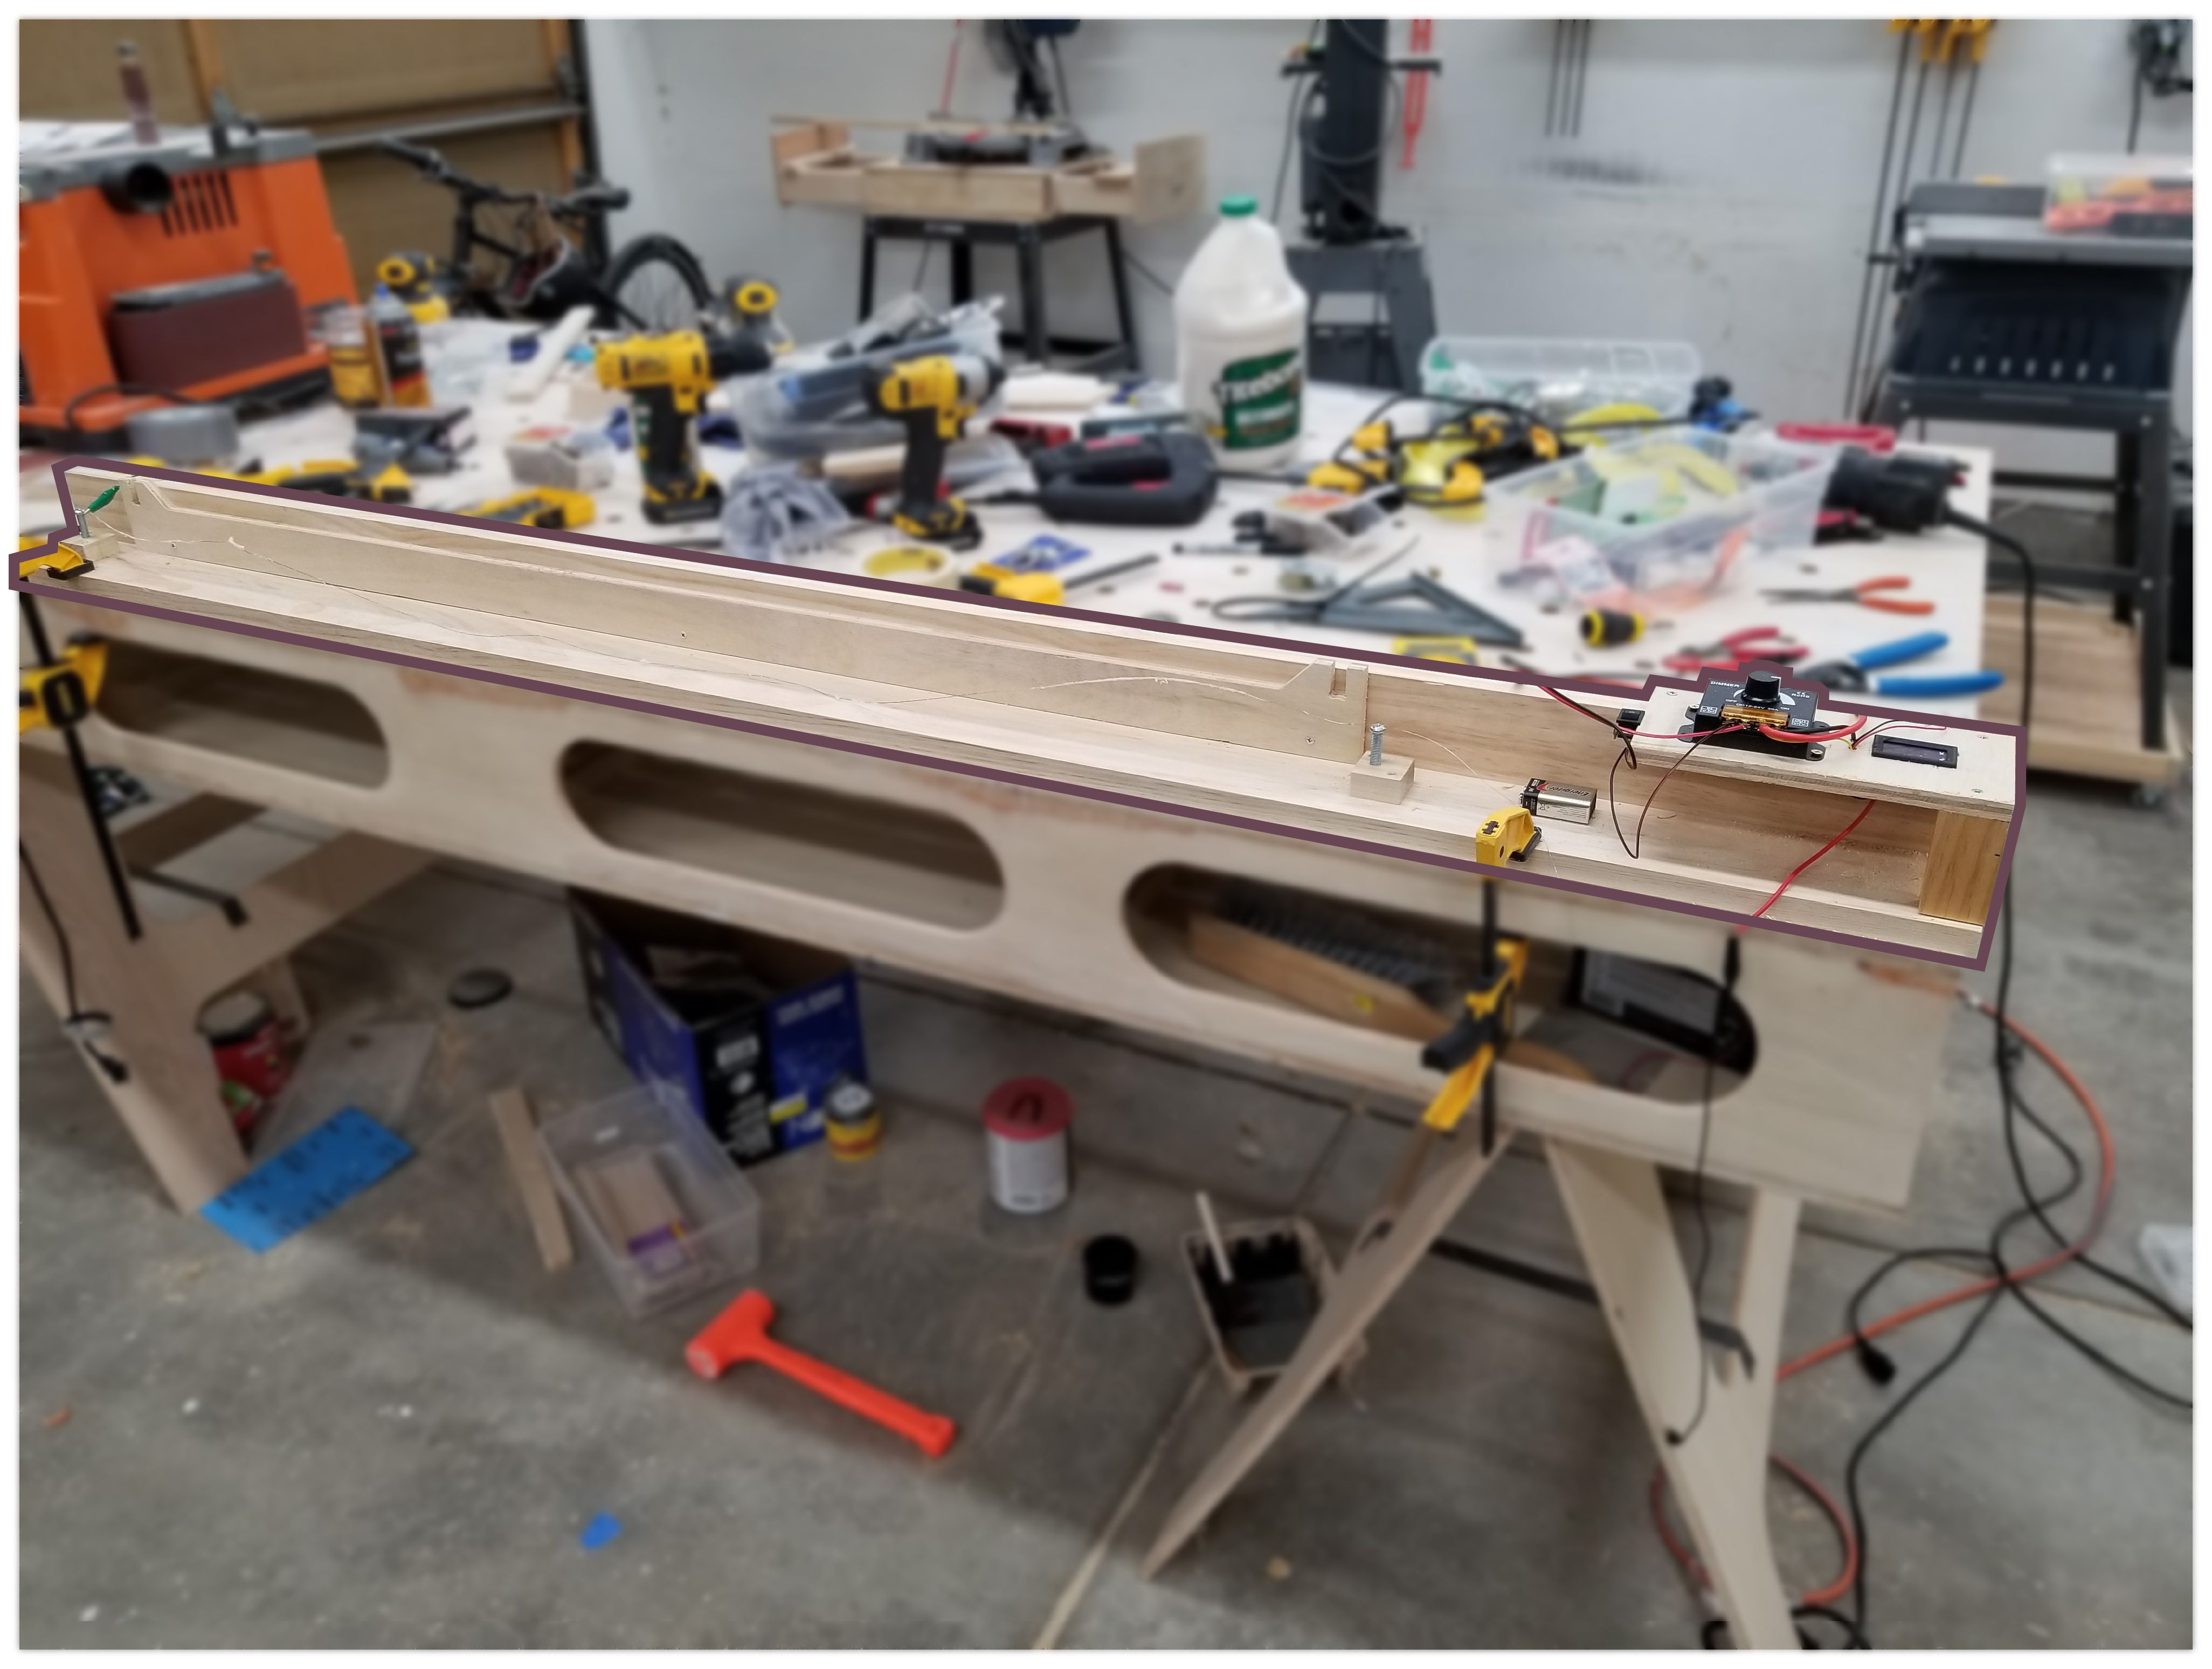
Handle
The handle was the last thing created and was designed to screw onto one end of the core tube and hold the PCB boards. Pretty straightforward here, 3d print, iterate and repeat 10-12 times as necessary until satisfied.
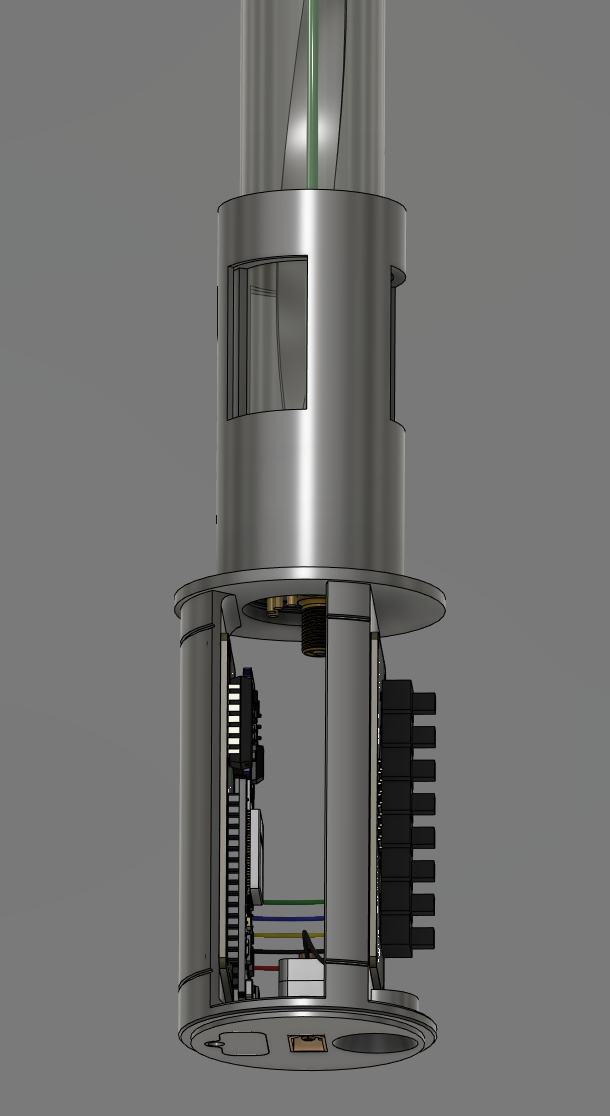
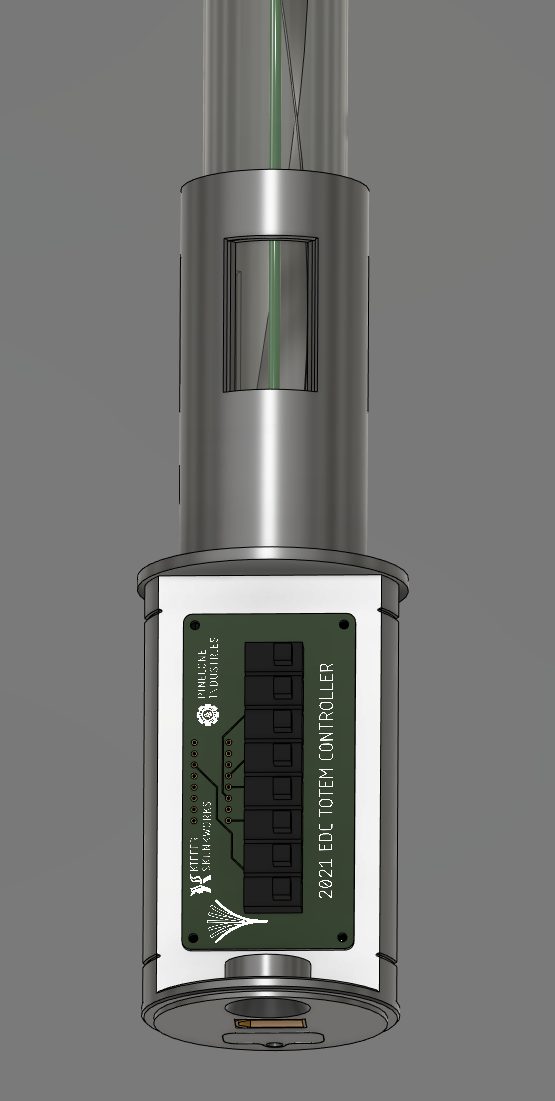
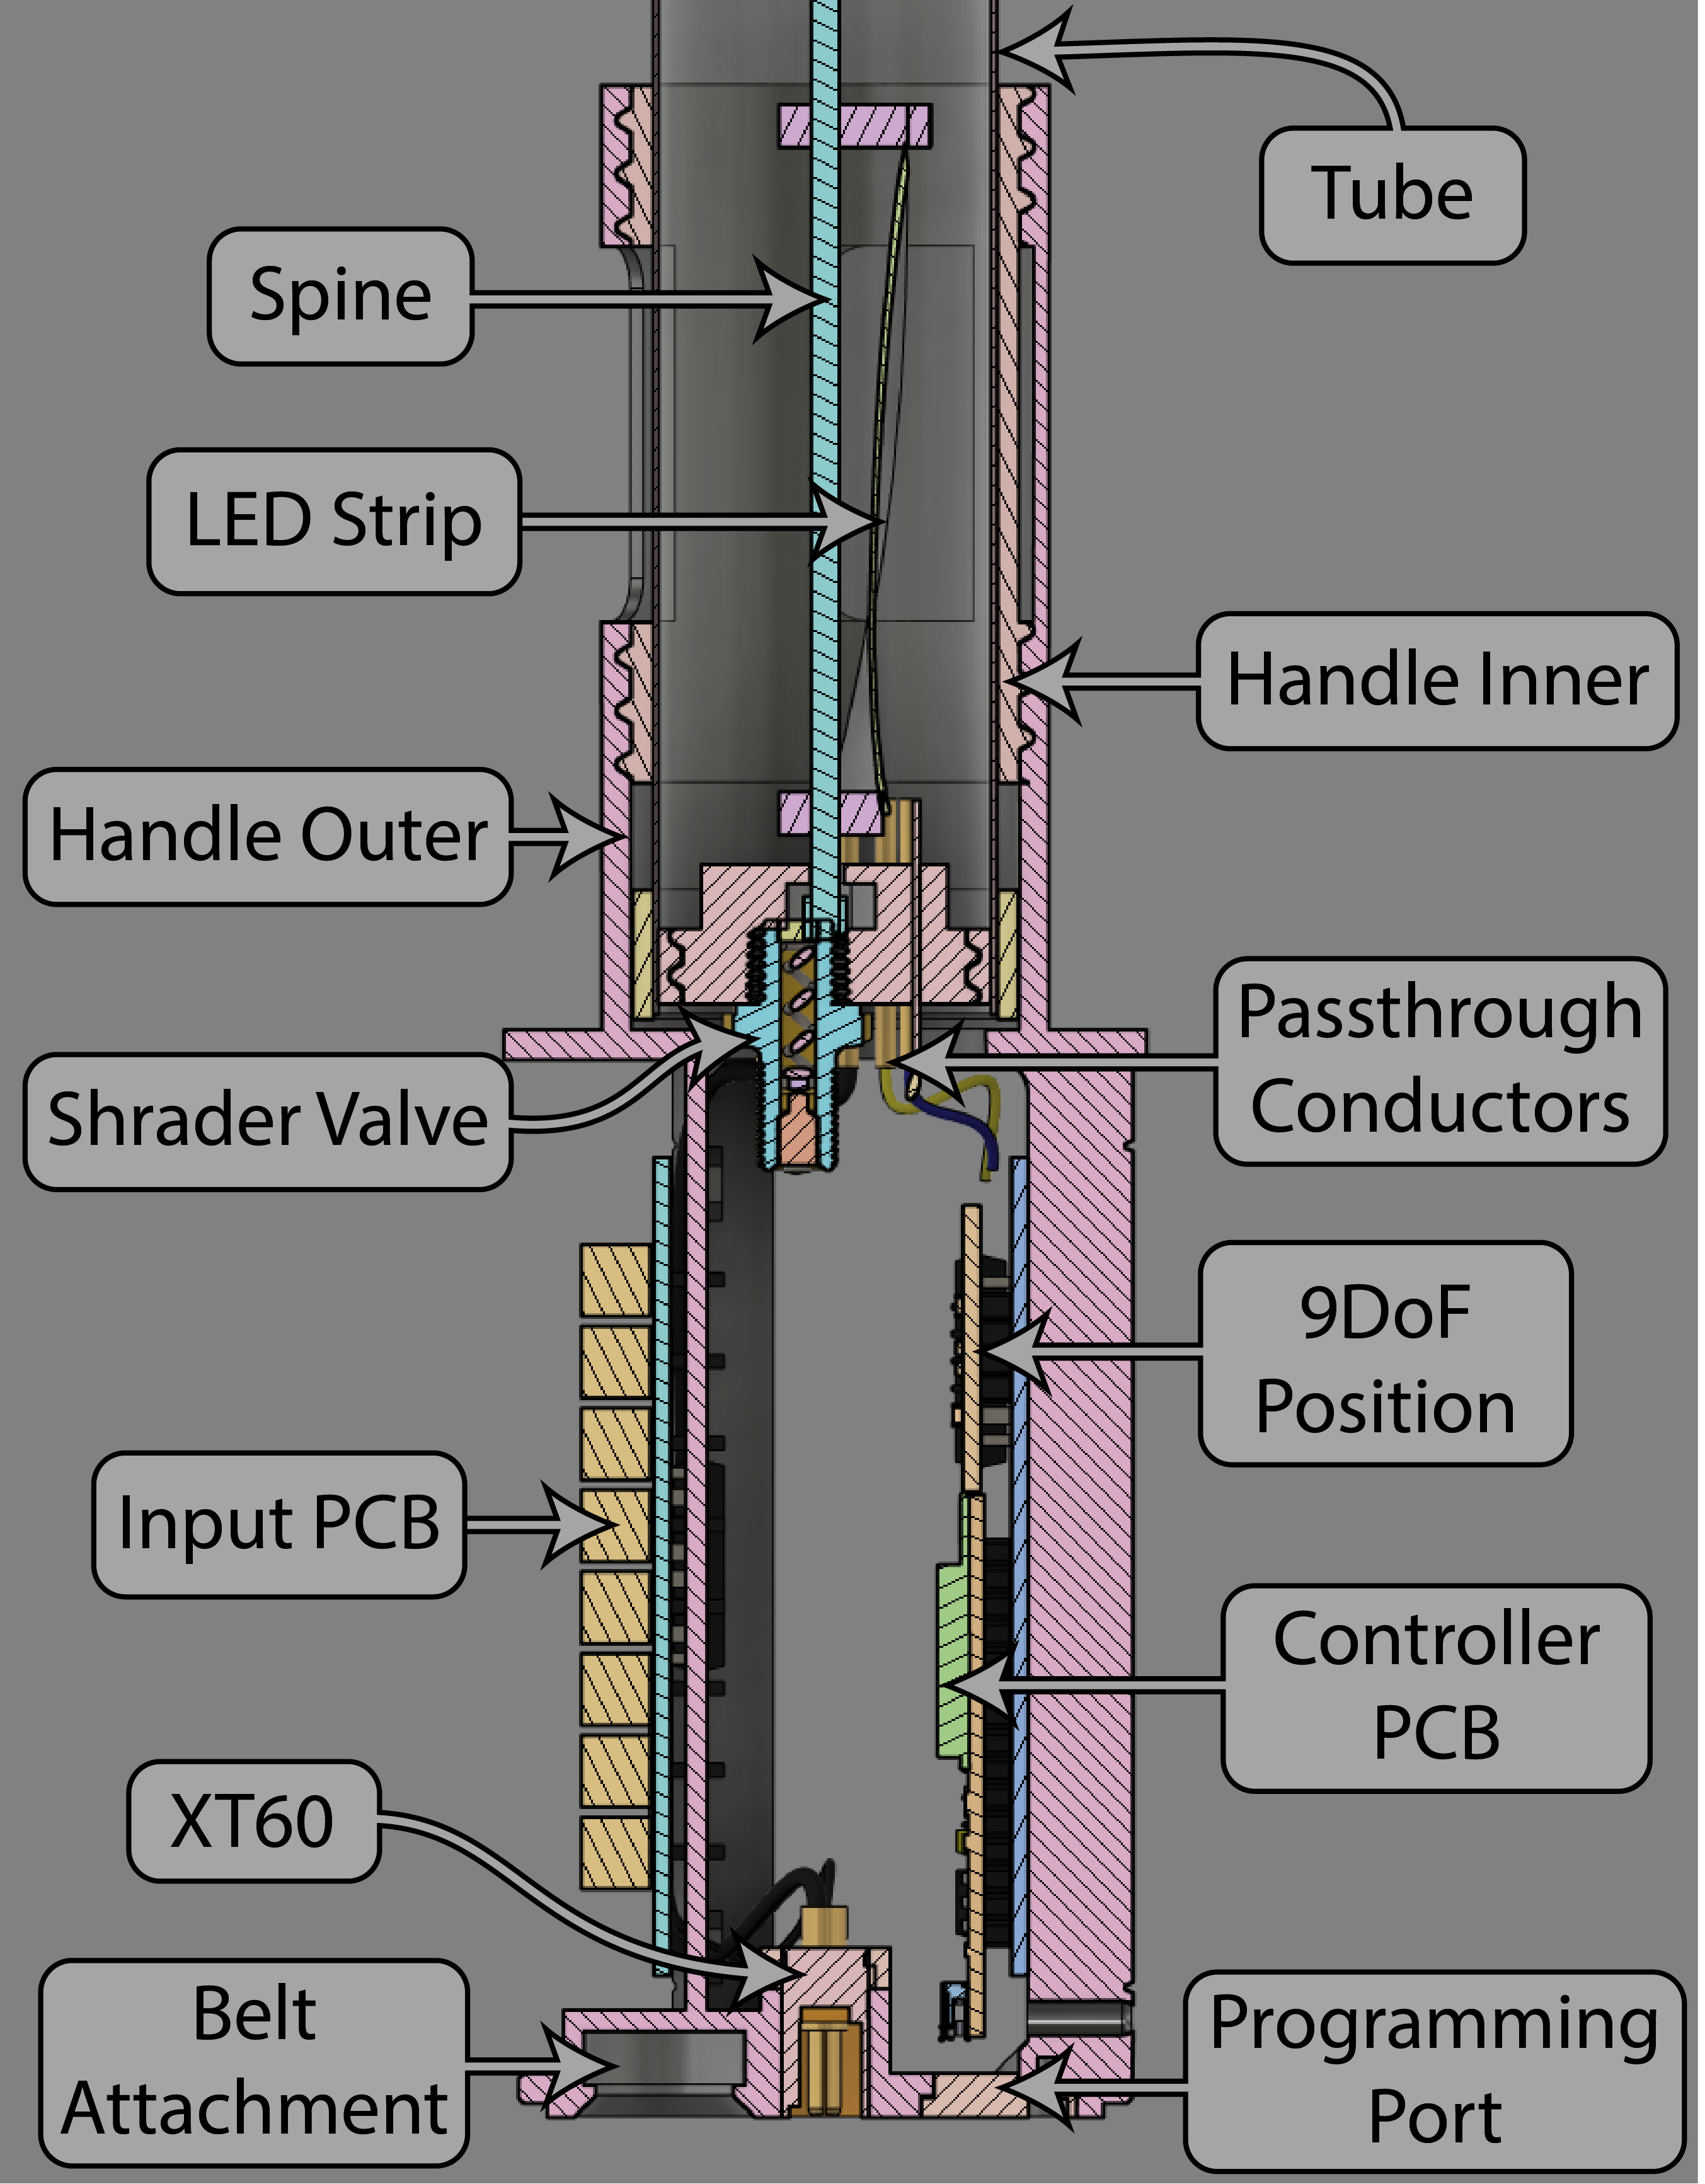
The handle is in two pieces, an inner and an outer. The inner gets epoxied to the tube so the outer can be twisted into place.
Code
I decided to use Arduino to program the ESP32 because then I could leveredge all my old FastLED animations from the old totem. I dedicated one core to reading input and controlling animation transition timing, while the other core drove the LEDs as fast as possible.
Wiggle
Thank you
Your comment has been submitted and will be published once it has been approved.
OOPS!
Your comment has not been submitted. Please go back and try again. Thank You!
If this error persists, please open an issue by clicking here.
Say something