Epoxy inlay table tops
in Making on December 26, 2020 | Woodworking Epoxy CNC Routing Laser Cutting Fusion 360 Inkscape
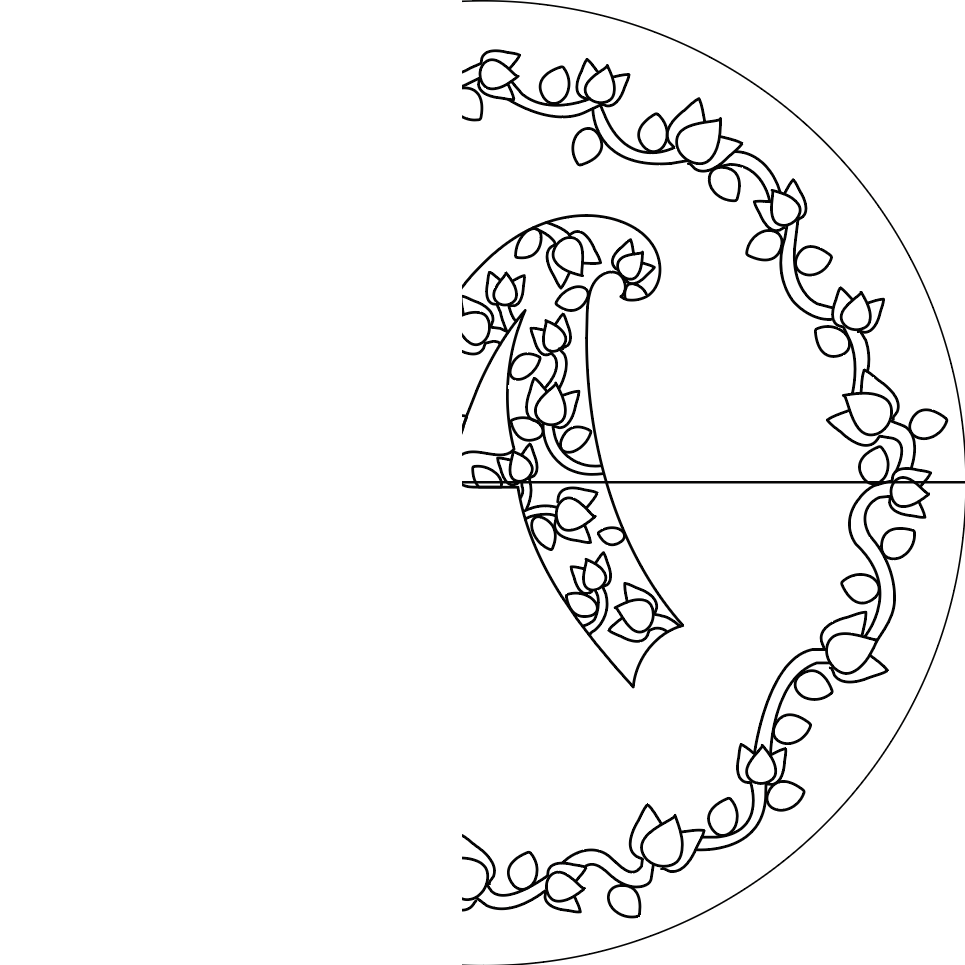
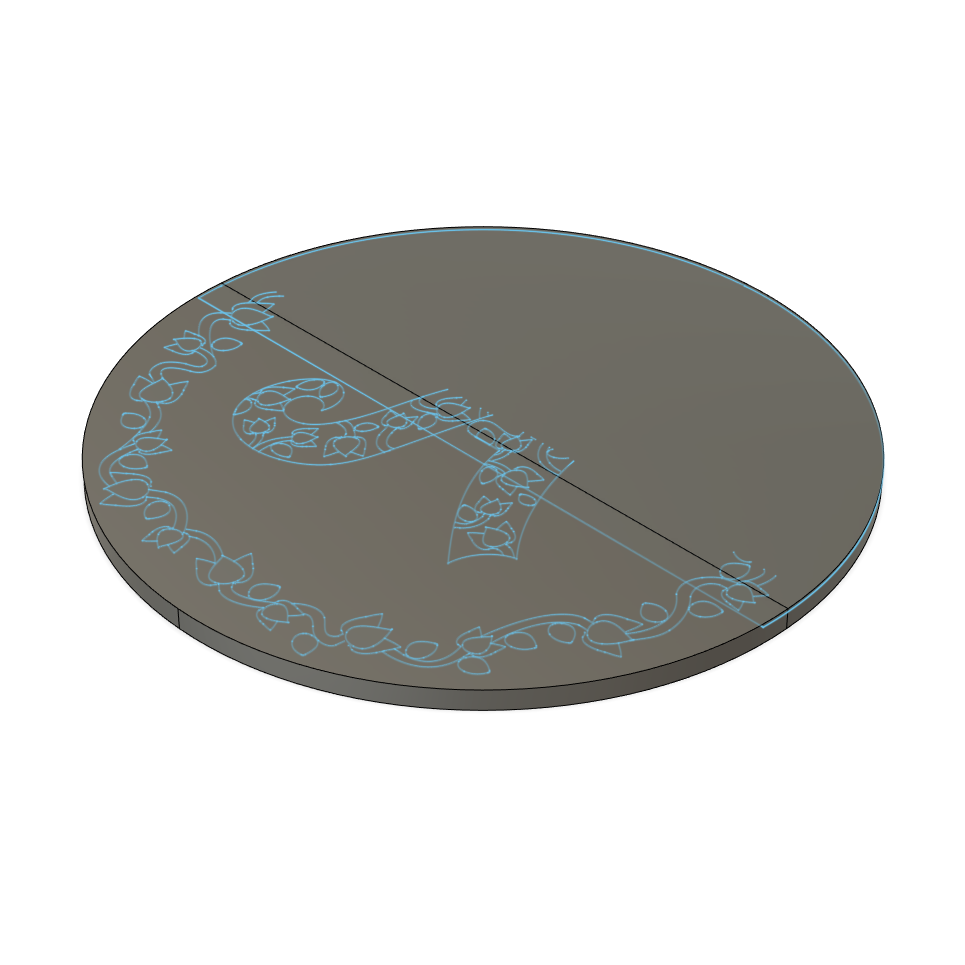
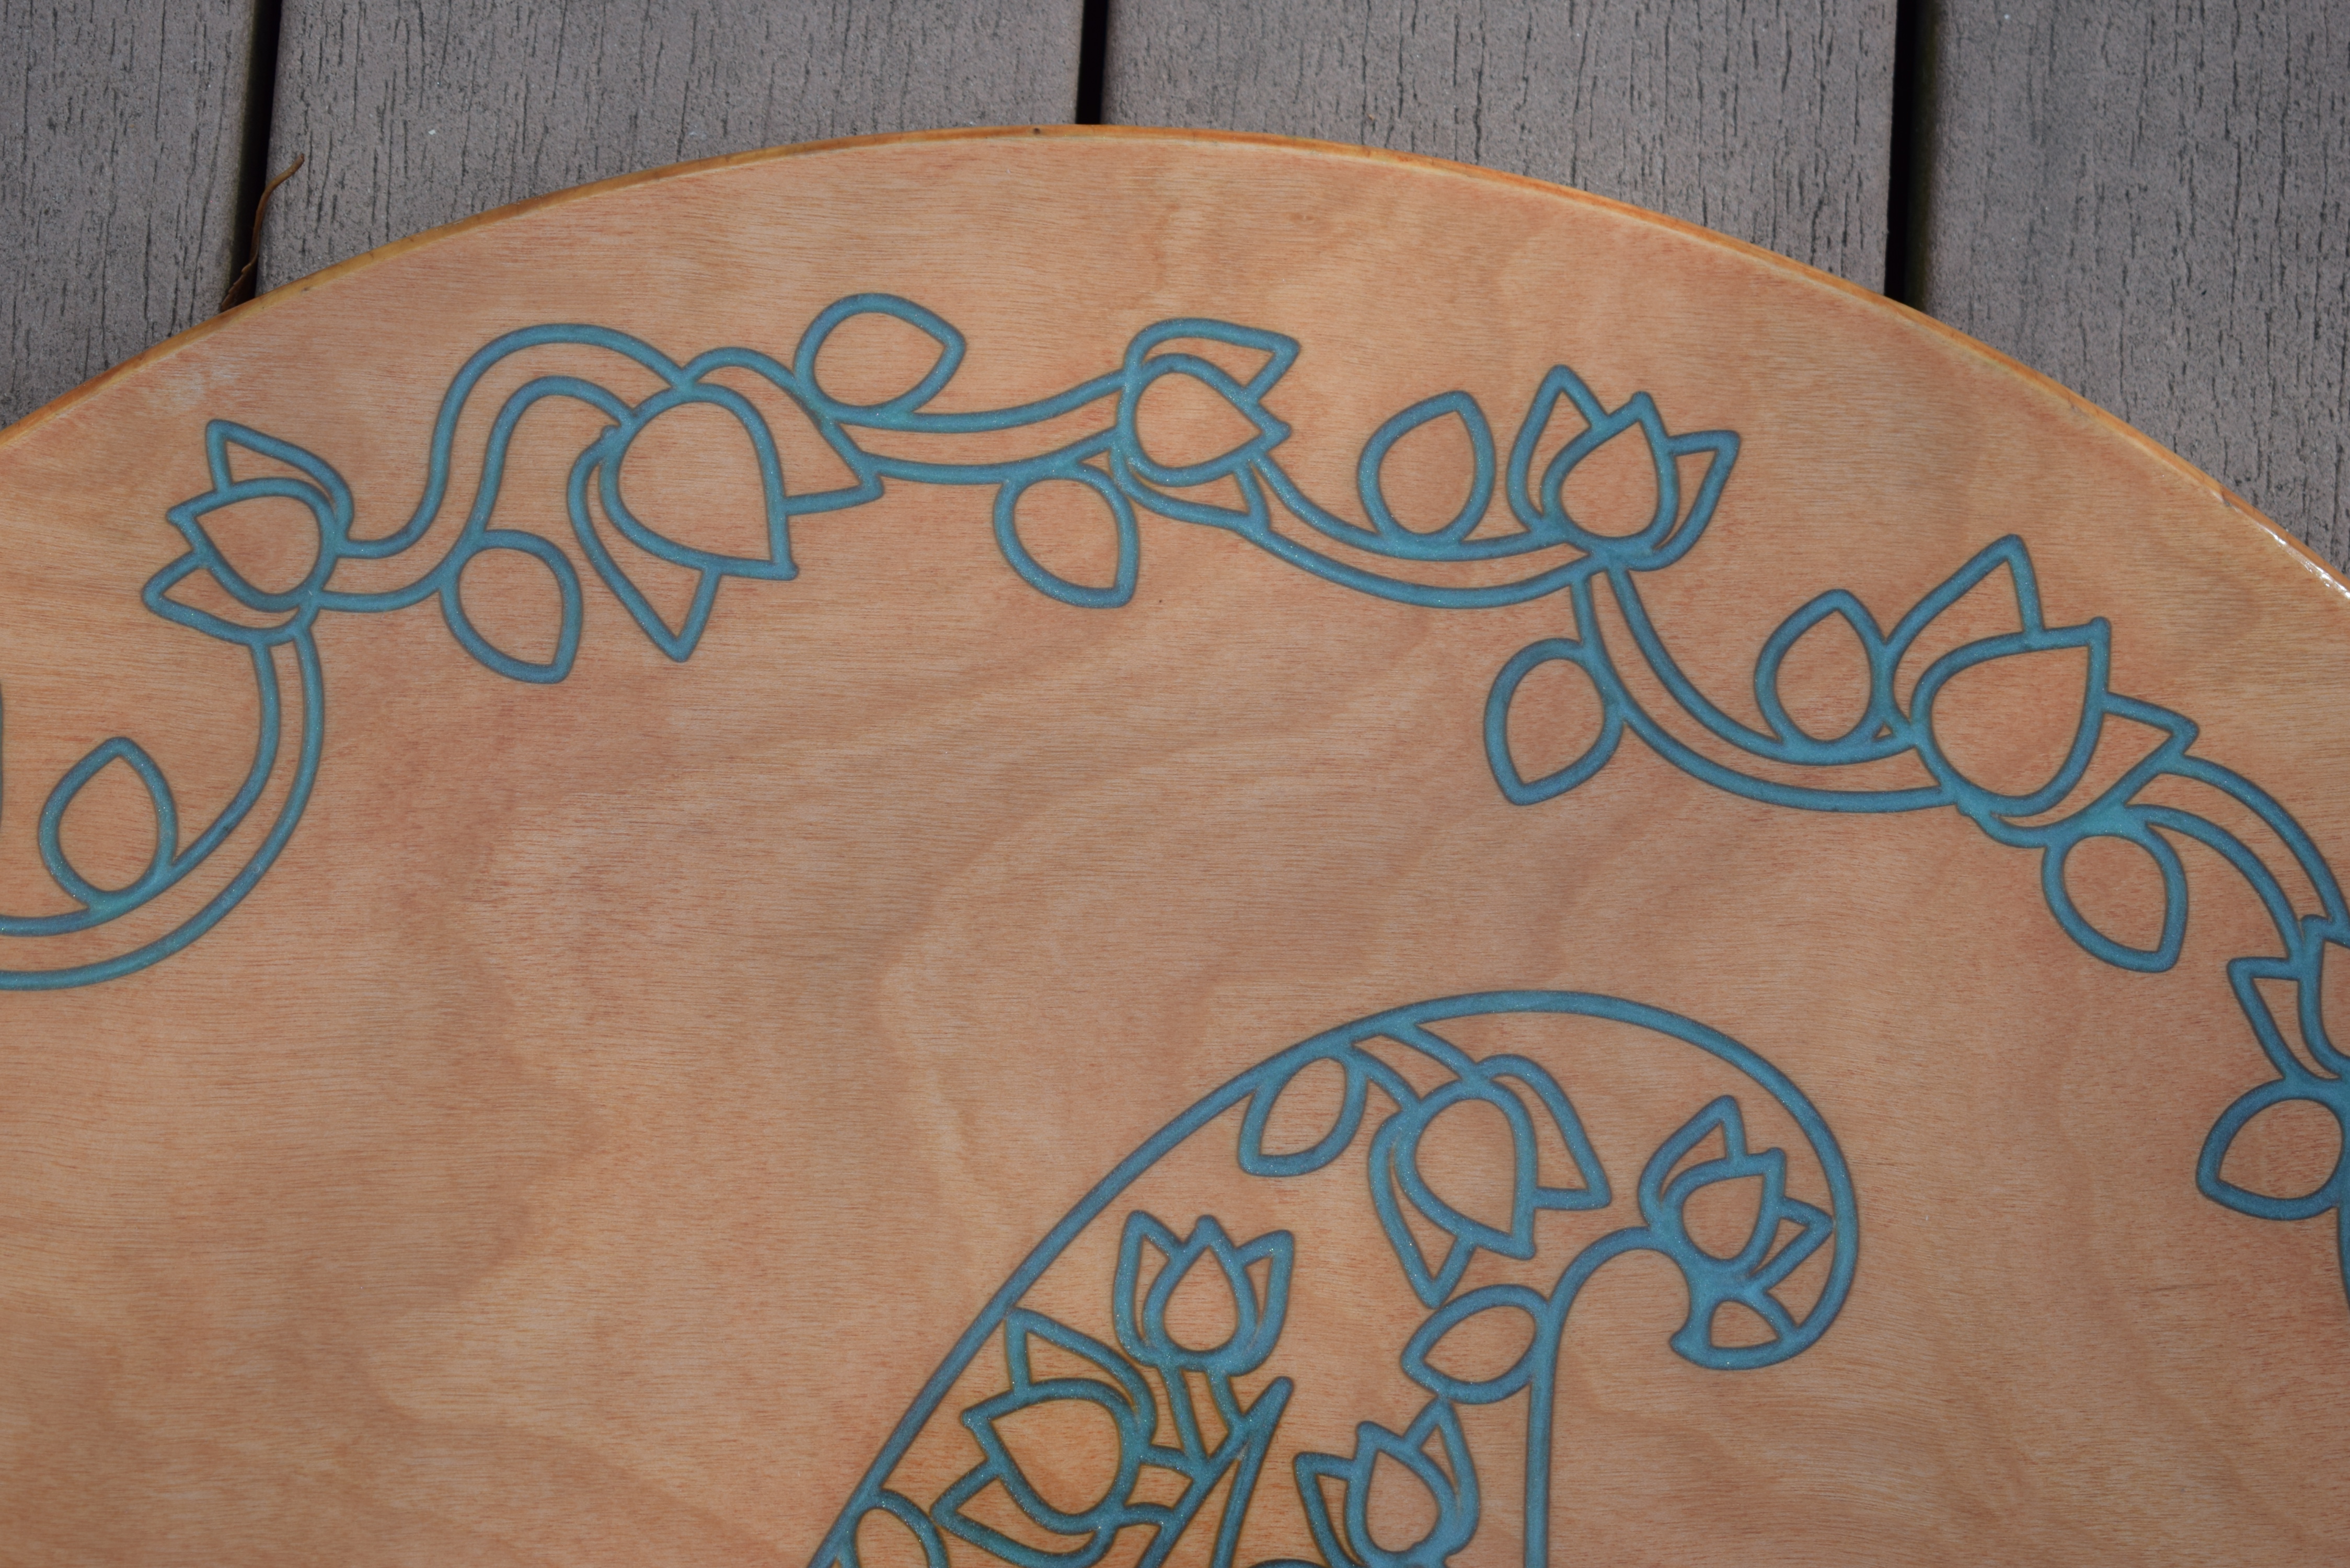
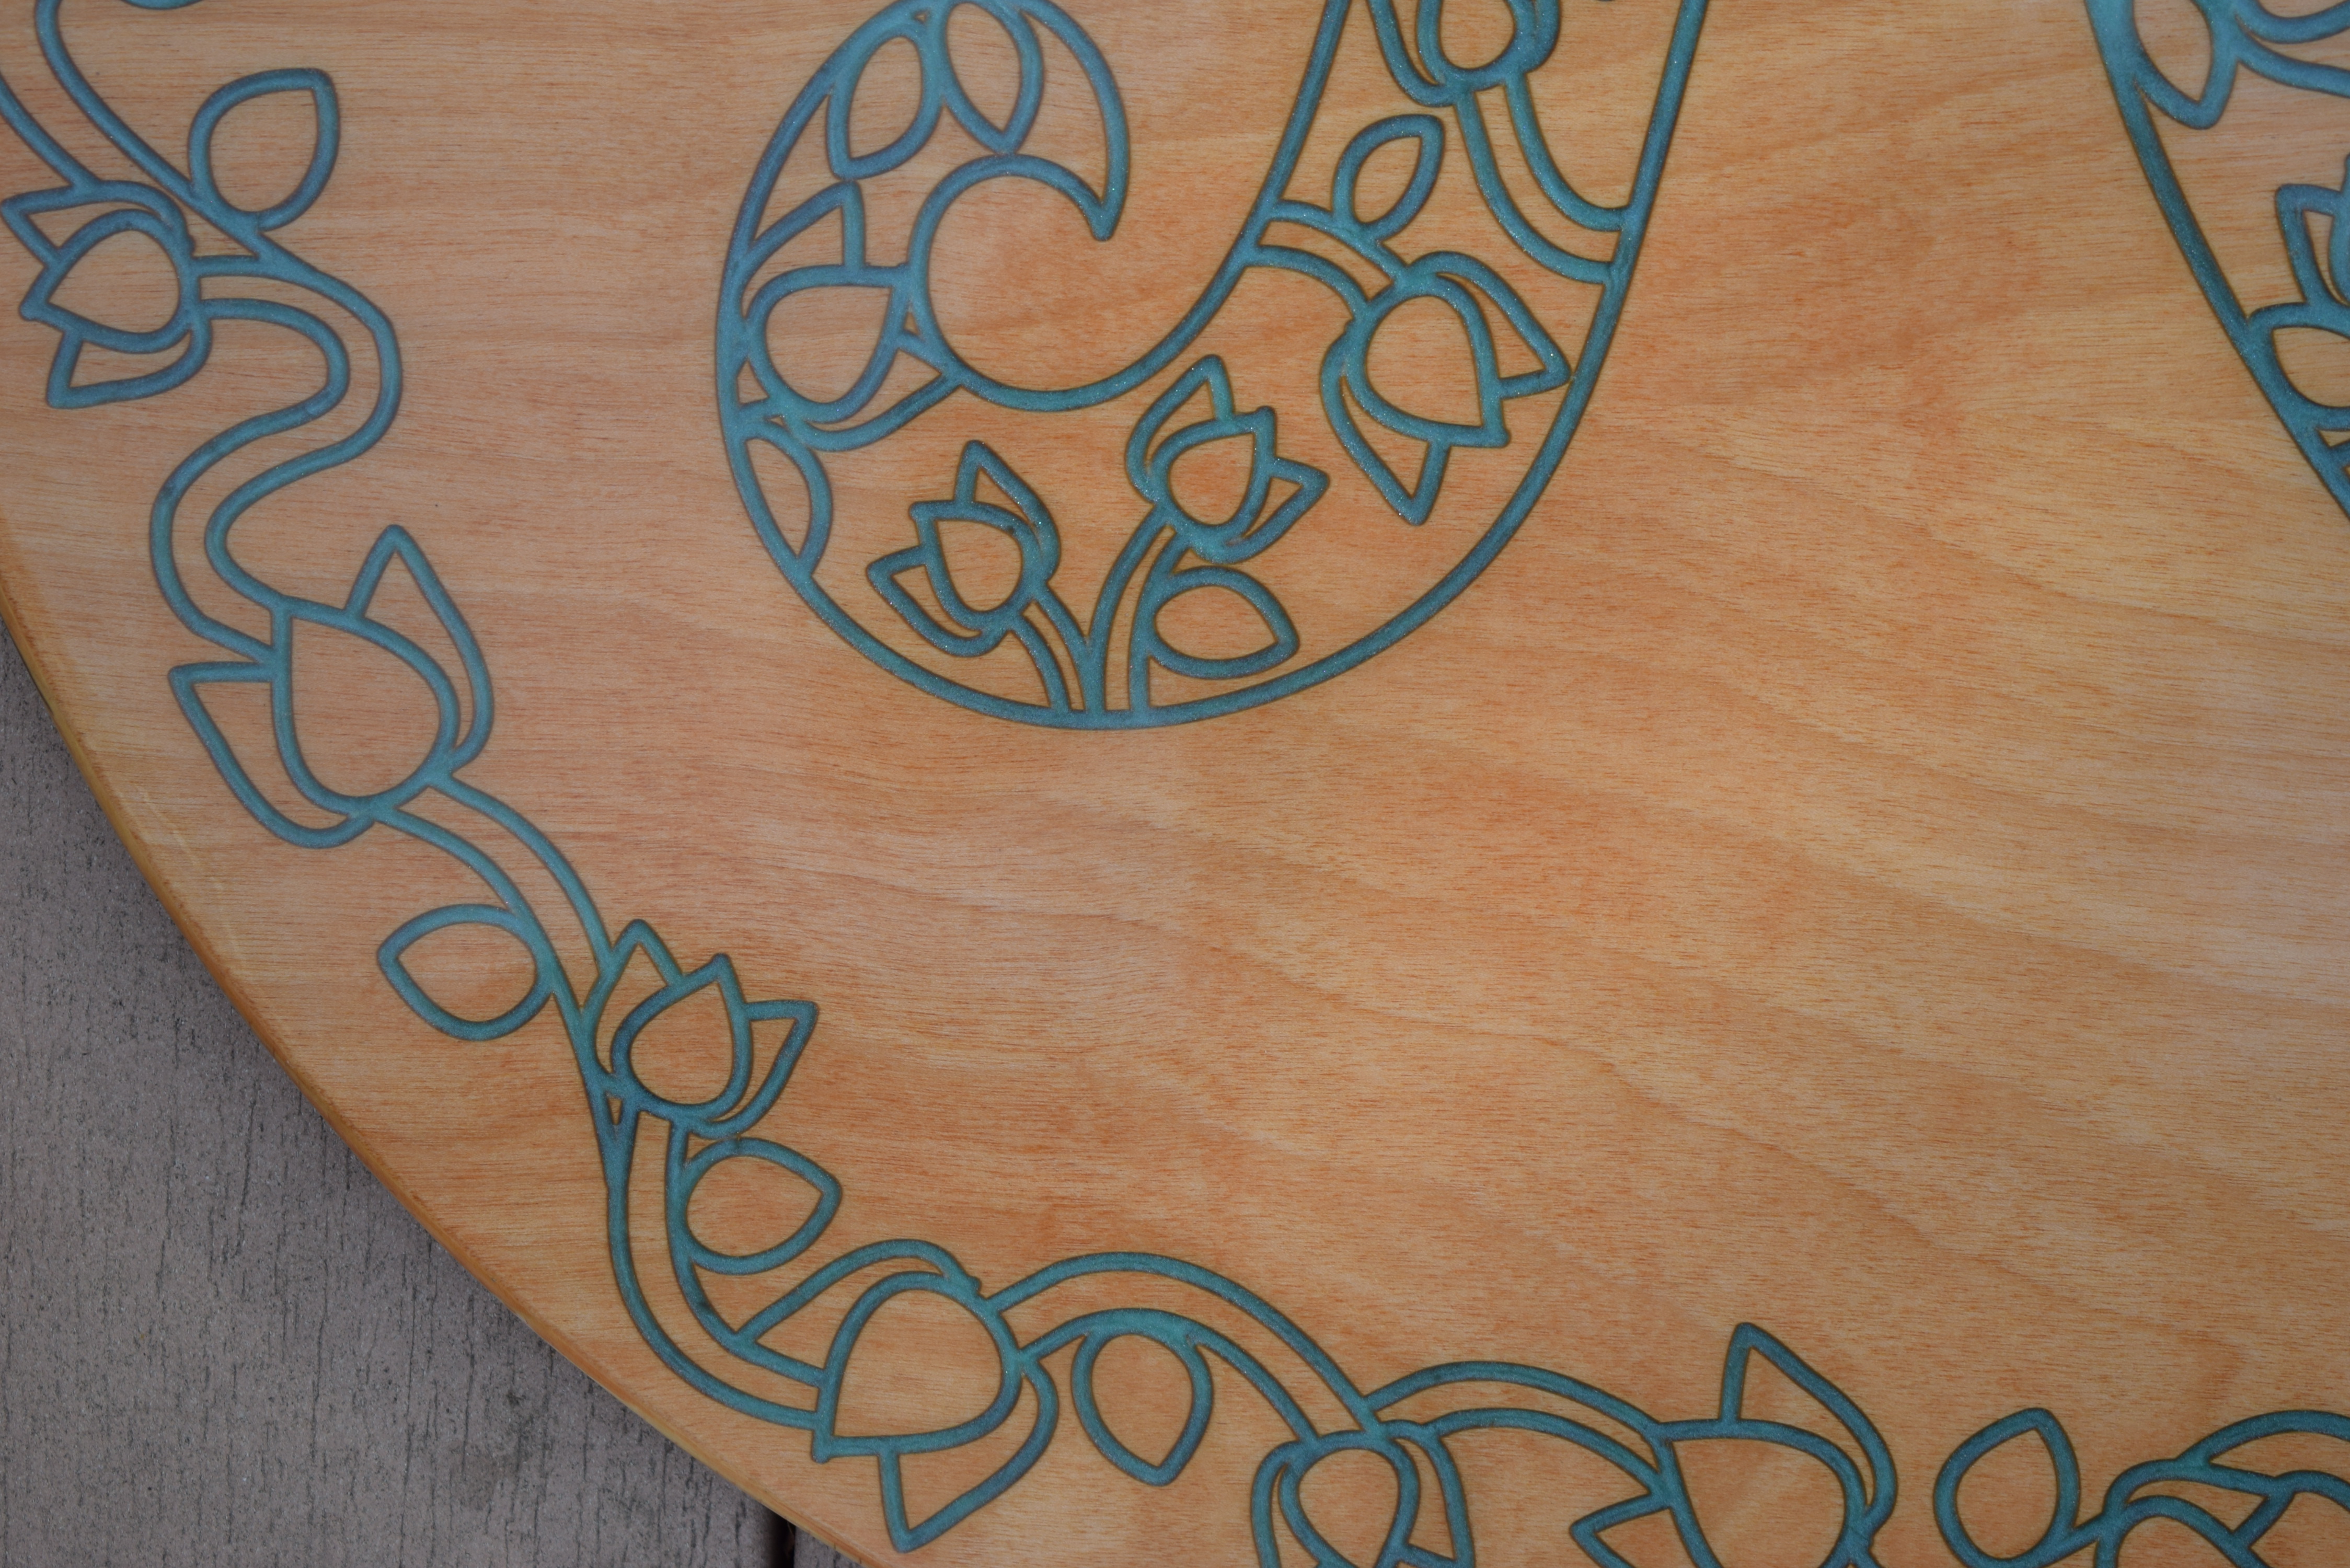
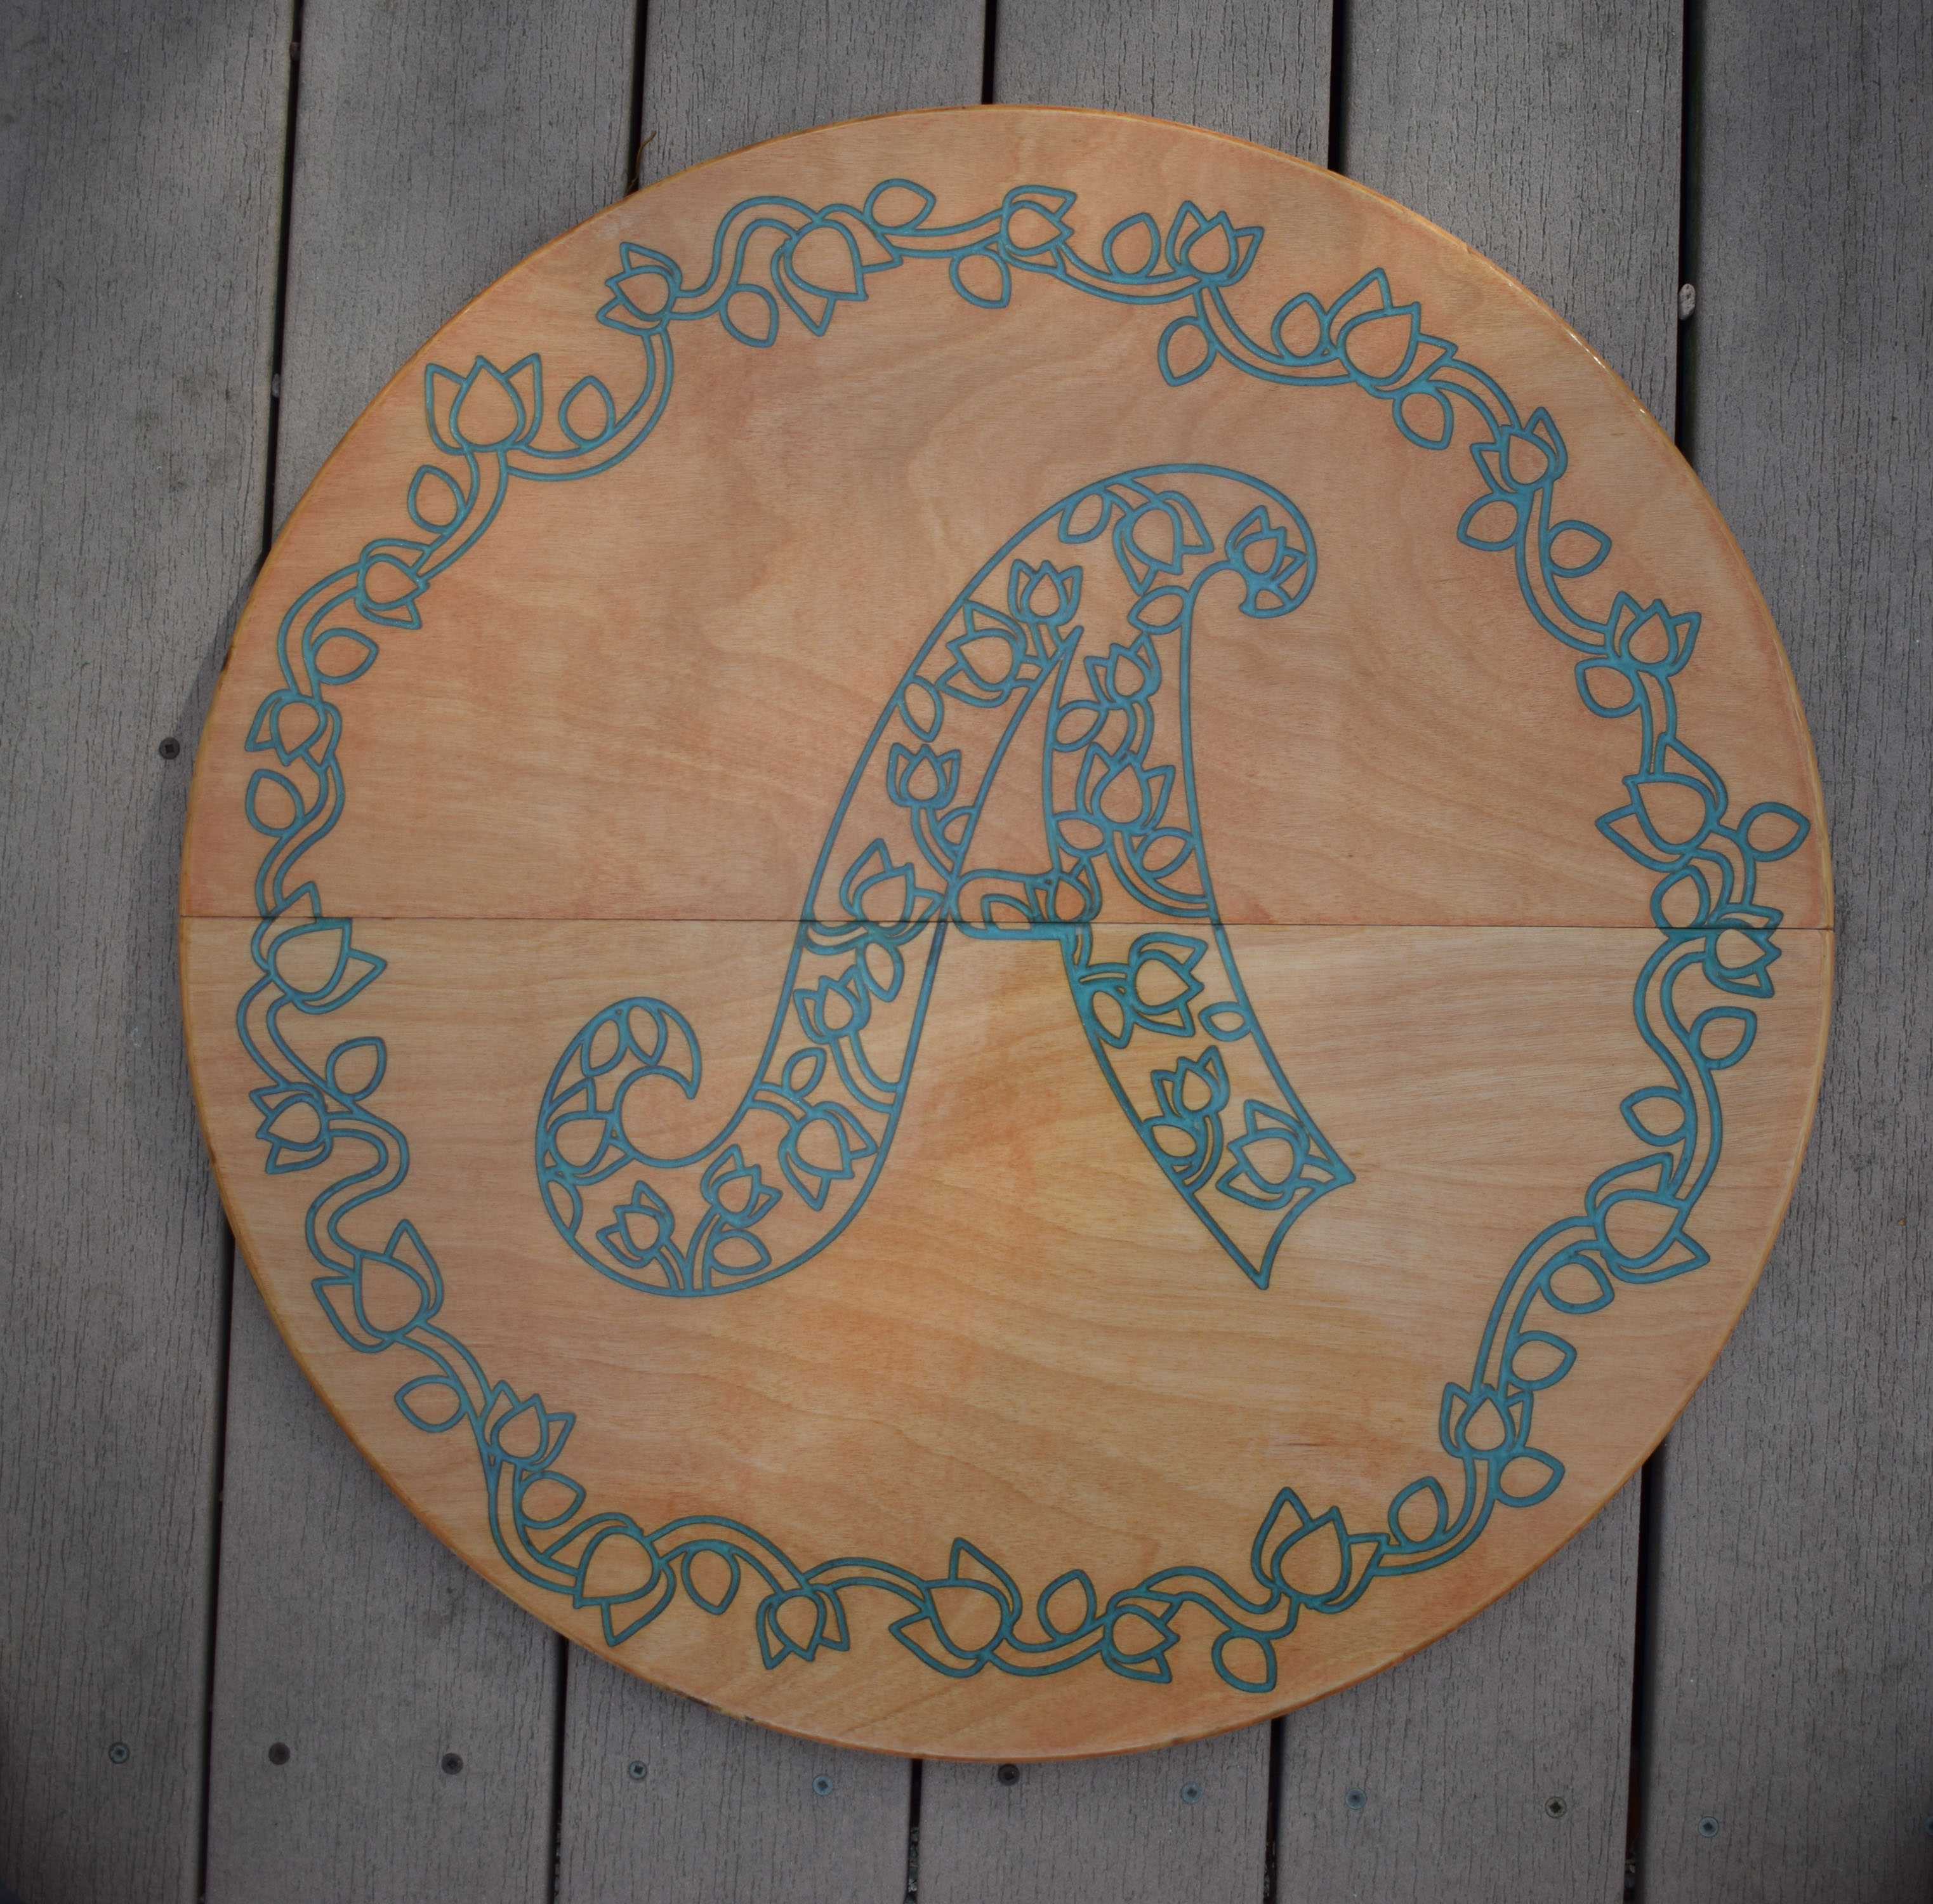
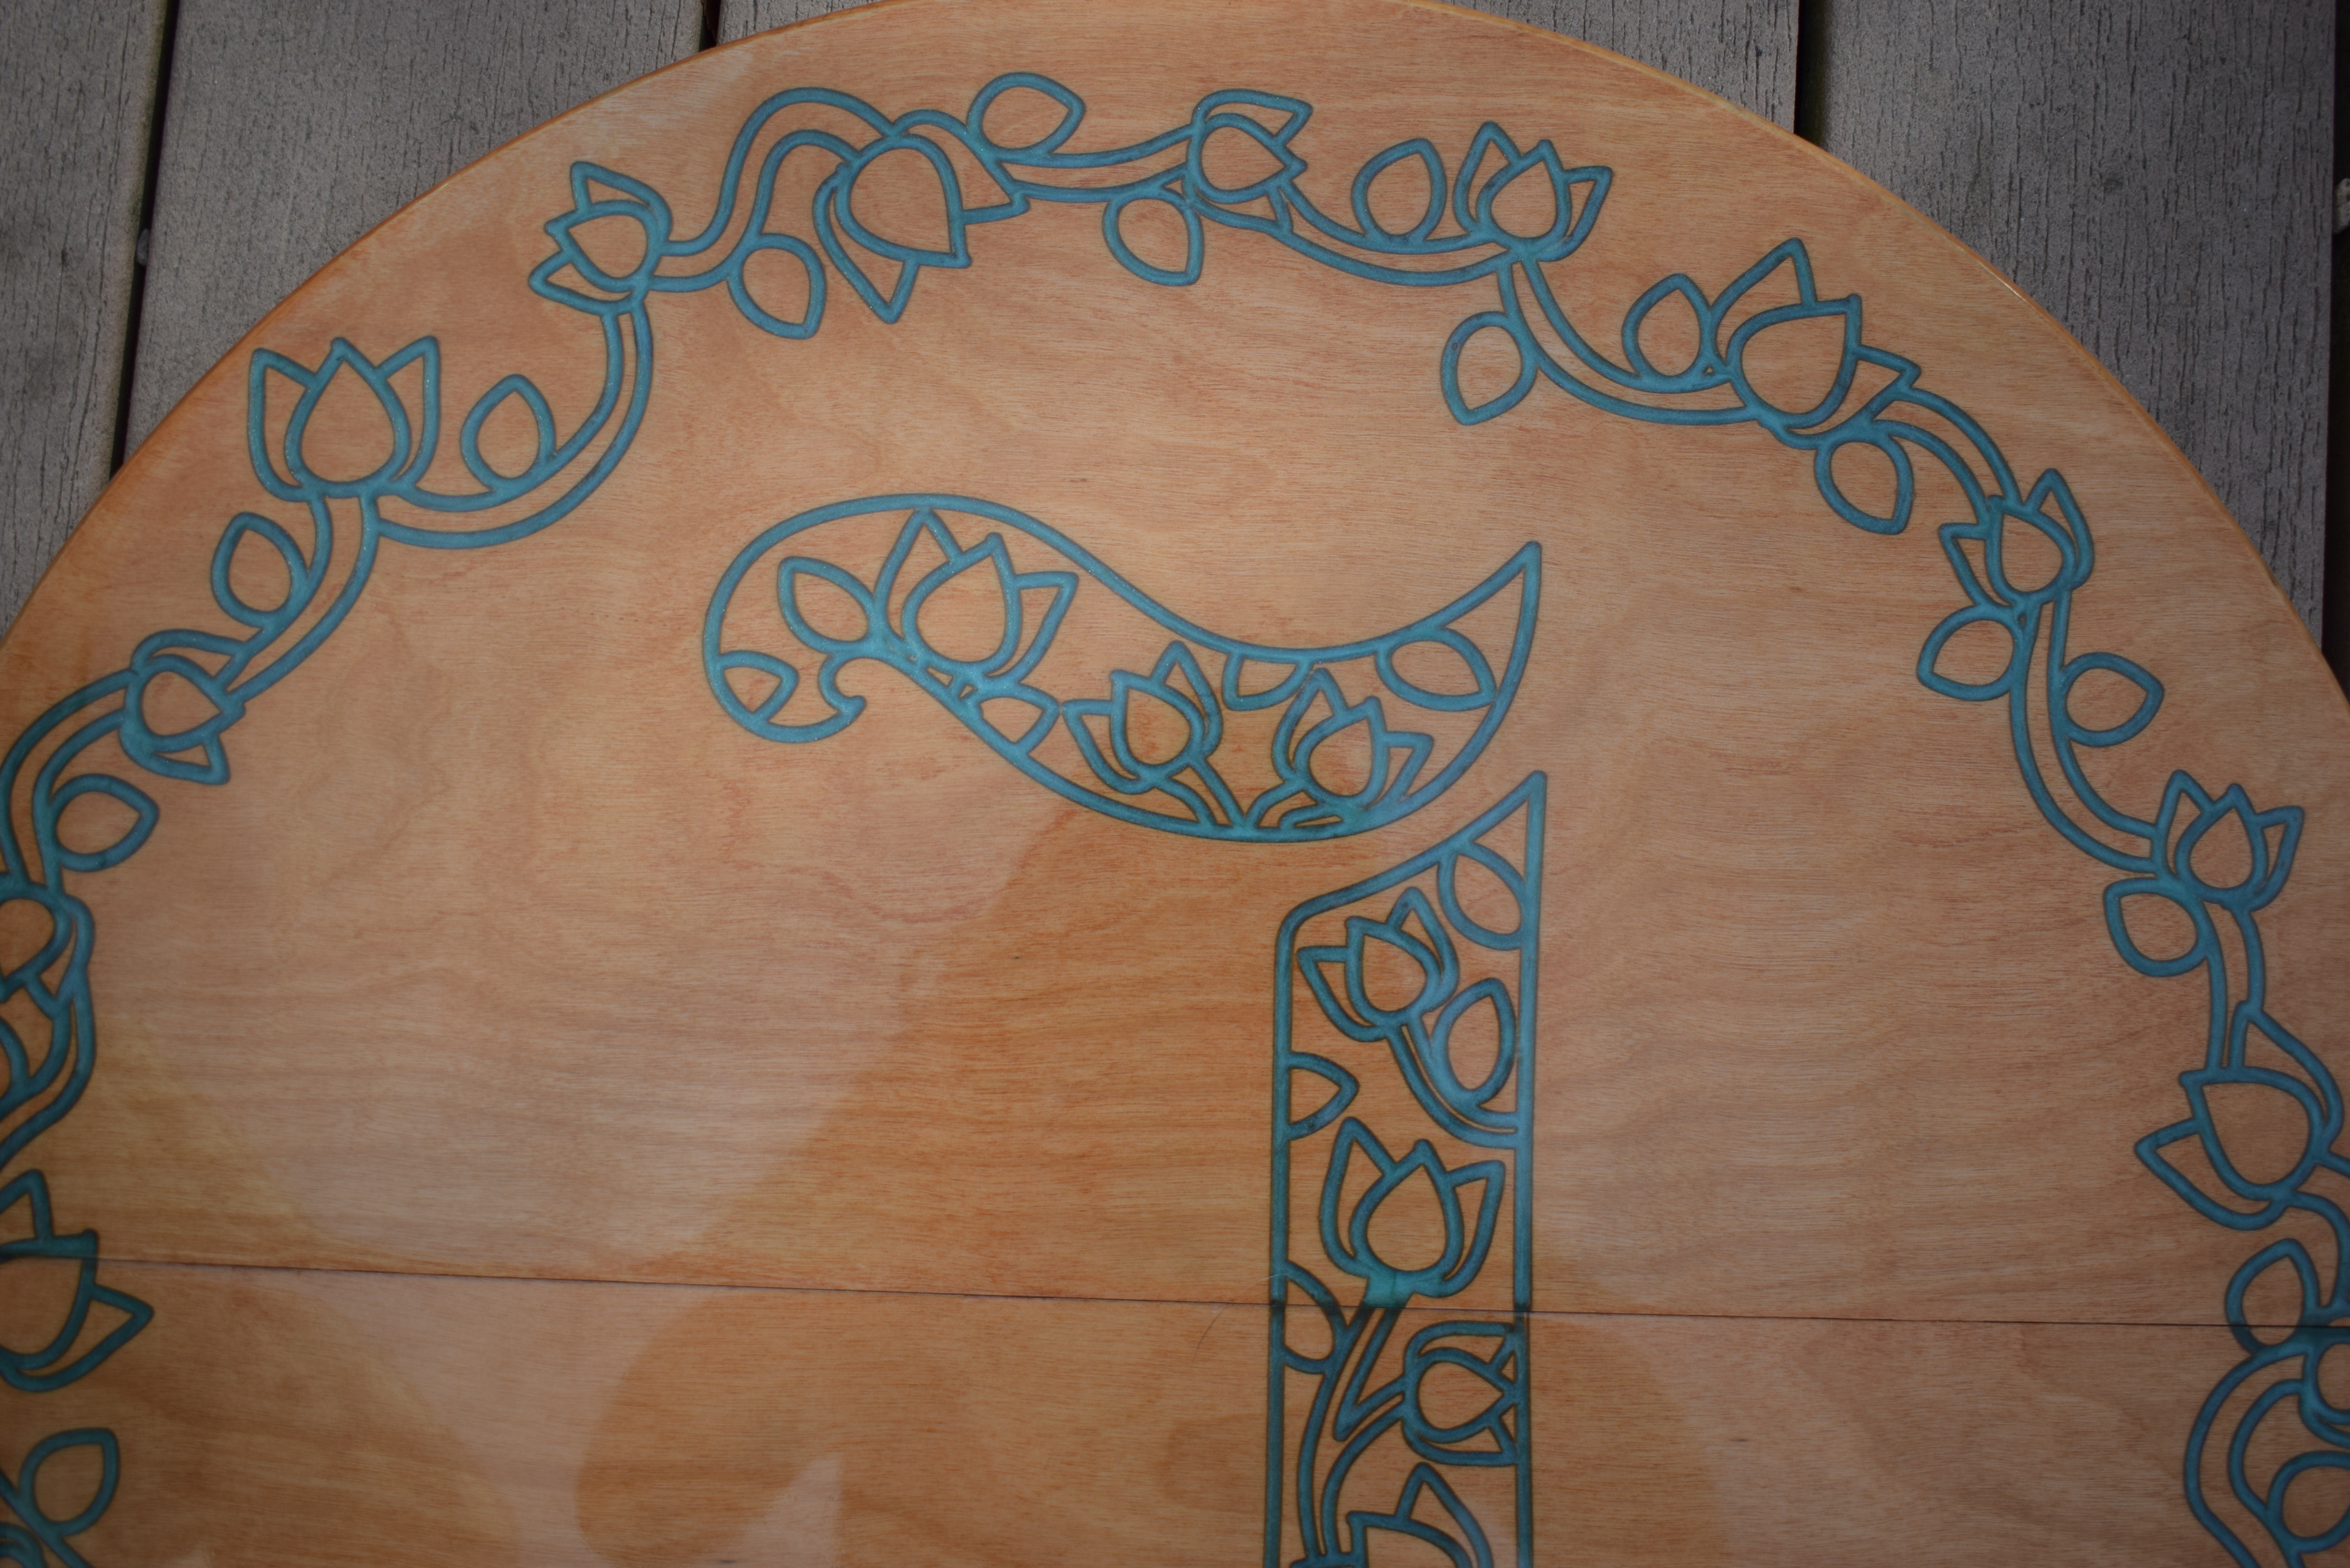
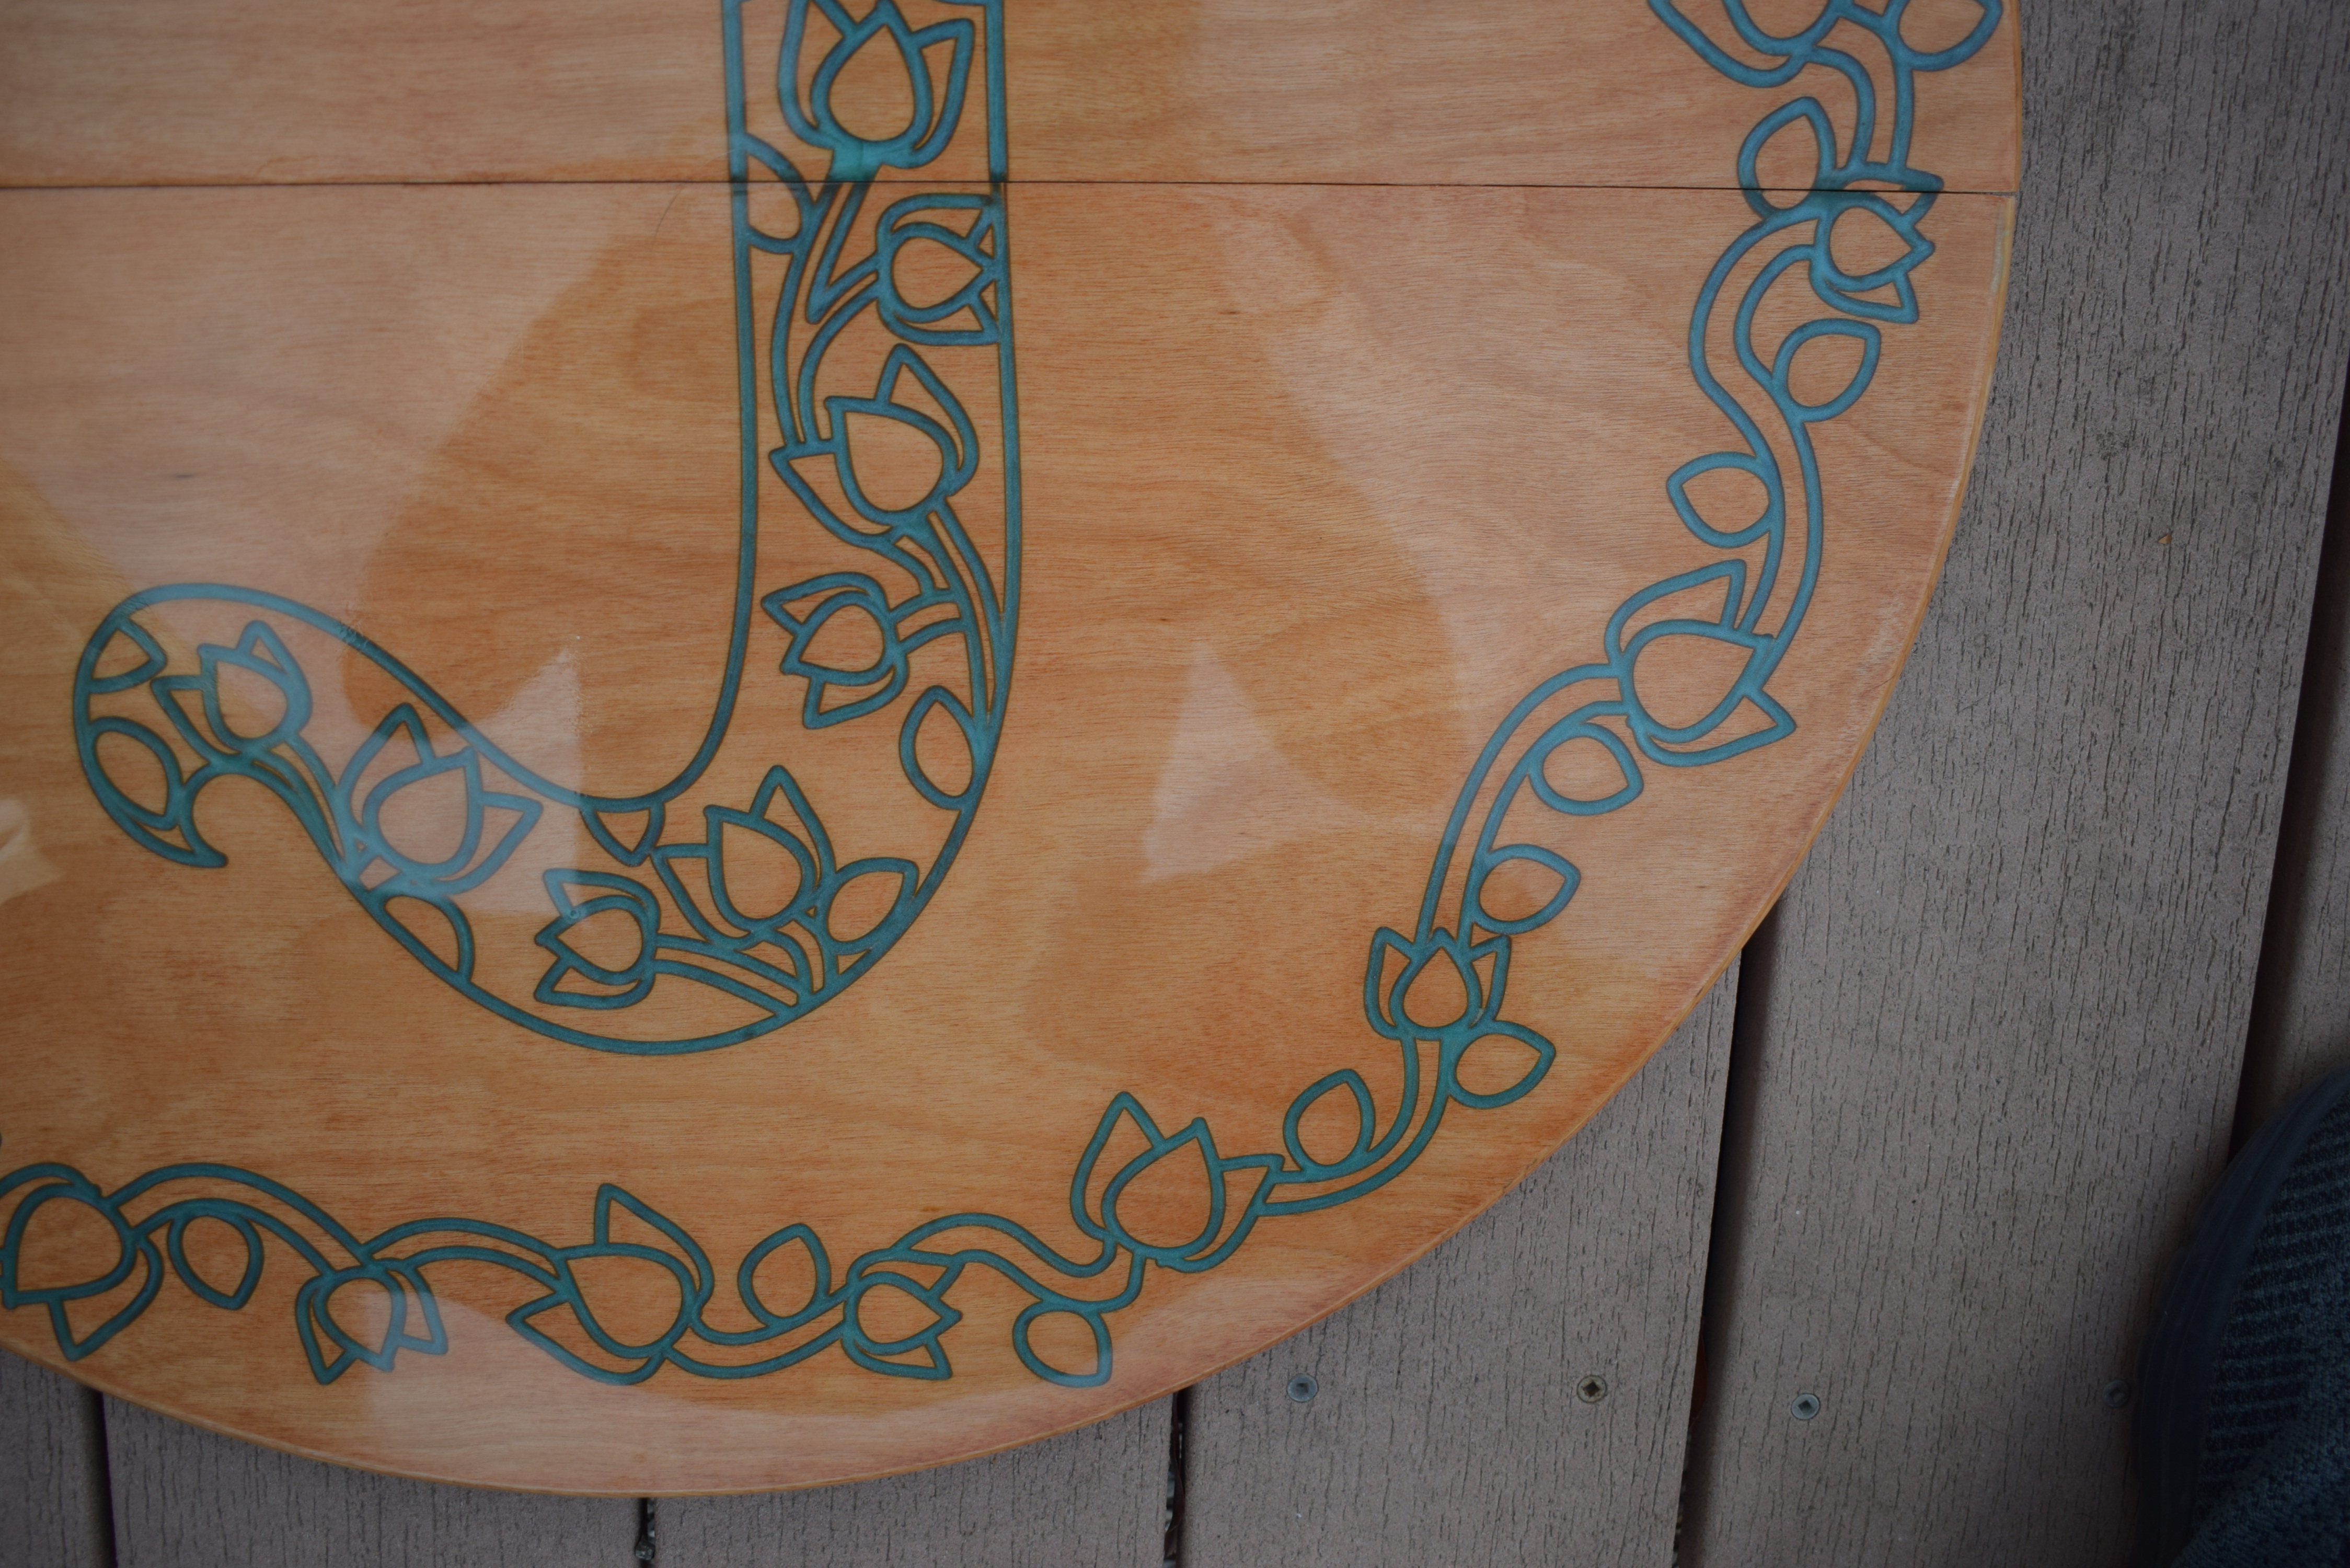
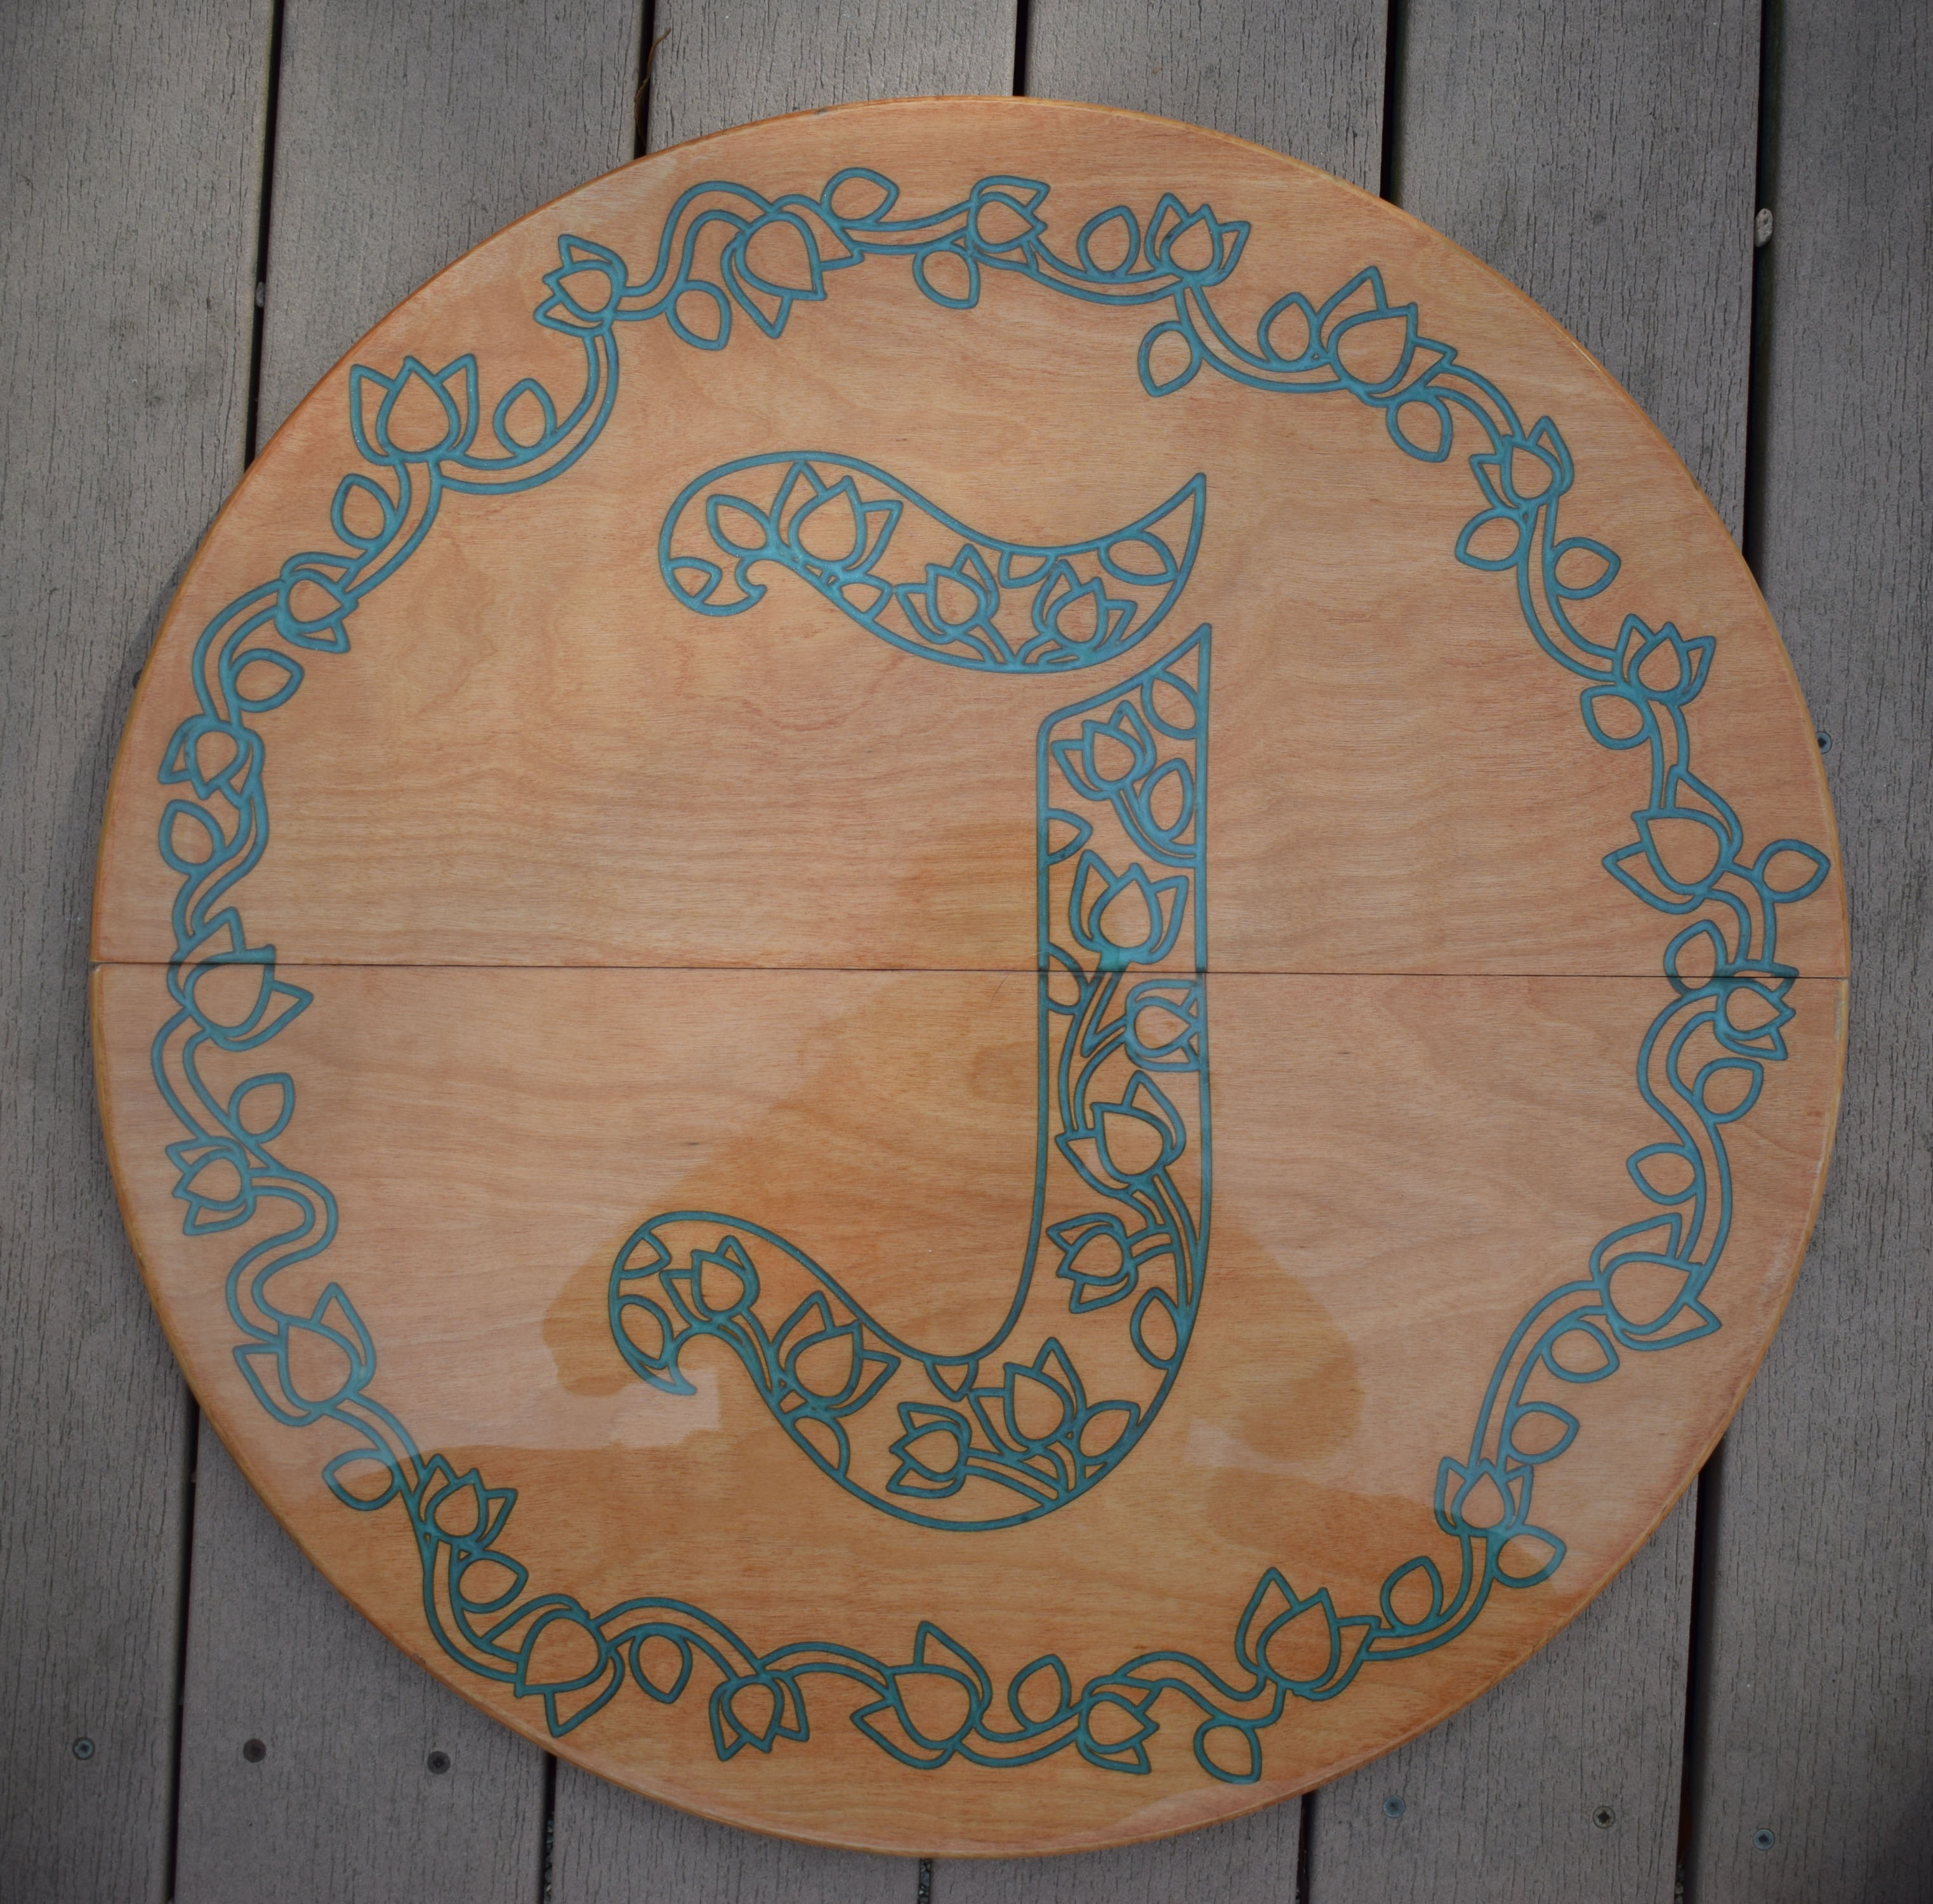
It began with some original artwork from Mikayla Rust.

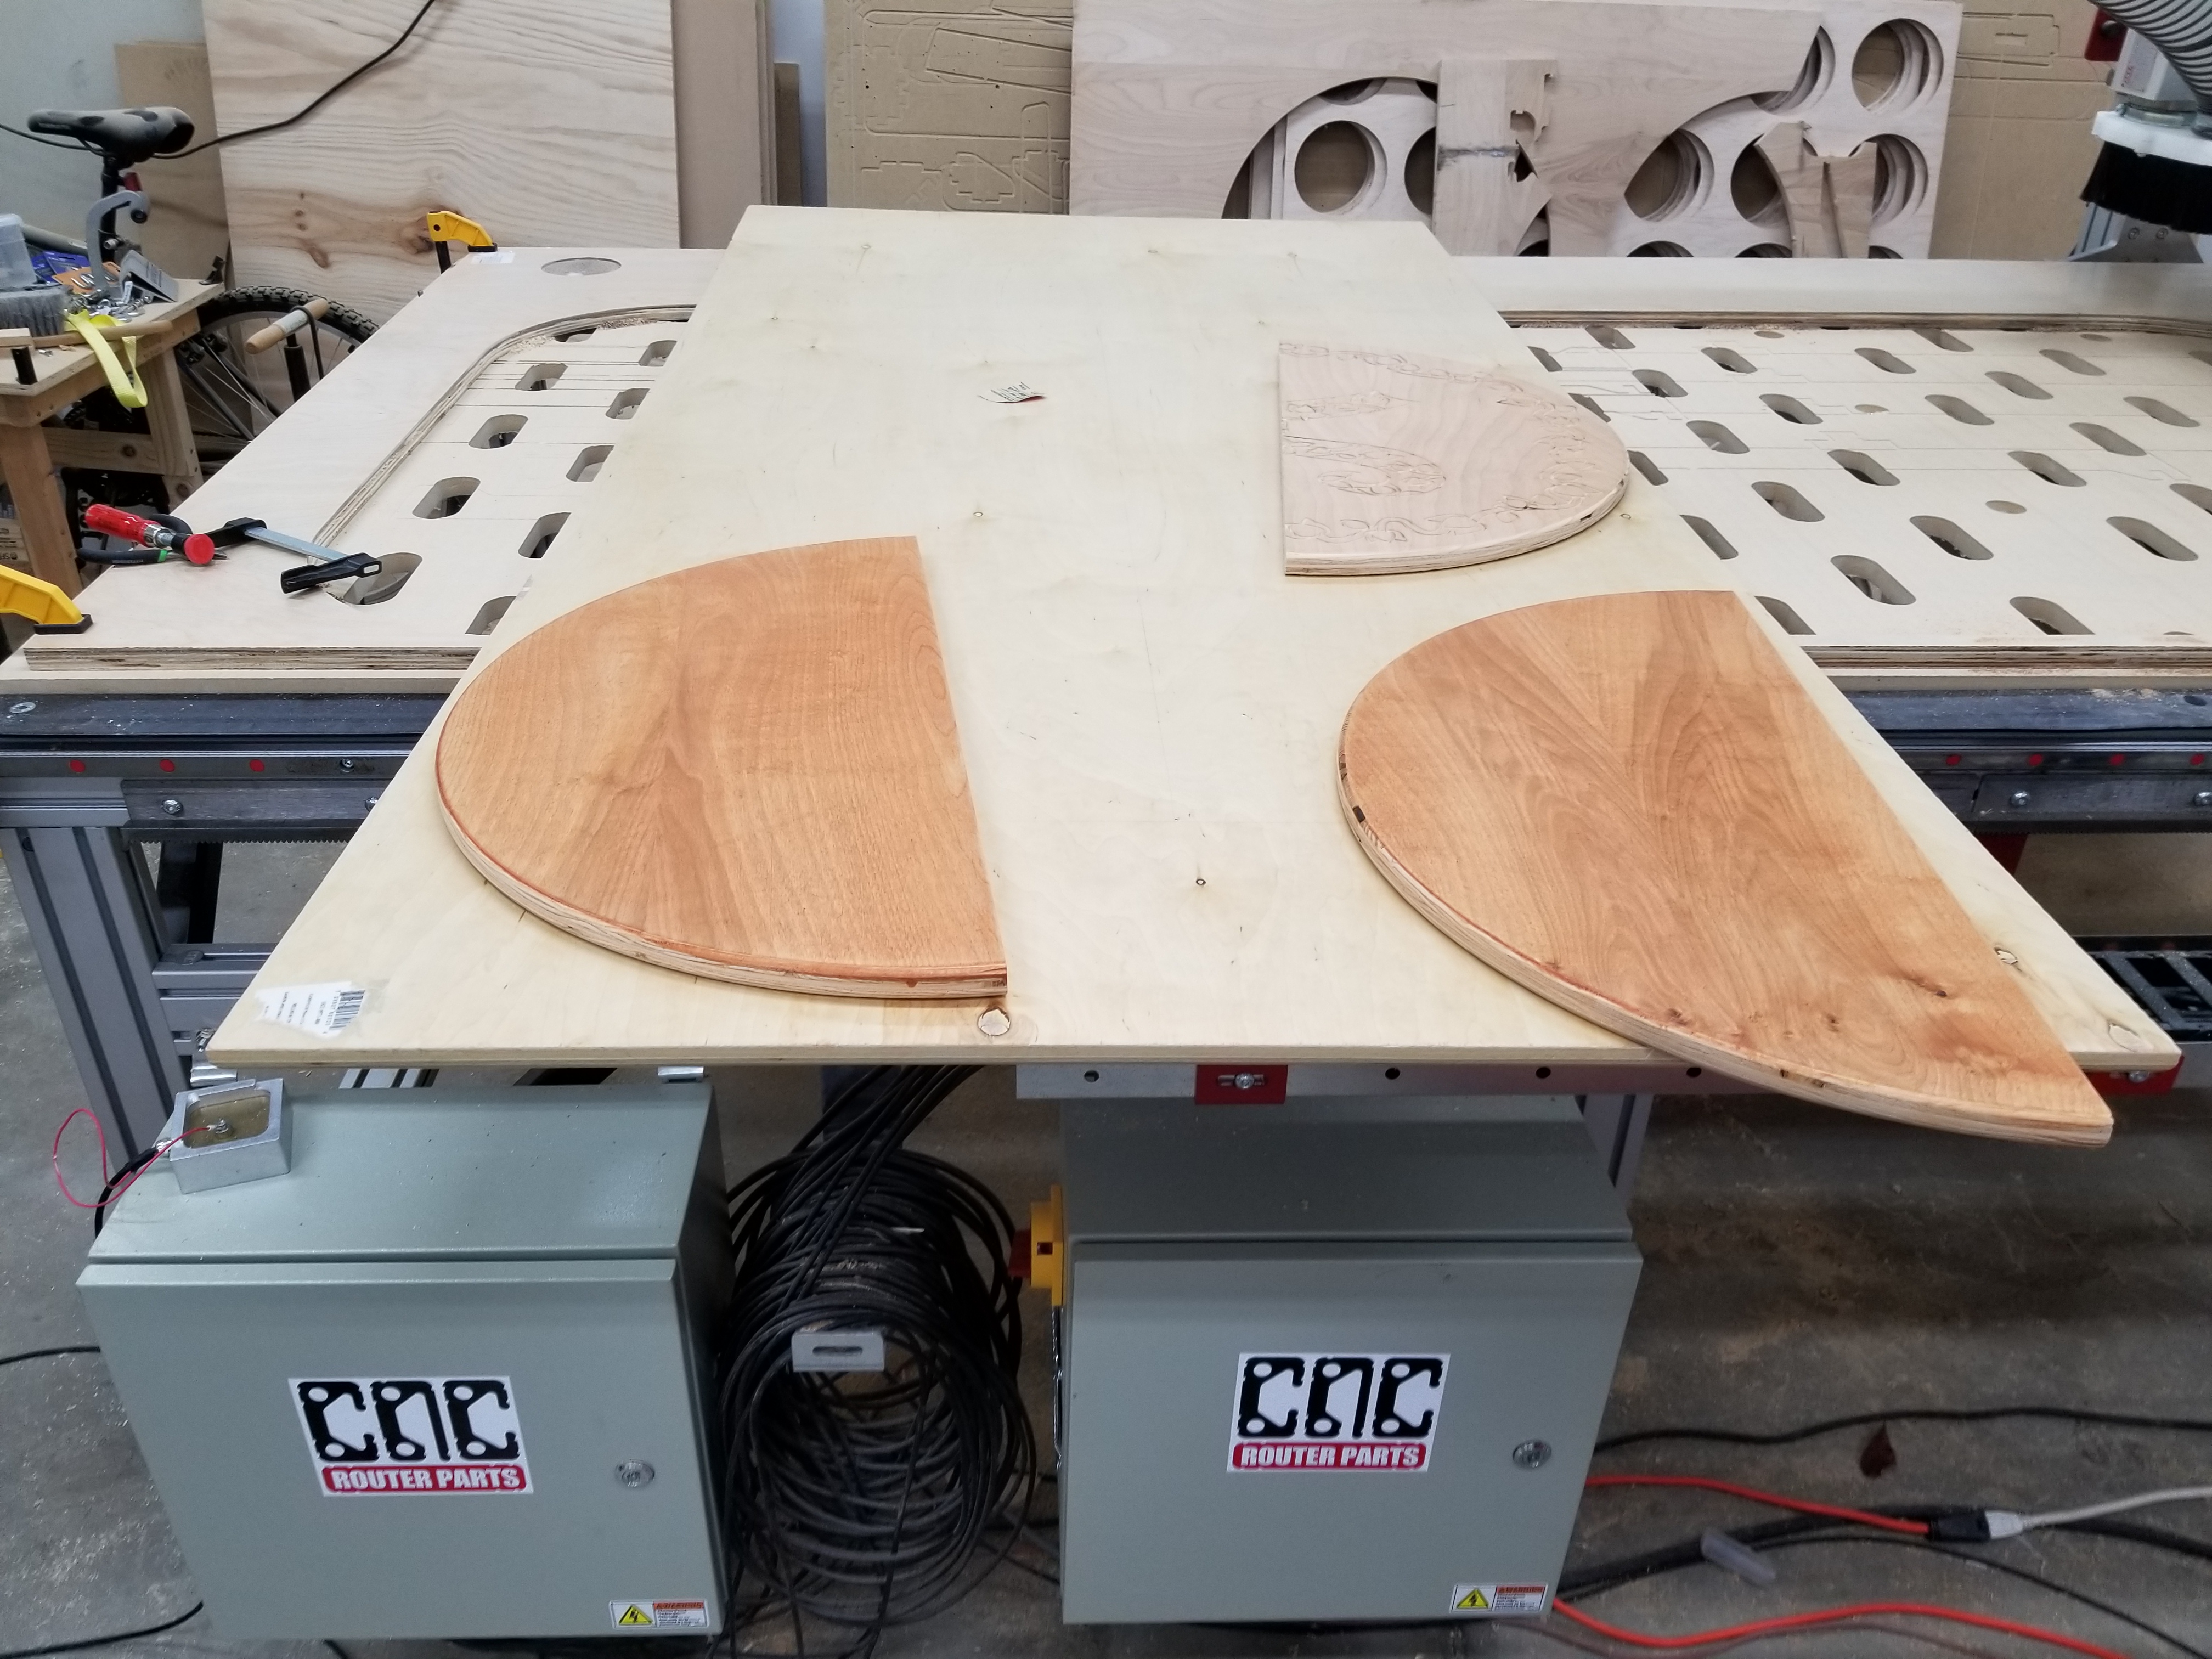
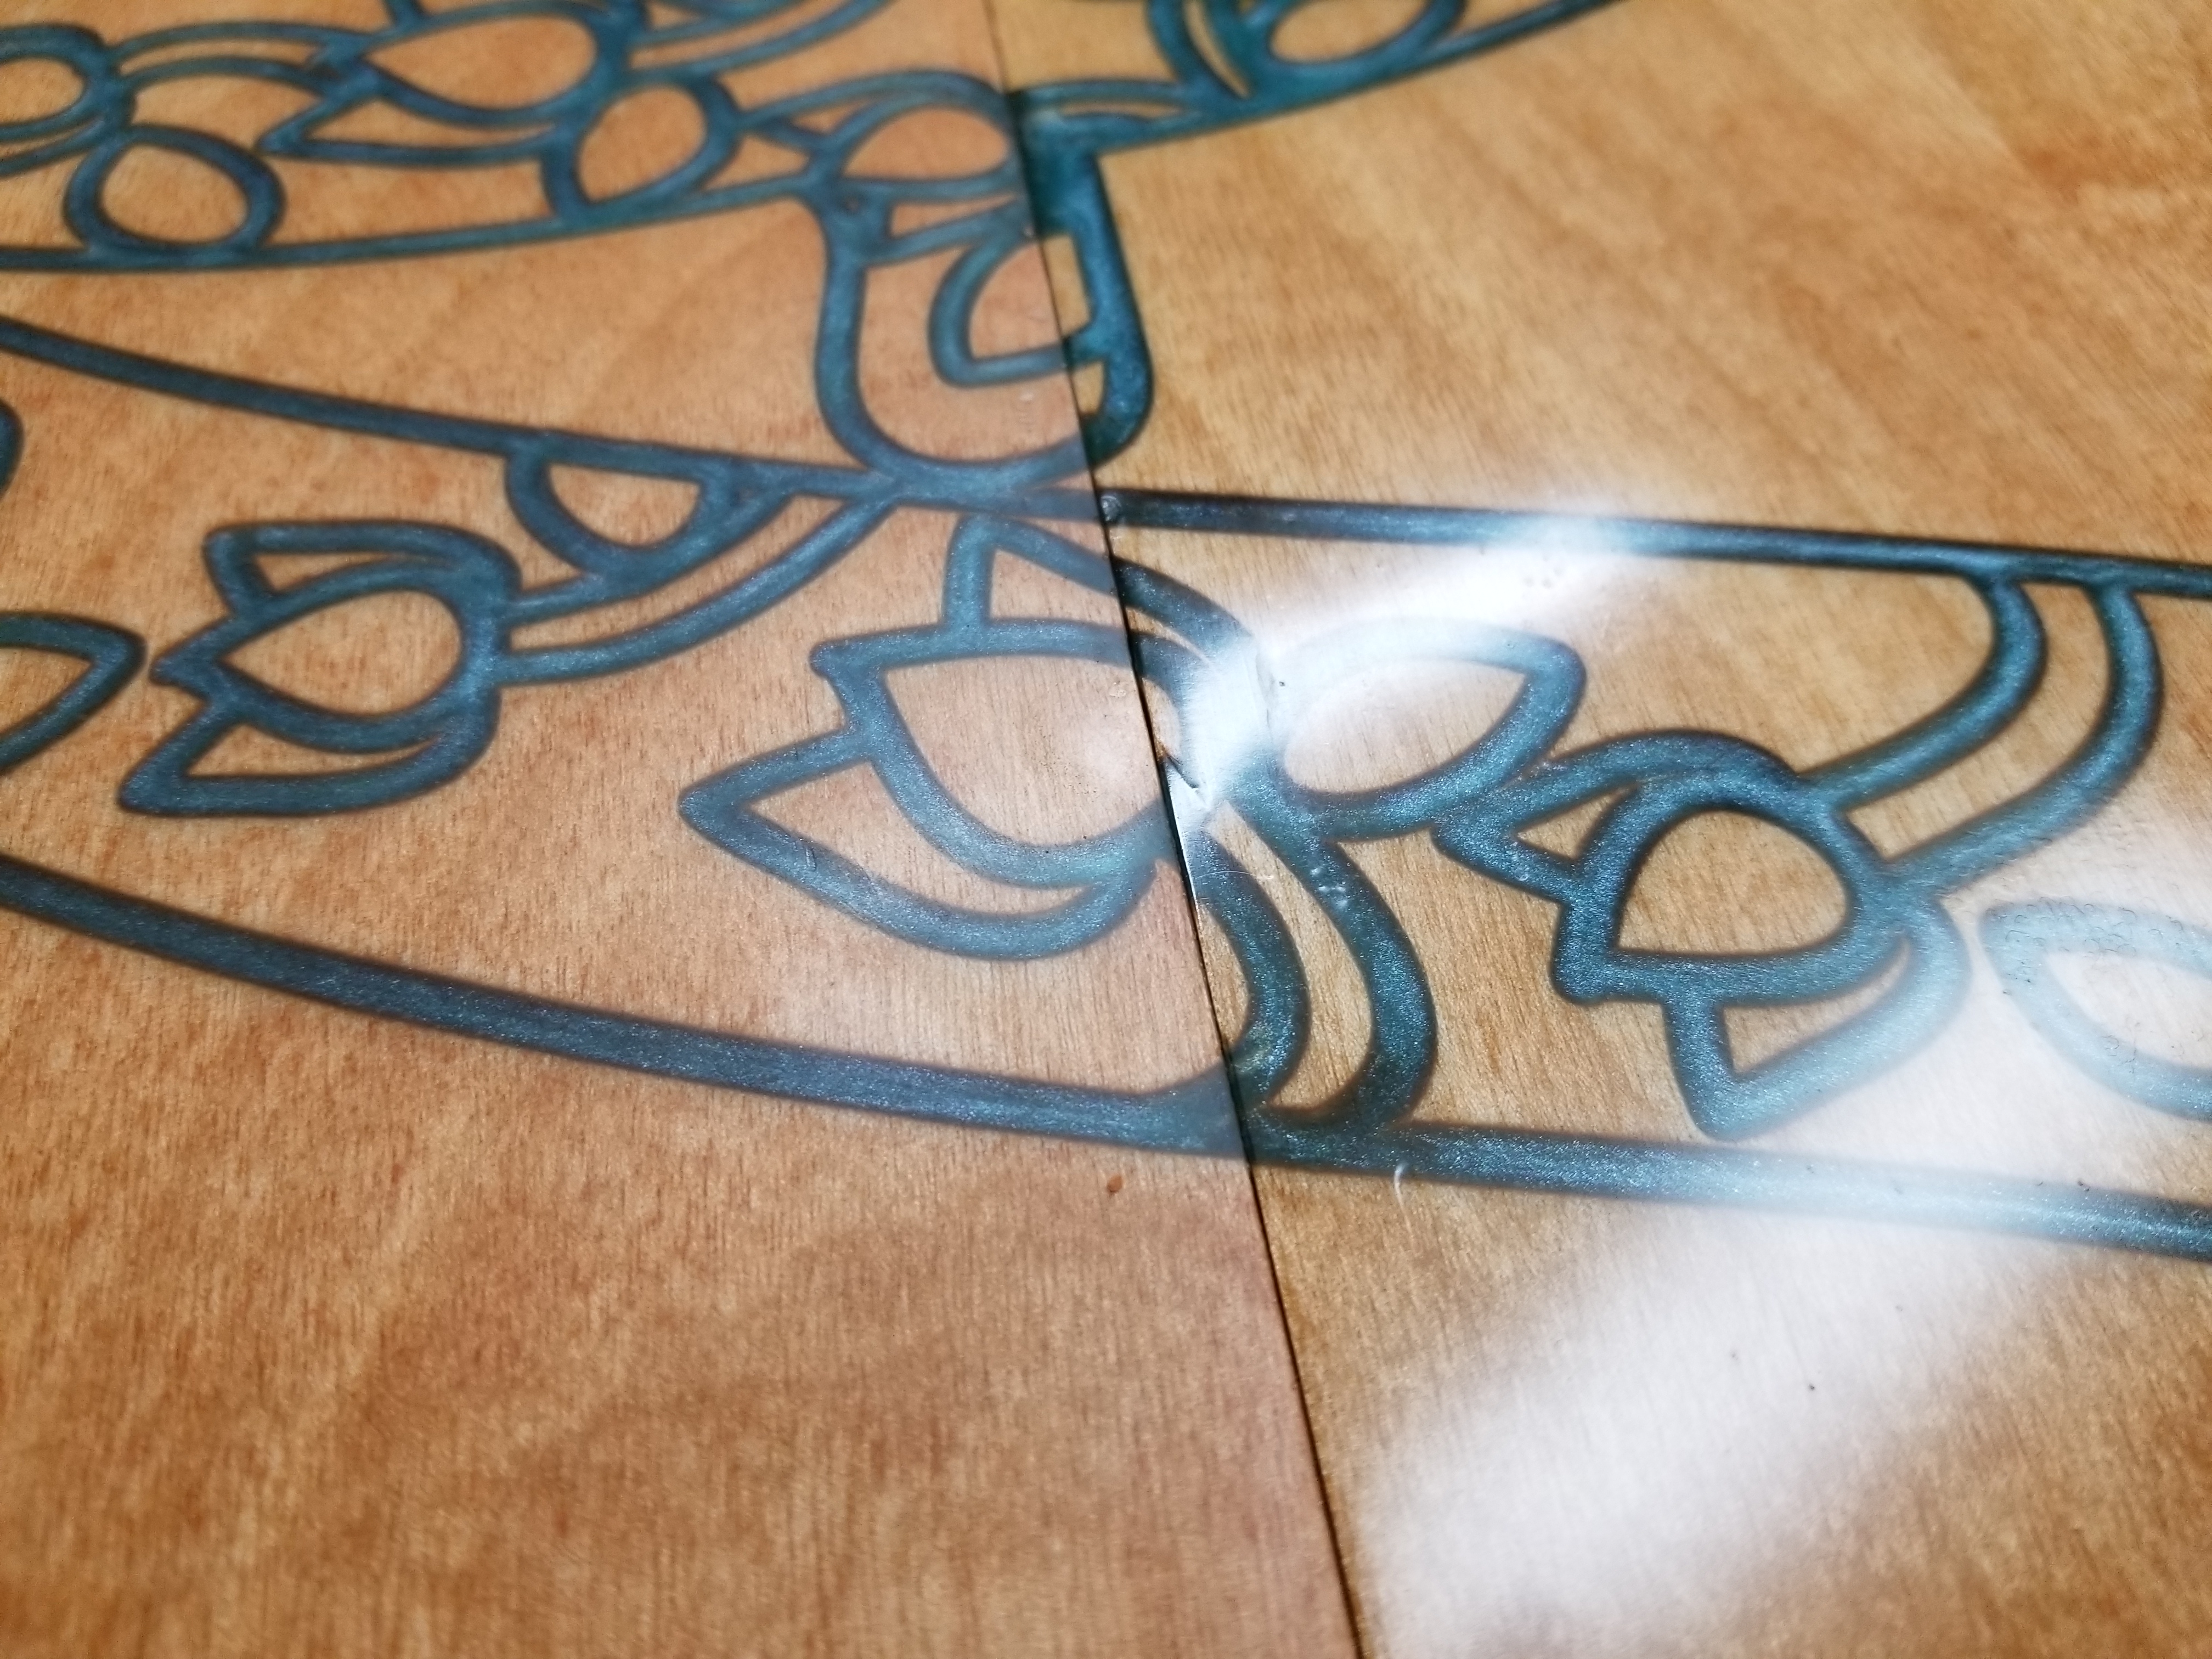
At first glance I figured this was going to be easy to get going. However, these are going to be split top 24 inch table tops. Because of cutter size and chip out among other things dictated that I needed to split this design in half.
I tried using the illustrator pathfinder but it cannot clip a collection of unclosed paths. Clip groups showed some real promise but when exporting I realized I was going to want a dxf and there seemed to be no way to “expand” the clip group into primitives that would make it into Fusion.
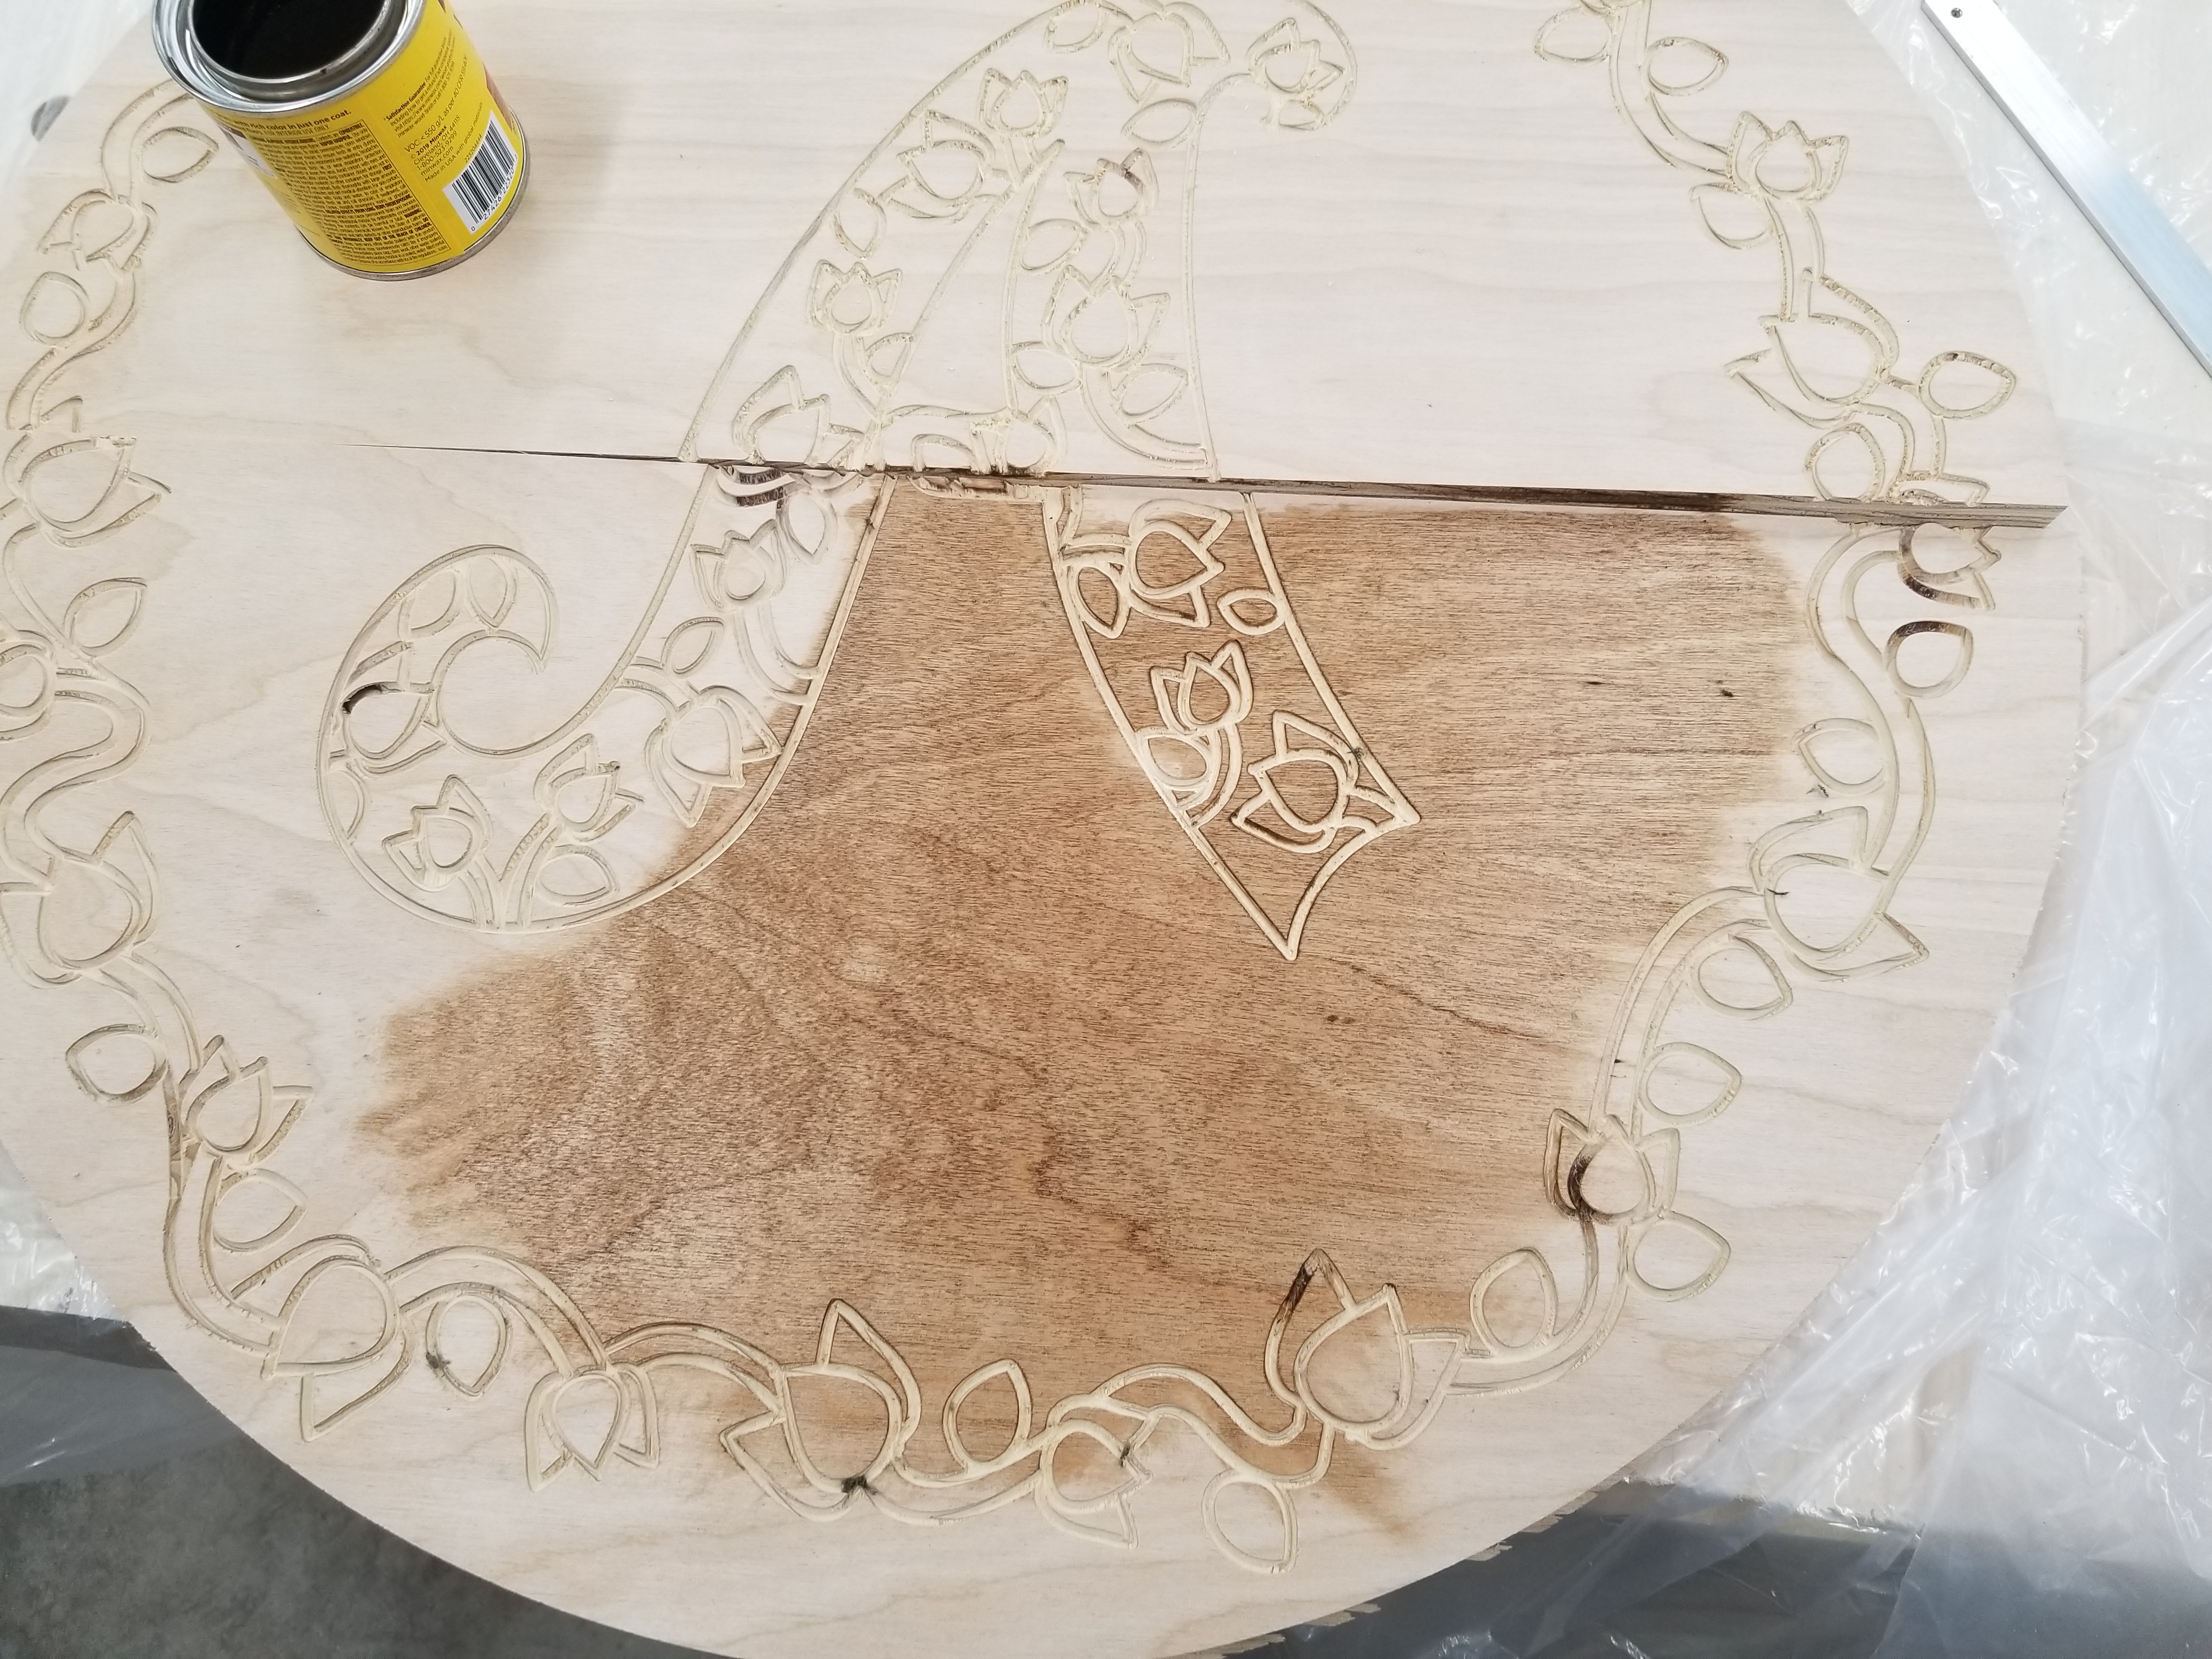
The solution was actually to bring the artwork over to inkscape and use an extension called Pathops. It allowed me to cut my collection of objects with a single shape. I chose to extend the engraving past the edge of the cut slightly to minimize chip out but it didn’t save me from all of it.
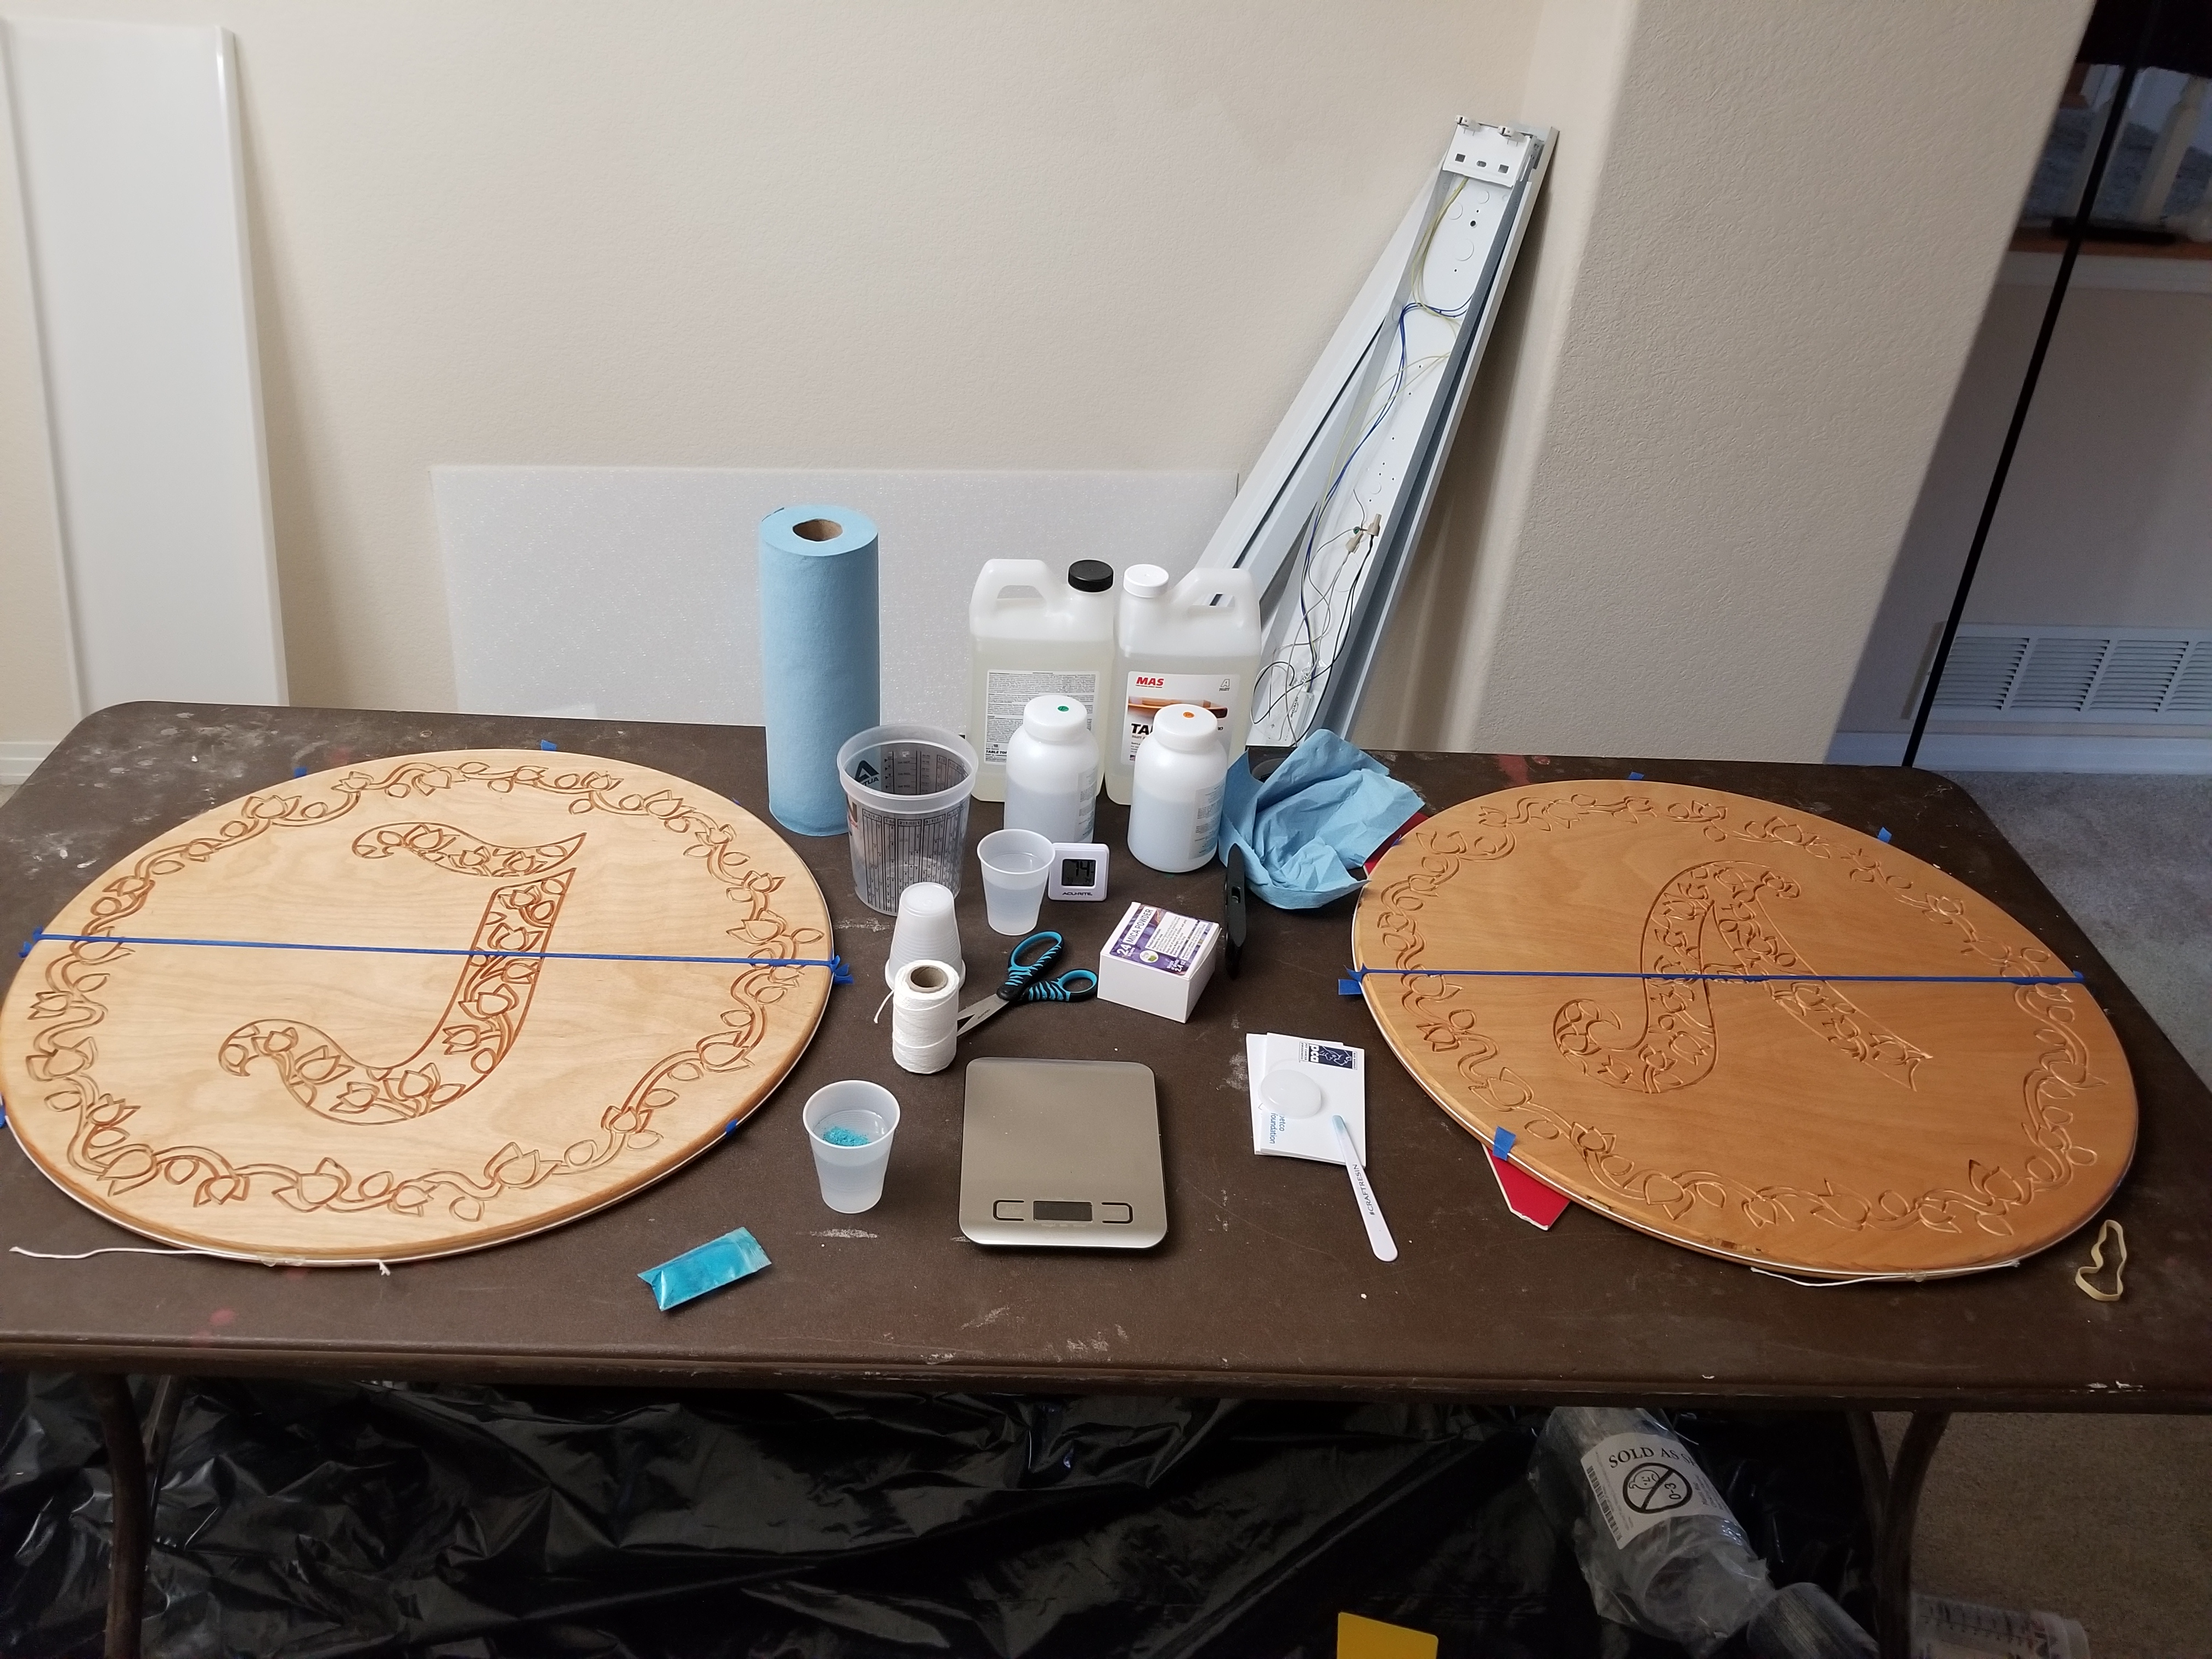
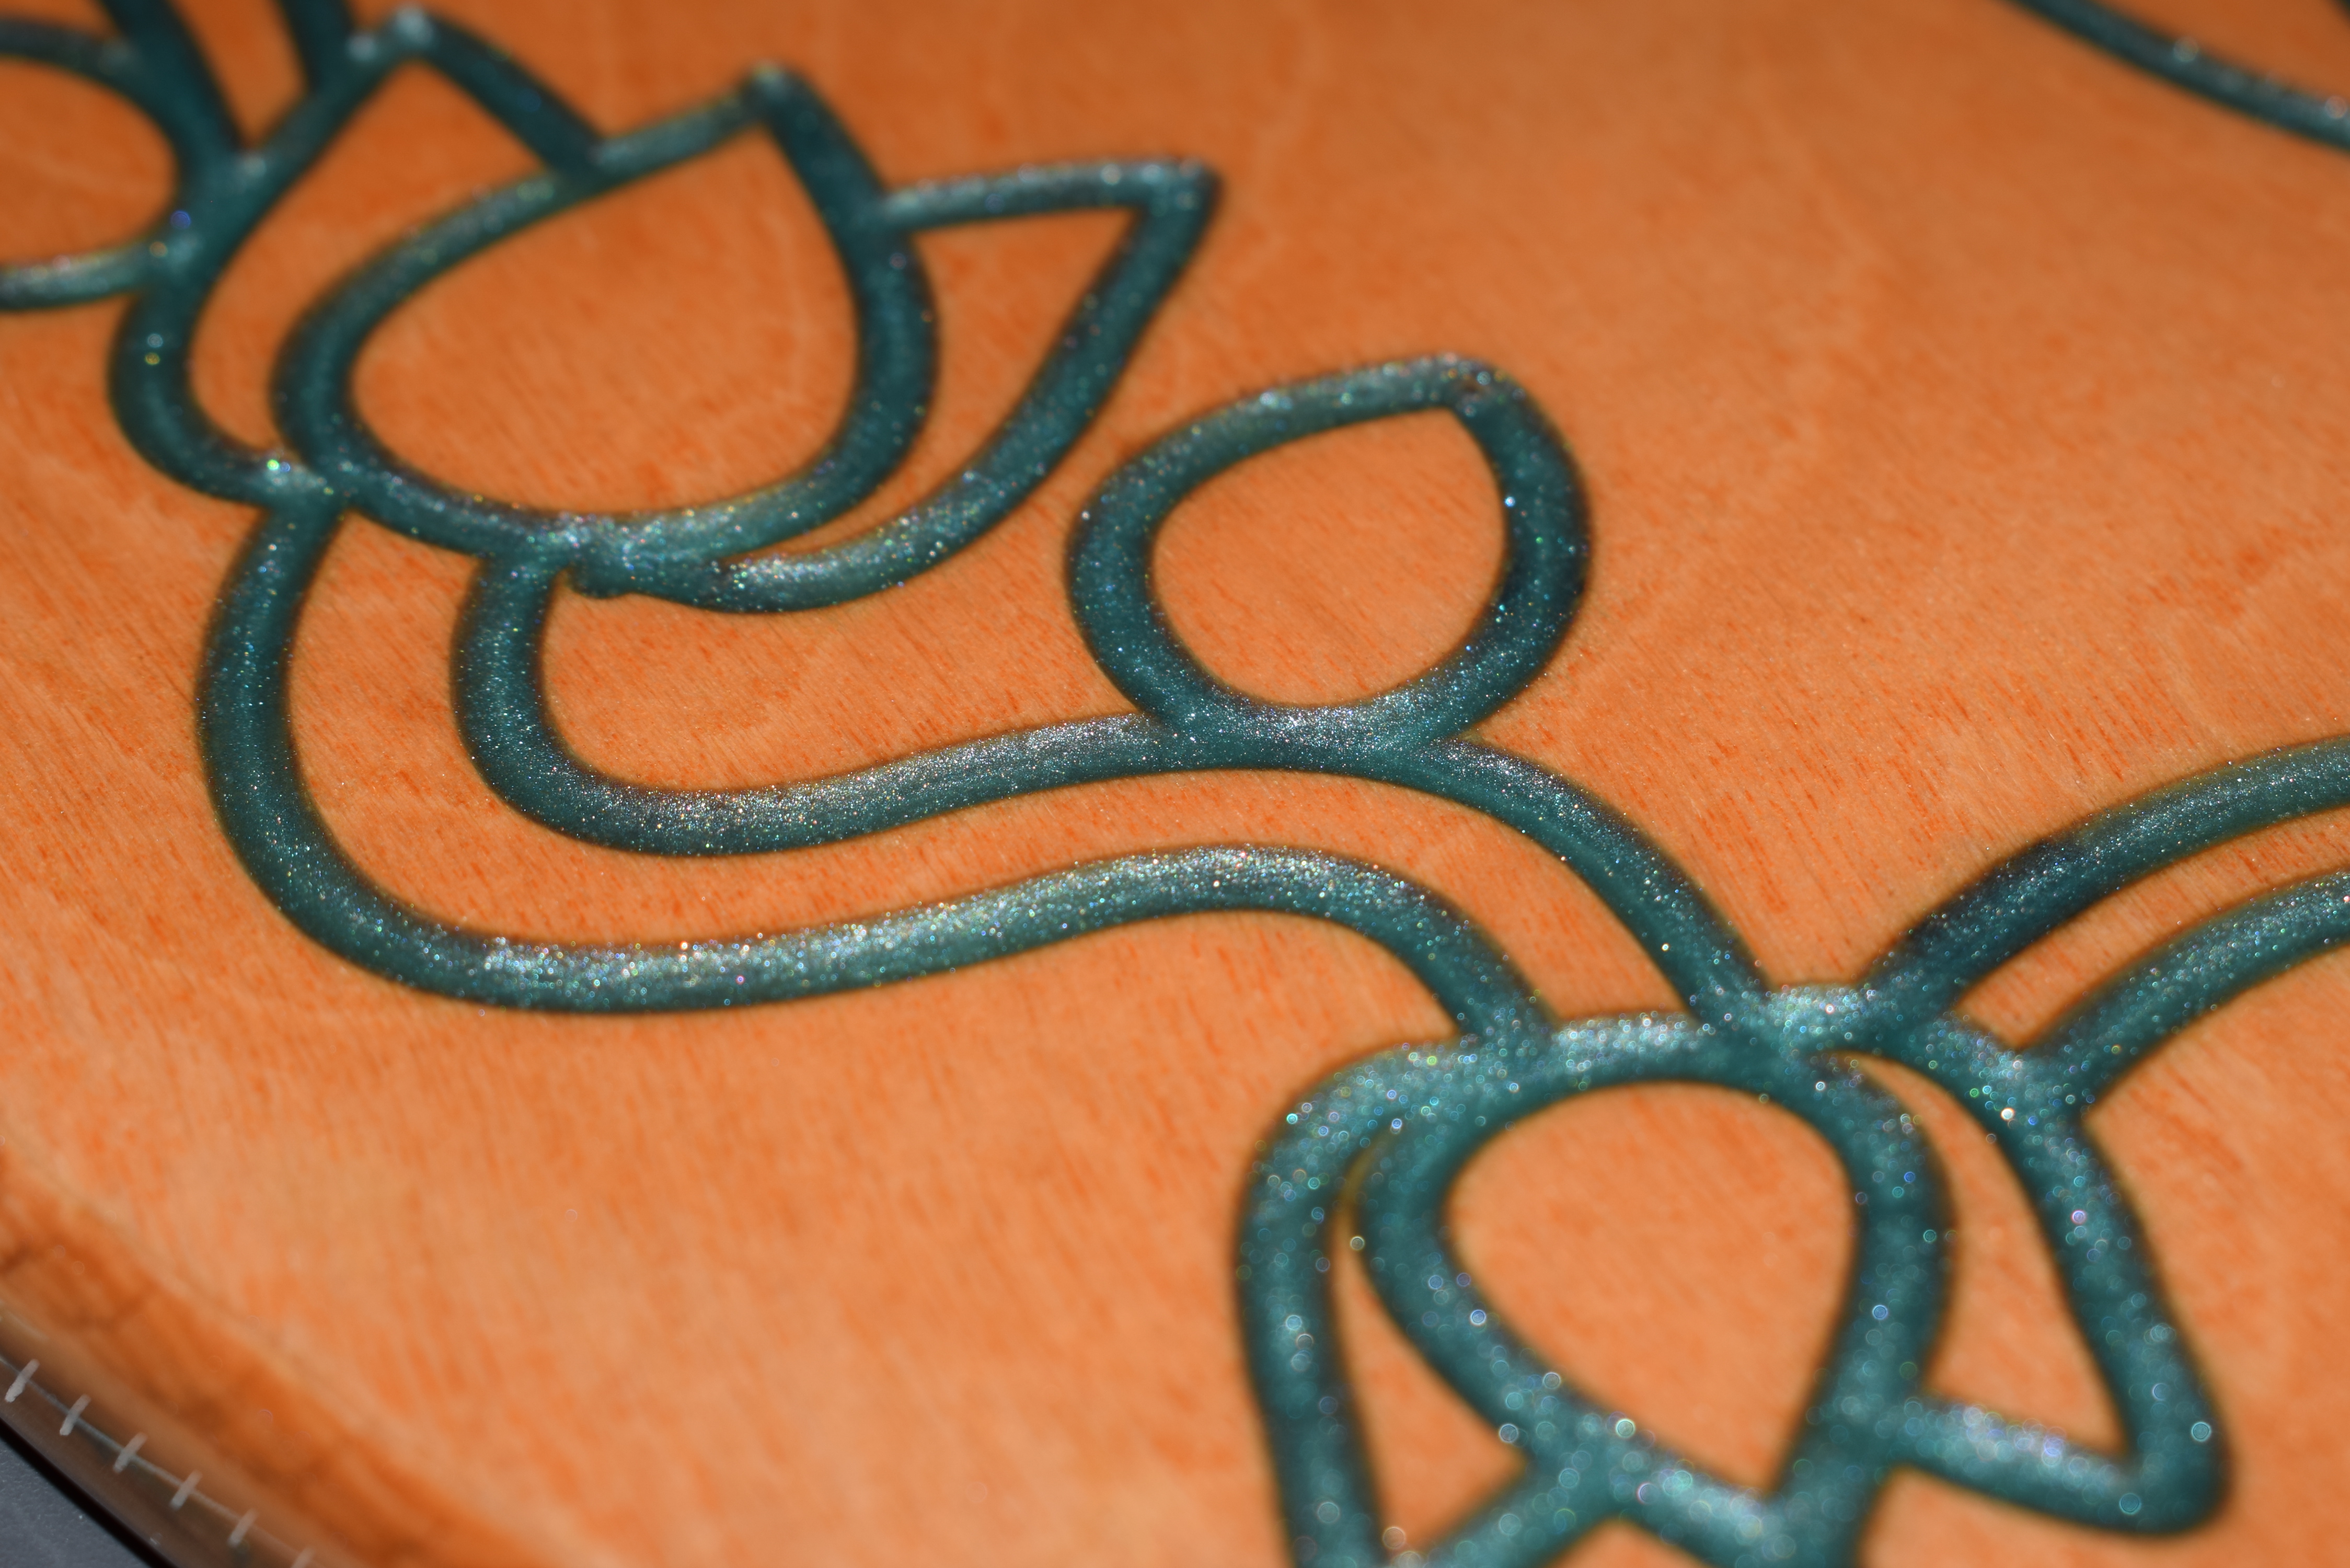
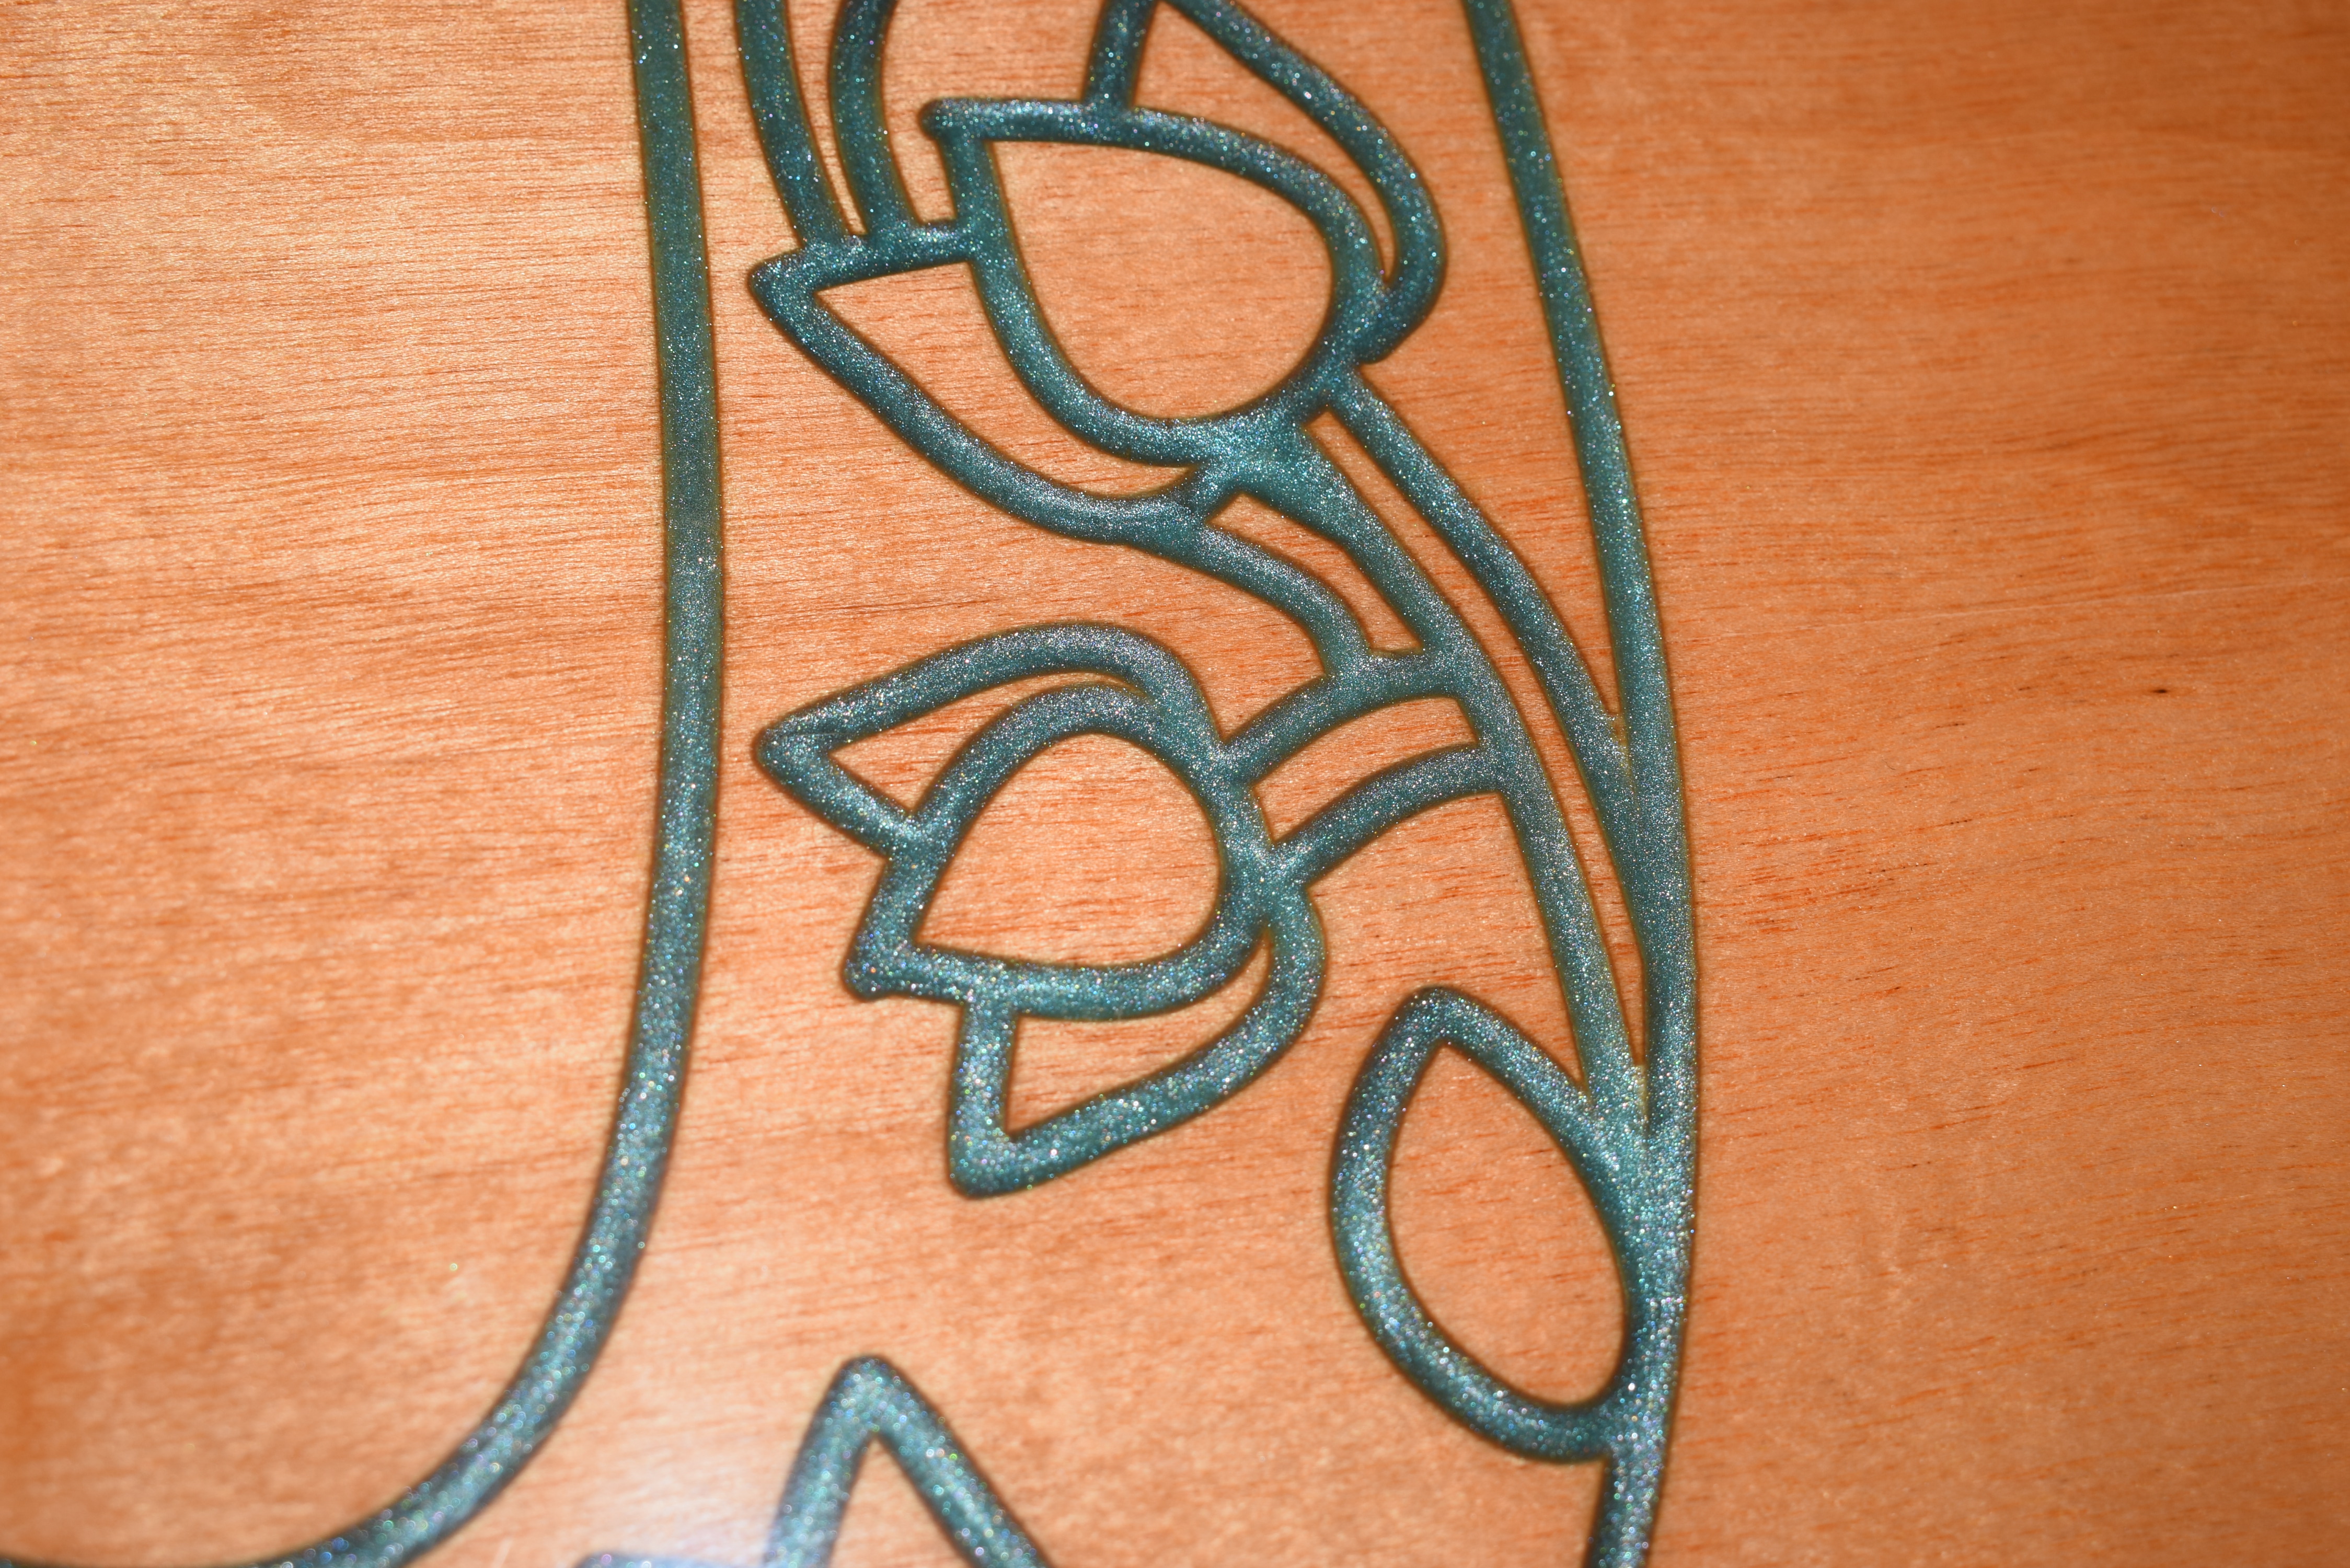
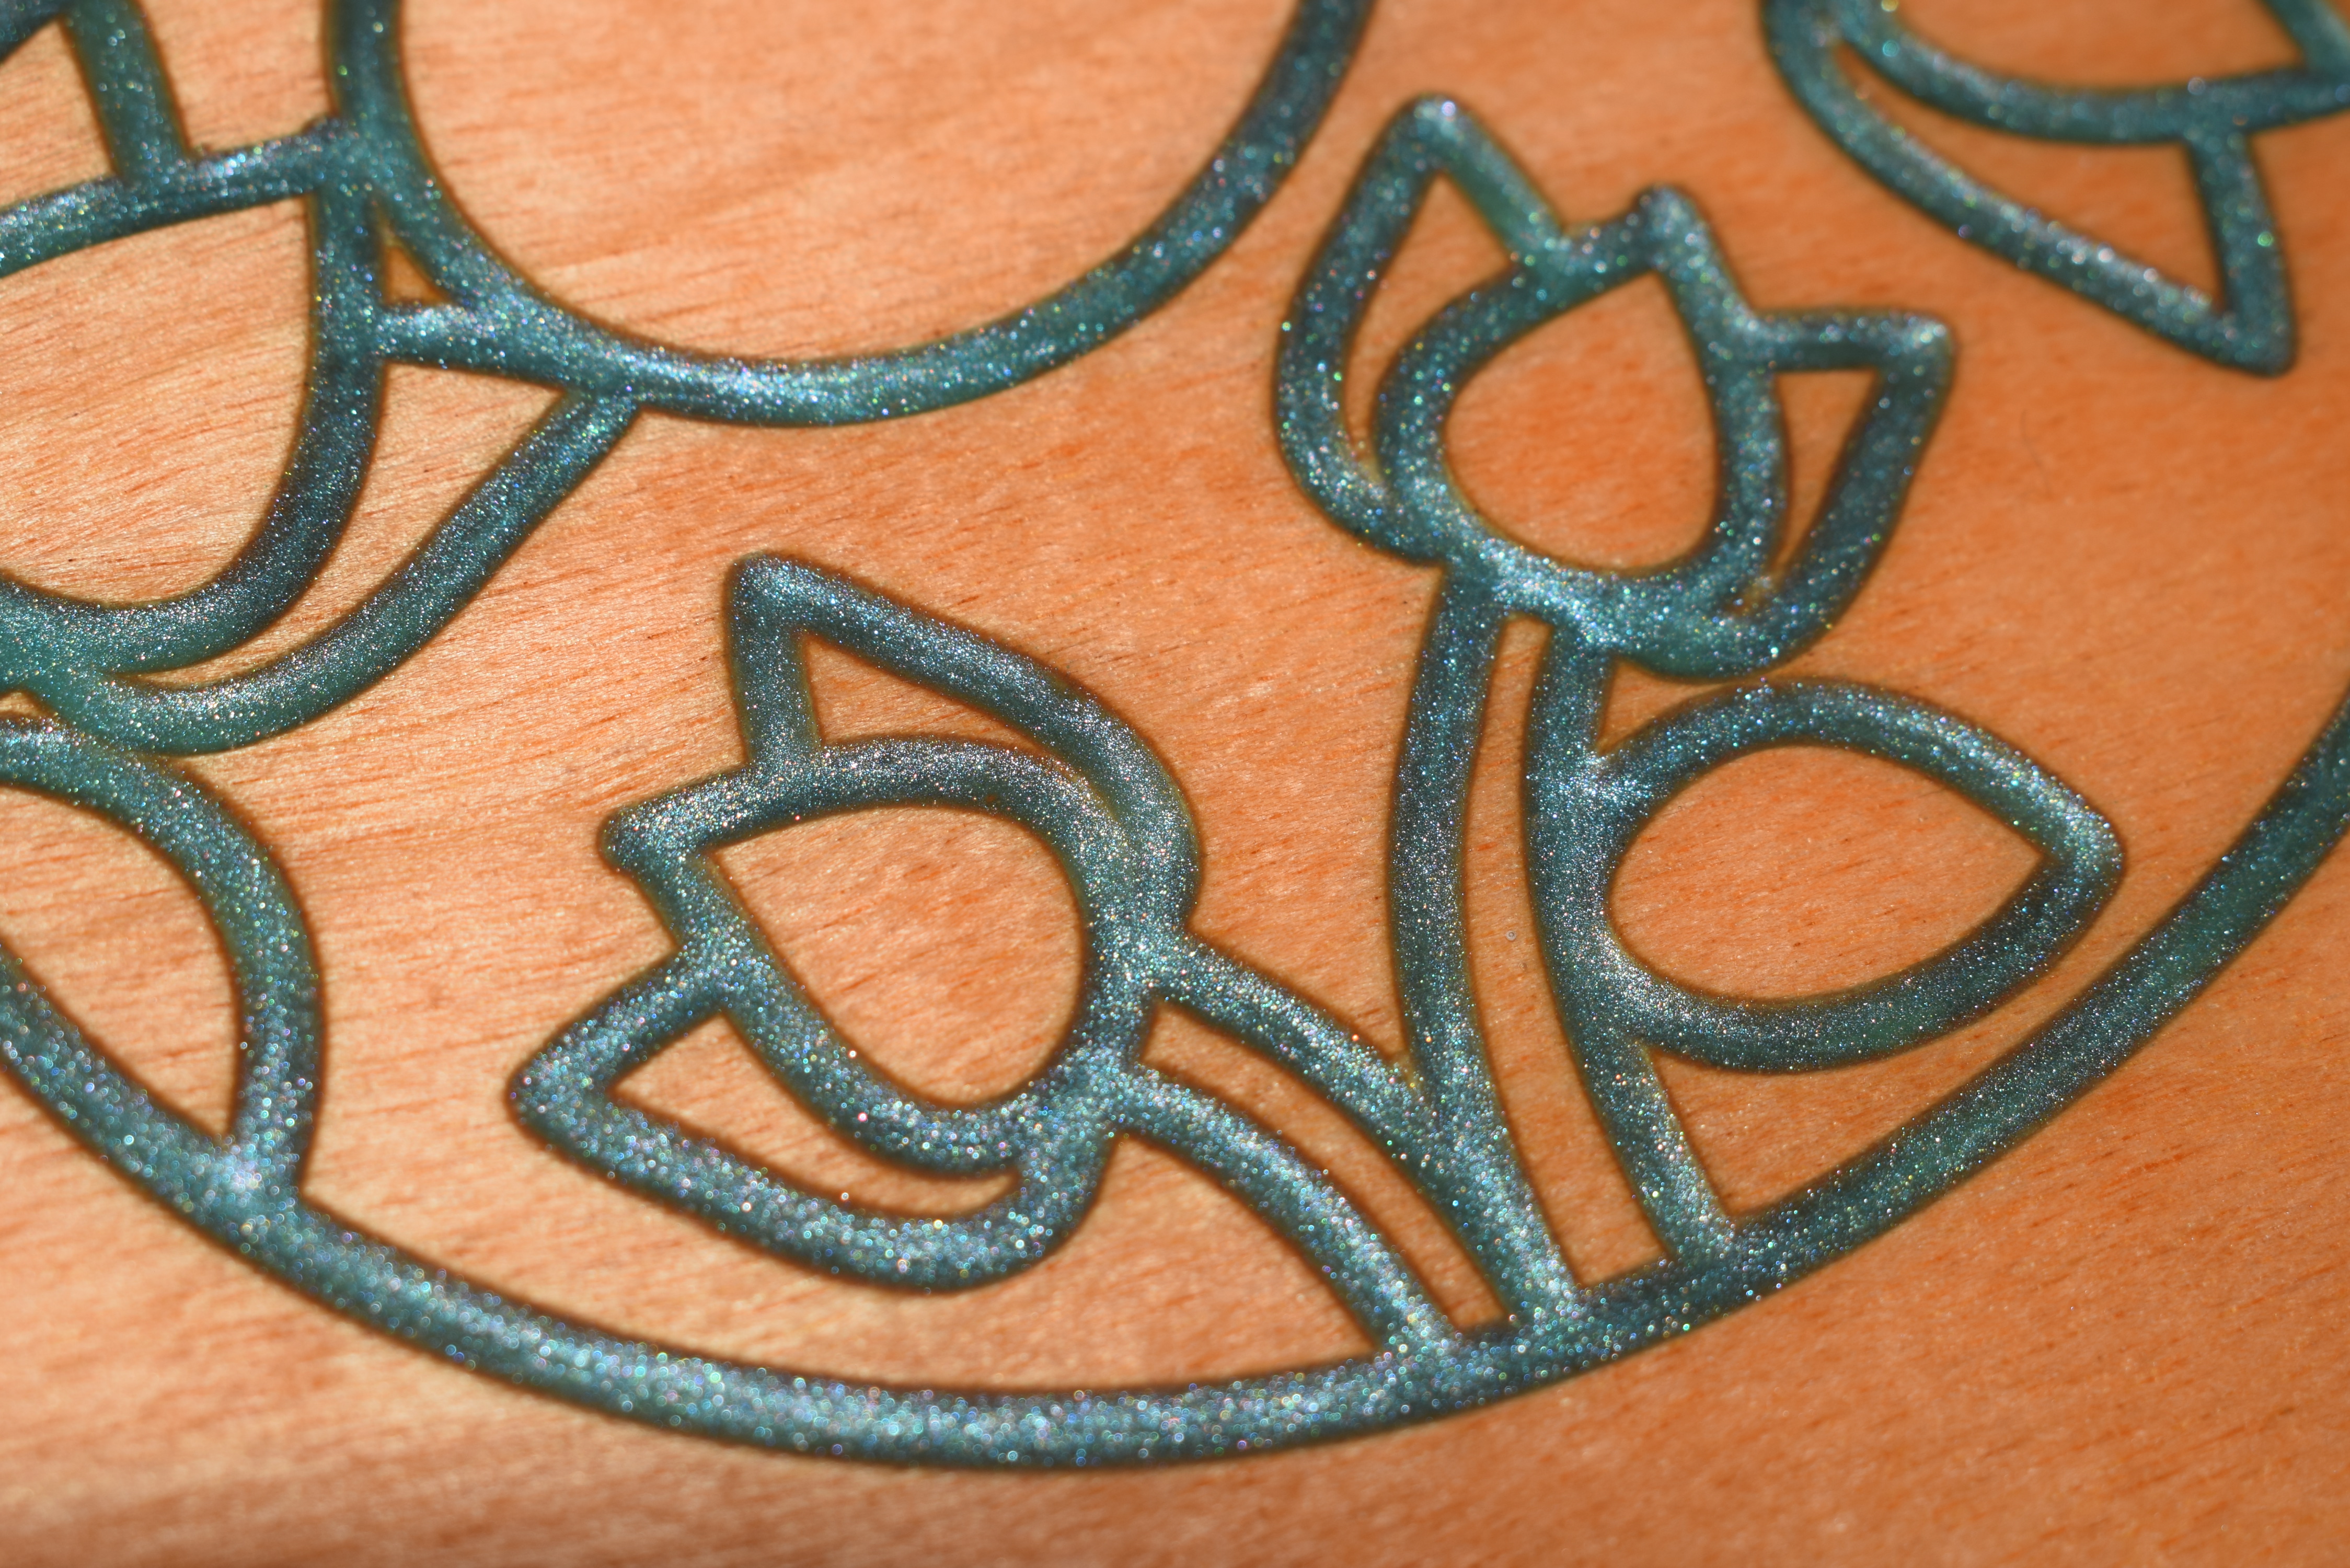
Once I had some files that I knew could work I needed to experiment with the epoxy as I’ve never used it before. For this project I ended up using a Deep pour by Craft Resin for the candied inlay and then a Thin pour by MAS for the clear coat.

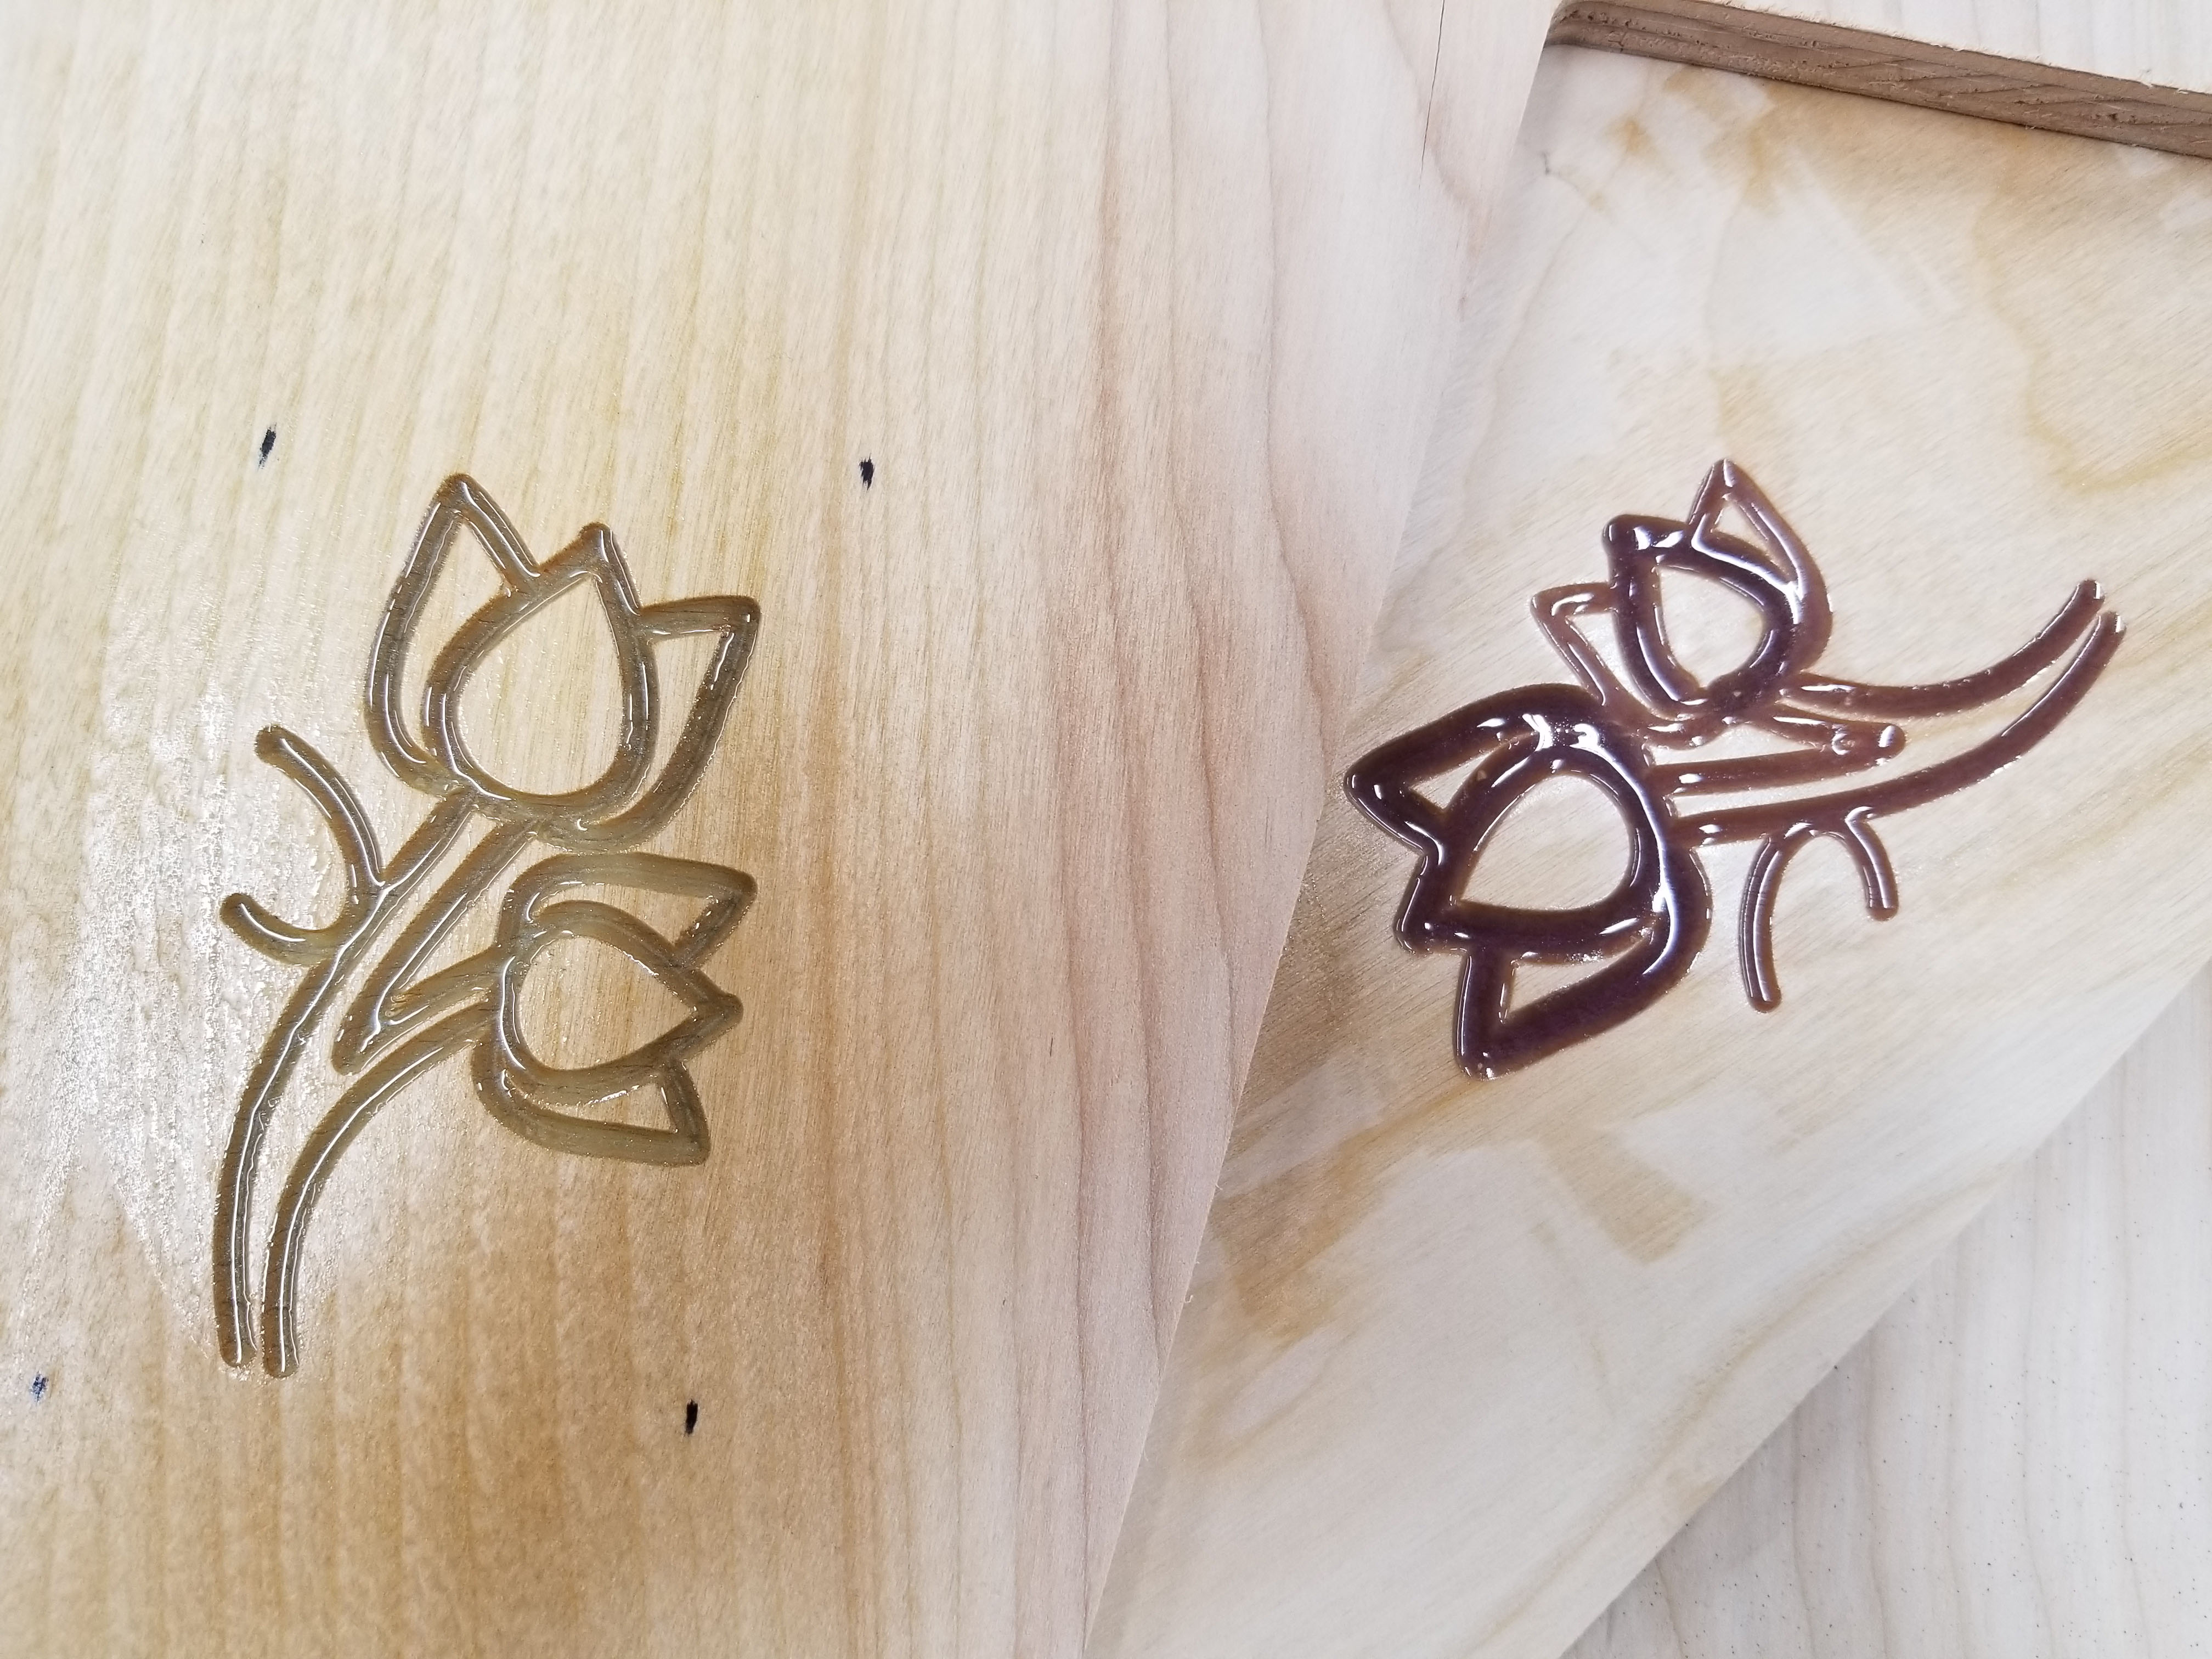
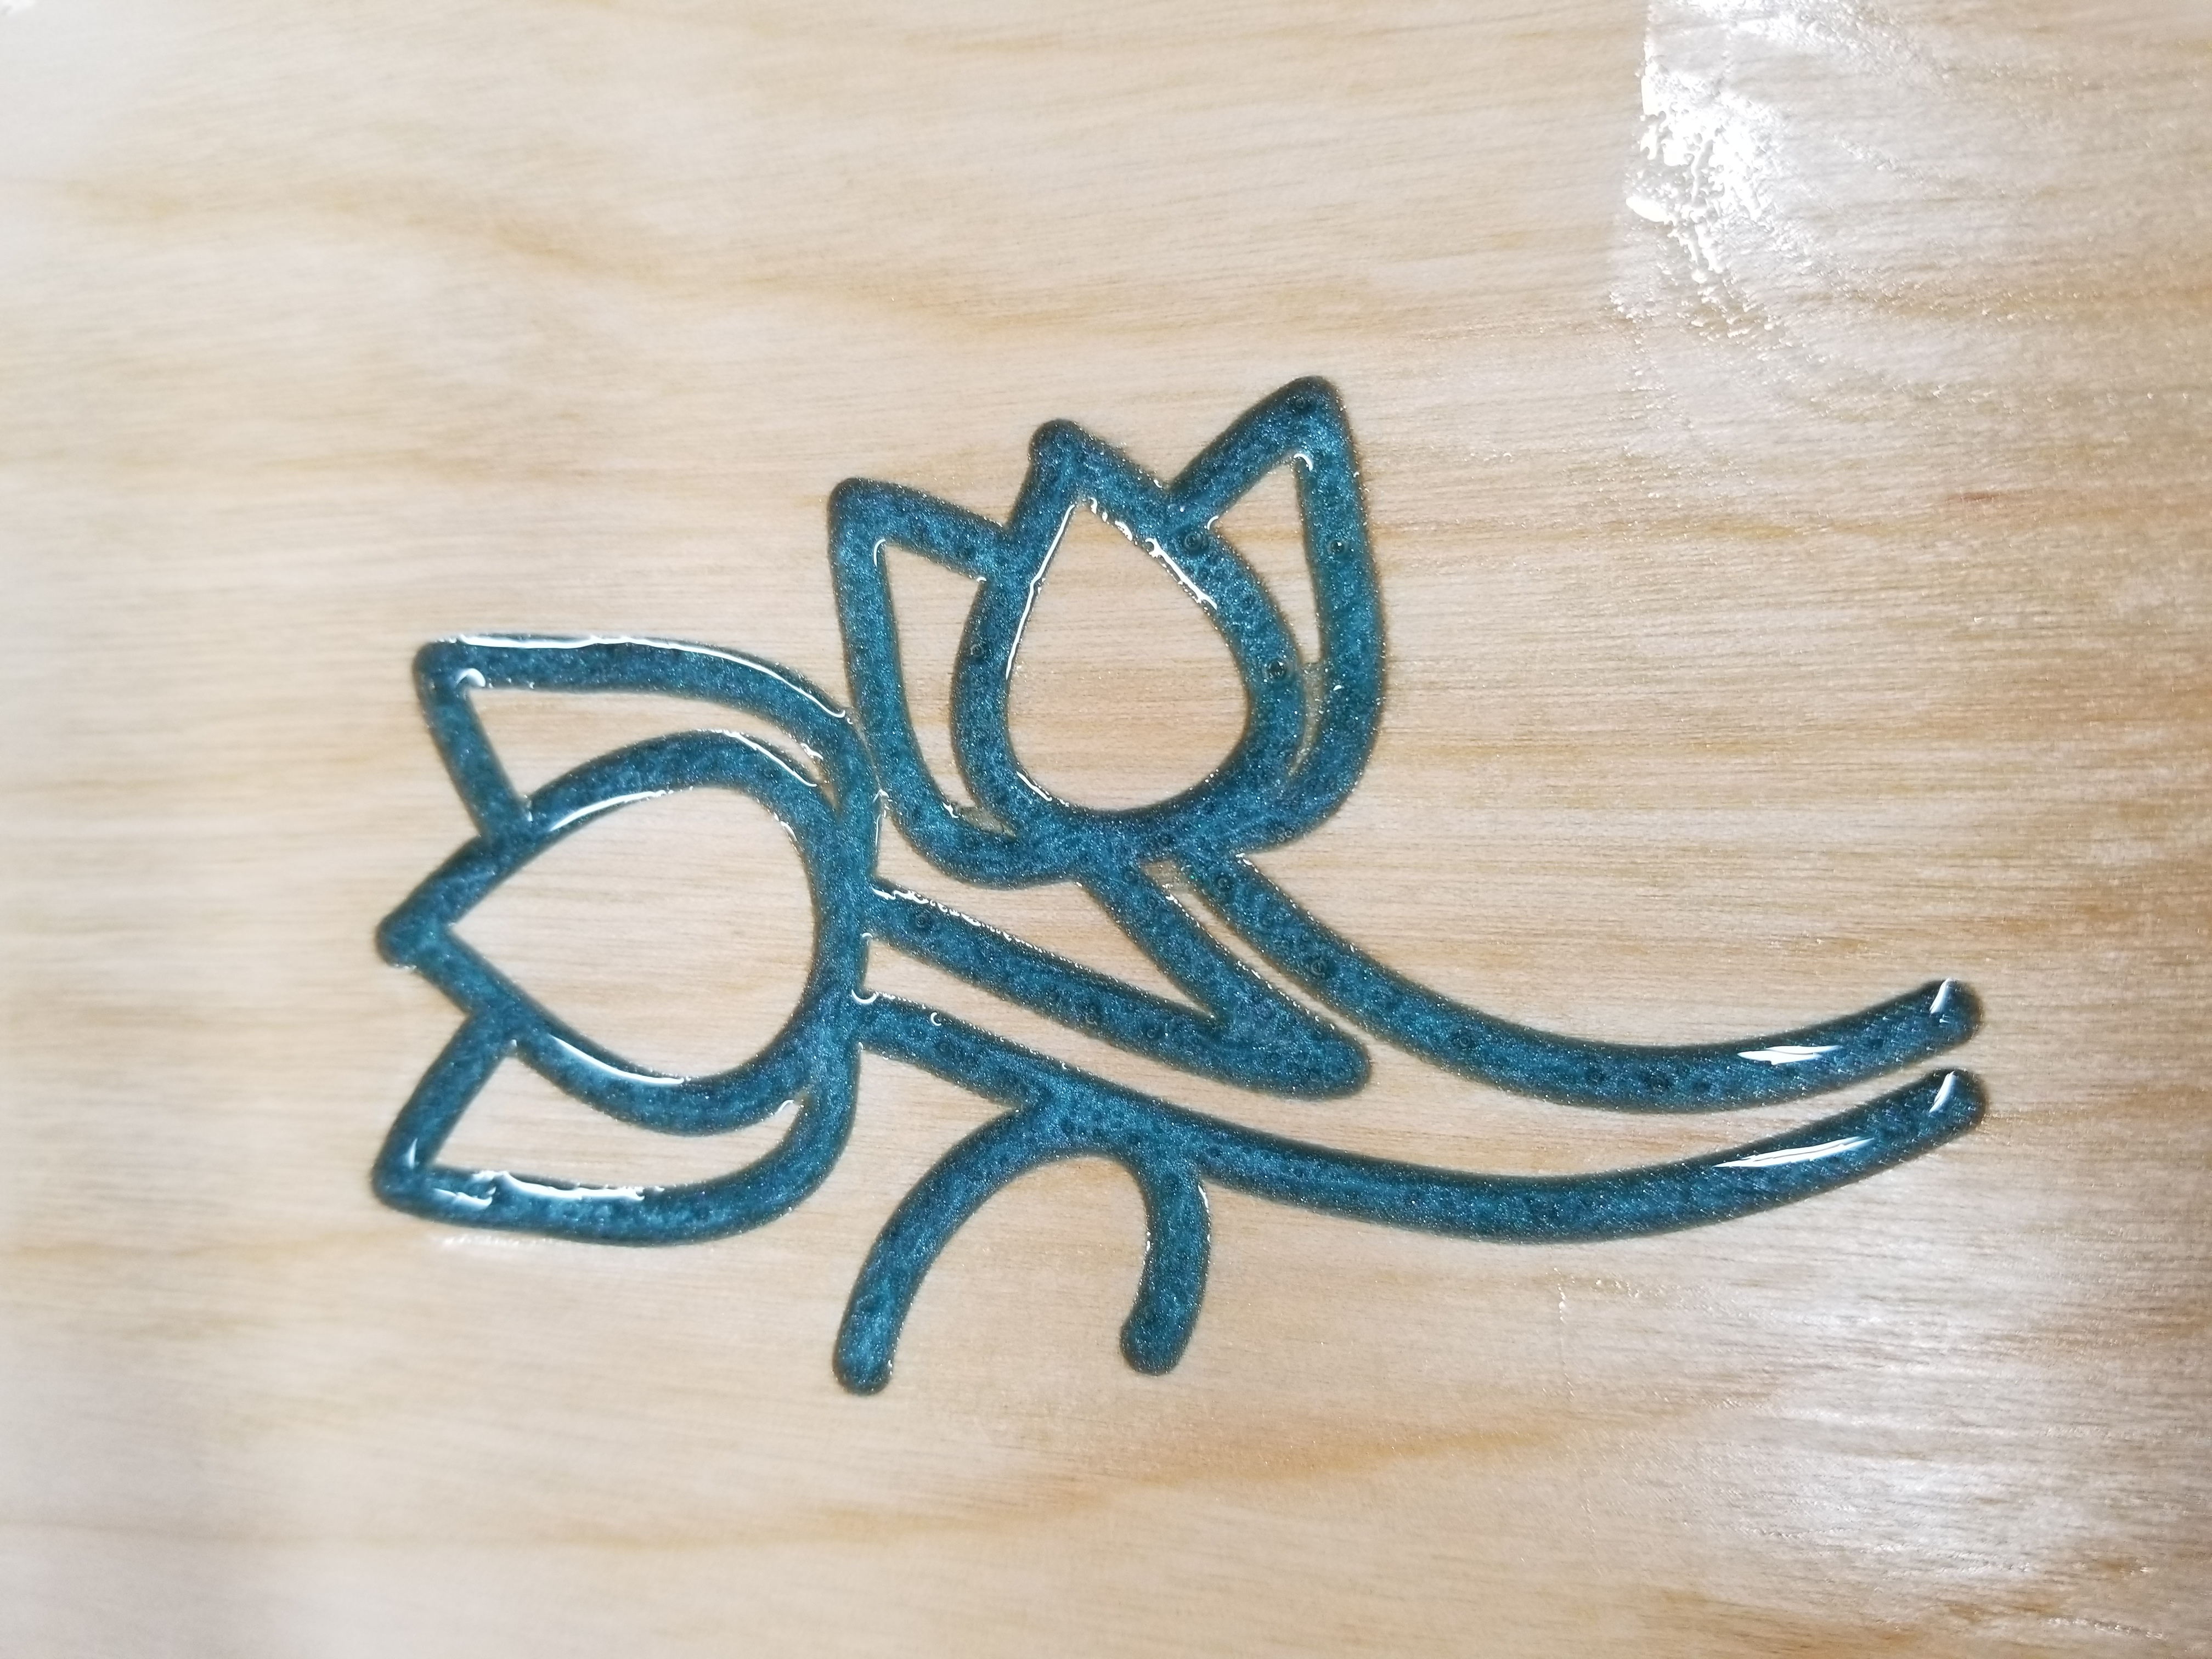
After a few tries I figured out what color and technique I wanted to use. Then I cut one as a test piece and got right into testing out finishes.


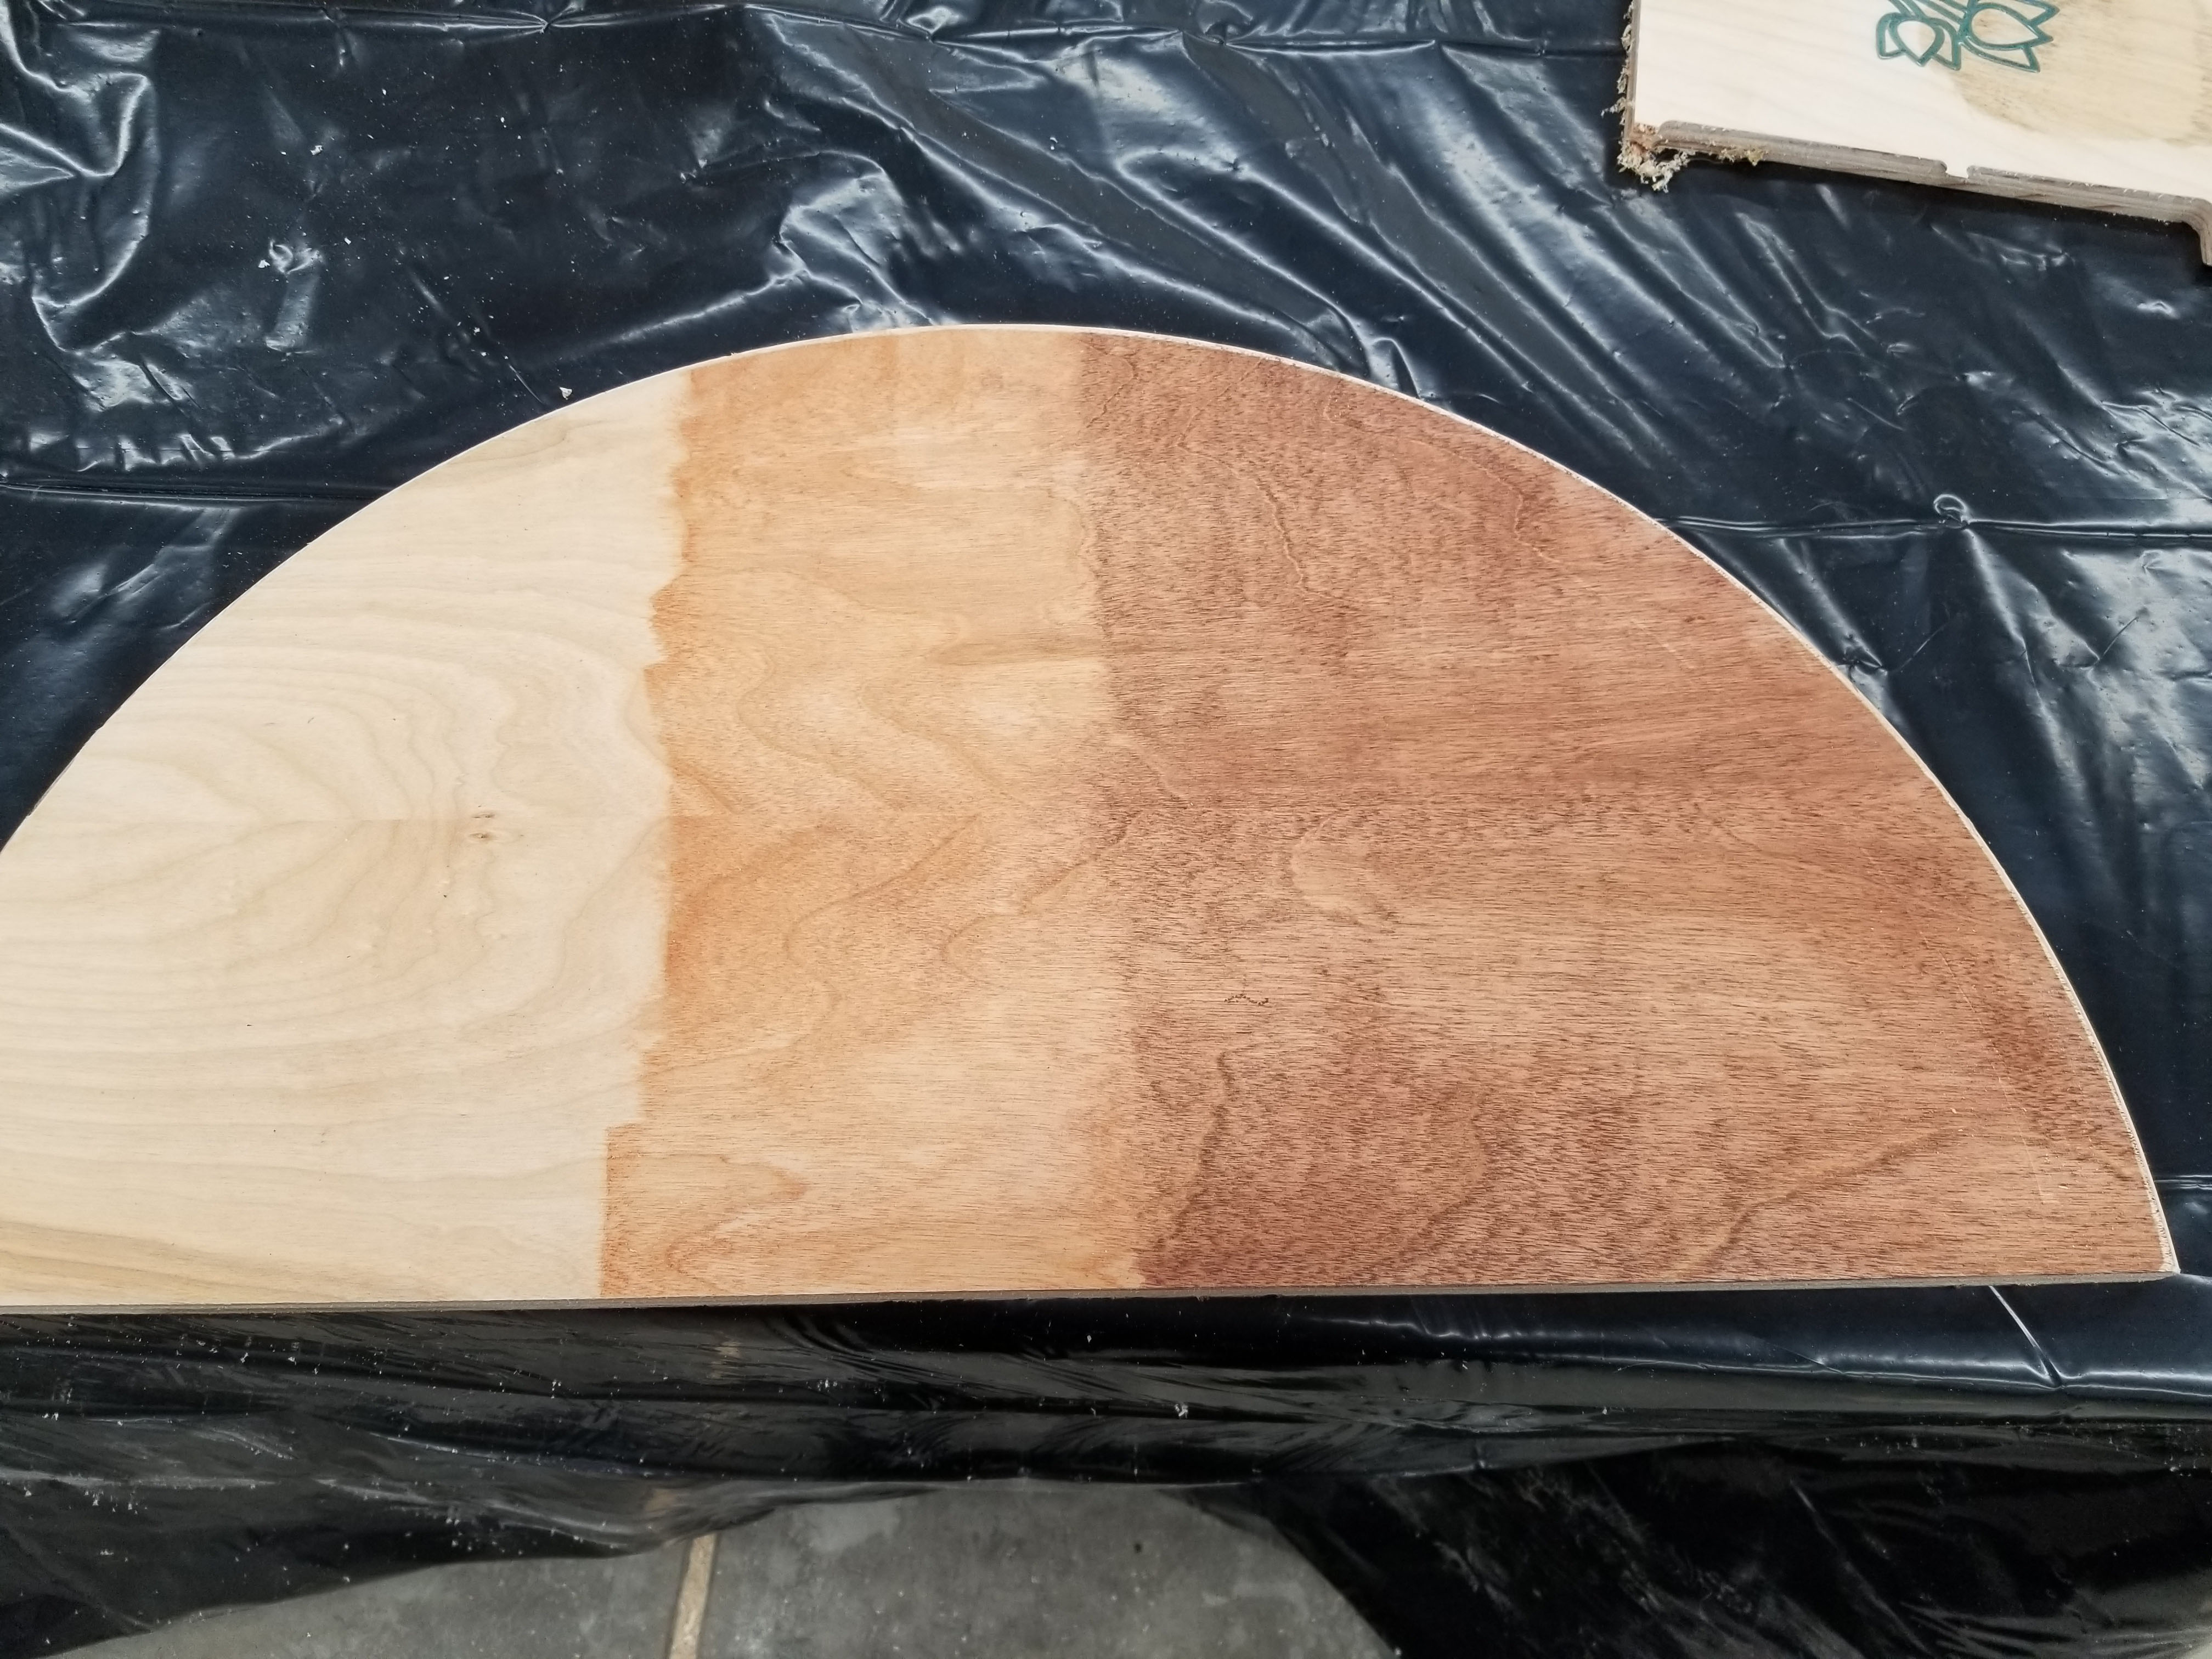
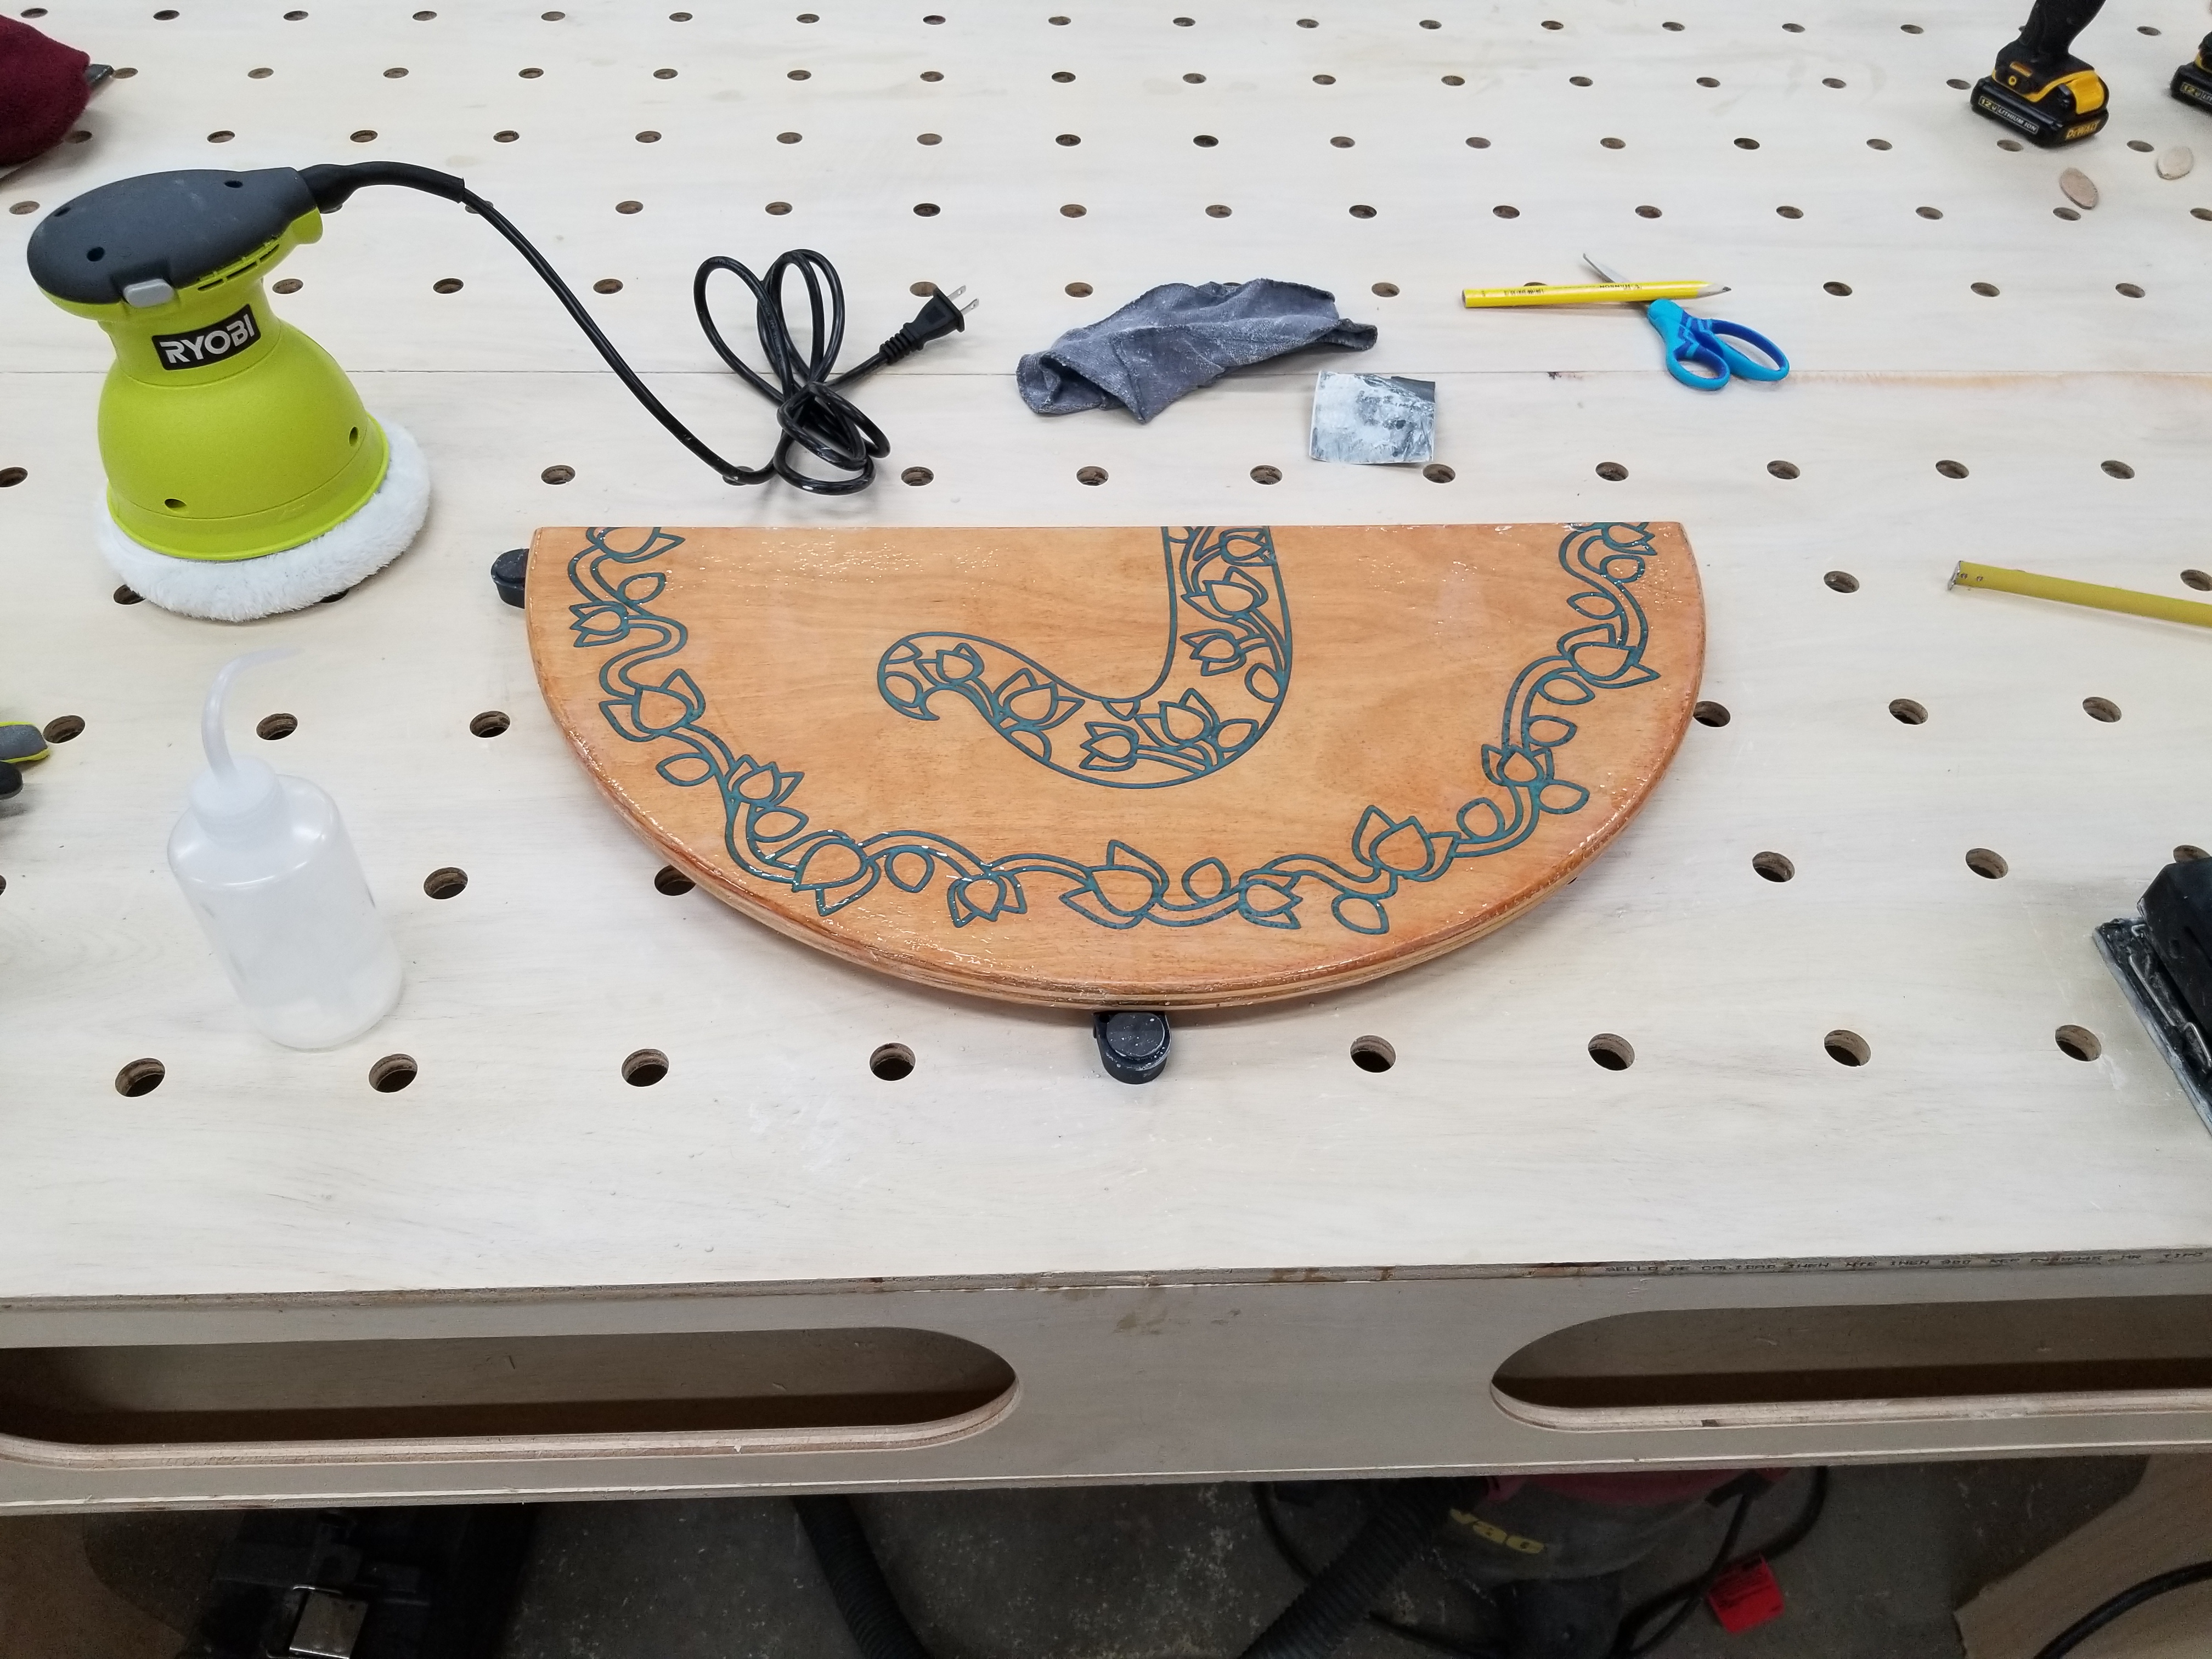
Going into this I was pretty sure I was going to prefer a dark stain. I applied it to one of the test halves and was rather dissatisfied. After a bit of research I realized that a lot of what was happening was that the soft wood I was using here was soaking up the stain unevenly and woodworkers recommend using a wood pre-conditioner (thinned varnish) on soft woods like this birch plywood here. After learning that and trying out a Colonial Maple stain I knew which way I wanted to go.
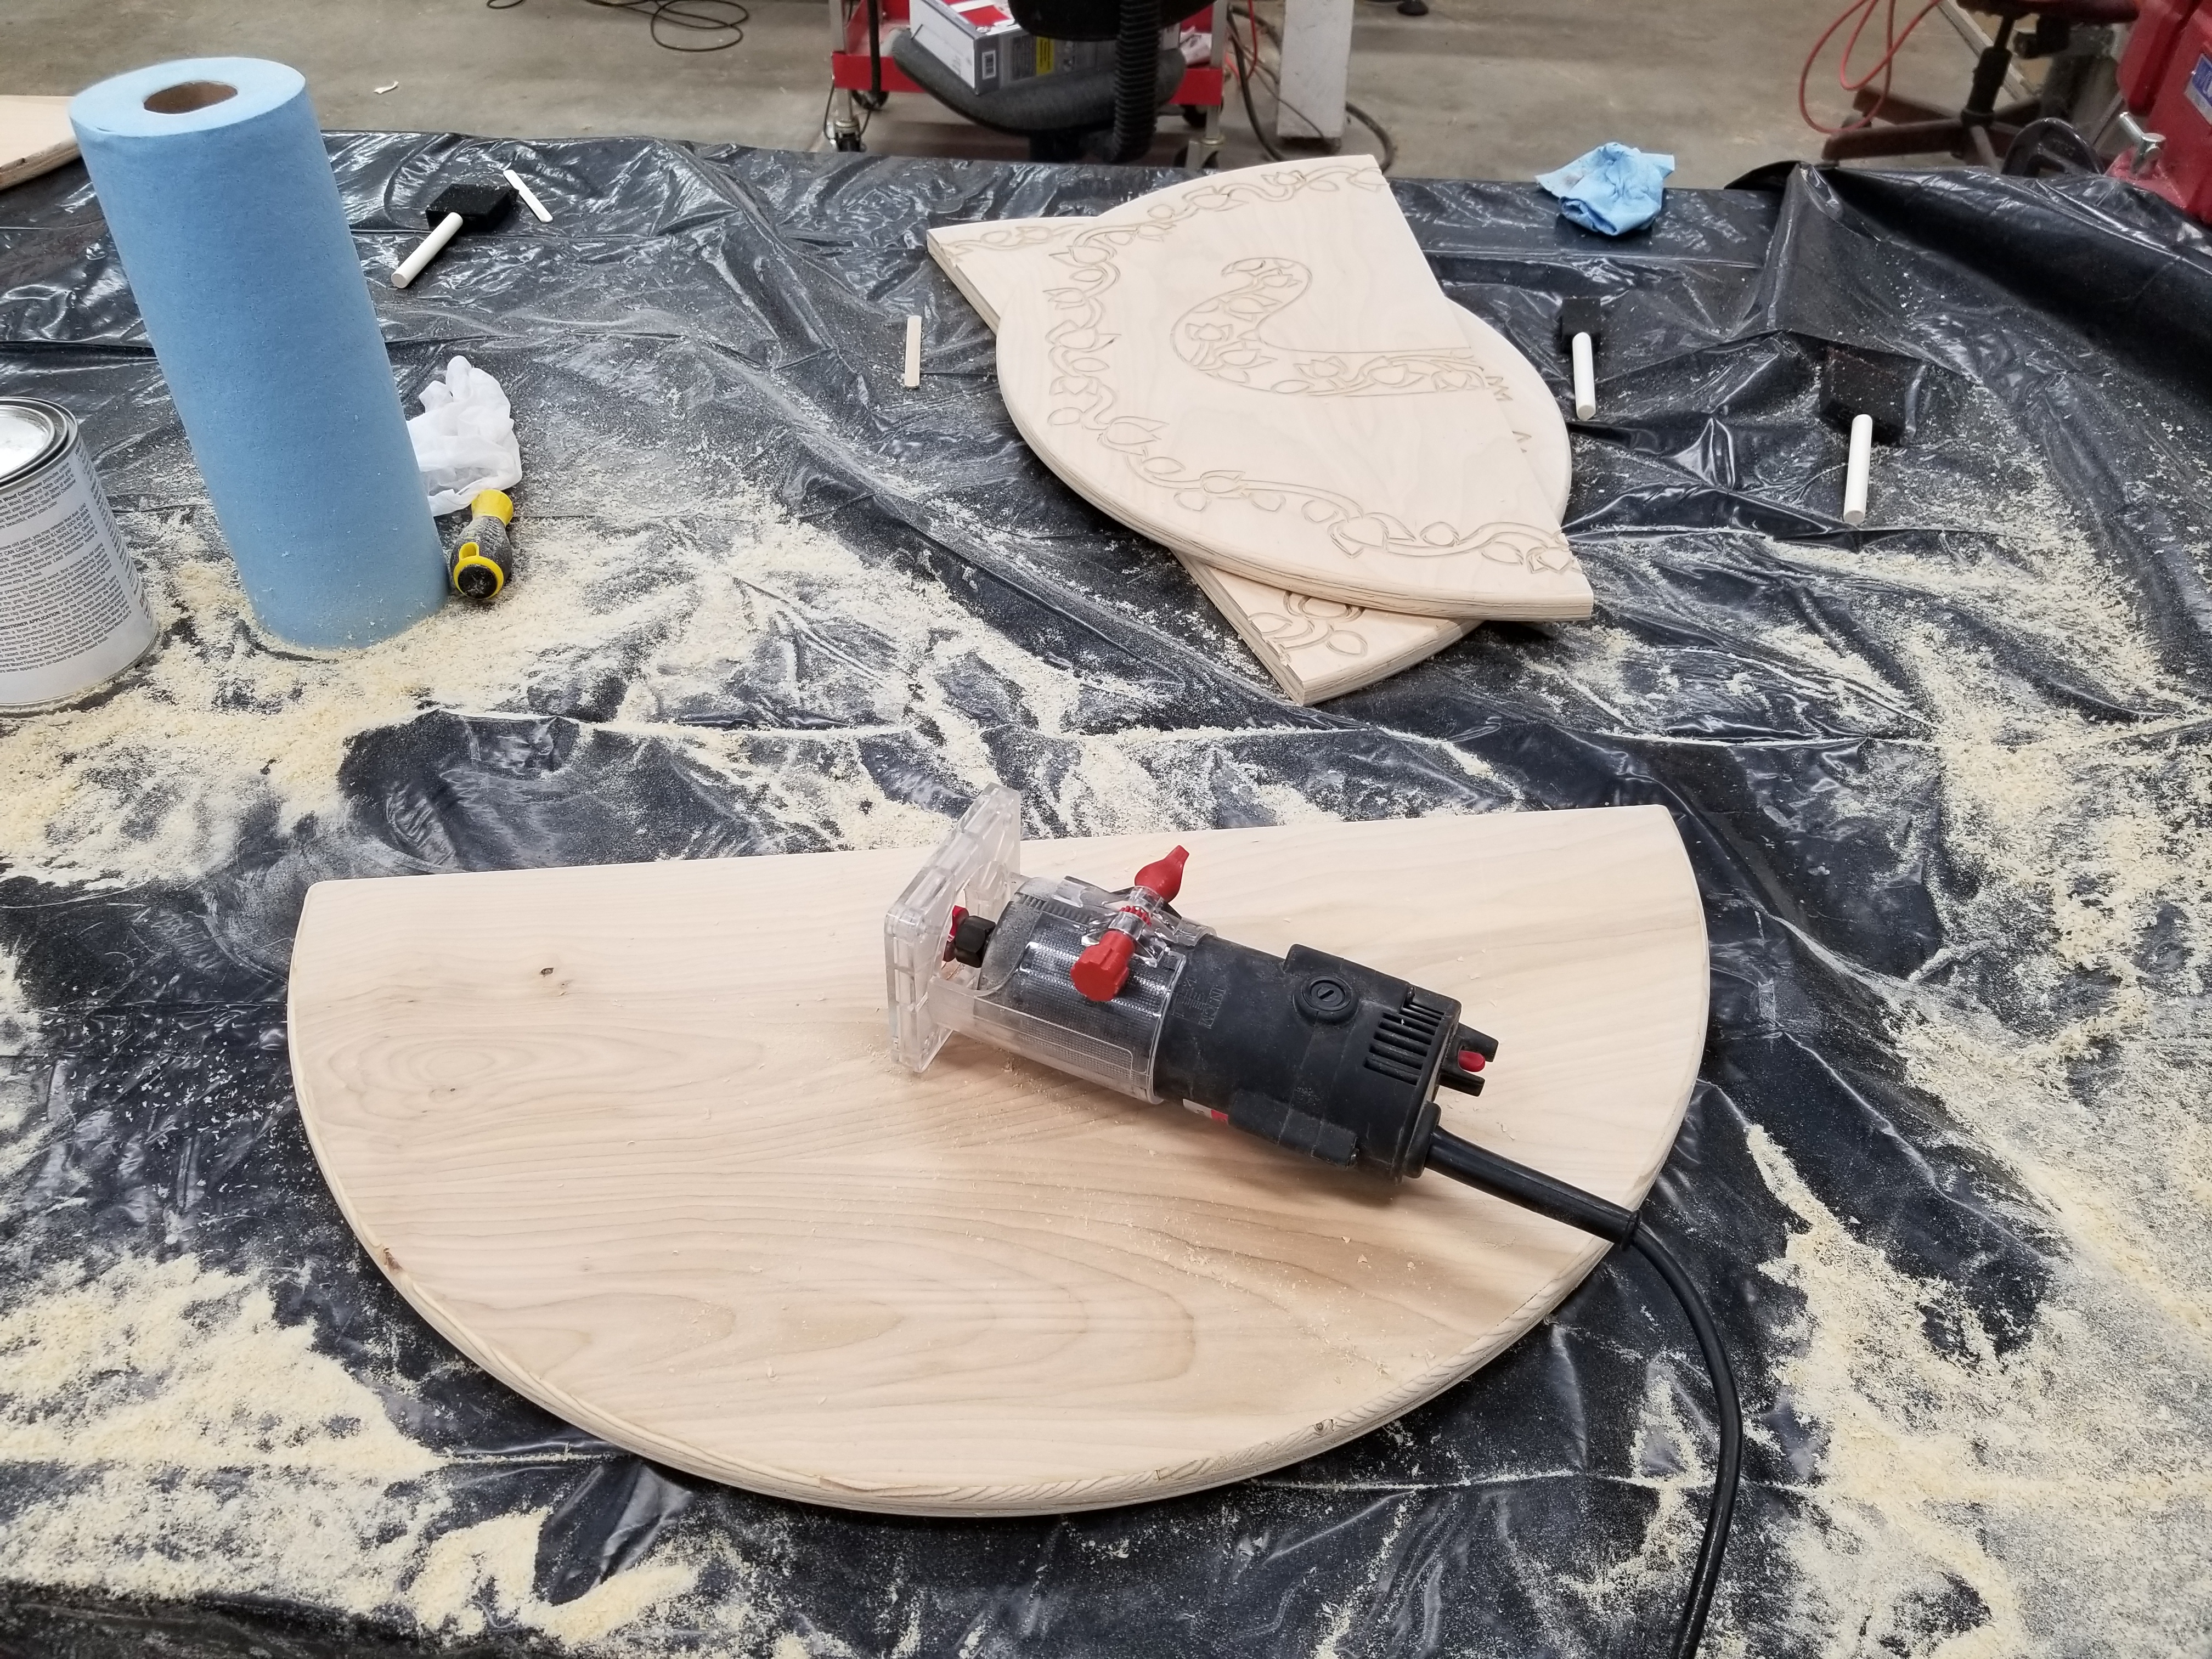

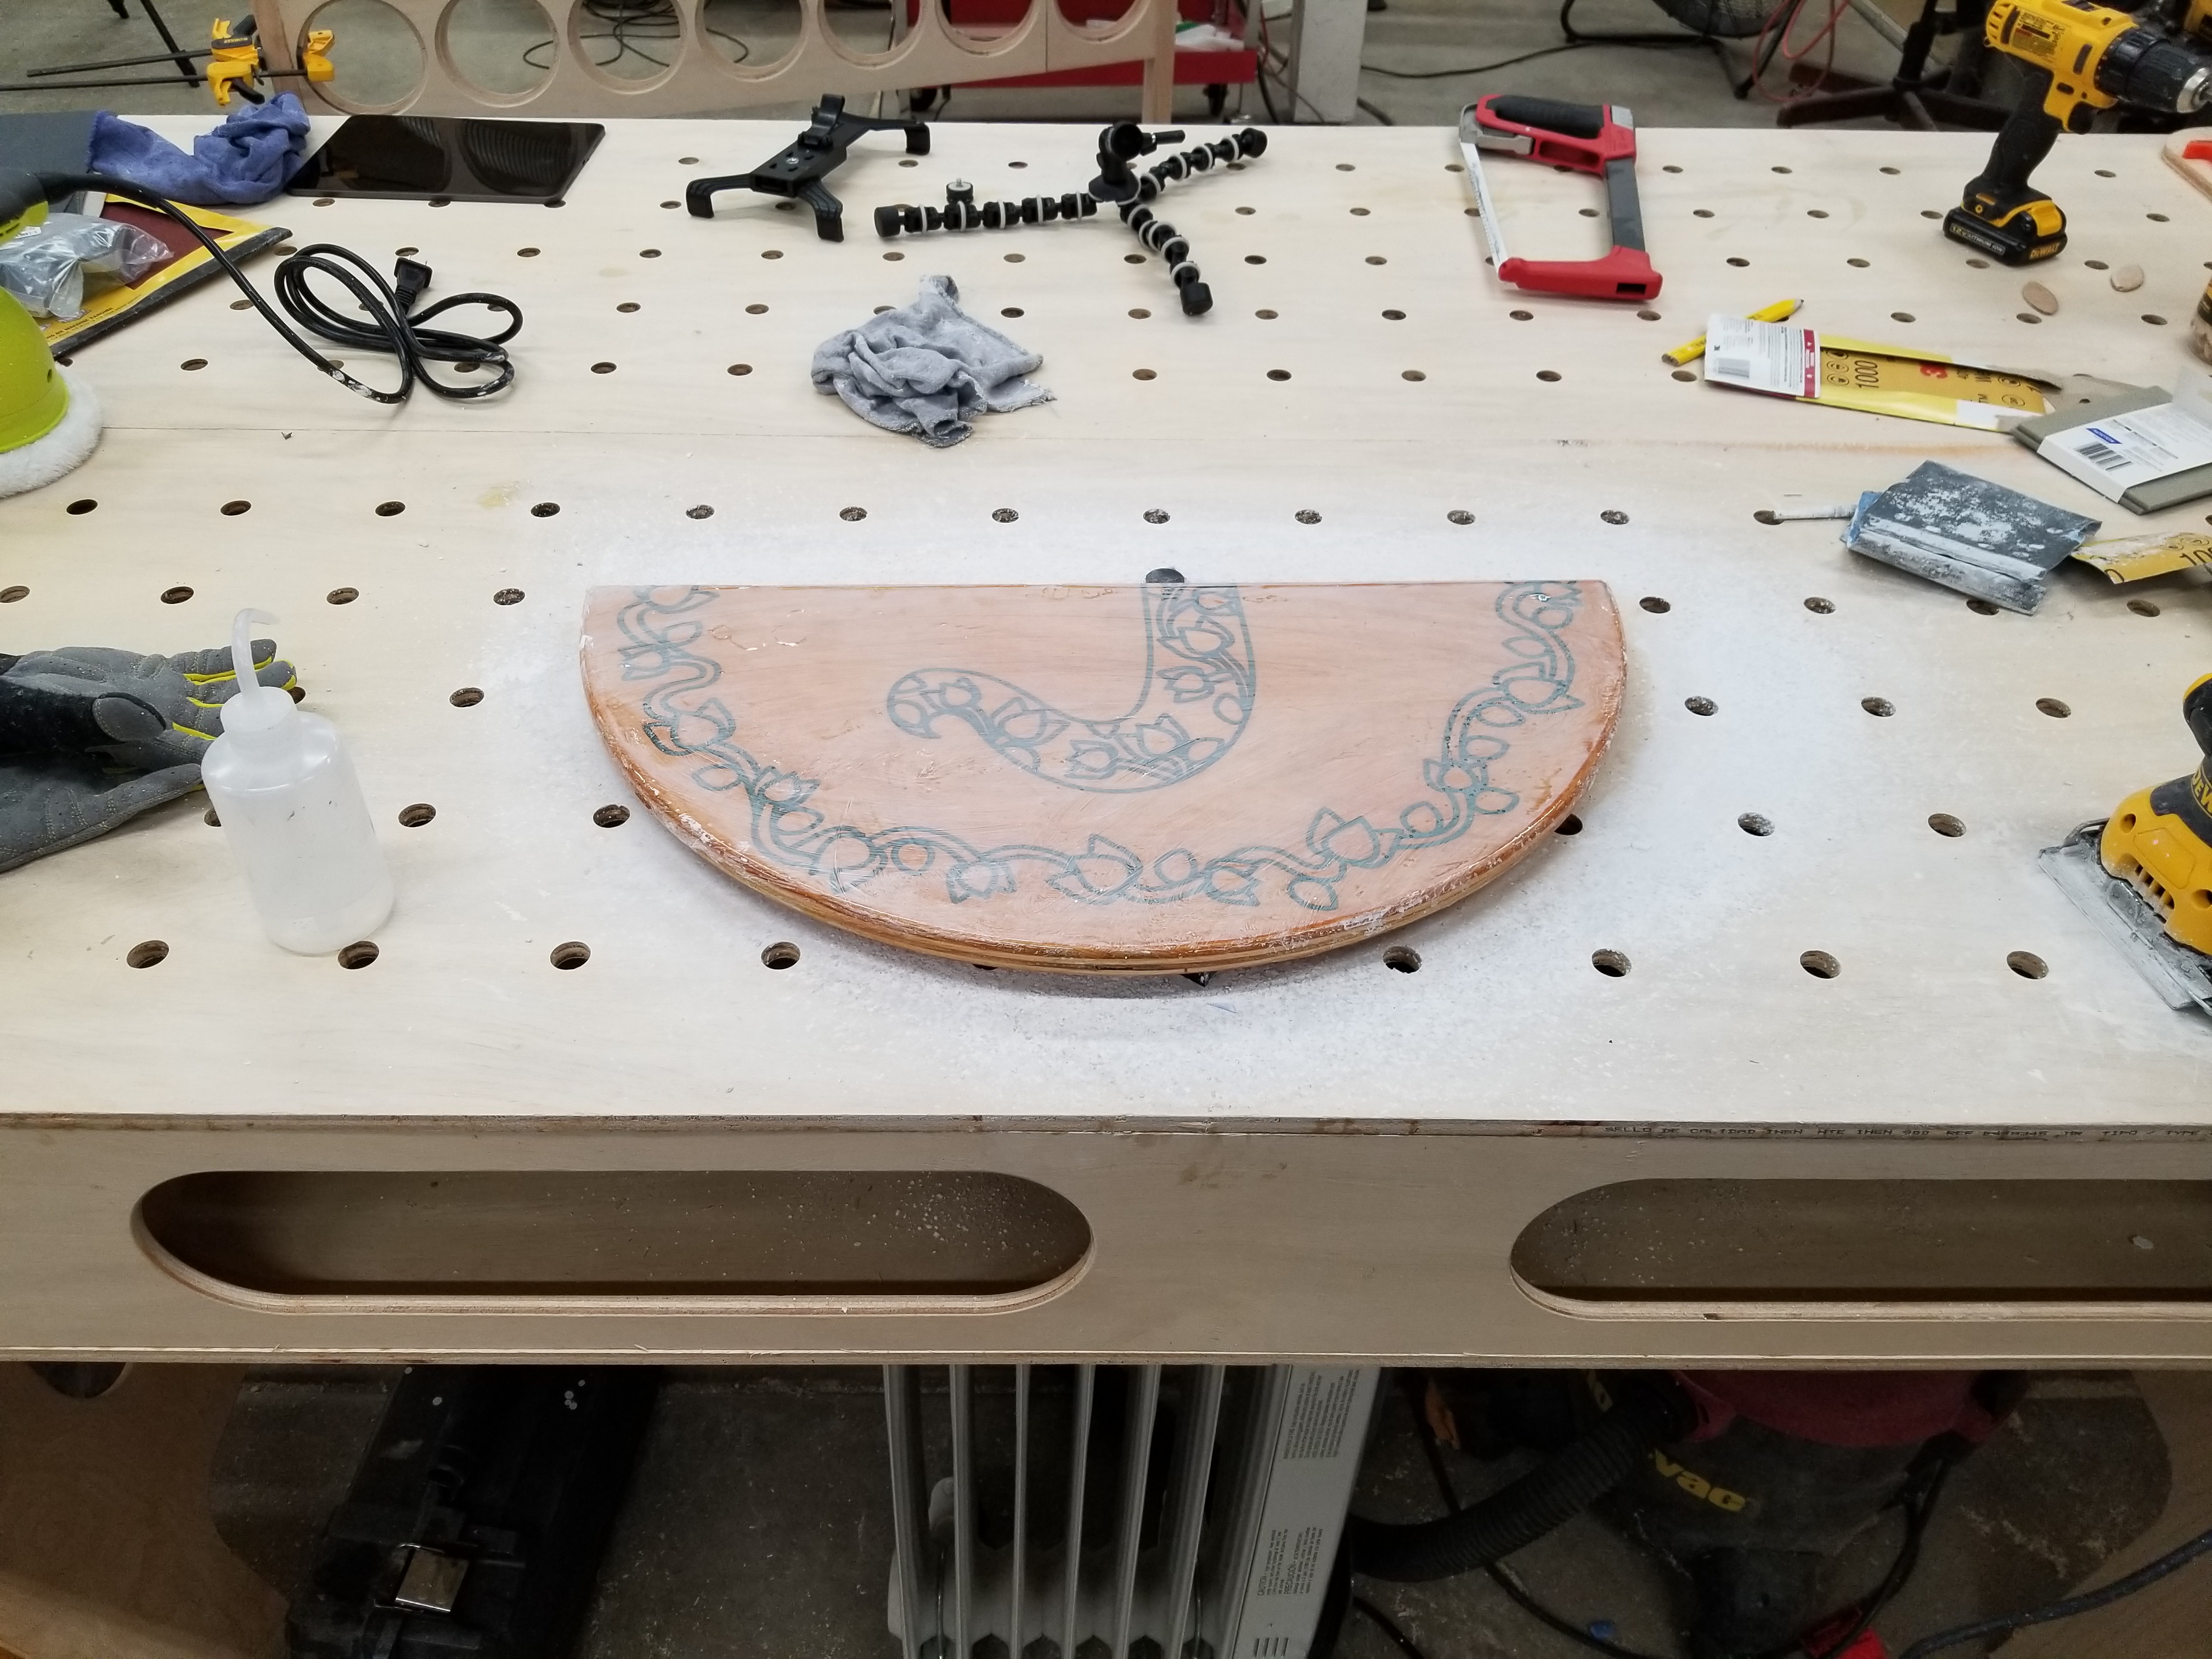
Routing the edges and applying the finish went fast. Then I was onto one of the parts I was the least comfortable with: the pouring.
This went reasonably well but during the test pours I had a significantly smaller job (for some reason I did all these pours on all 4 pieces at once) to do so keeping spills to a minimum was much easier. Also, it took two pours due to the epoxy soaking into the wood and missing a couple spots because I was racing the epoxy time limit. All of which left me with this very scary mess:

Fortunately, I was able to sand the resin down with minimal damage to the finish on the wood surface. The clear coat went on without too much fanfare but I did try to pour both halves of each table “together” and then pull them apart after the resin started to firm up. This didn’t work to my satisfaction so I just taped up the middle edge and poured each half independently for the remaining pours. All of which required 24 hours to cure and keeping the house at 80°F.
Unfortunately, this left the top very not flat and it took a marathon of wet sanding to fix. My poor workbench! ;)
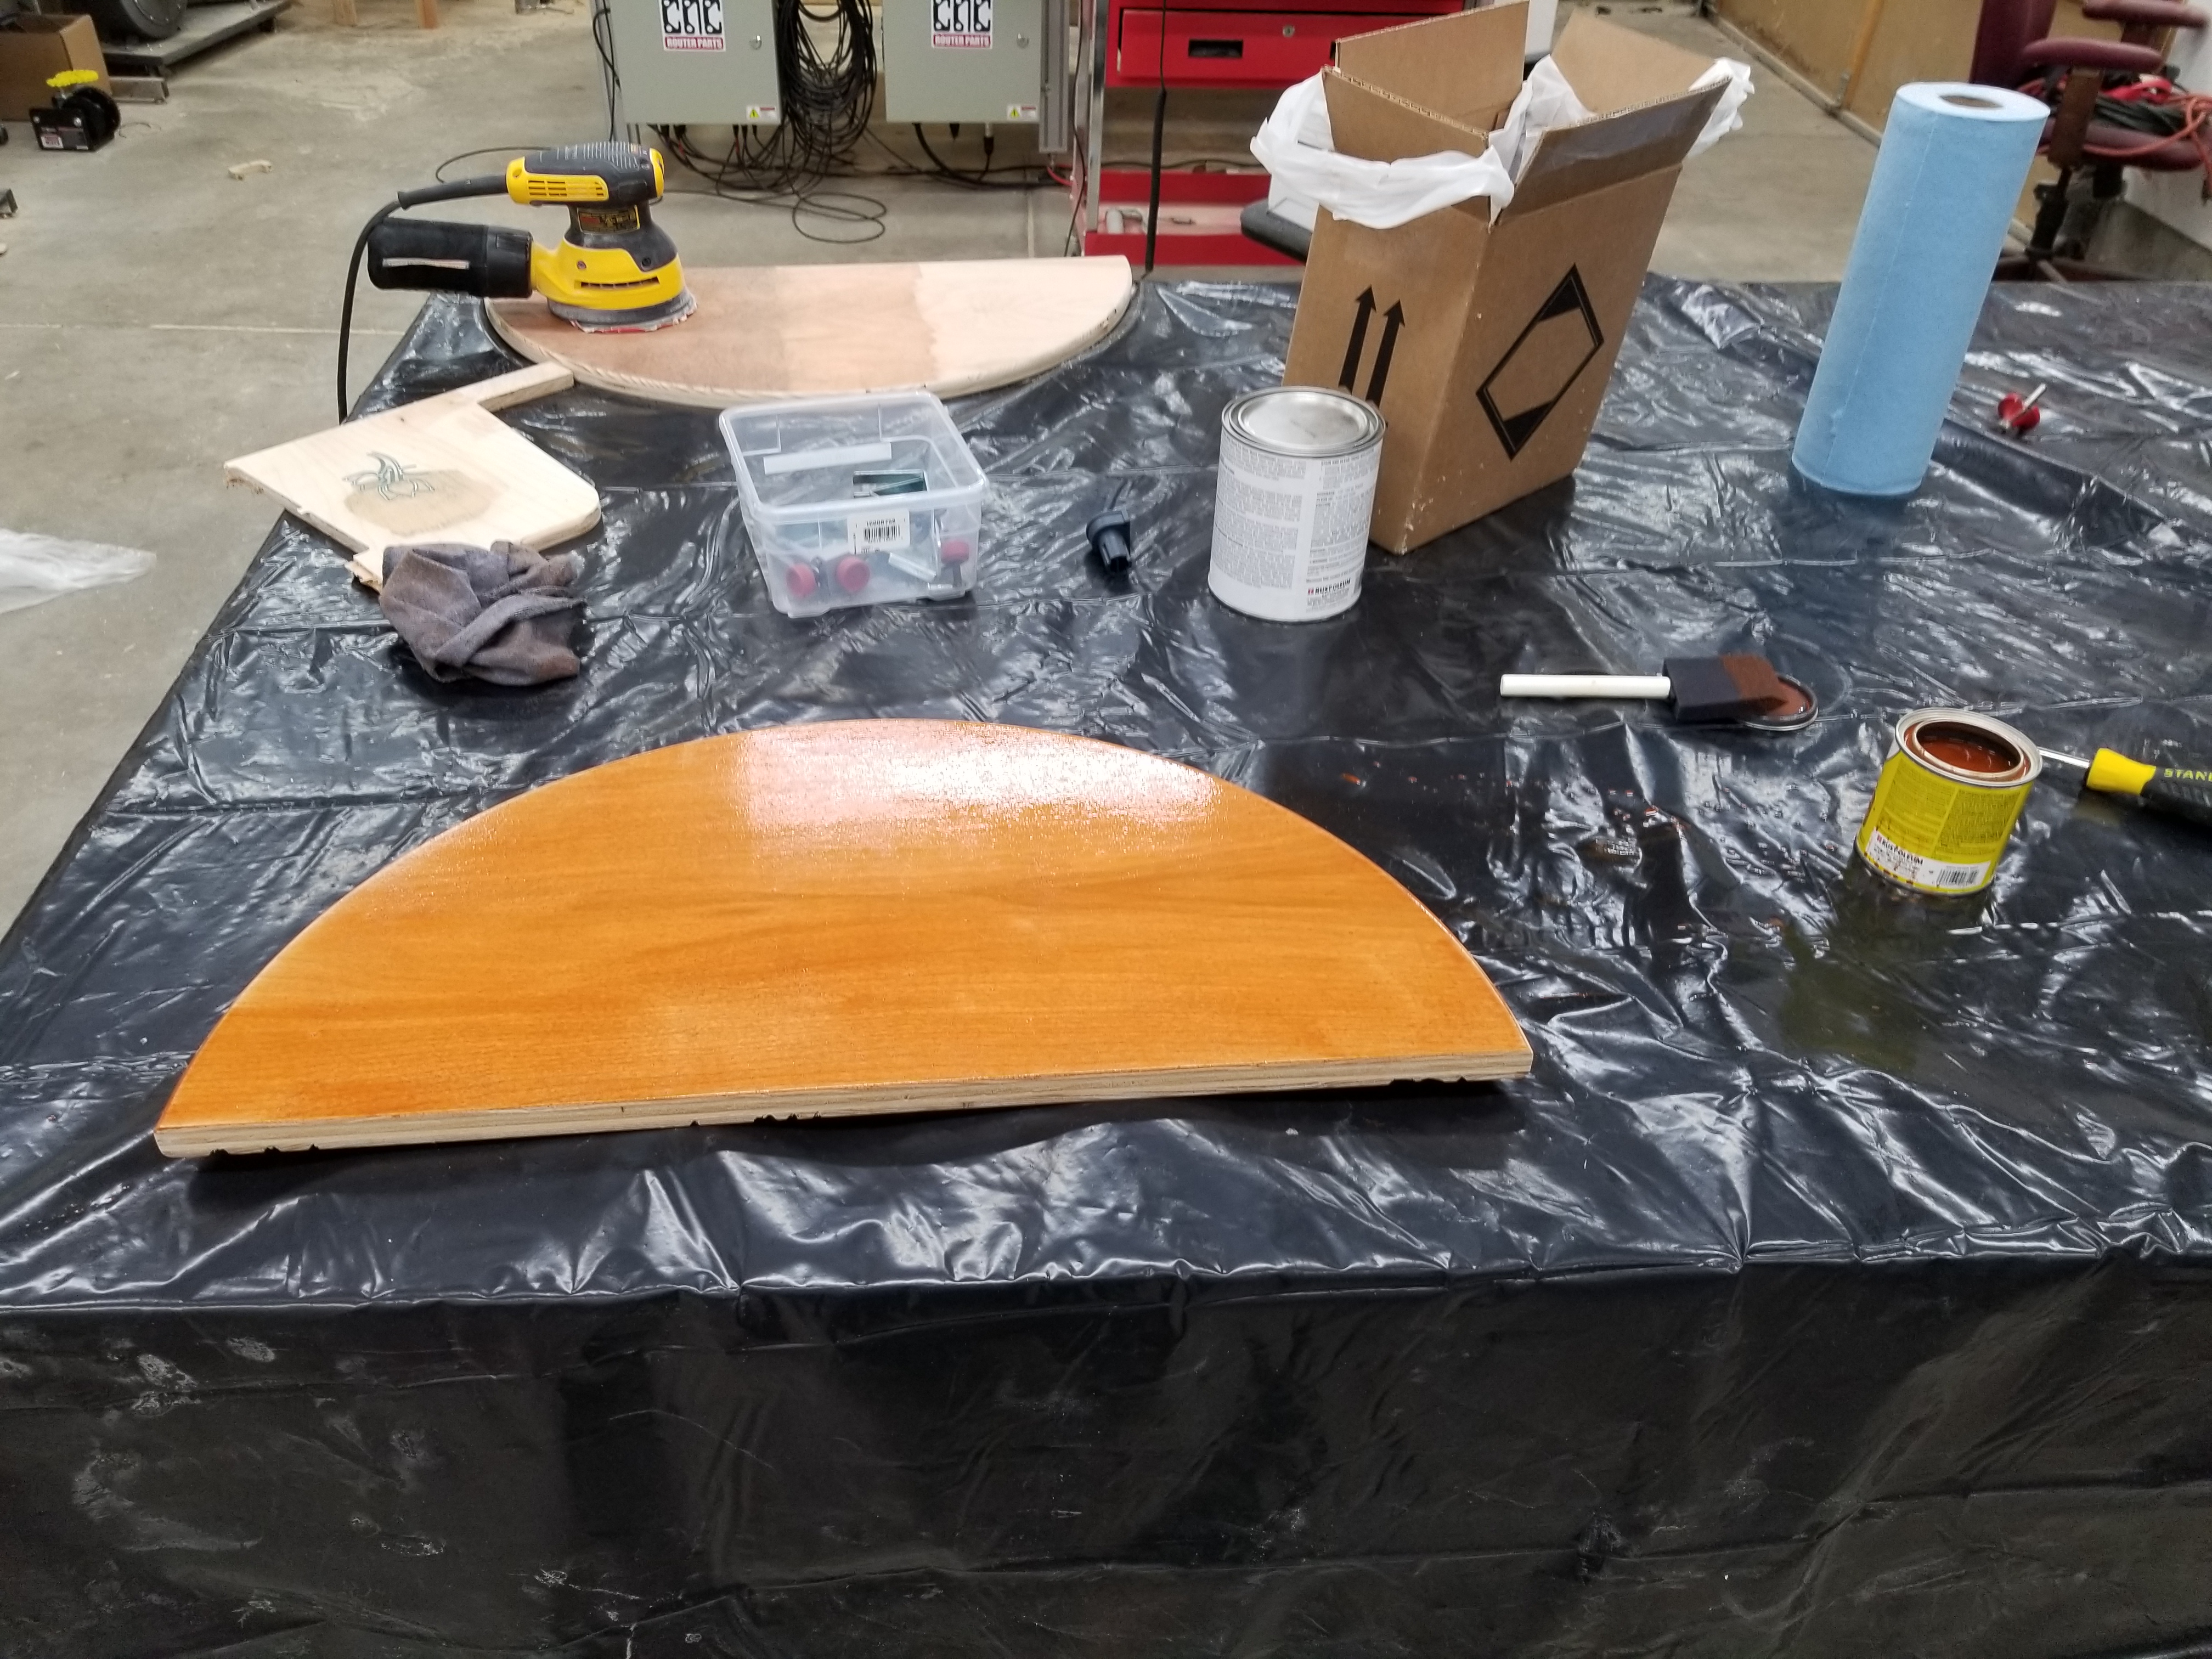
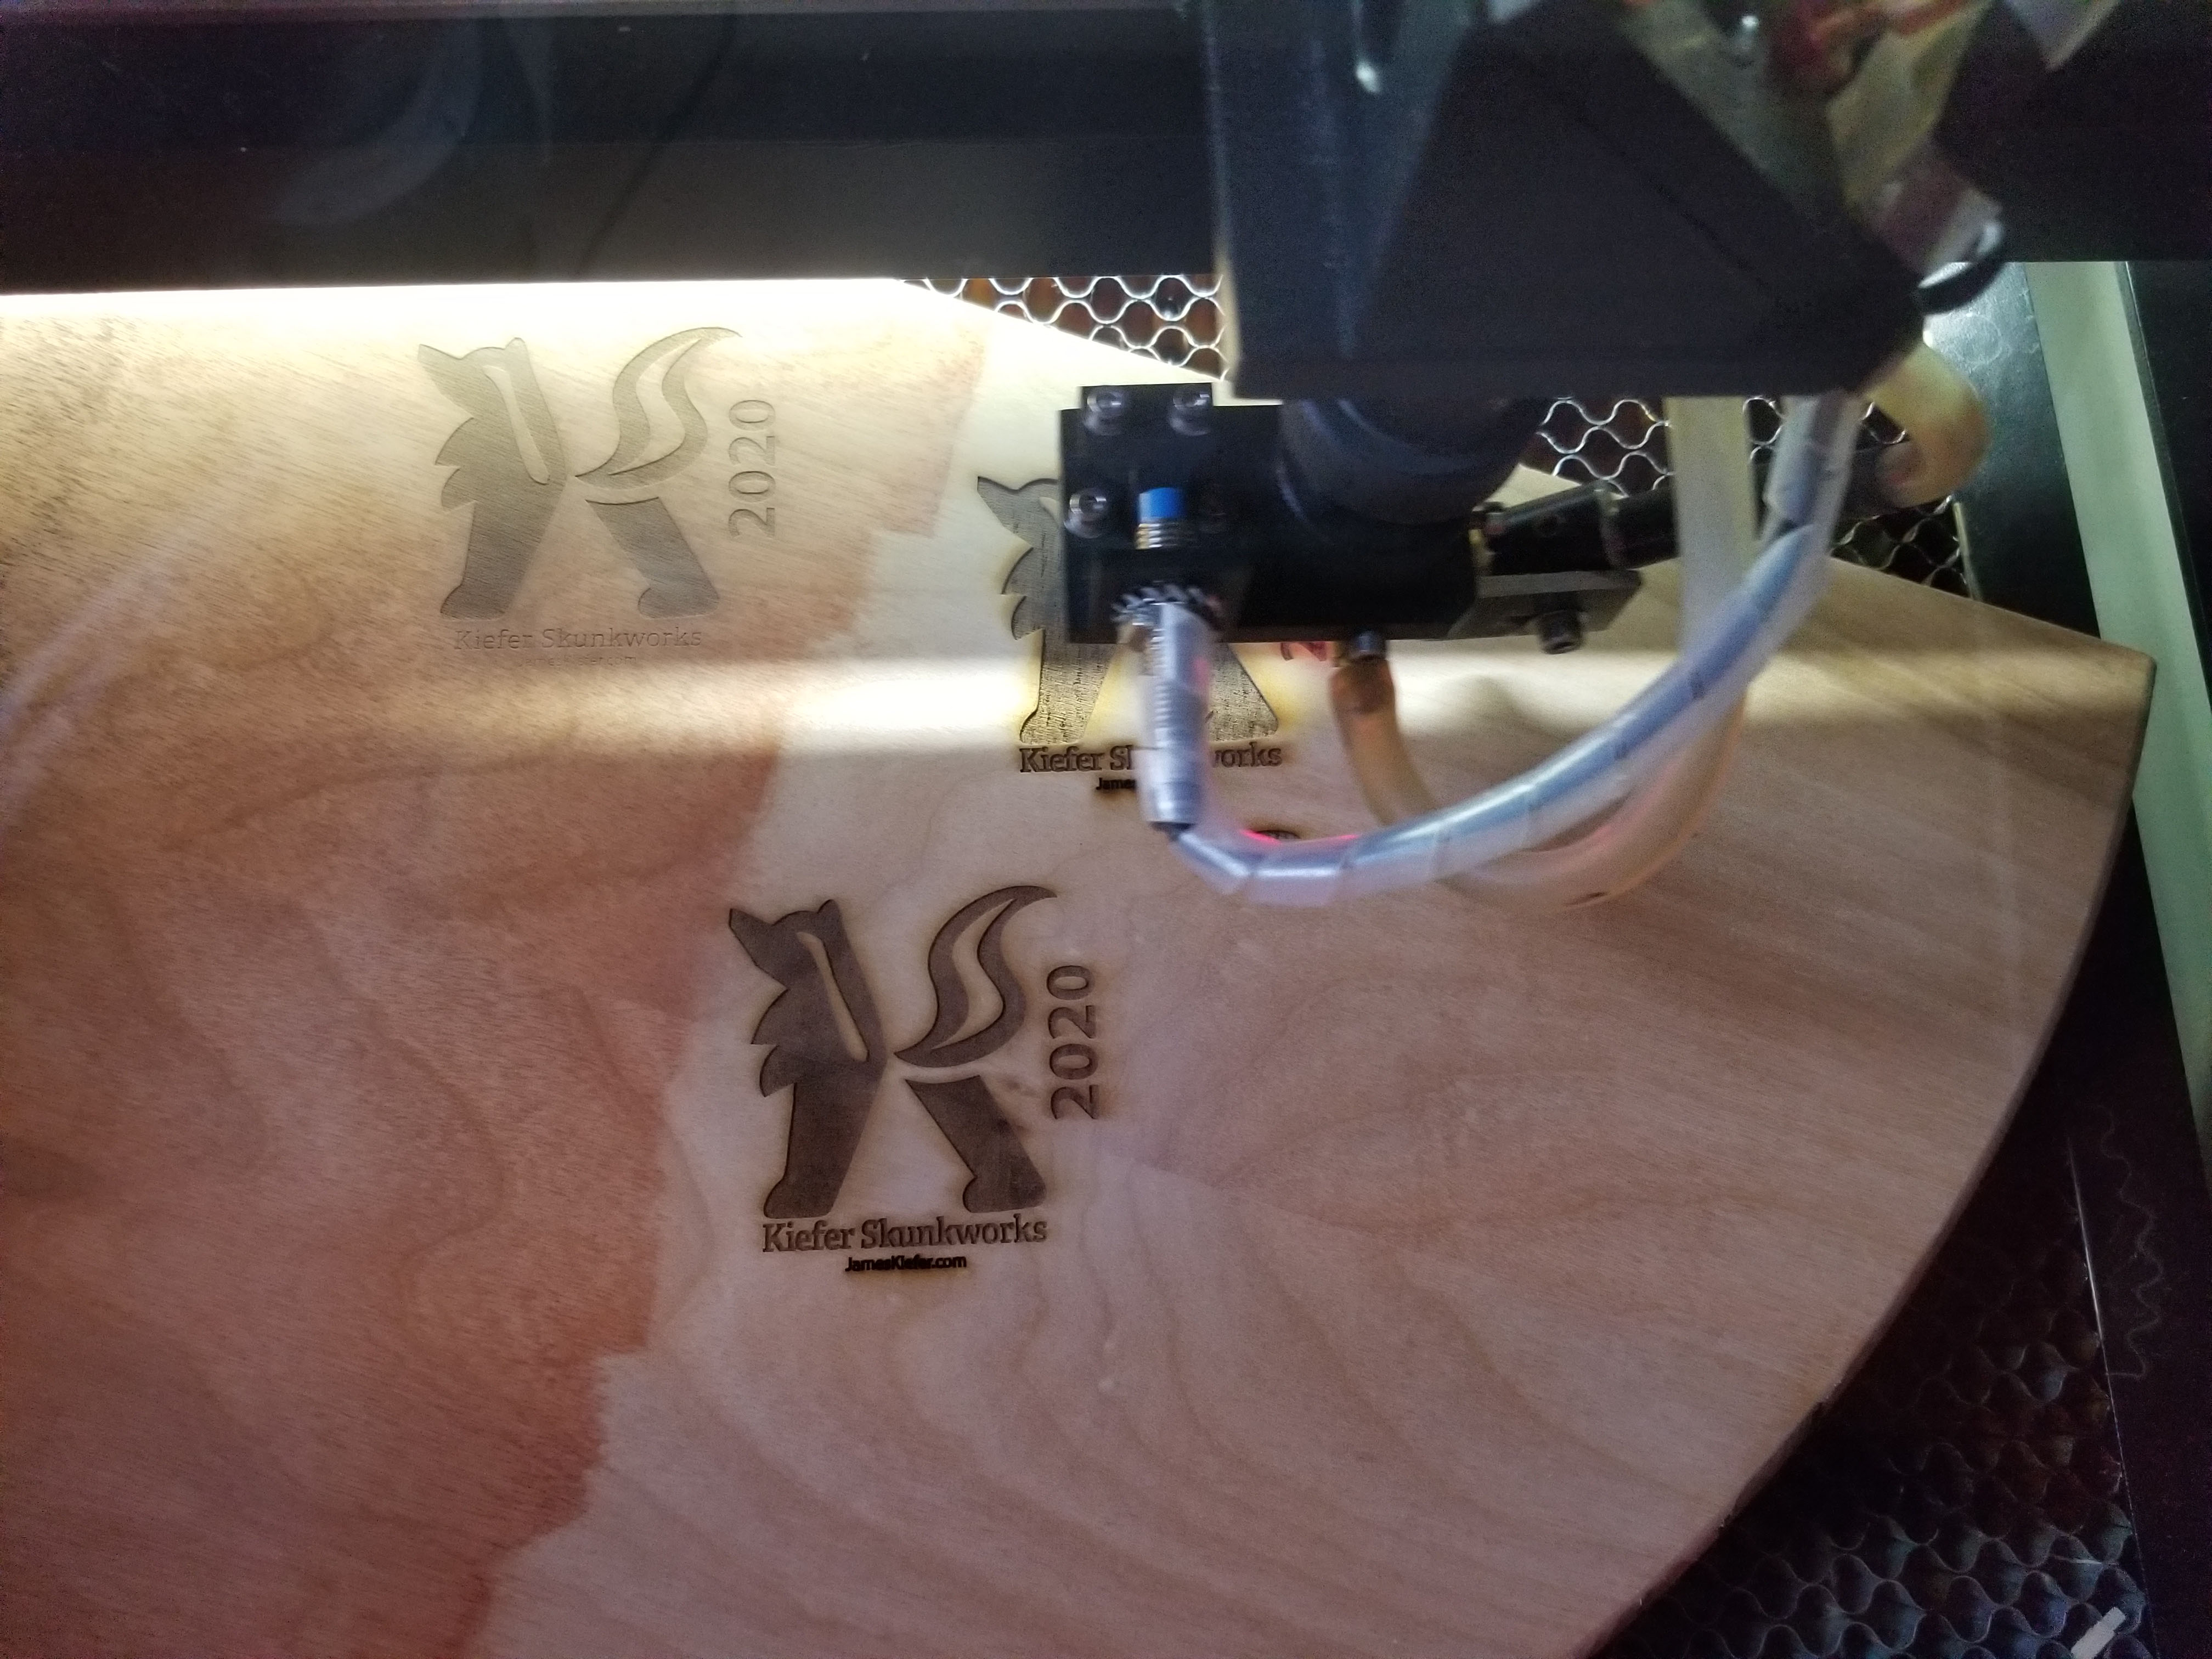
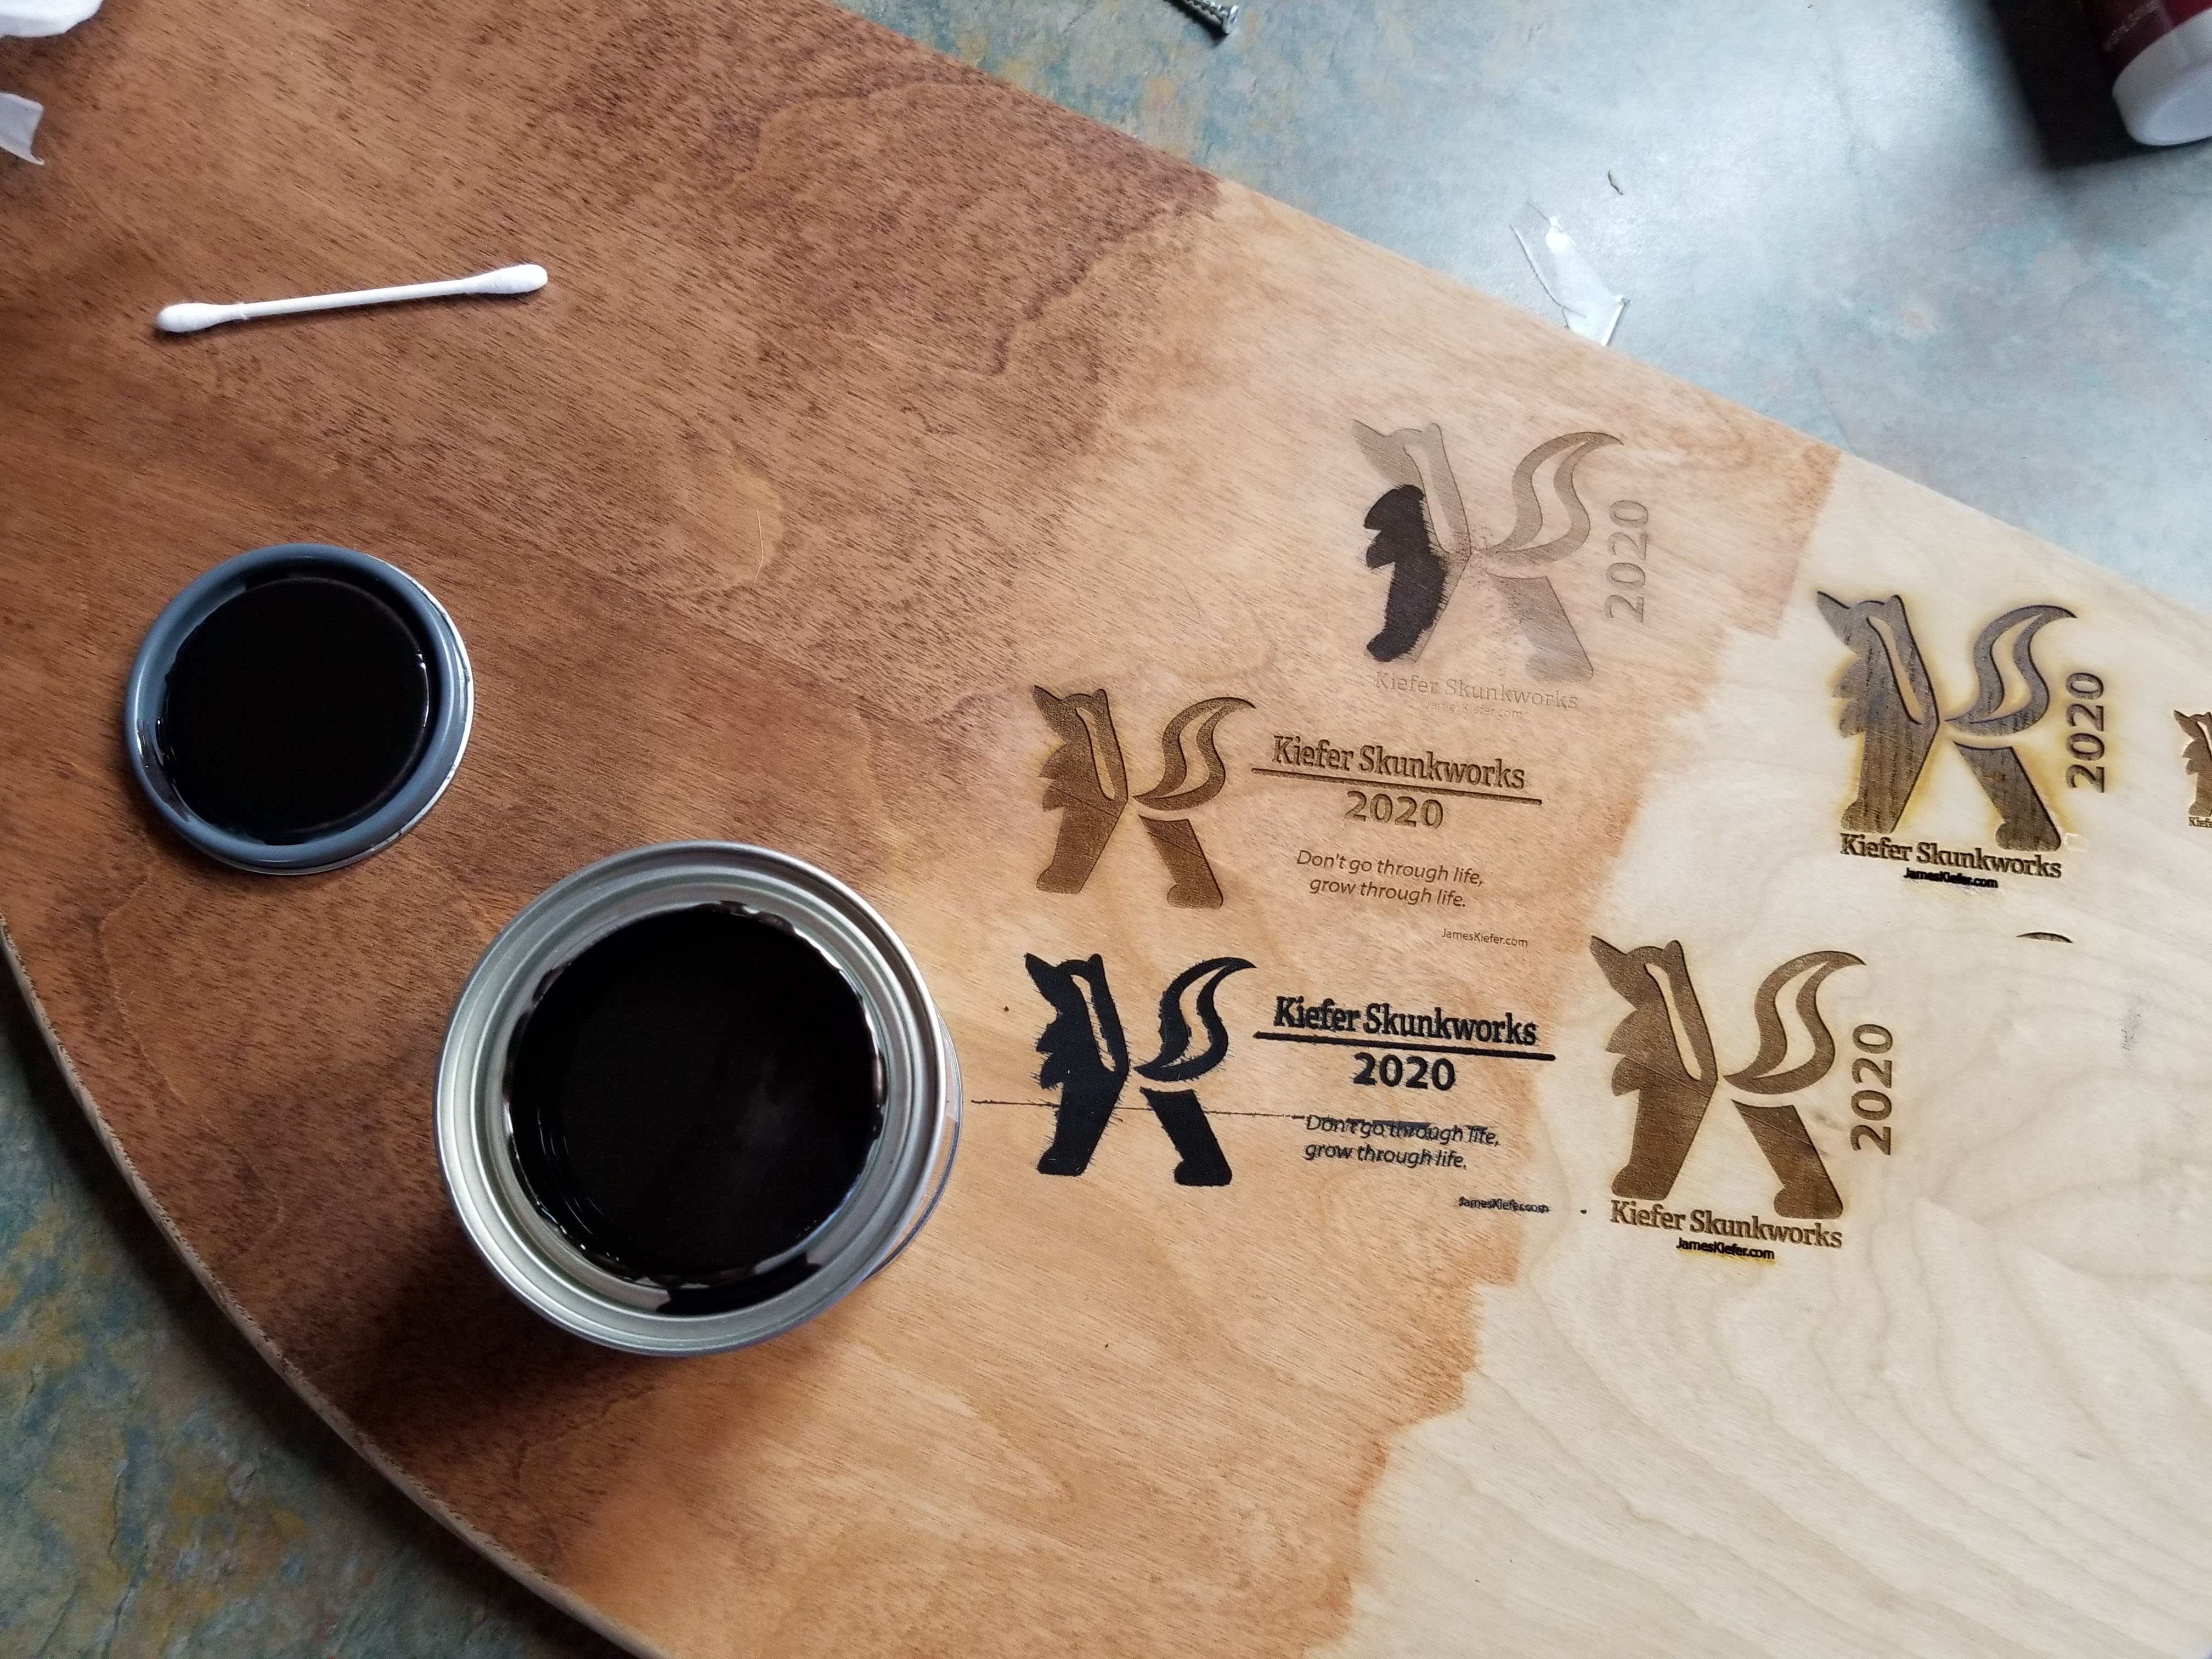
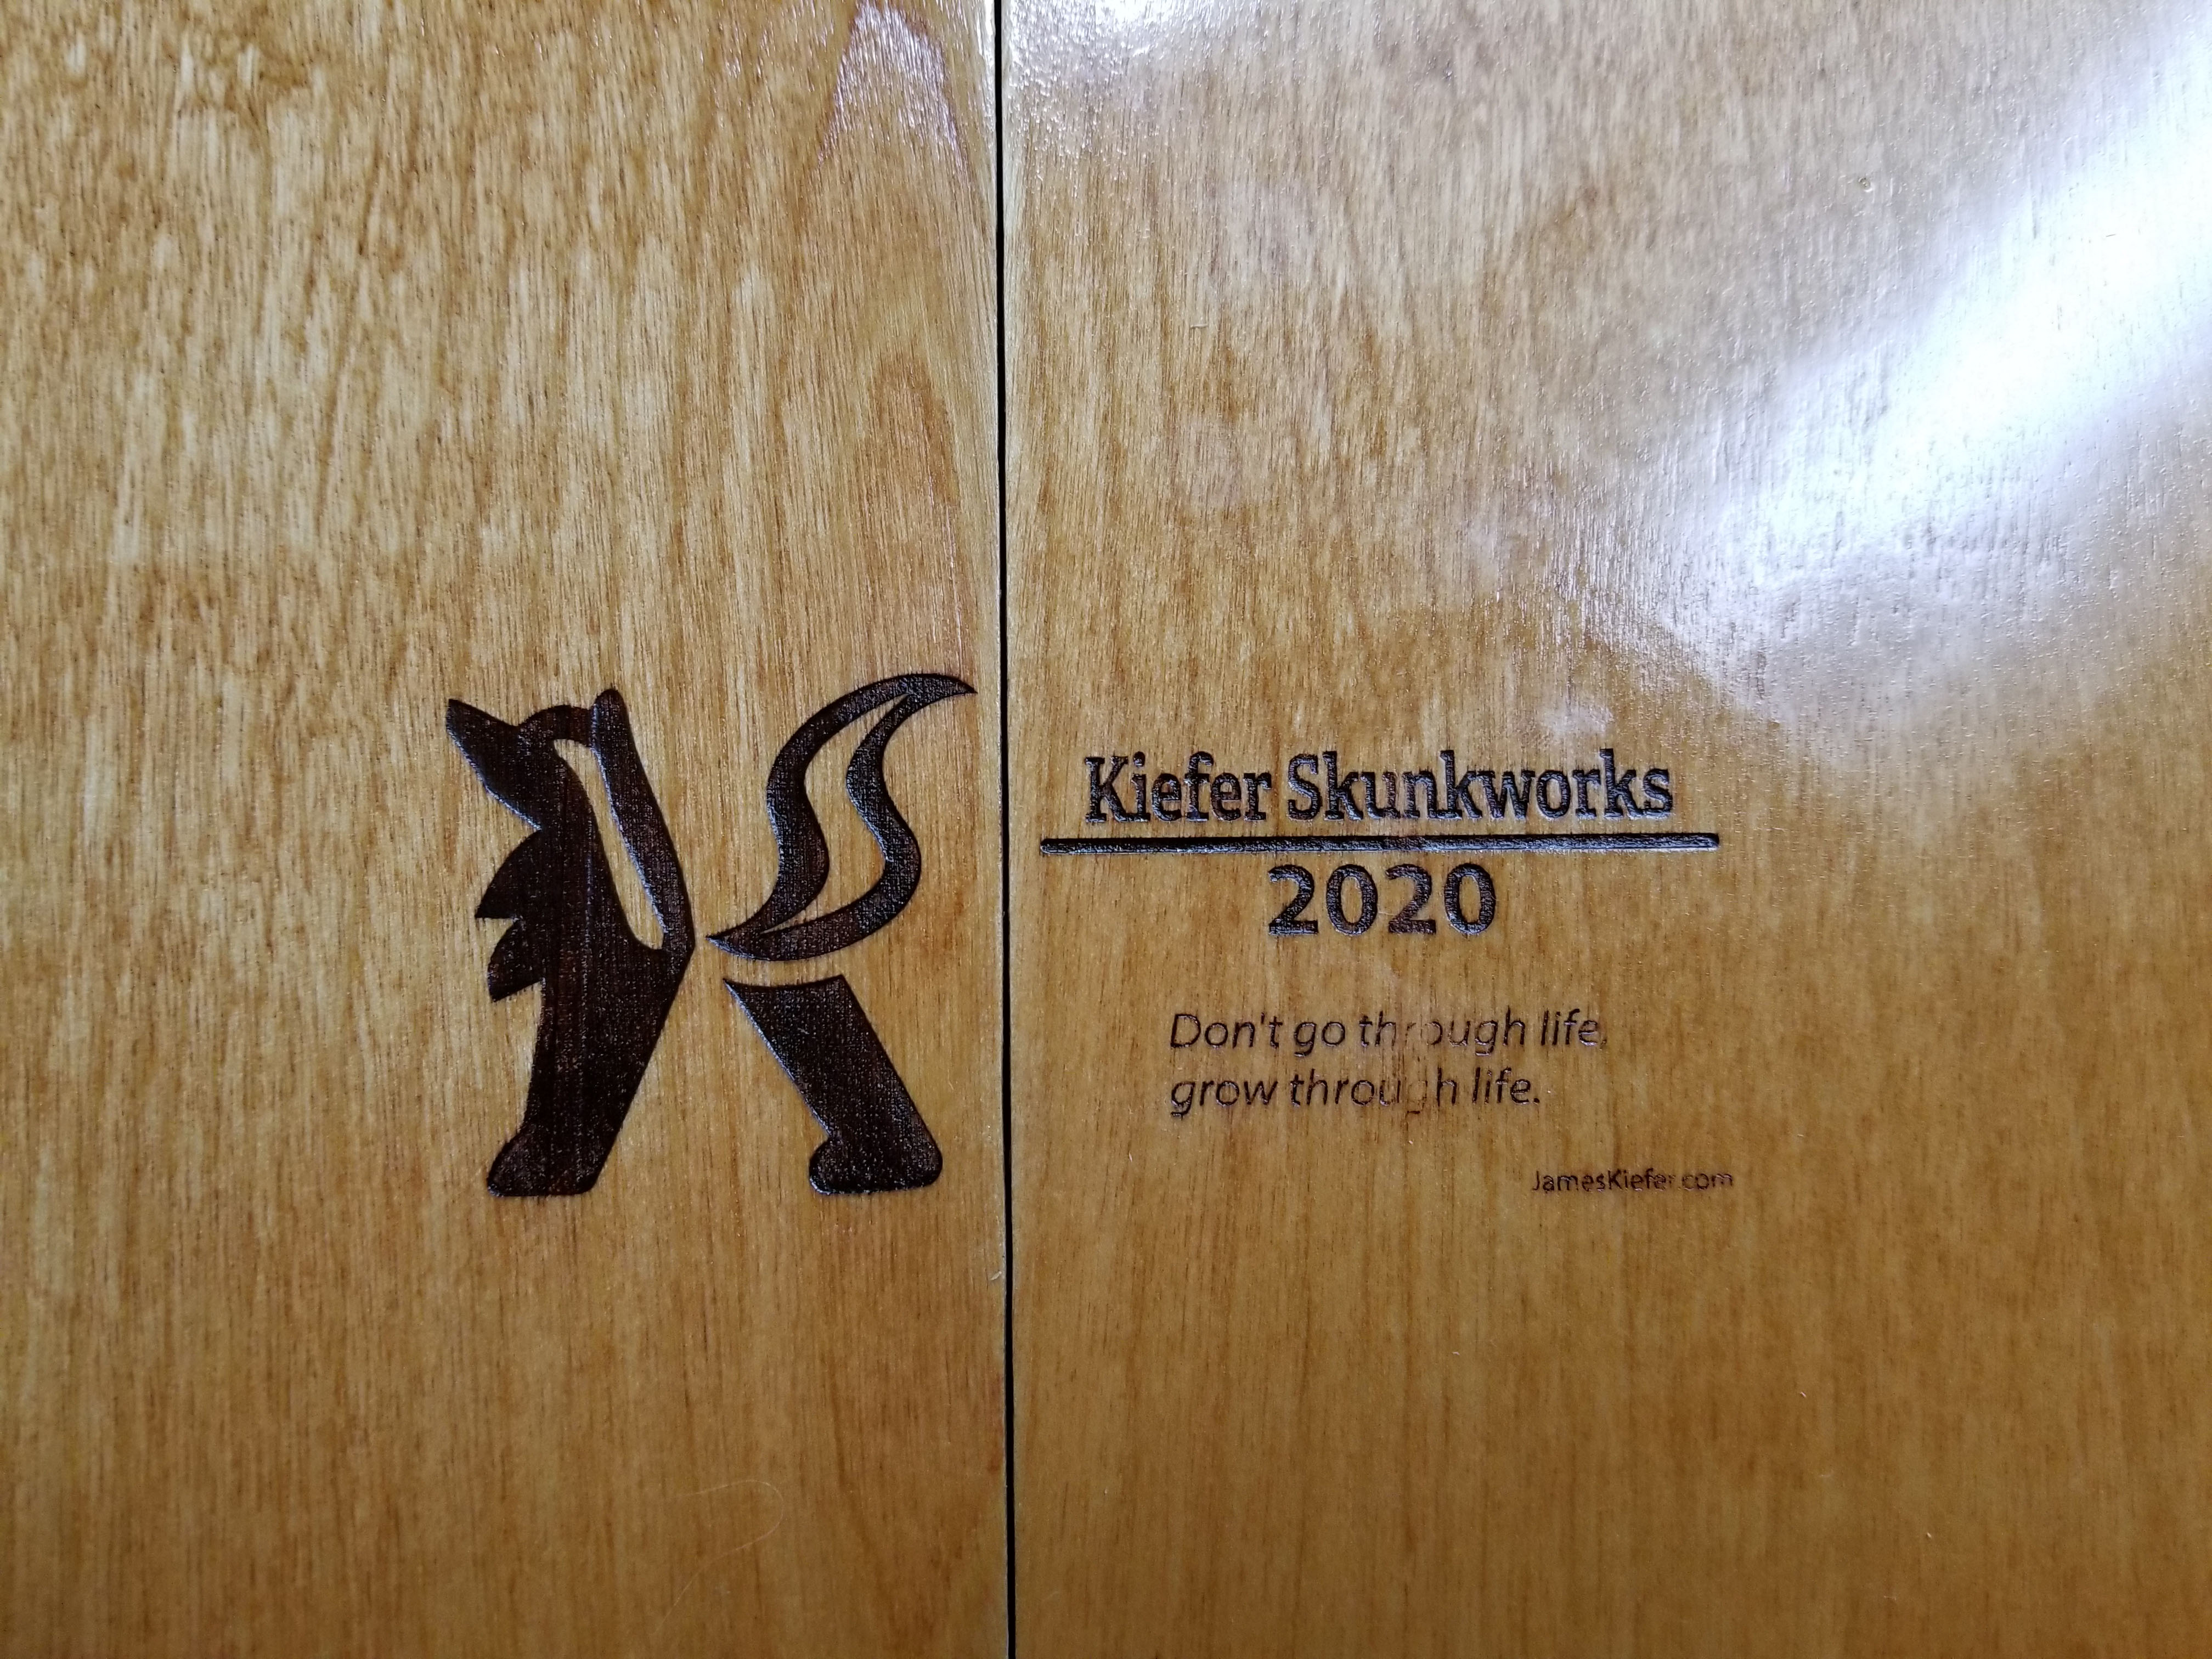
For this project I have a new workshop mark! I lasered it onto the back of the tables and used brown shoe polish to increase the contrast. I also coated the sides and back with a glossy spray on polyurethane. Multiple coats with sanding in between. This project was mostly sanding.
Now onto what turned out to be my favorite phase of the project: The buffing.
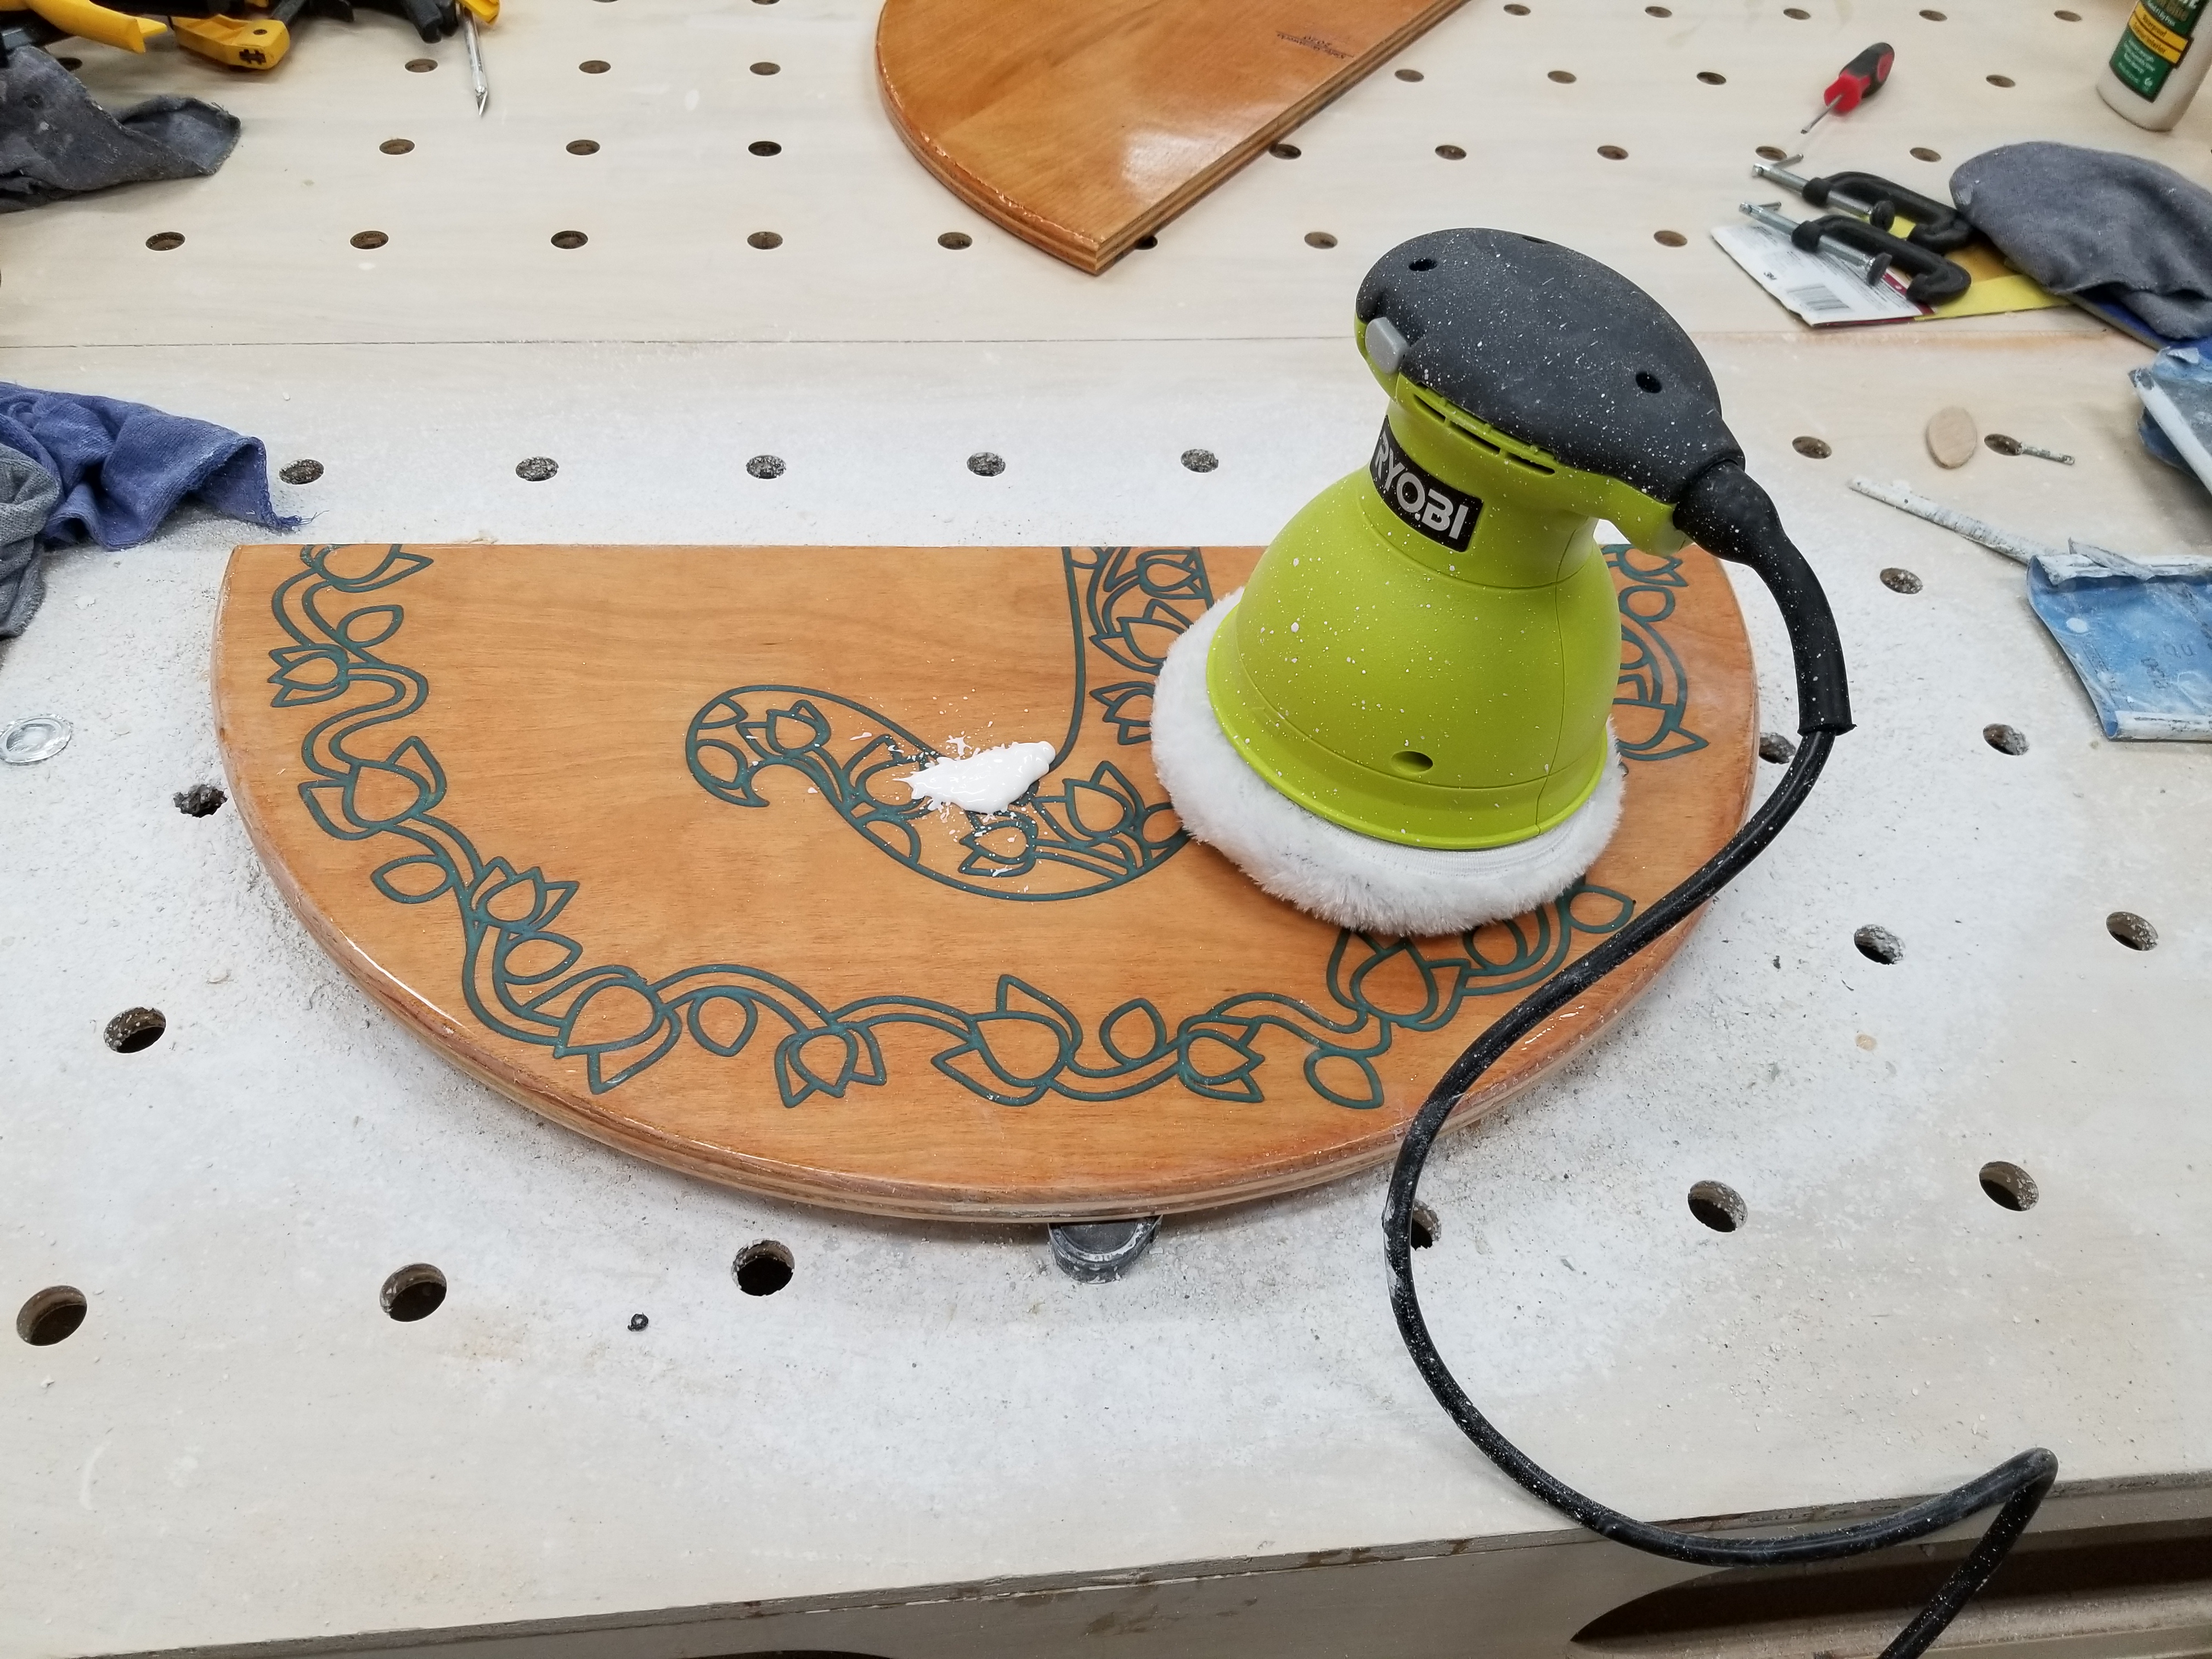
I used Meguiars Mirror Glaze compound. First pass was using the medium-cut cleaner (1) and the second used the ultra finishing polish (205). Buffing was a lot like sanding except that it took way less time and was very satisfying. I ended up buffing everything, including the polyeurothane surfaces.
This picture shows the difference between the medium-cut (left) and the finishing polish(right).
The result is a highly glossy and smooth surface.


The absolute last thing was to package it up in a pizza box and send it off!


Thank you
Your comment has been submitted and will be published once it has been approved.
OOPS!
Your comment has not been submitted. Please go back and try again. Thank You!
If this error persists, please open an issue by clicking here.
Say something