Paulk Workbench
in Making on June 9, 2020 | CNC Routing Furniture Fusion 360 Woodworking
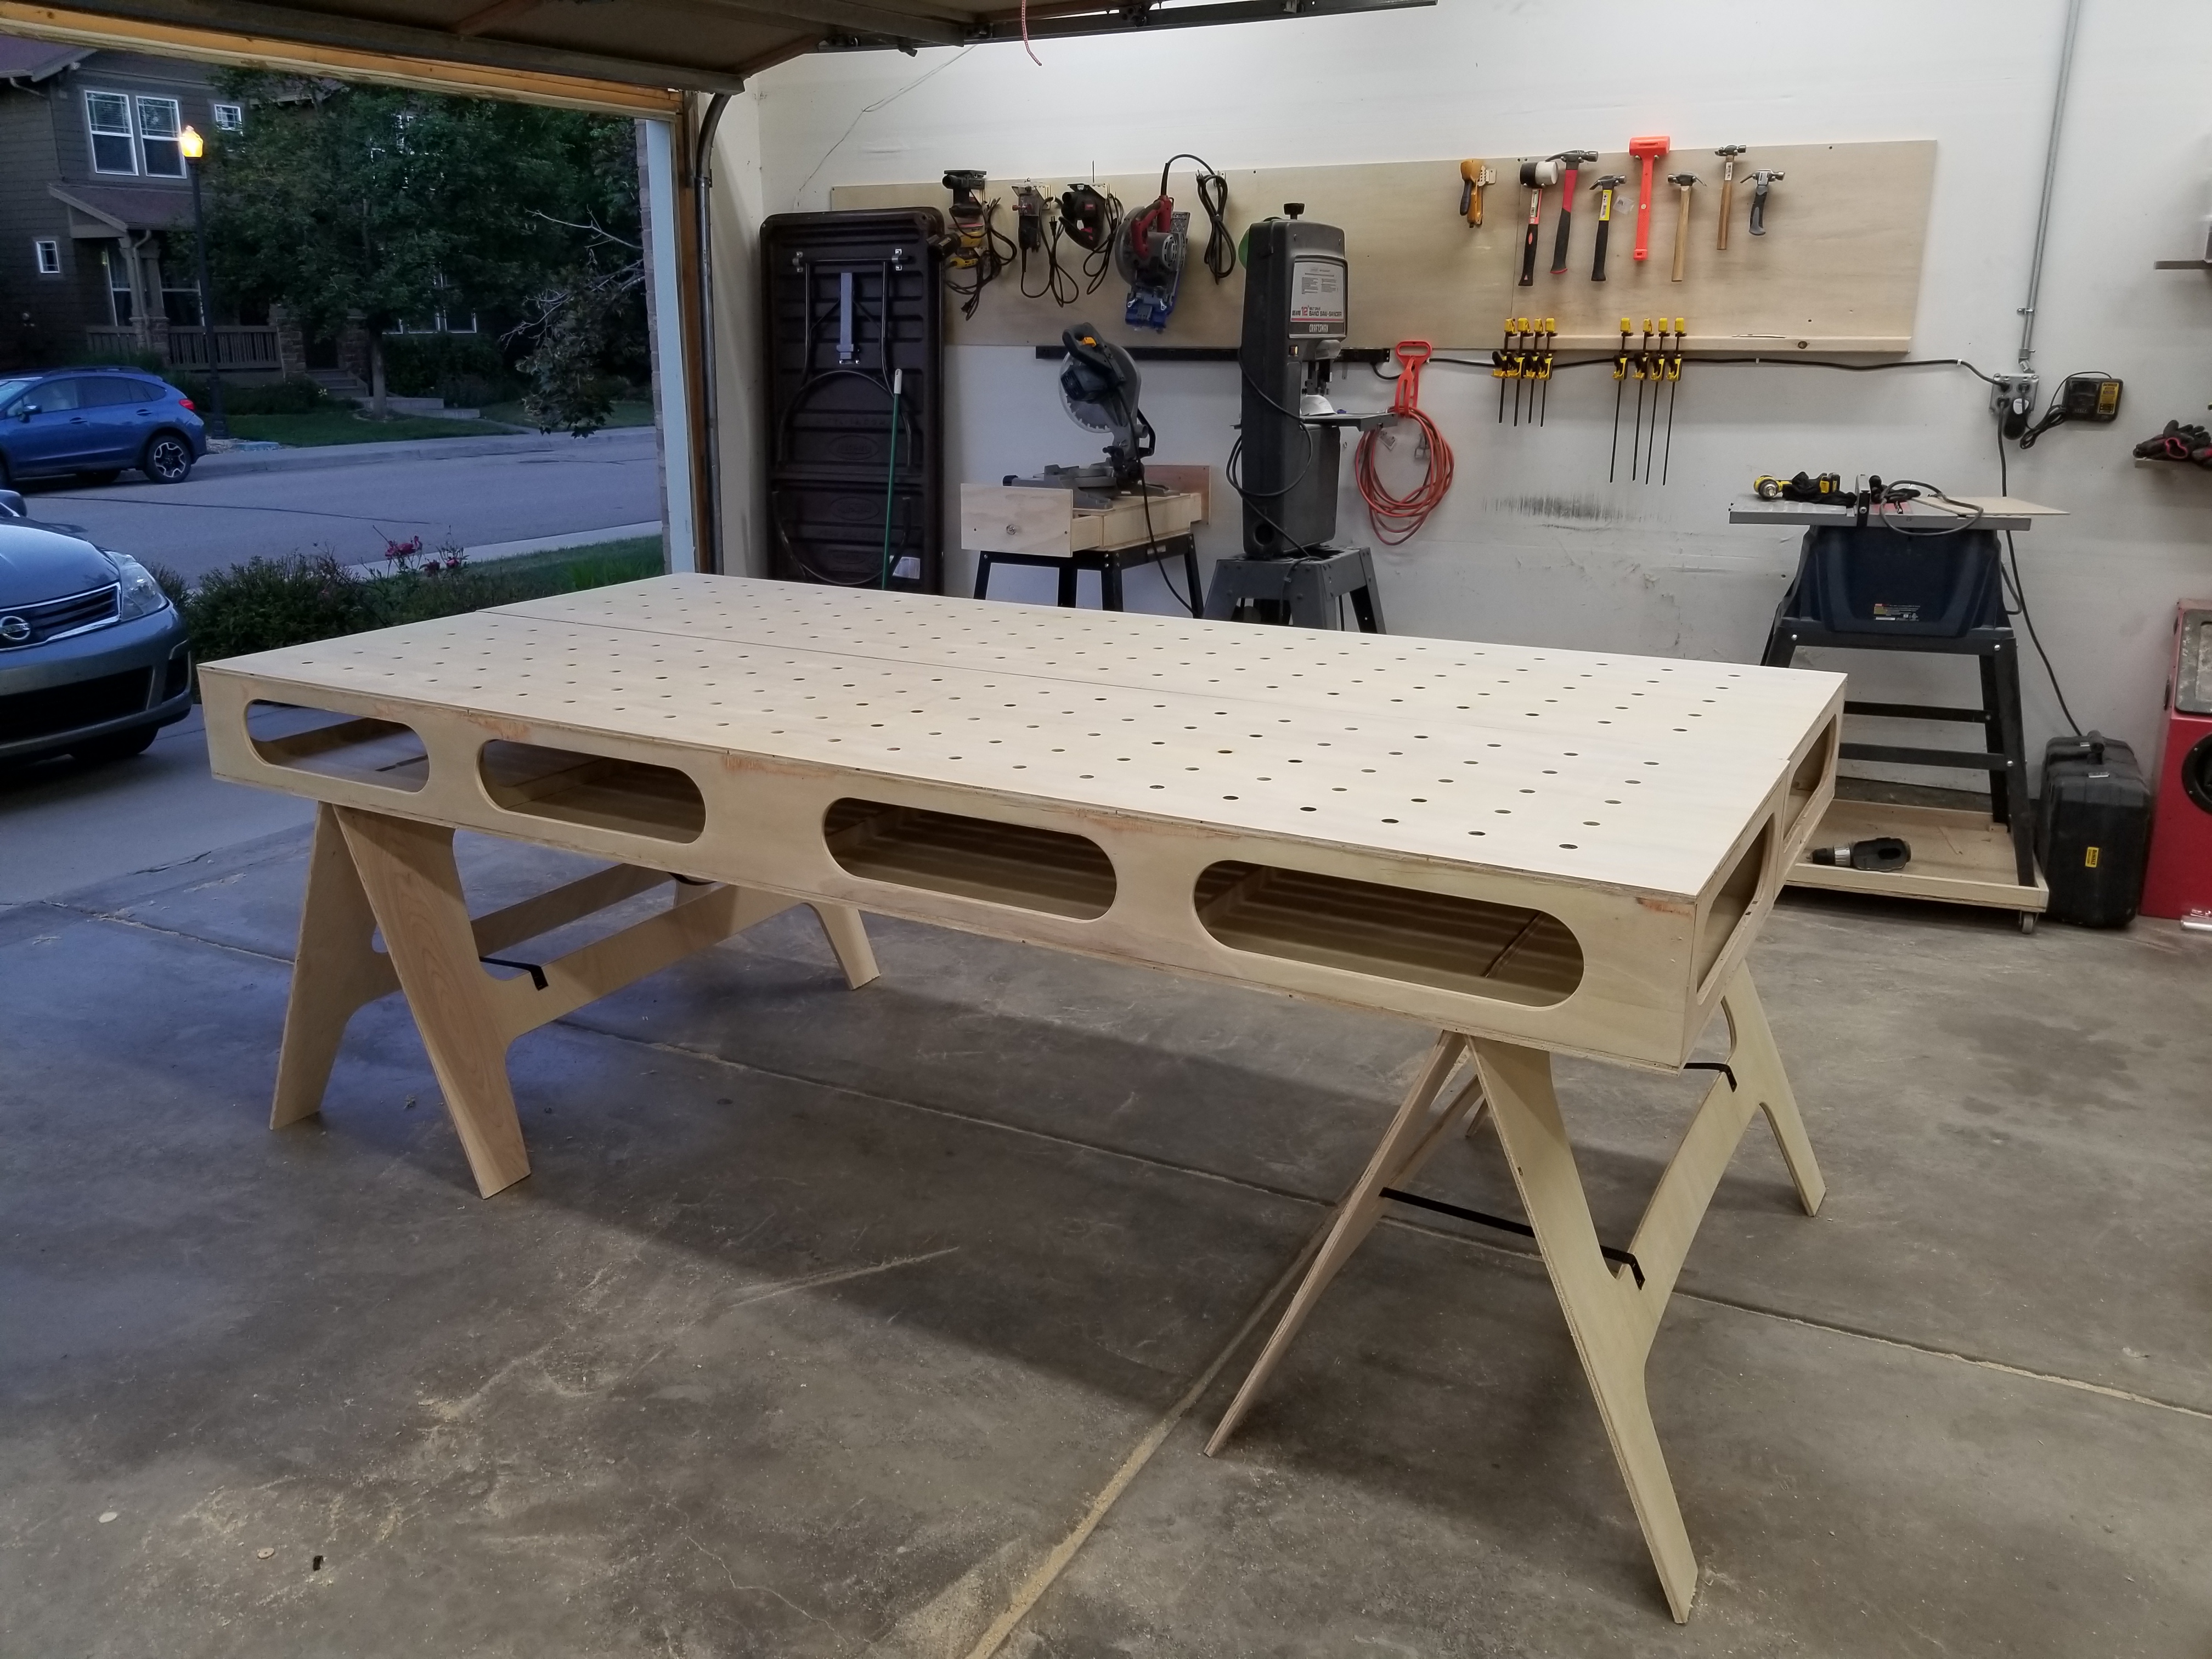
For my new shop space I really needed a workbench that could accomodate 4’x8’ sheets. While doing some research I learned that making a bench with a doghole system could give my shop considerably better panel chopping abilities and it felt like a great compliment to my router.
As I have never created anything this big before and I didn’t have a workbench to support me I knew I was going to need some practice and the ability to break the Paulk down for easy travel made it a good fit as when I eventually create a more permanent workbench I can use this one if I ever need a nice bench on the go.
If you’re looking to build this workbench yourself, I highly recommend you watch Ron’s entire series on building the workbench:
- Part 1: Breaking down plywood
- Part 2: Making sawhorse pattern
- Part 3: Using the sawhorse pattern
- Part 4: Making the sides and spreaders
- Part 5: Layout and detail top
- Part 6: Beginning assembly of tops
- Part 7: The connector bolt assem
- Part 8: Table saw pipe guides
- Part 9: Backing and detailing
- Part 10: Dados
- Part 11: Bottoms and Saw horse prepare
- Part 12: Mount the tablesaw
- Part 13: Router fence
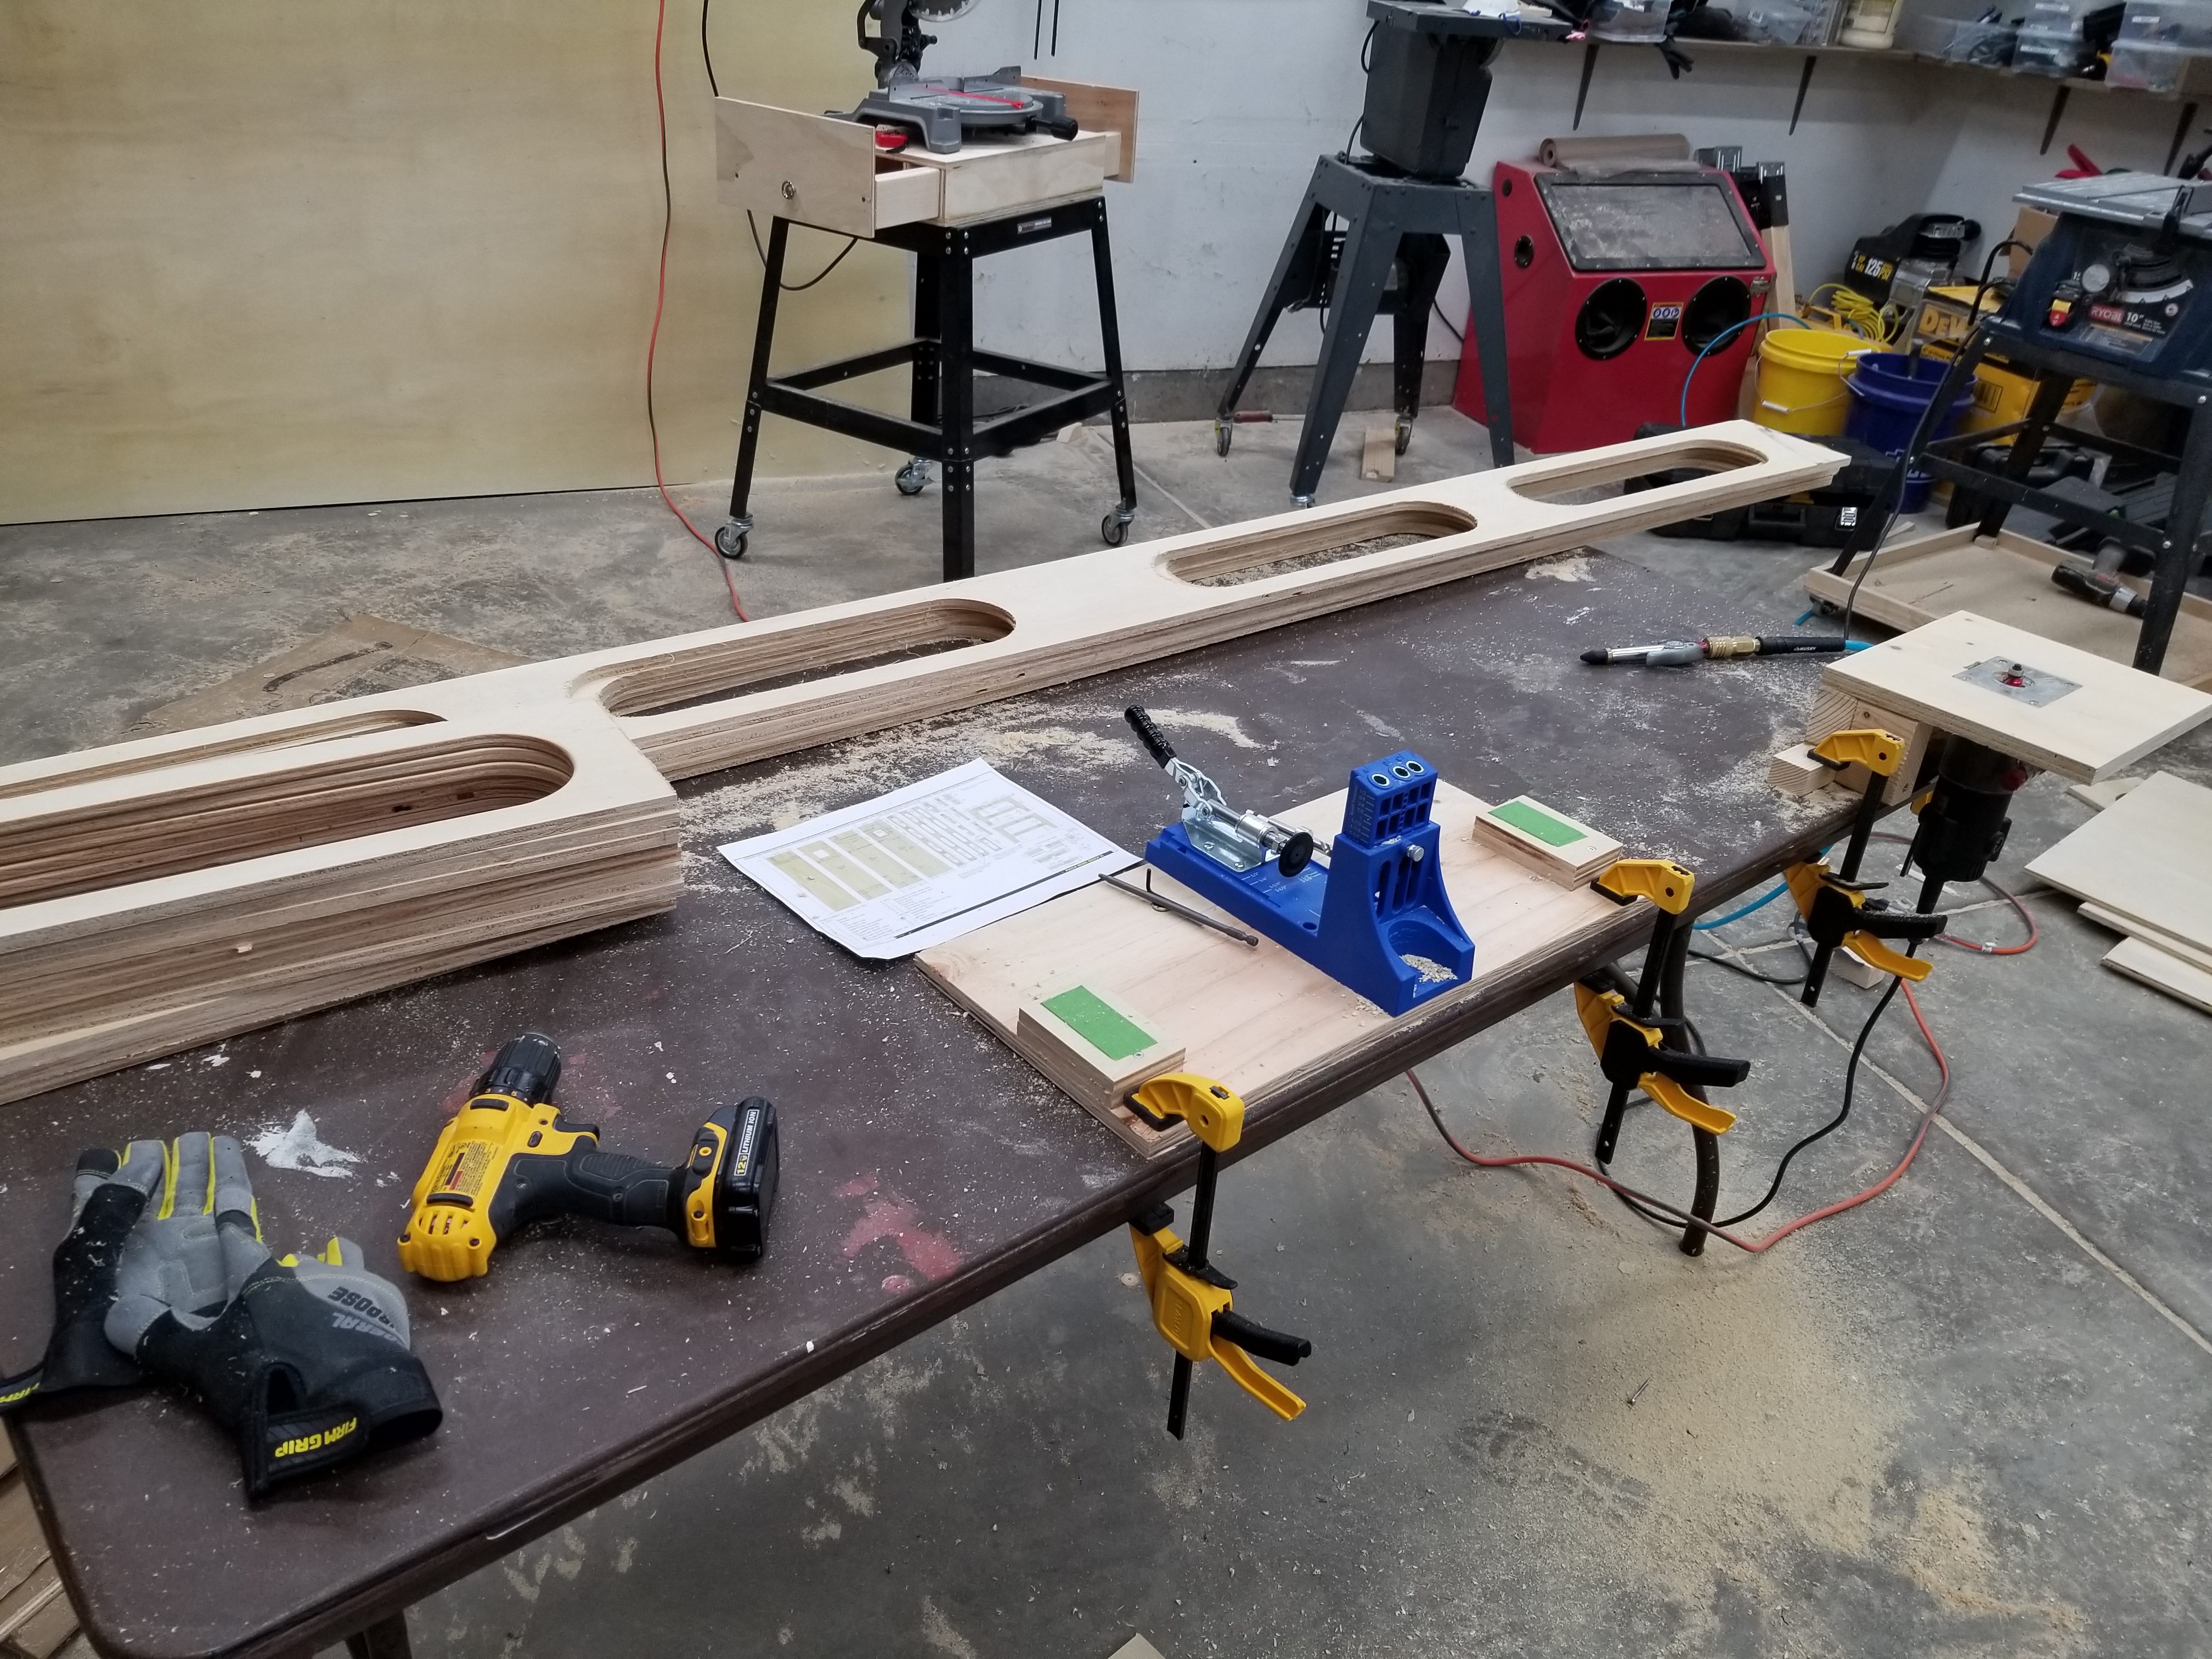
I suggest thorougly marking every piece and cut you can think of with pencil. Mark your upper and lower faces and reference edges so that you can easily find them for every operation.
Tools
Kreg Accu-cut and Kreg Rip Cut
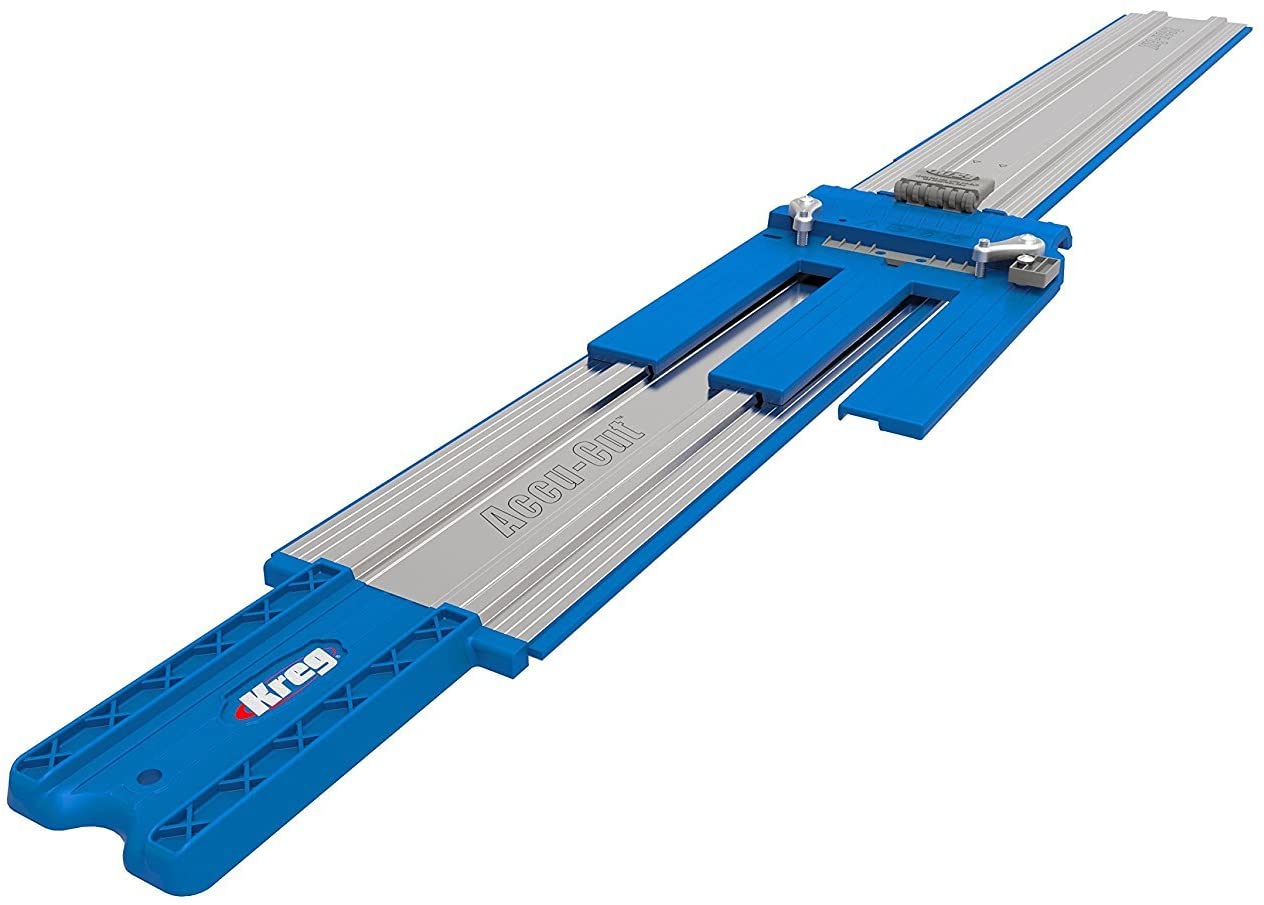

I could have levereged the router more but using the circular saw saved some material. I also really liked using these and I wanted atleast a track saw to make good use of the dogholes on this bench anyway. I ended up really liking them. I have never used the festool or dewalt but these made very repeatable cuts.
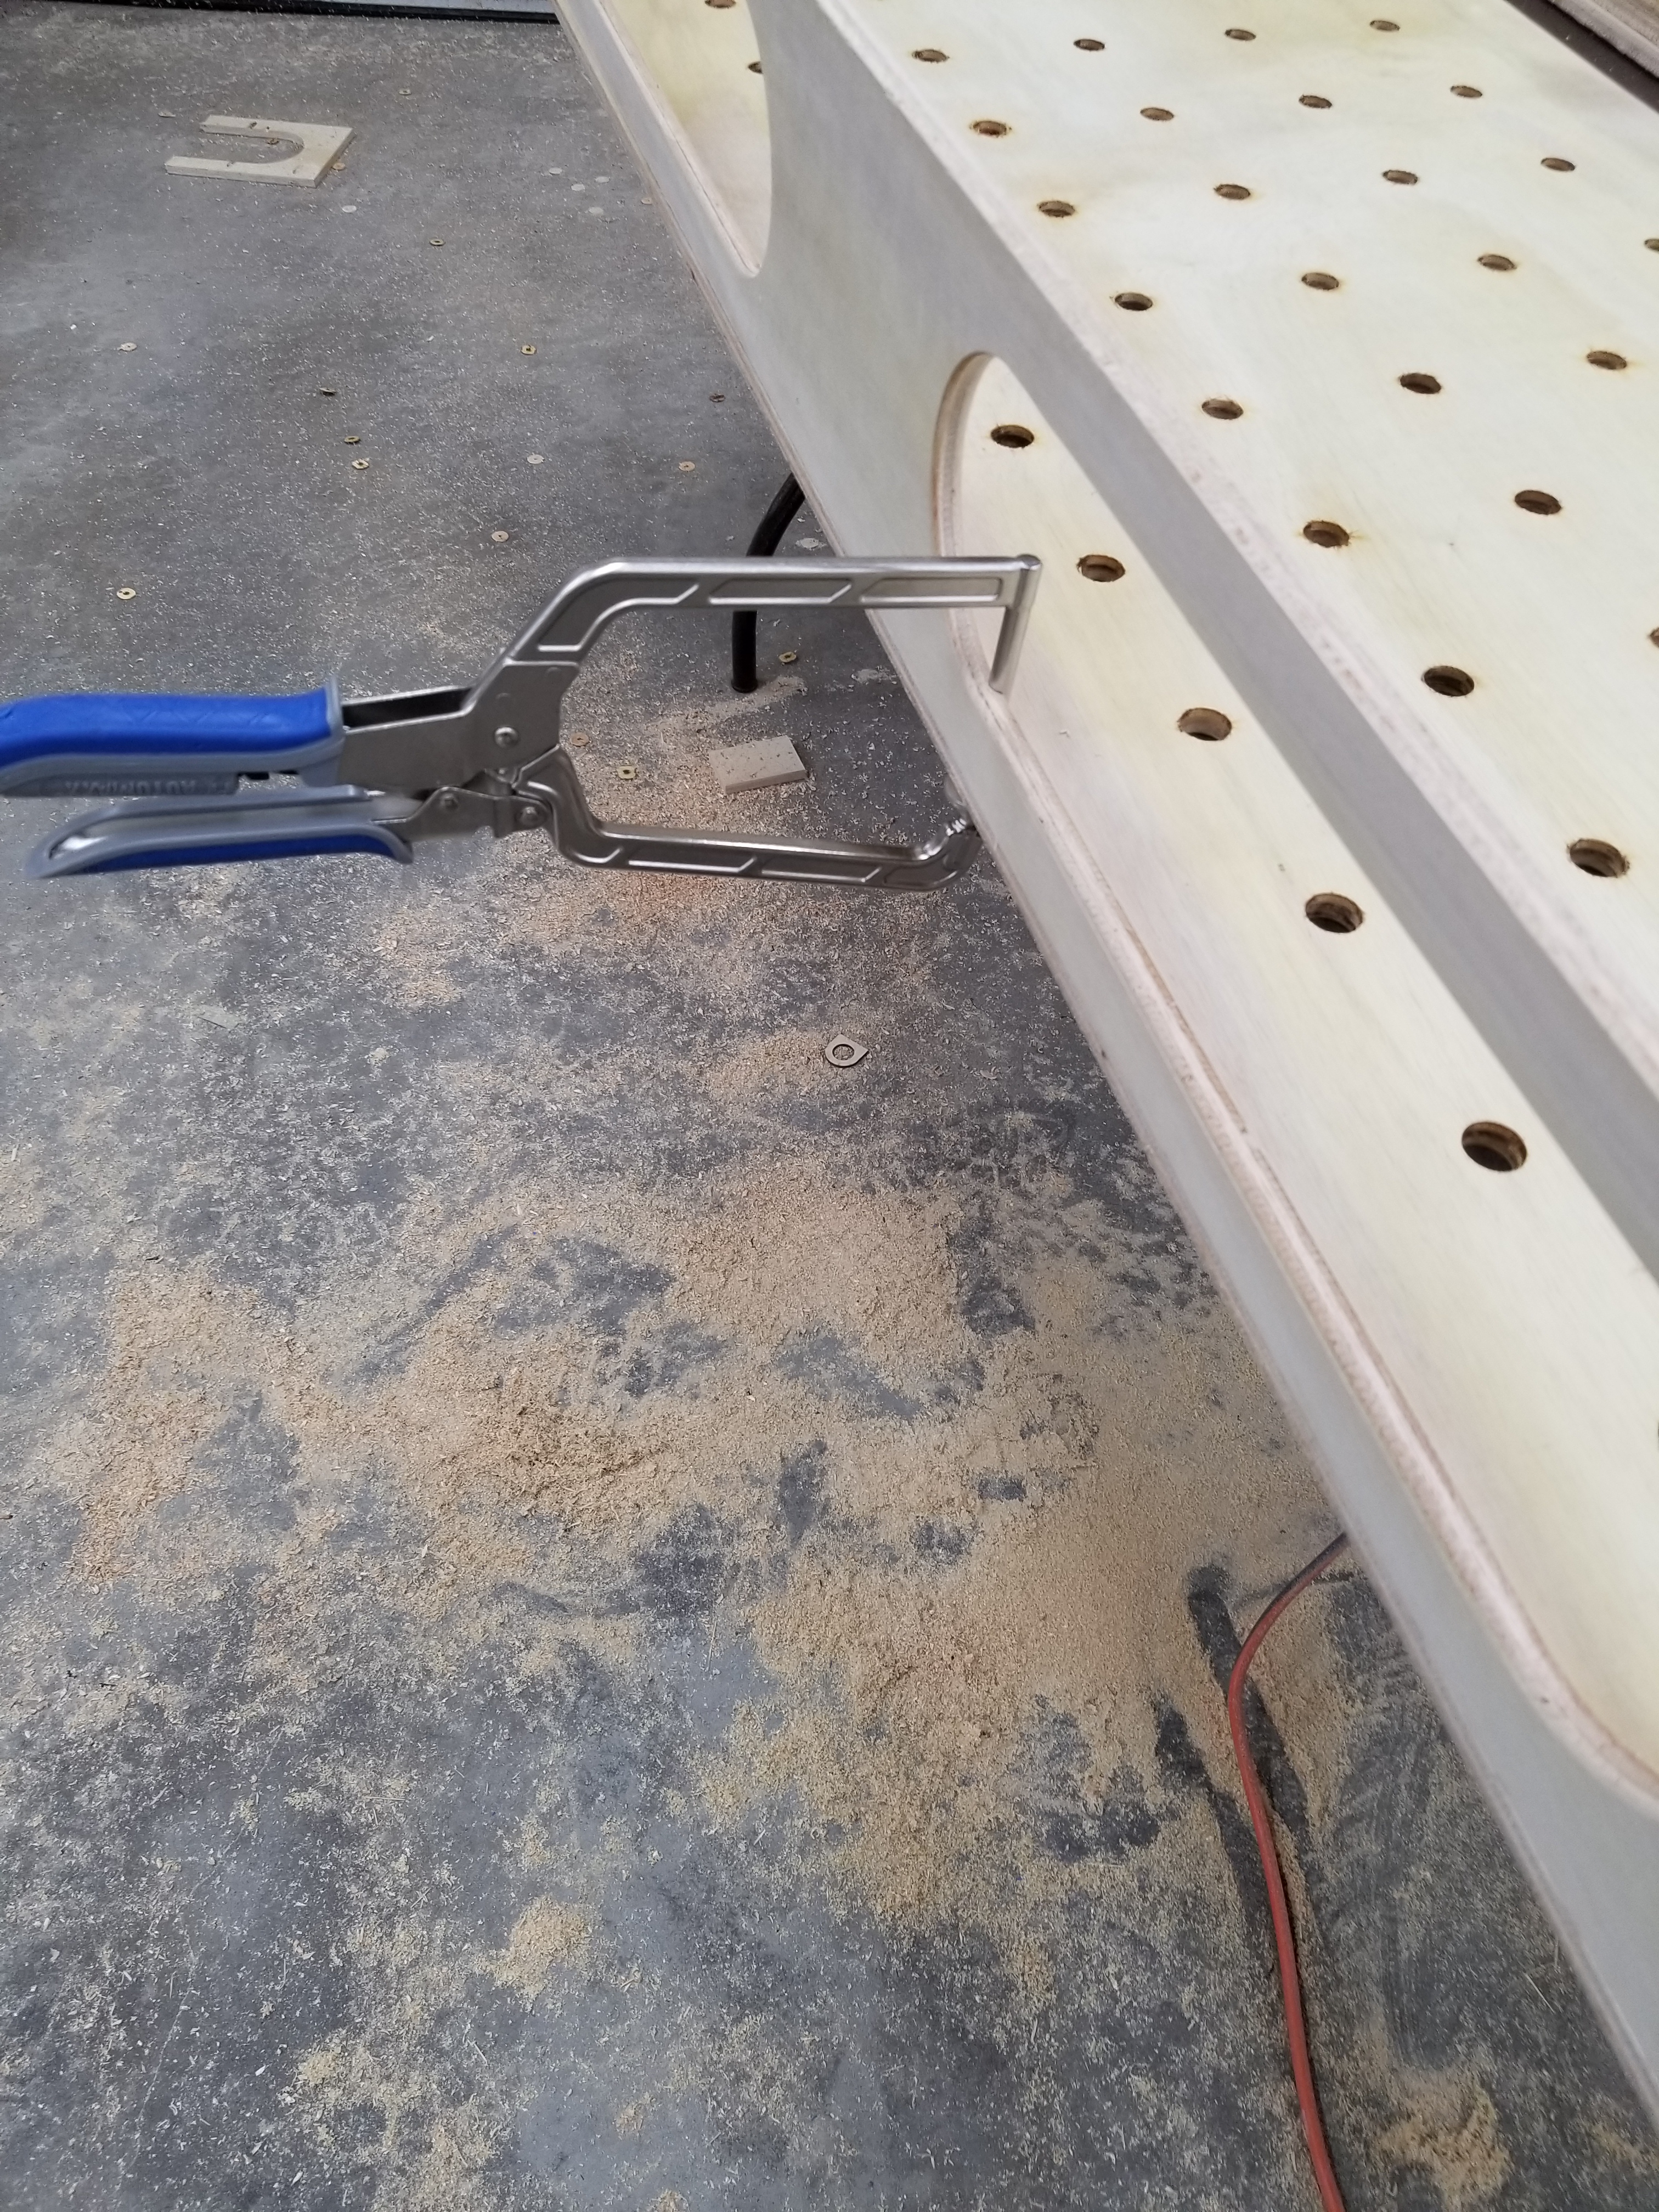
Kreg Pocket Hole Jig
The K4 is great, especially if you attach it to a board. I do think the clamping setup on the K5 may make it worth it.
Forstner Bit
Most everyone I saw creating these benches were using the 20mm forstner and I managed to find one at mcguckins.
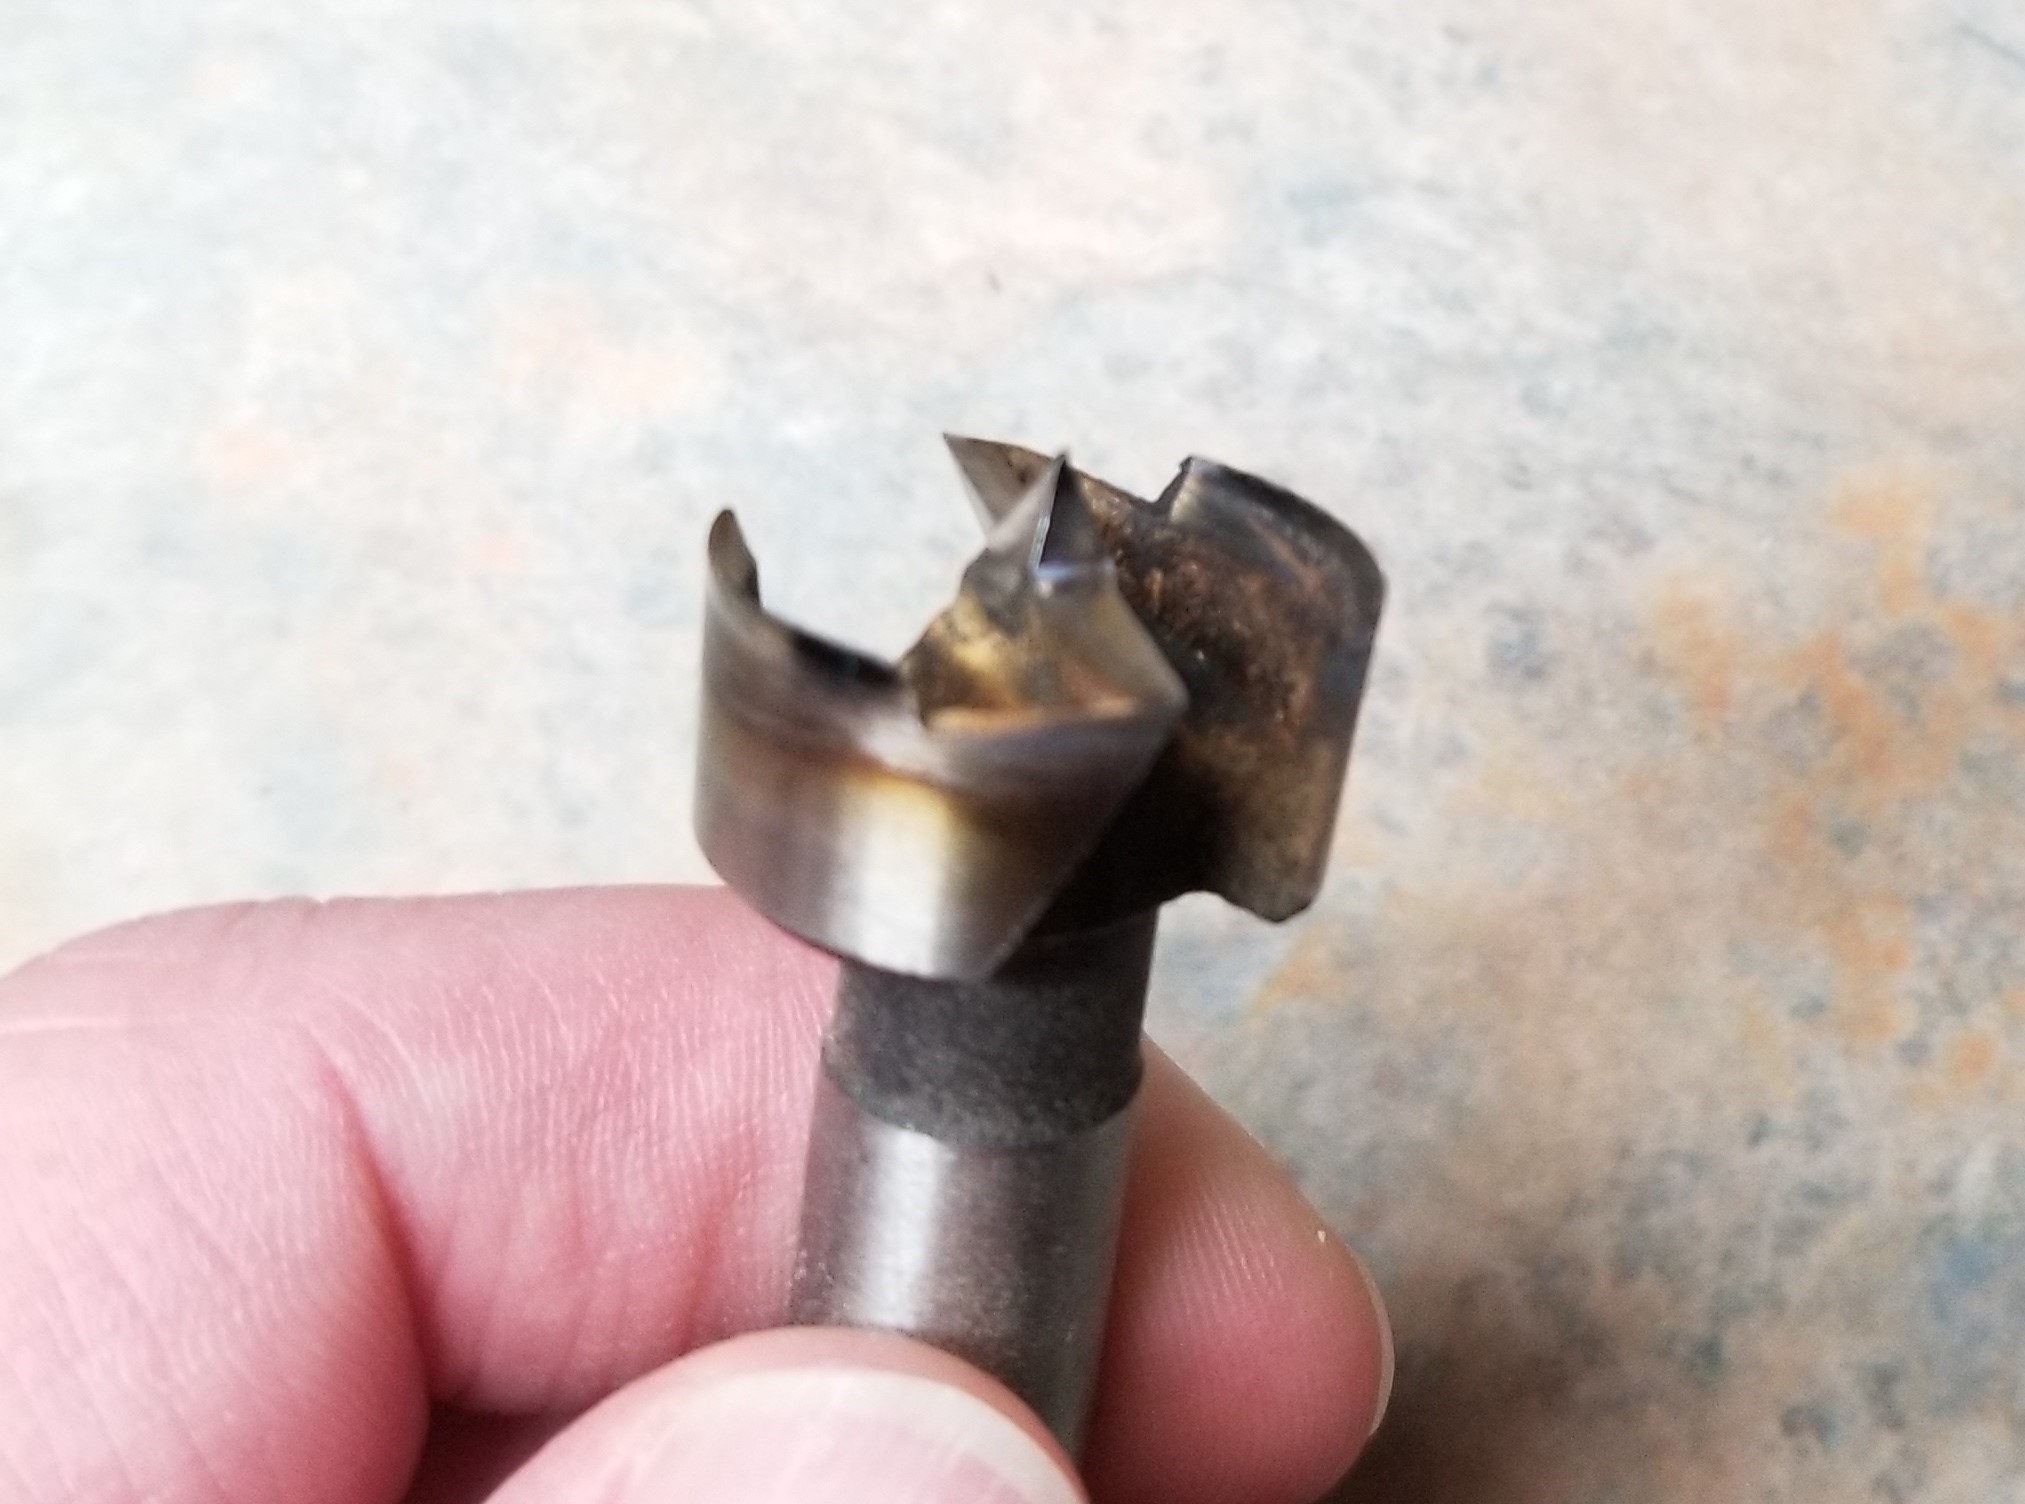
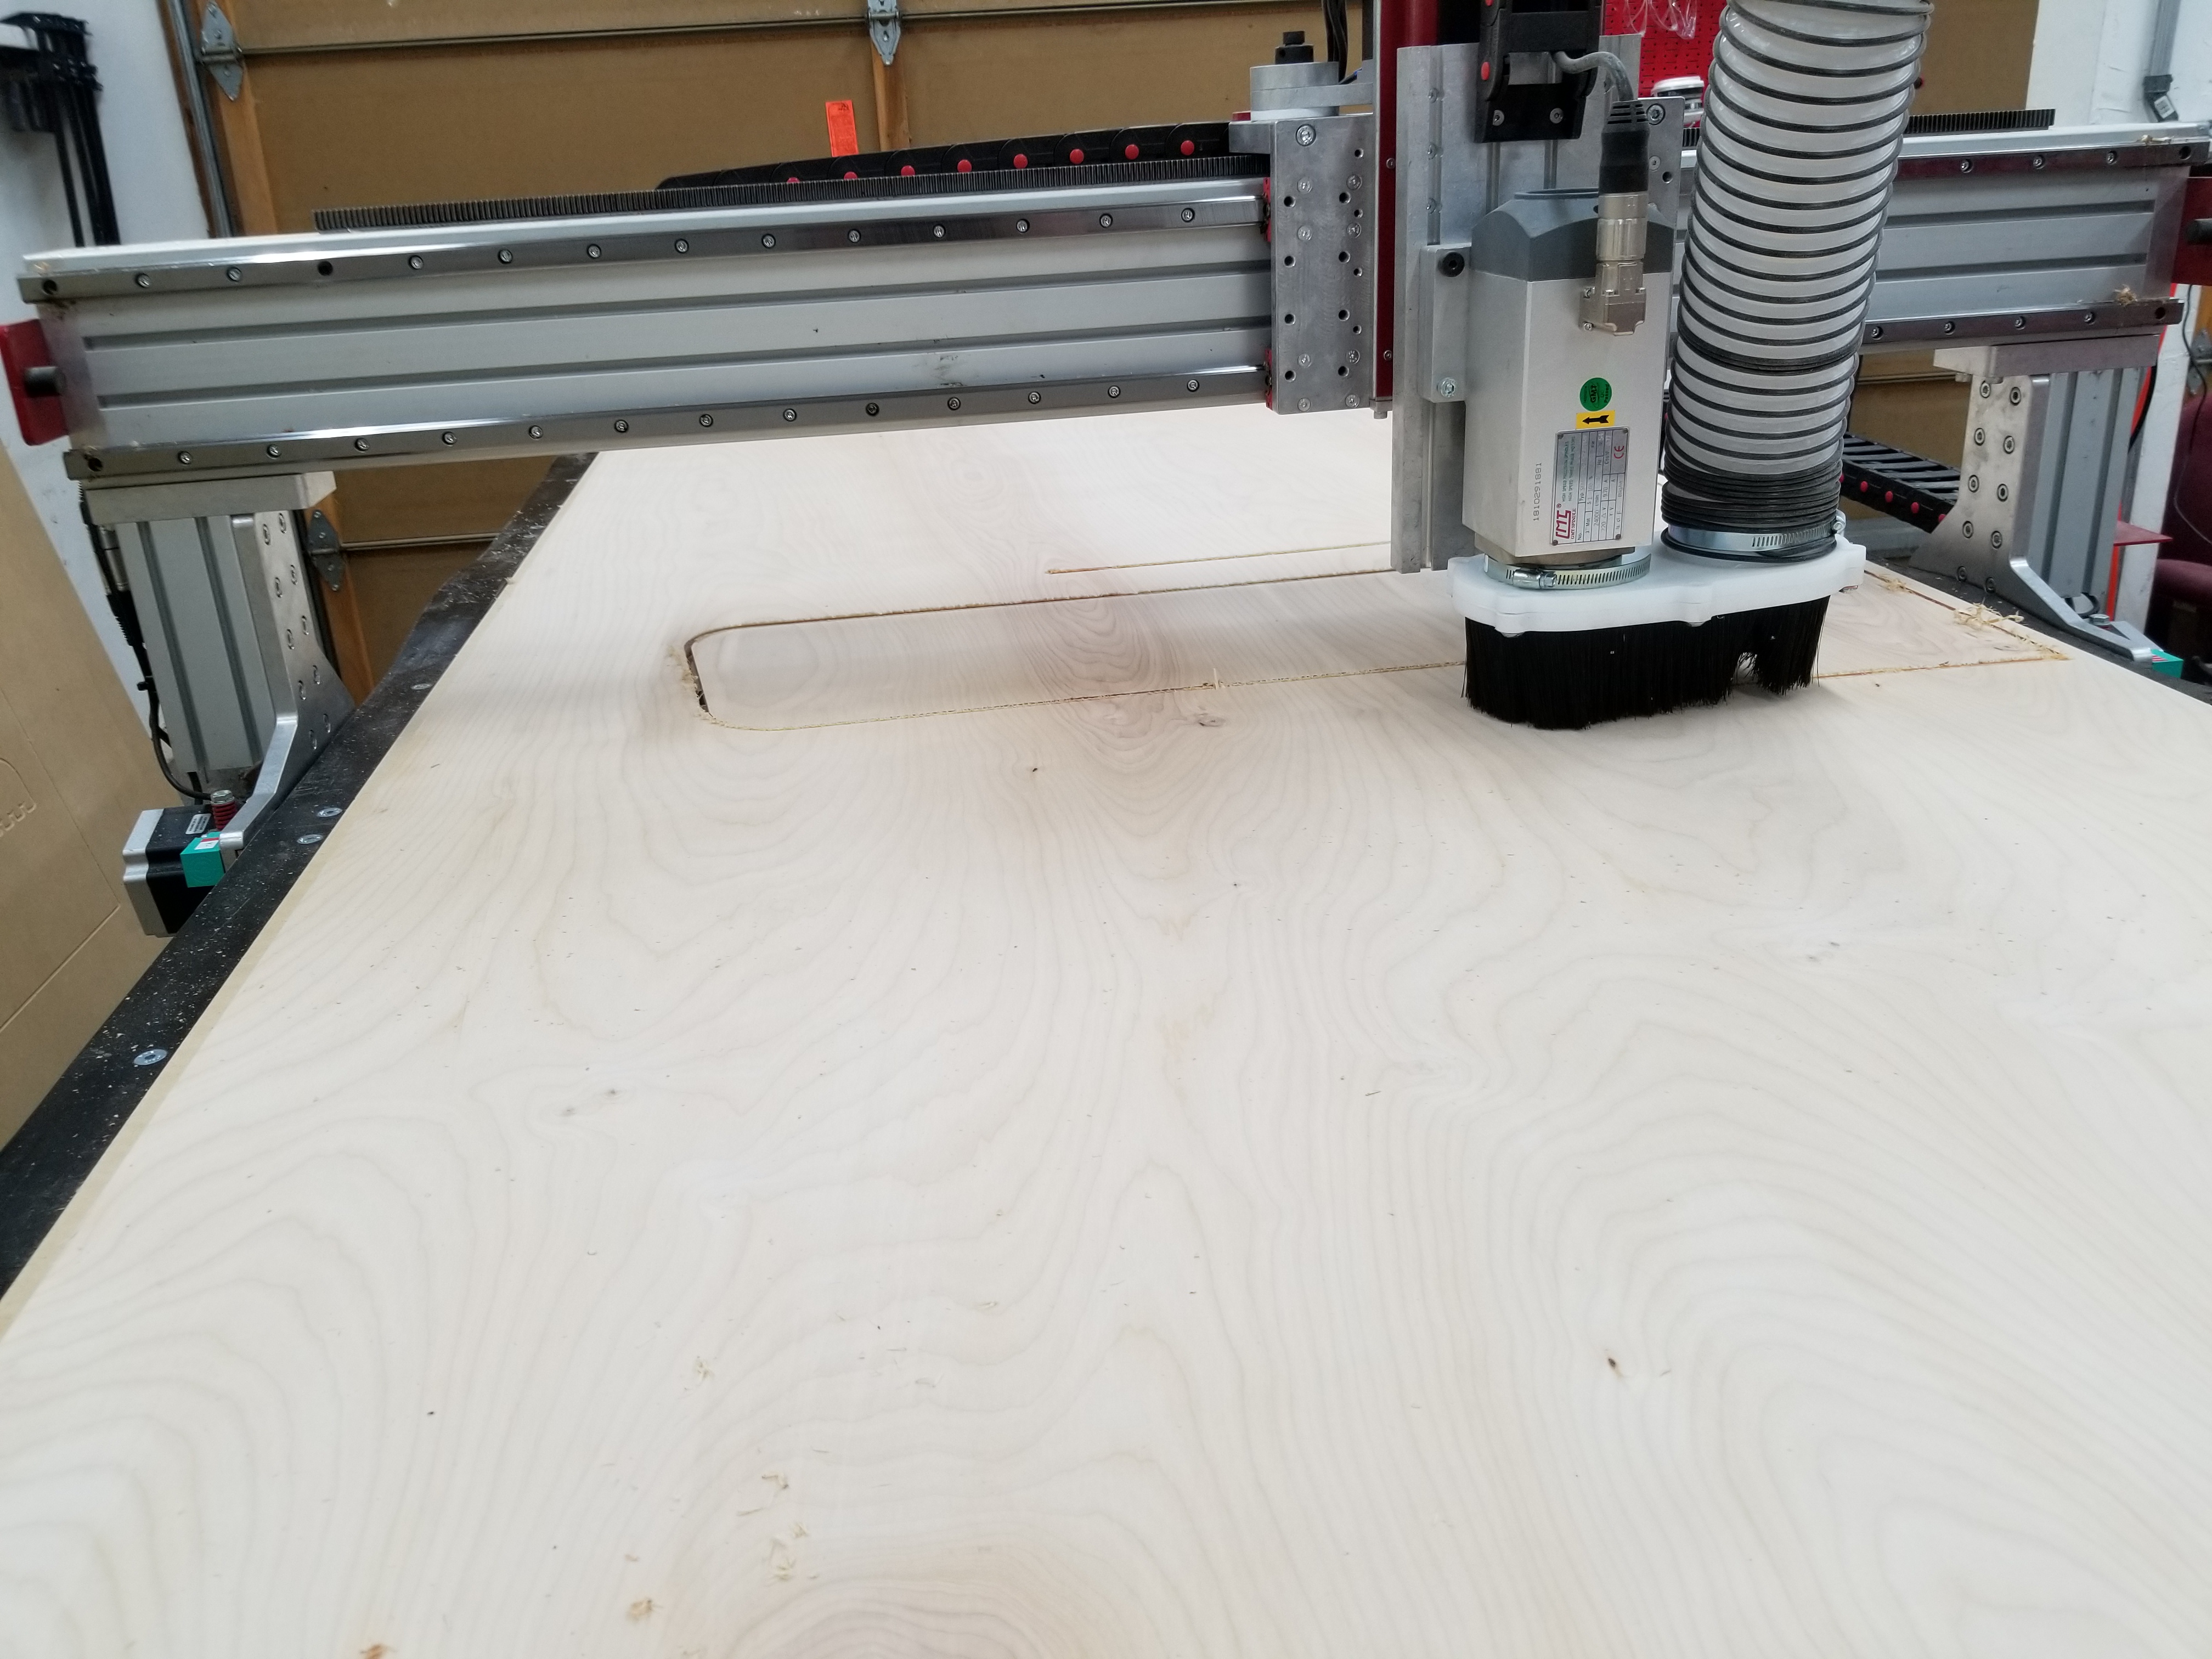
It was a two blade variety and atleast for my CNC it just wasn’t up to the job. It ended up getting extremely hot, smoking and burning the walls of the dogholes. I also looked into the bench dog offerings online and locally and determined I was better off using a 3/4" forstner.
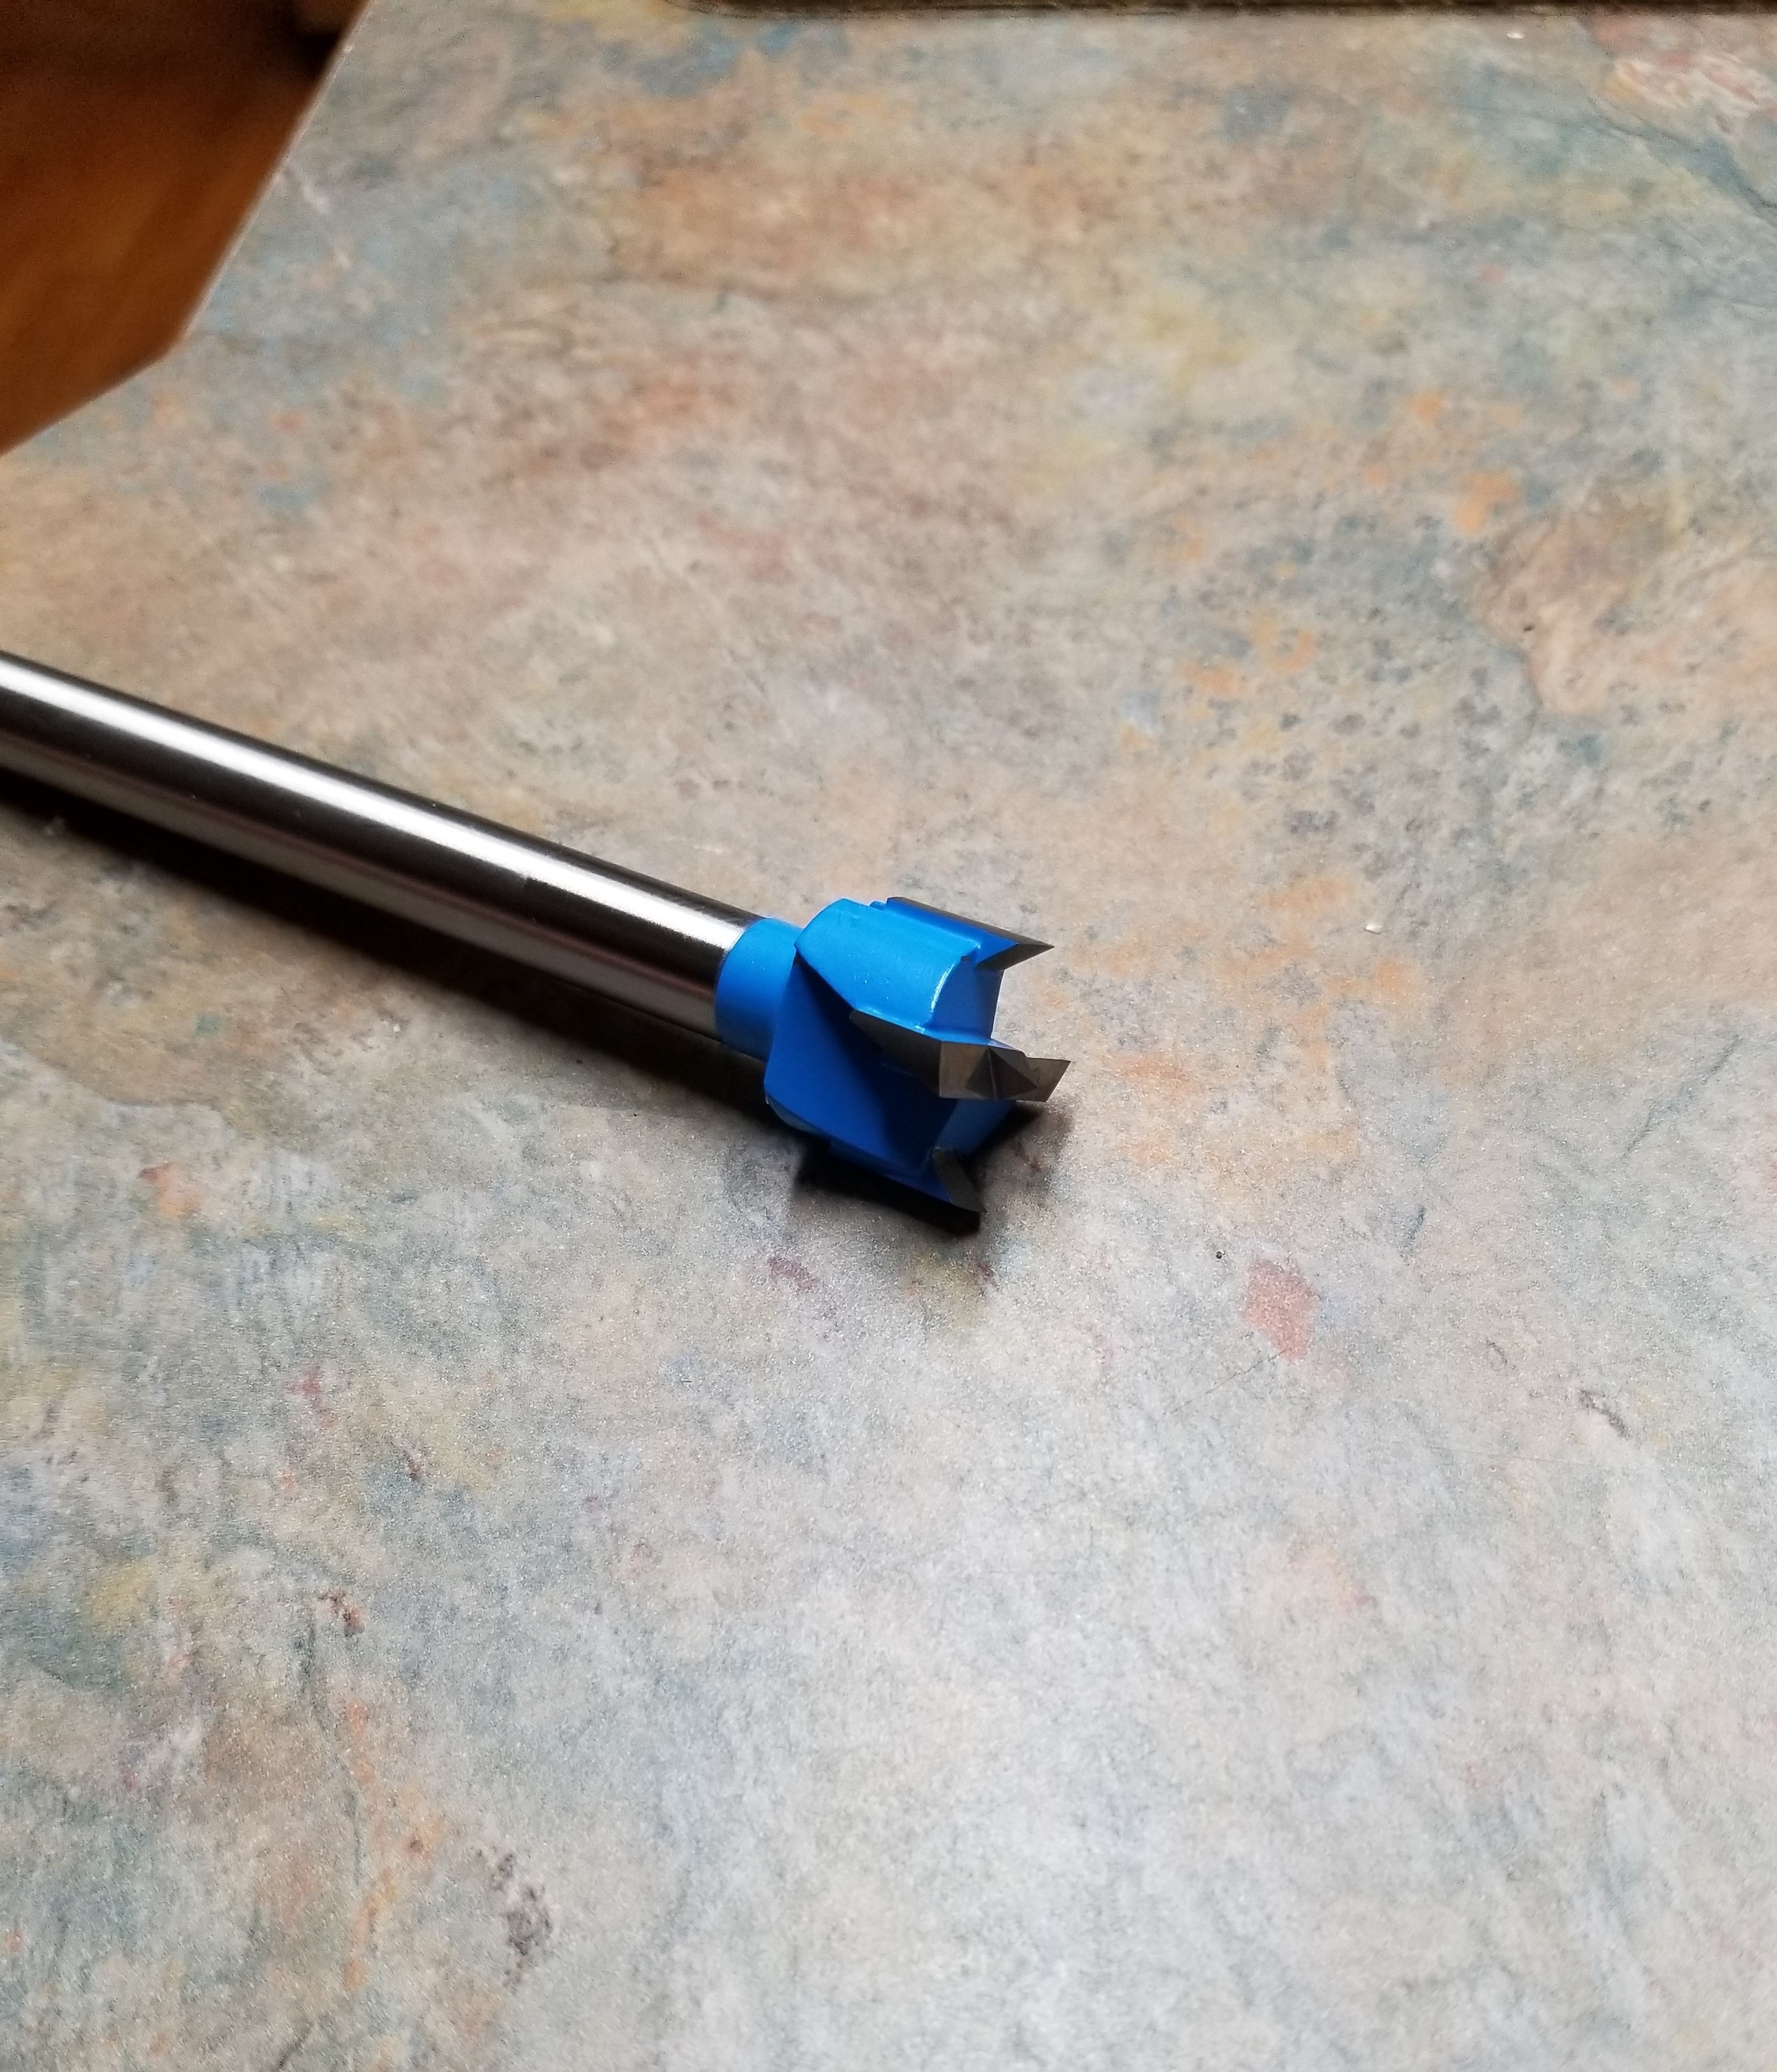

I learned that there is another type of forstner that is better for use in routers. After few tests the holes were clean and the bit was running cool after multiple holes.
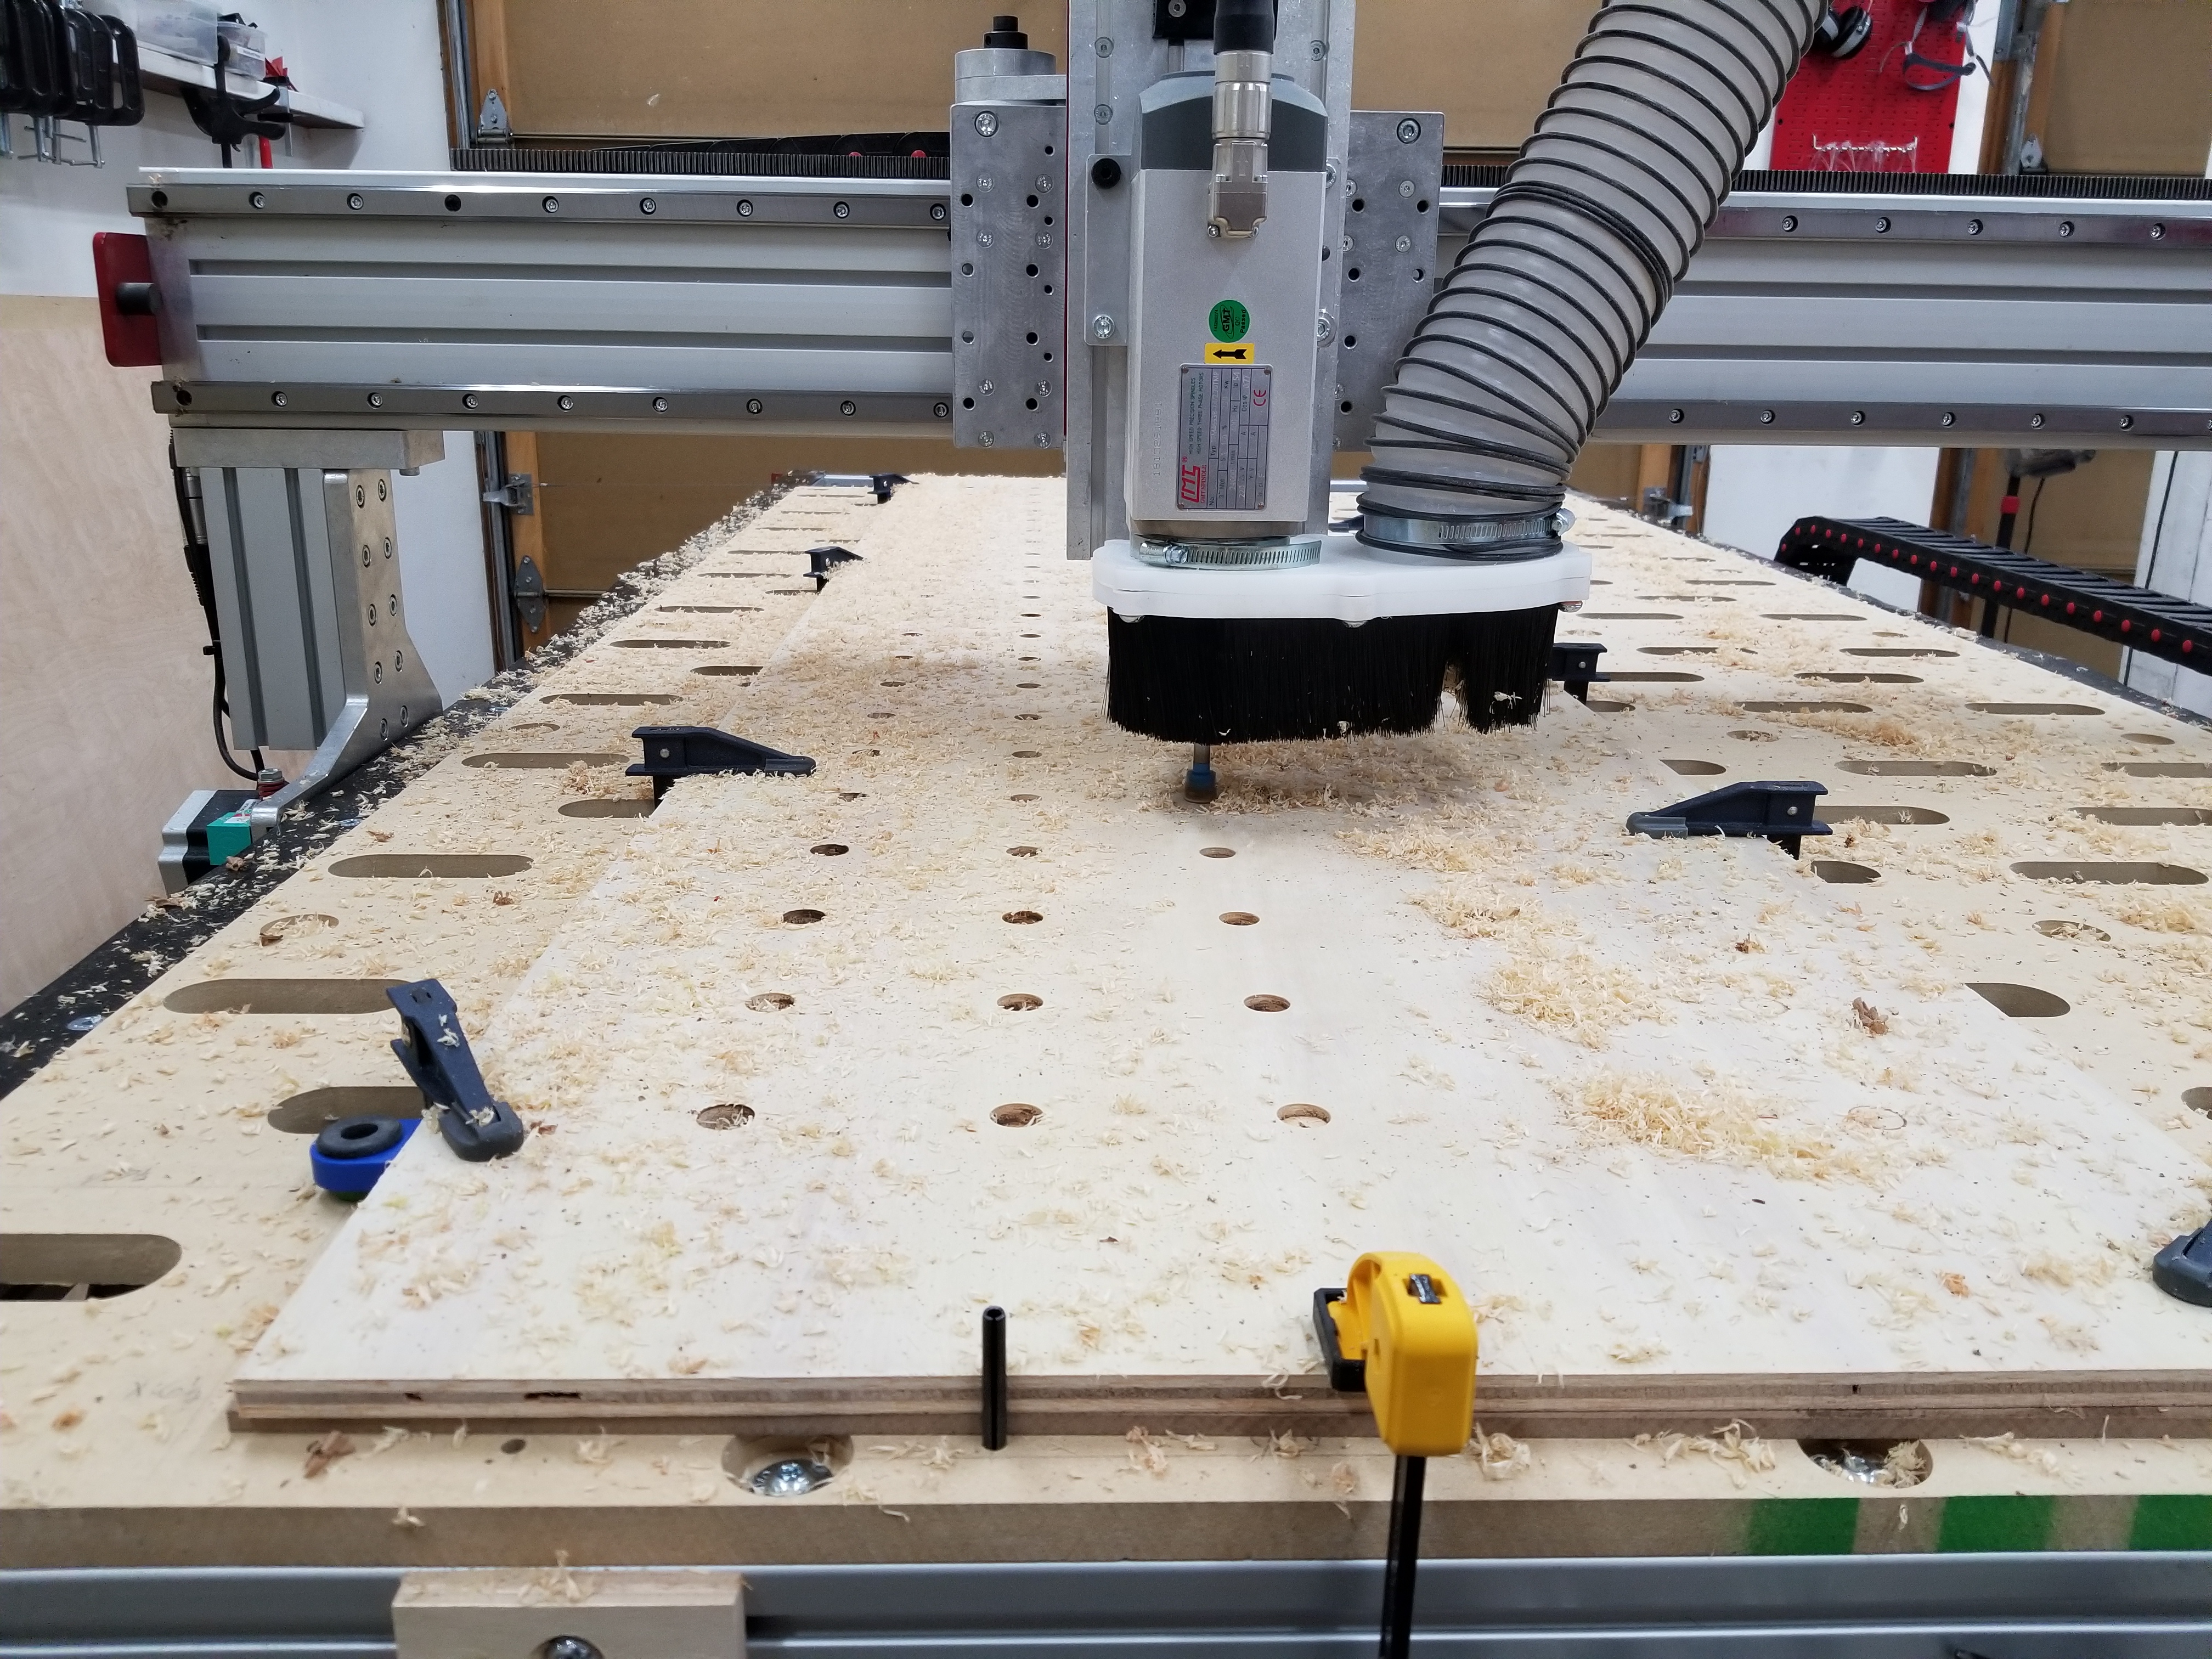
Cutting

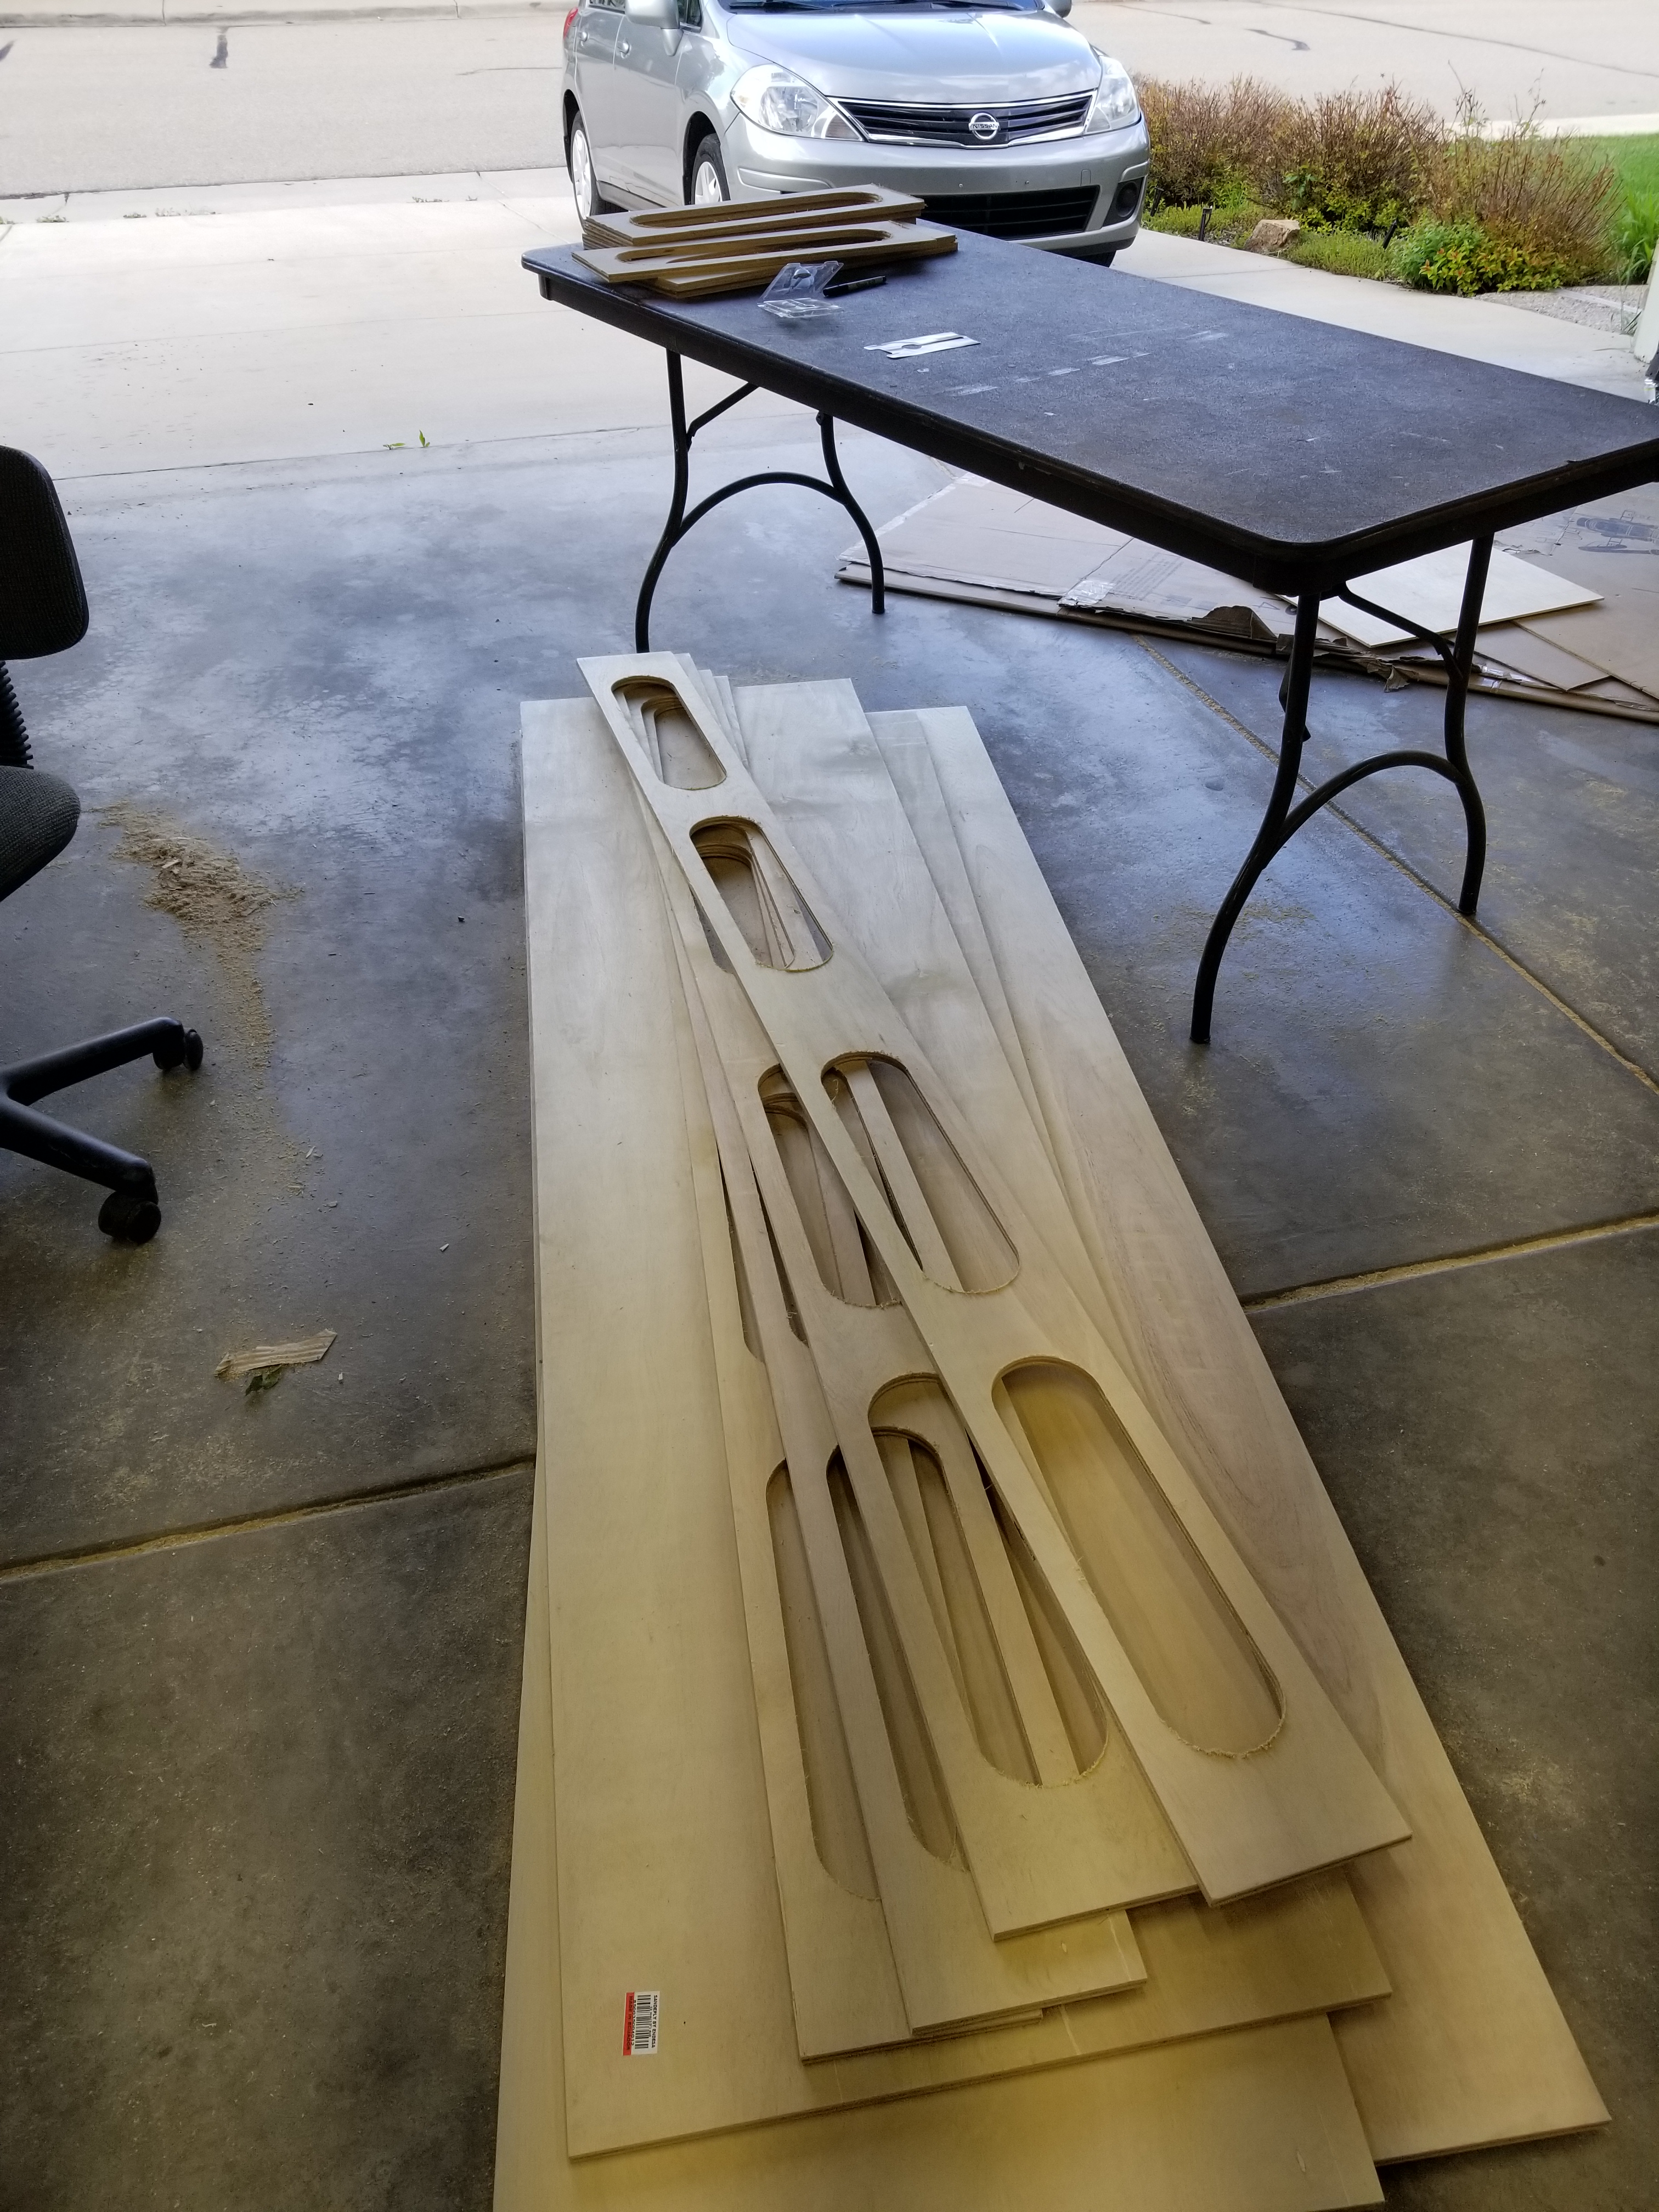
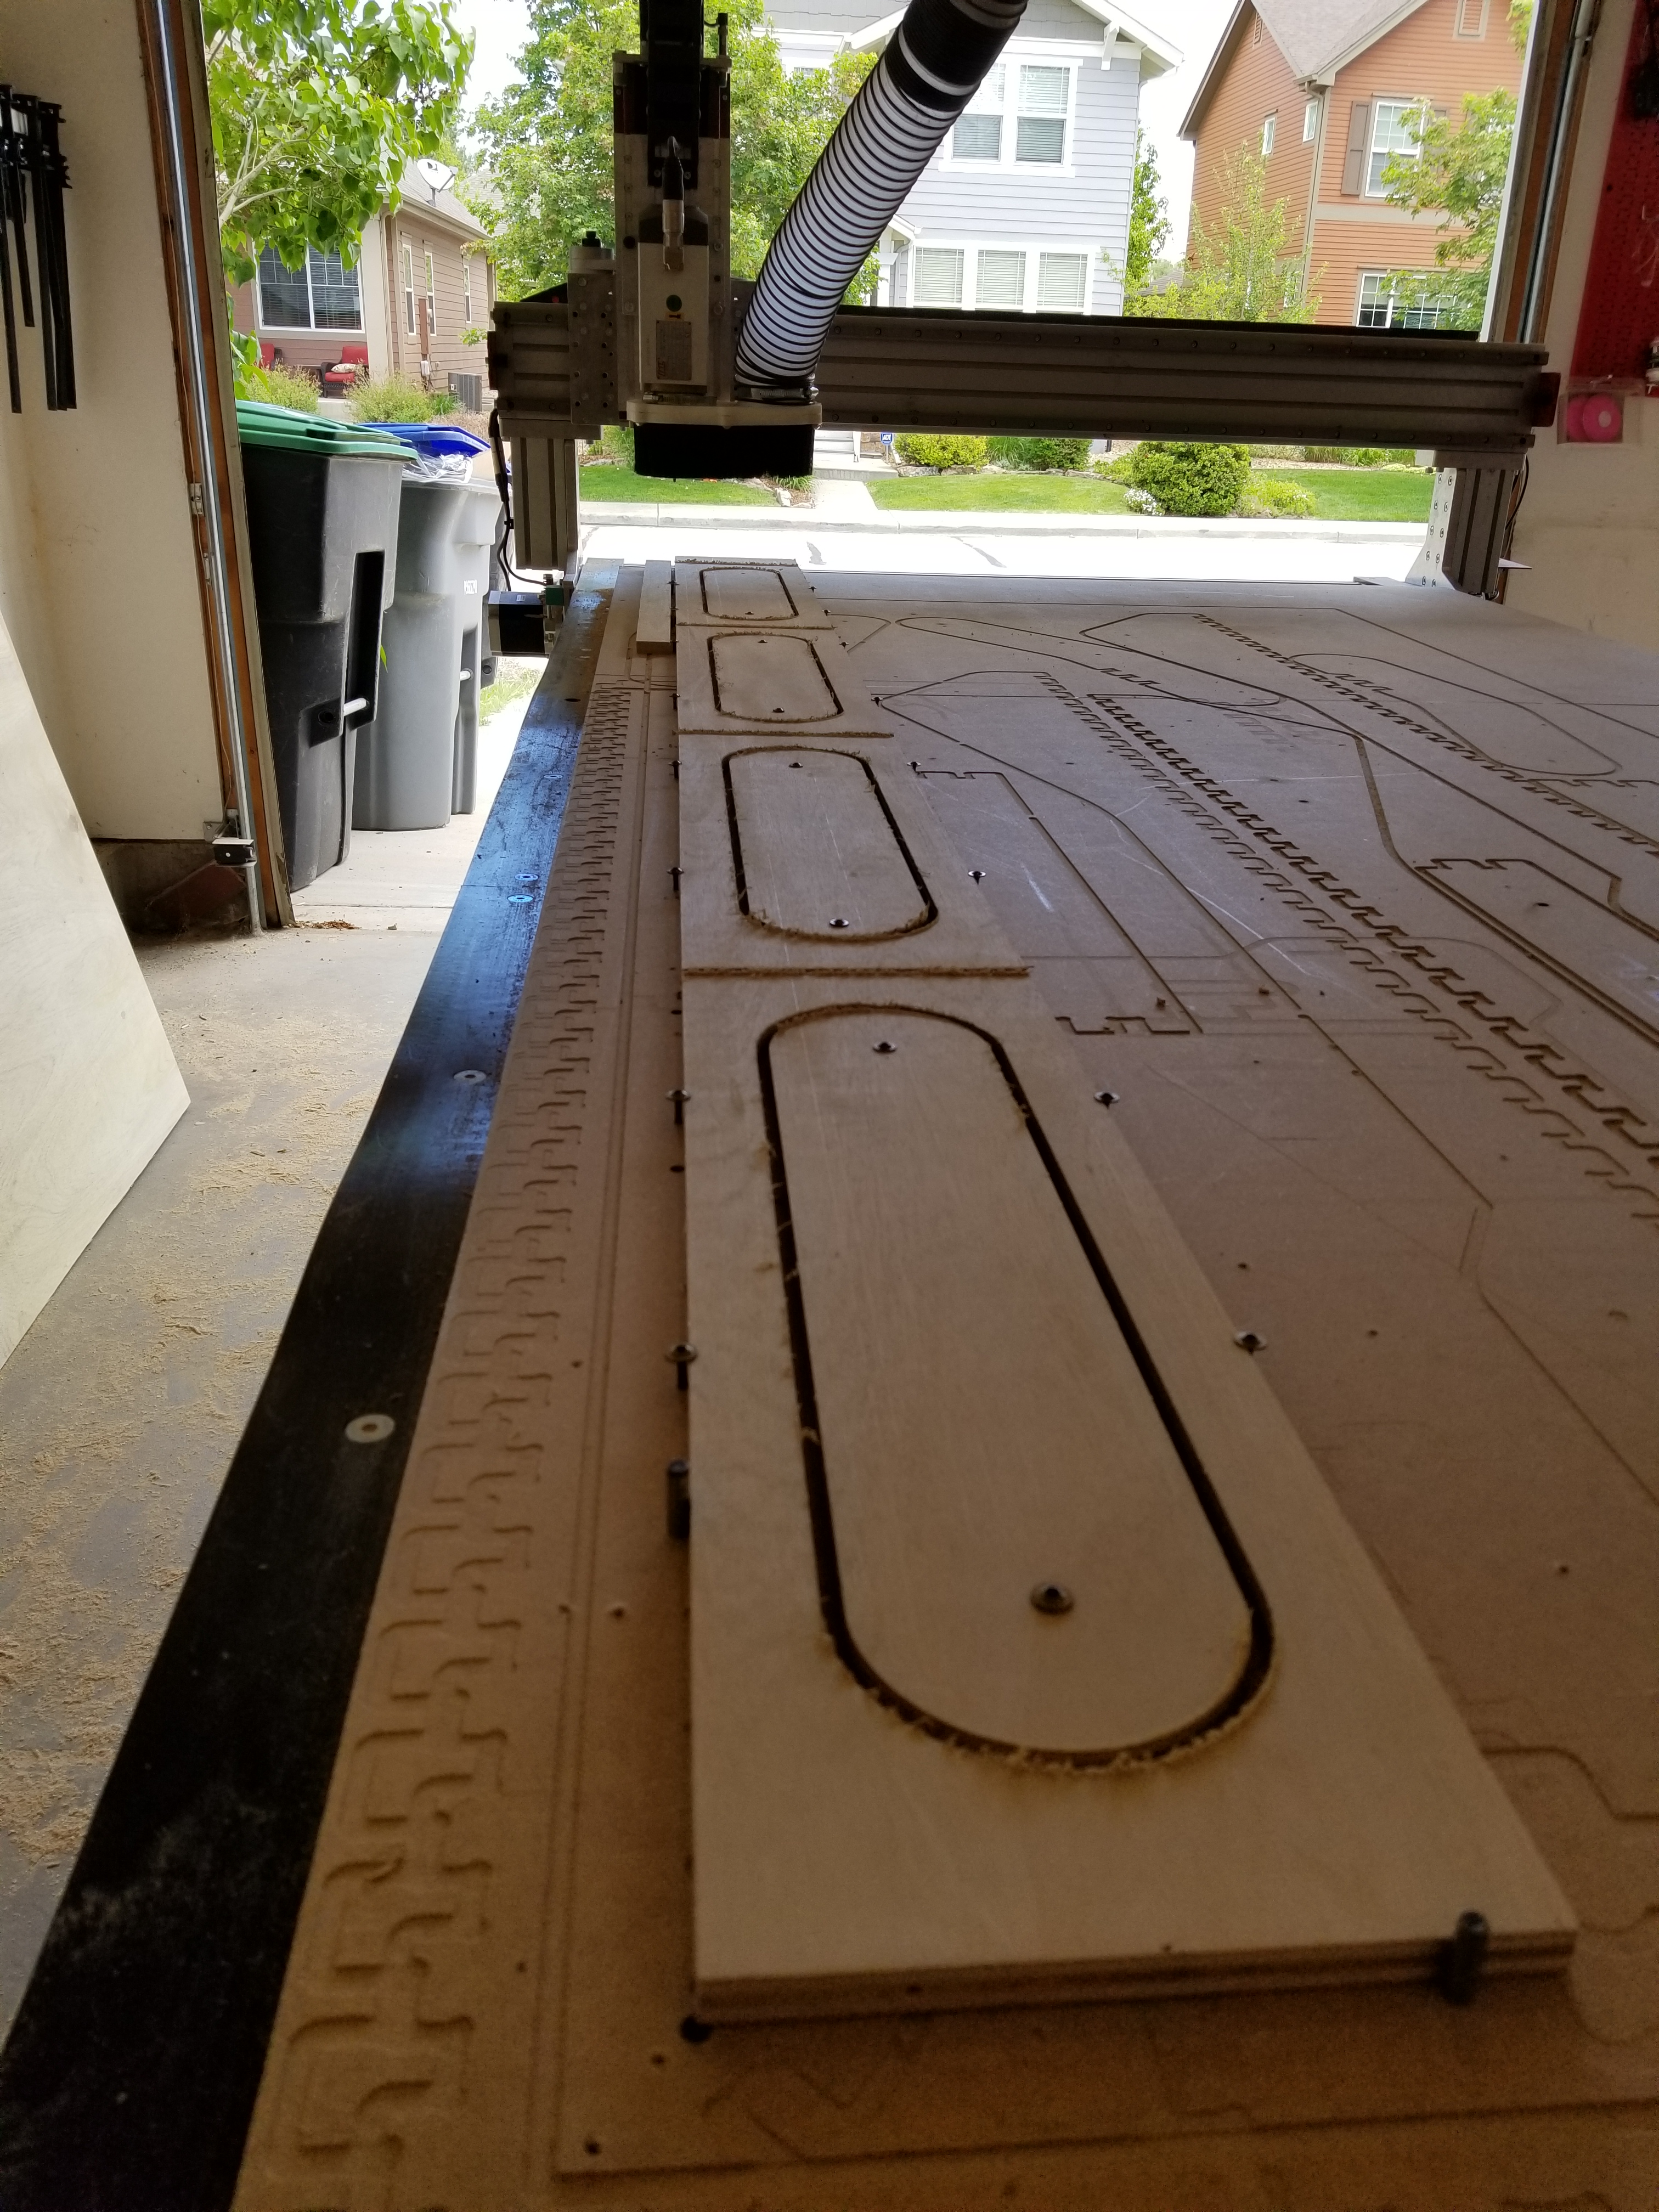
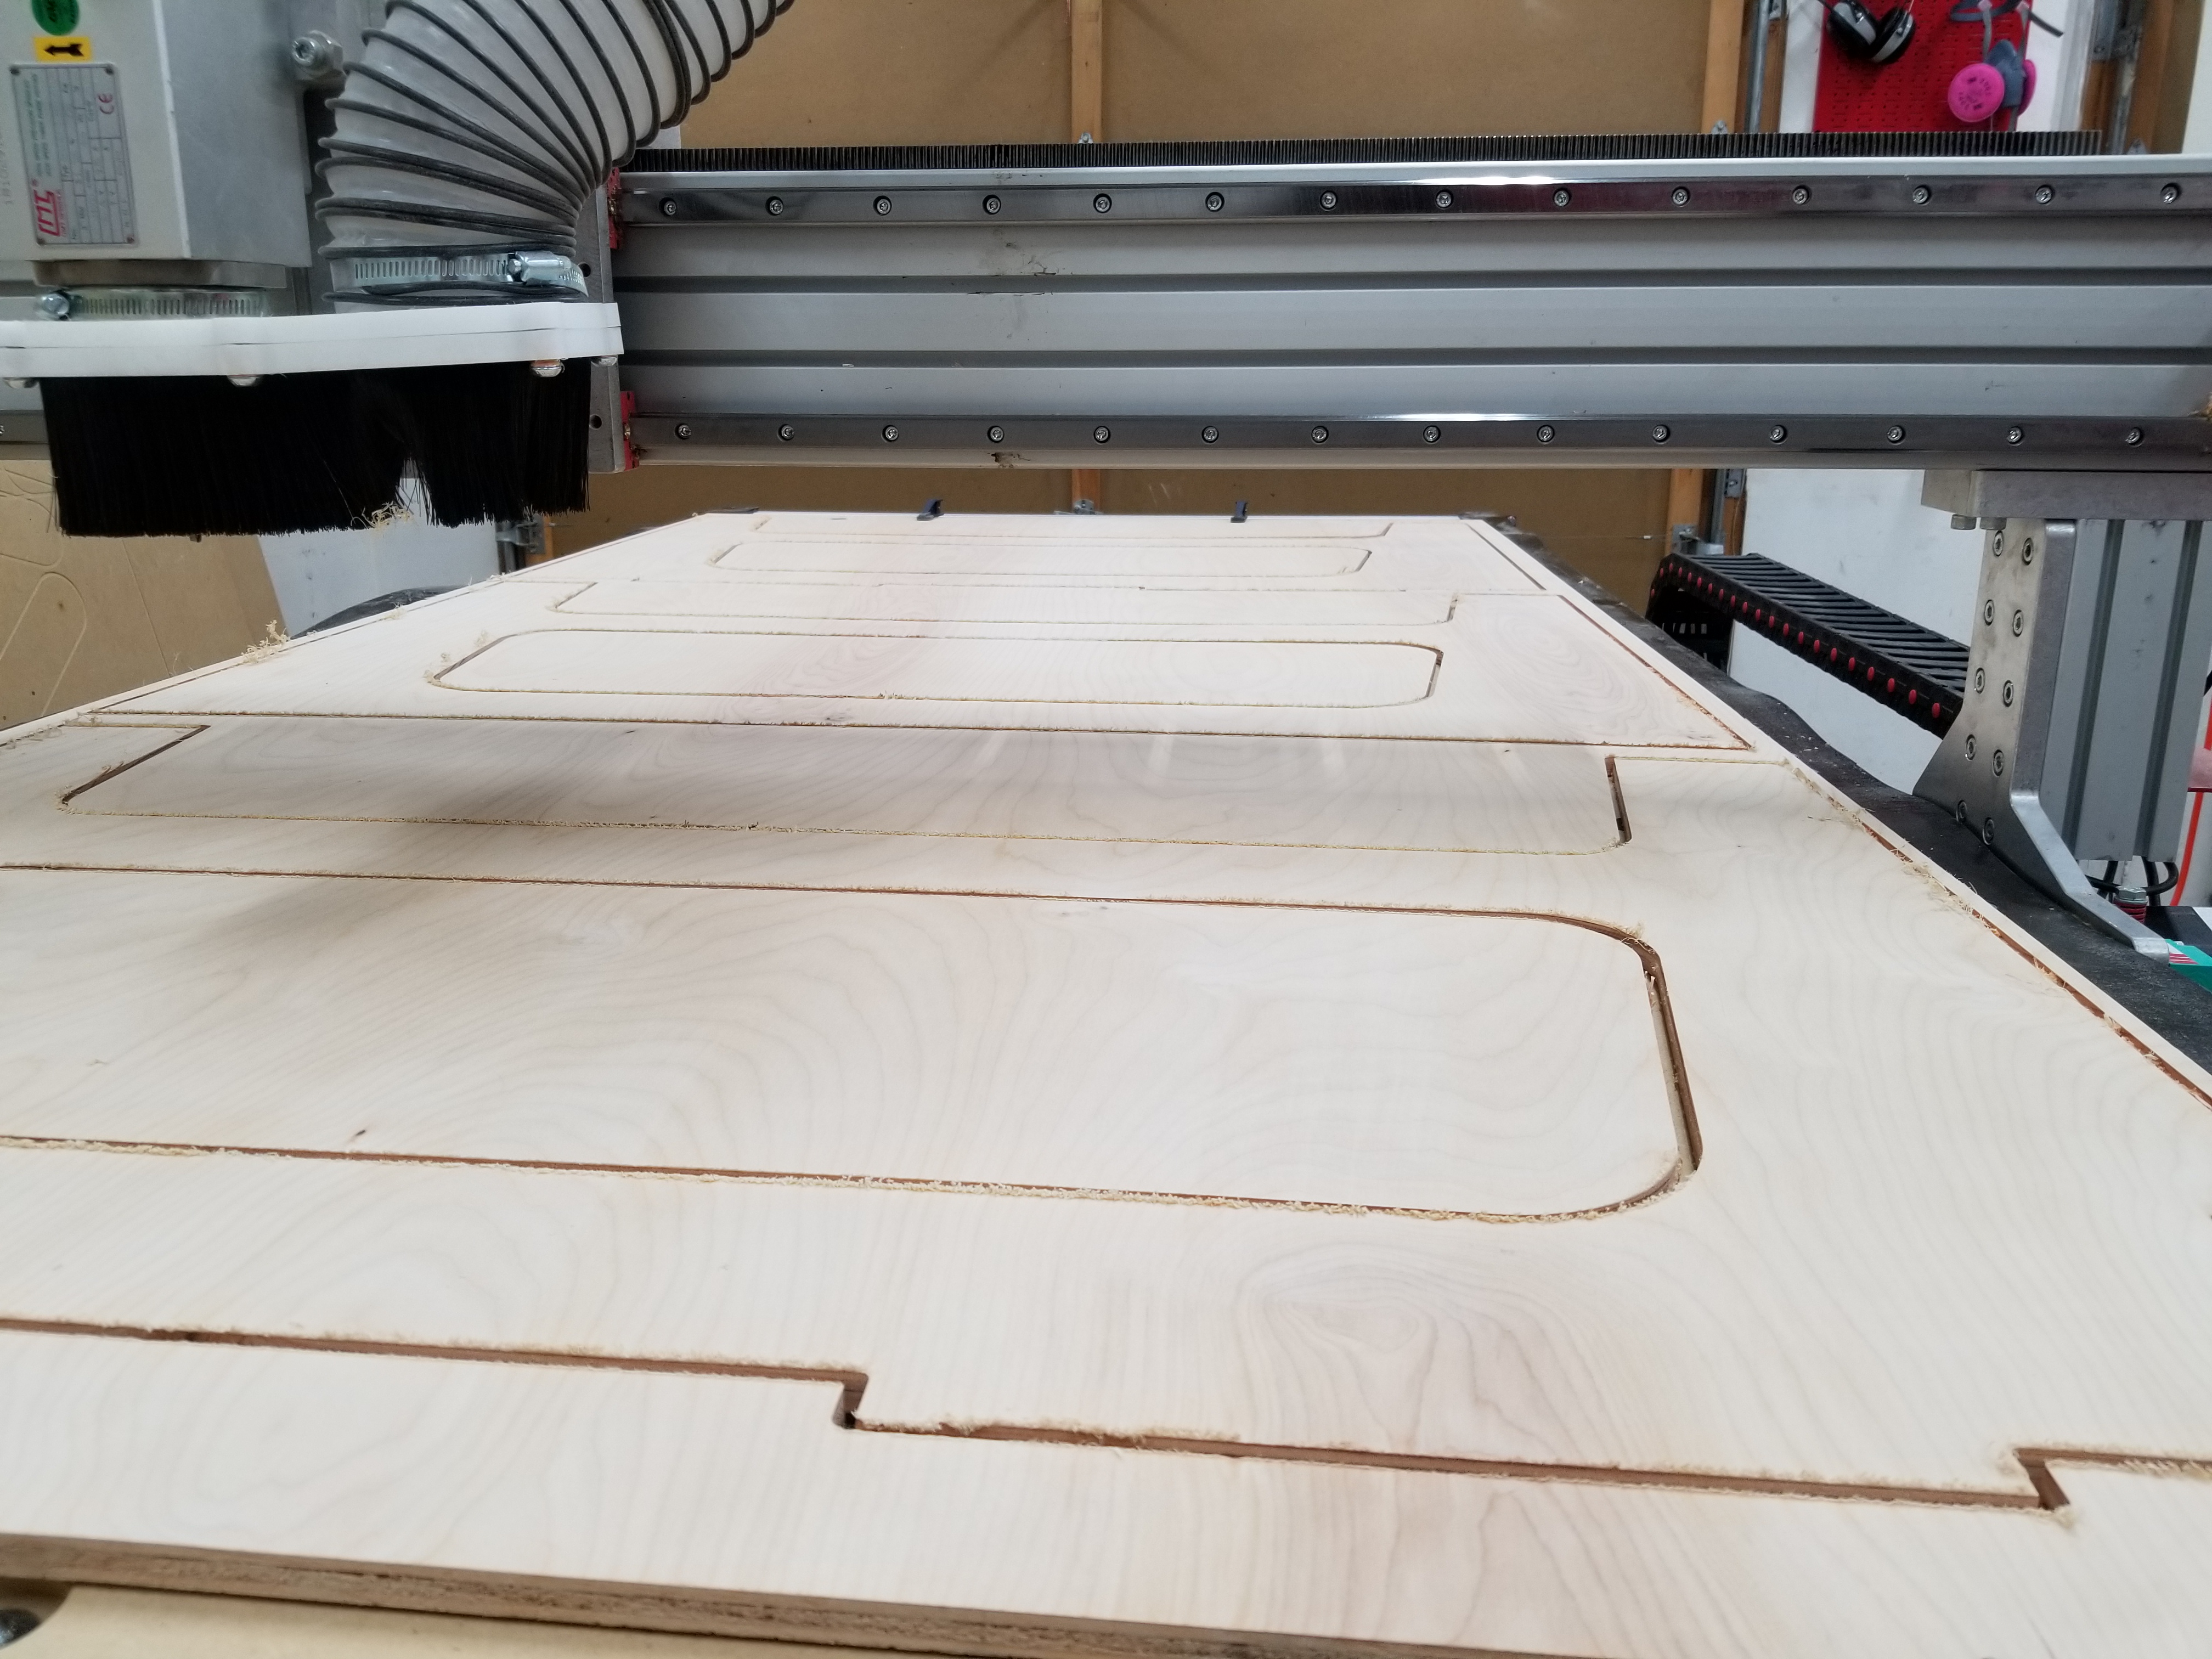
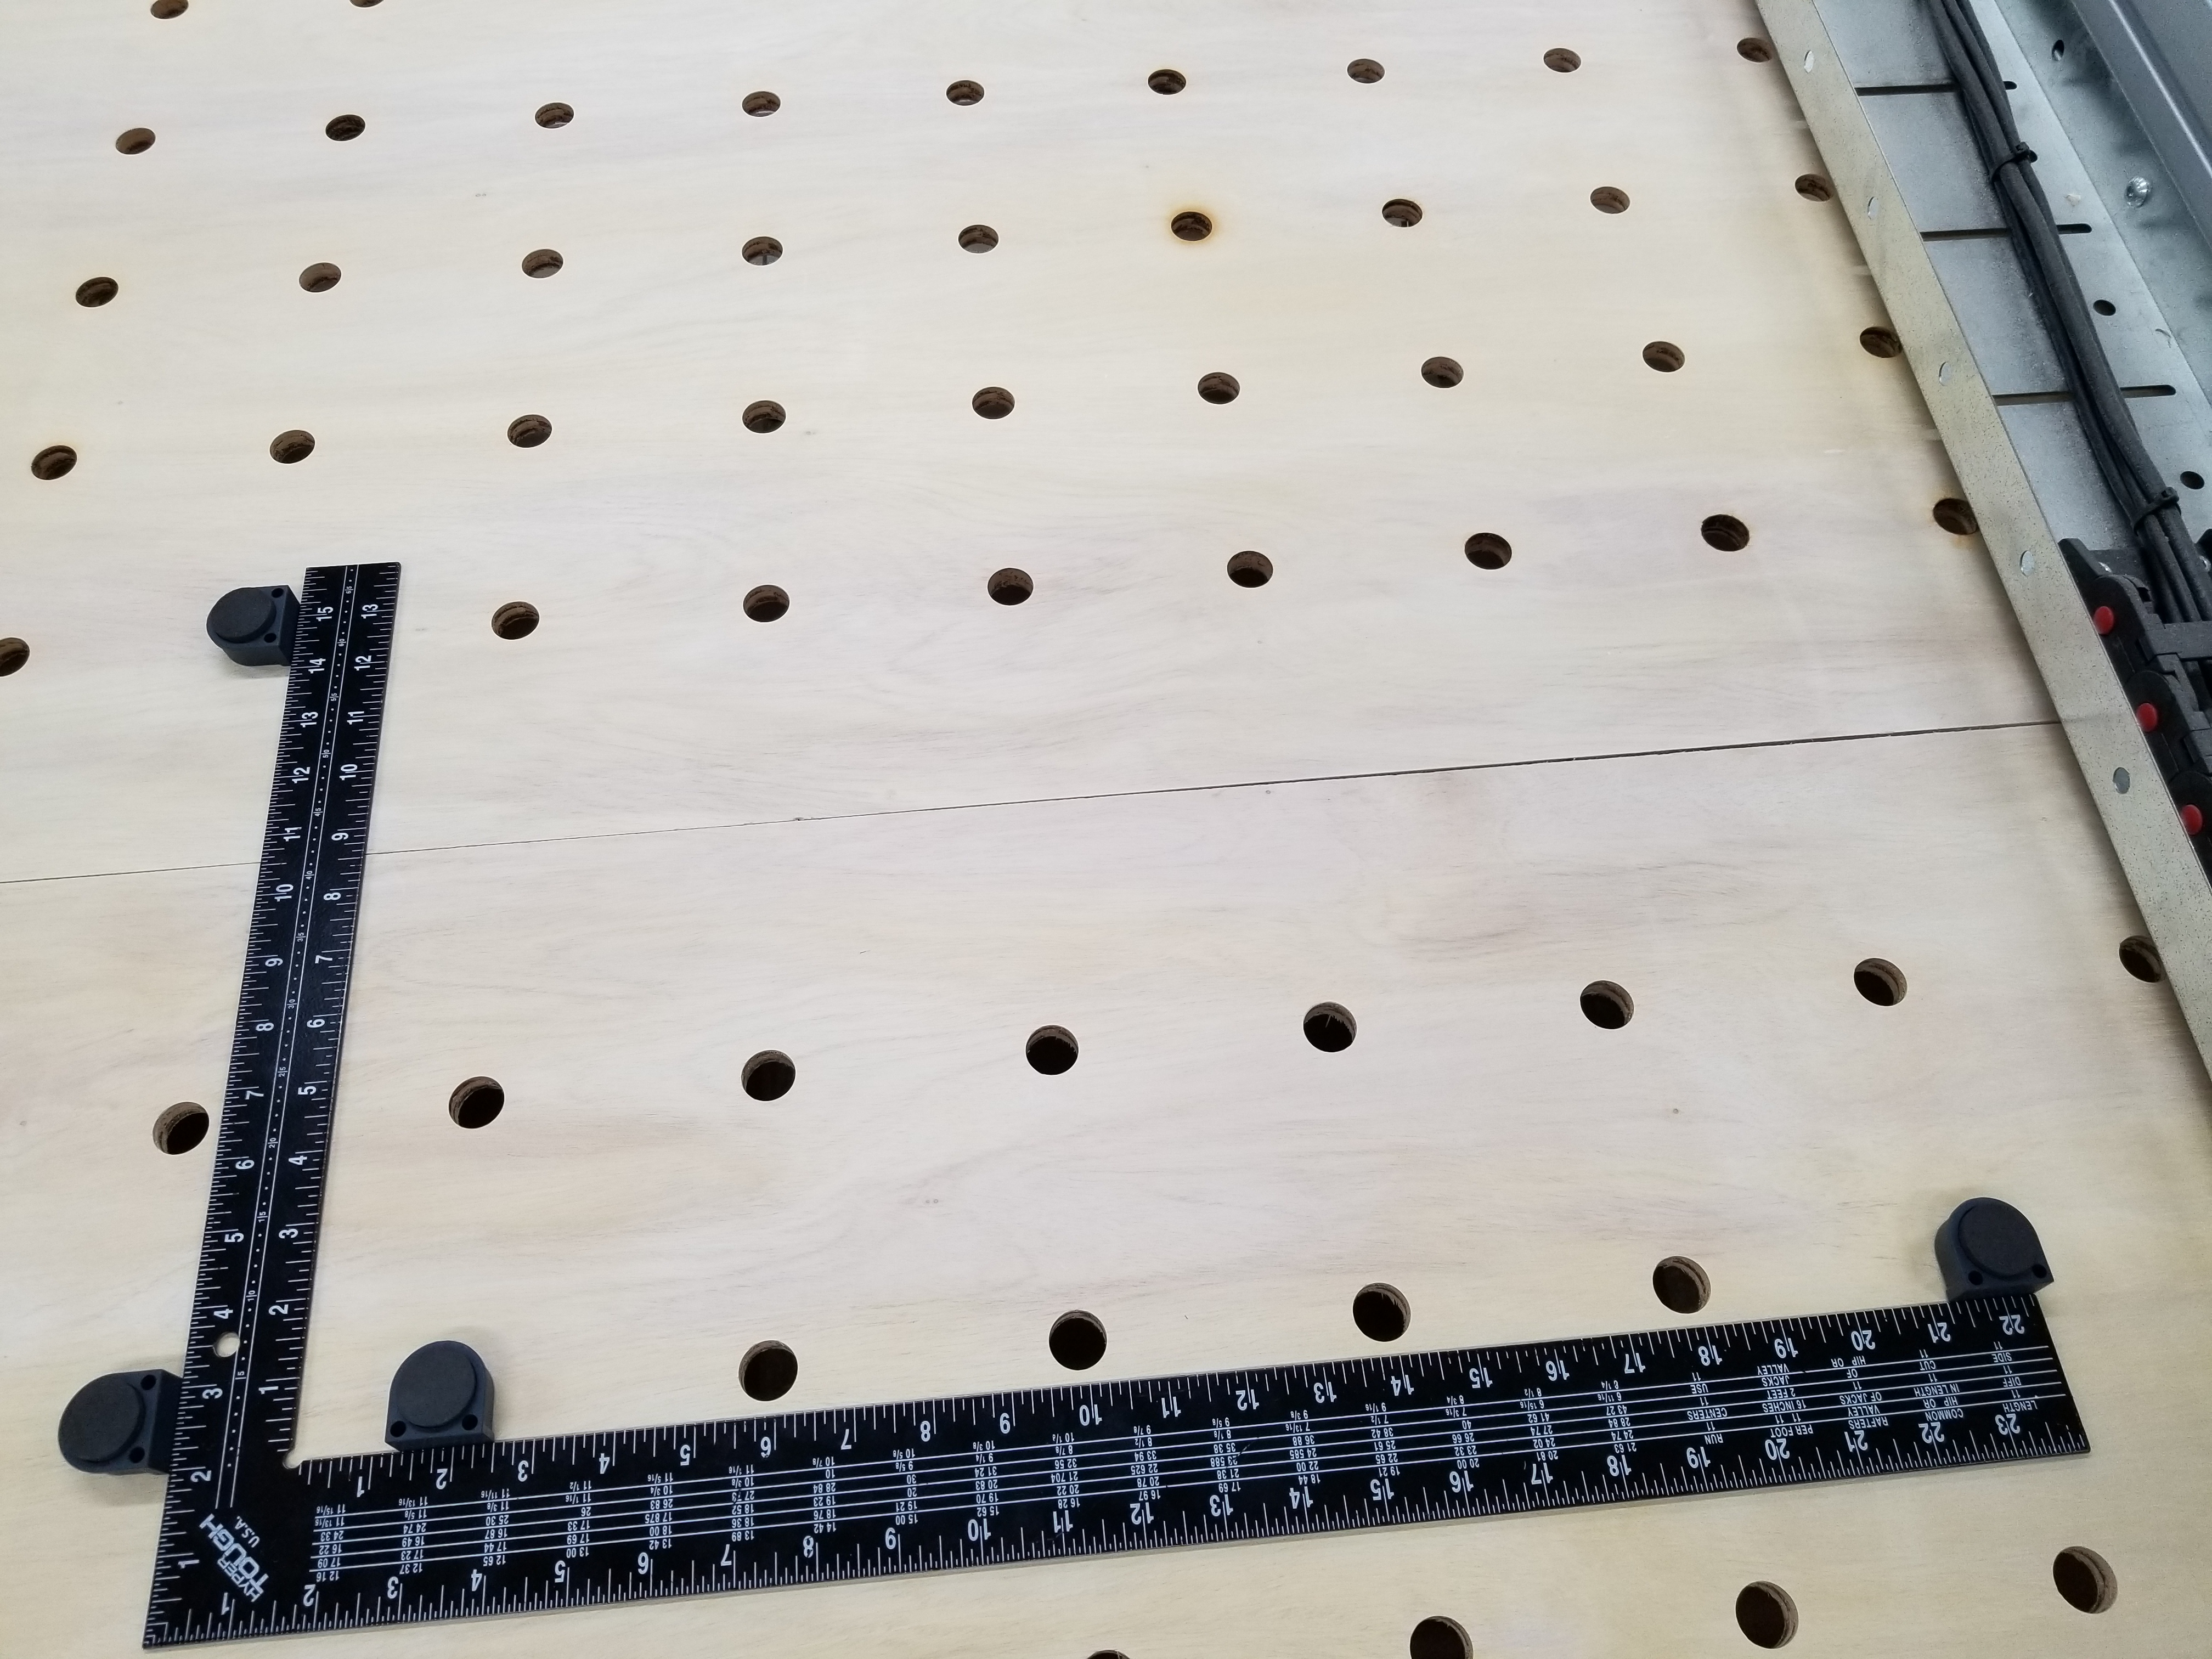
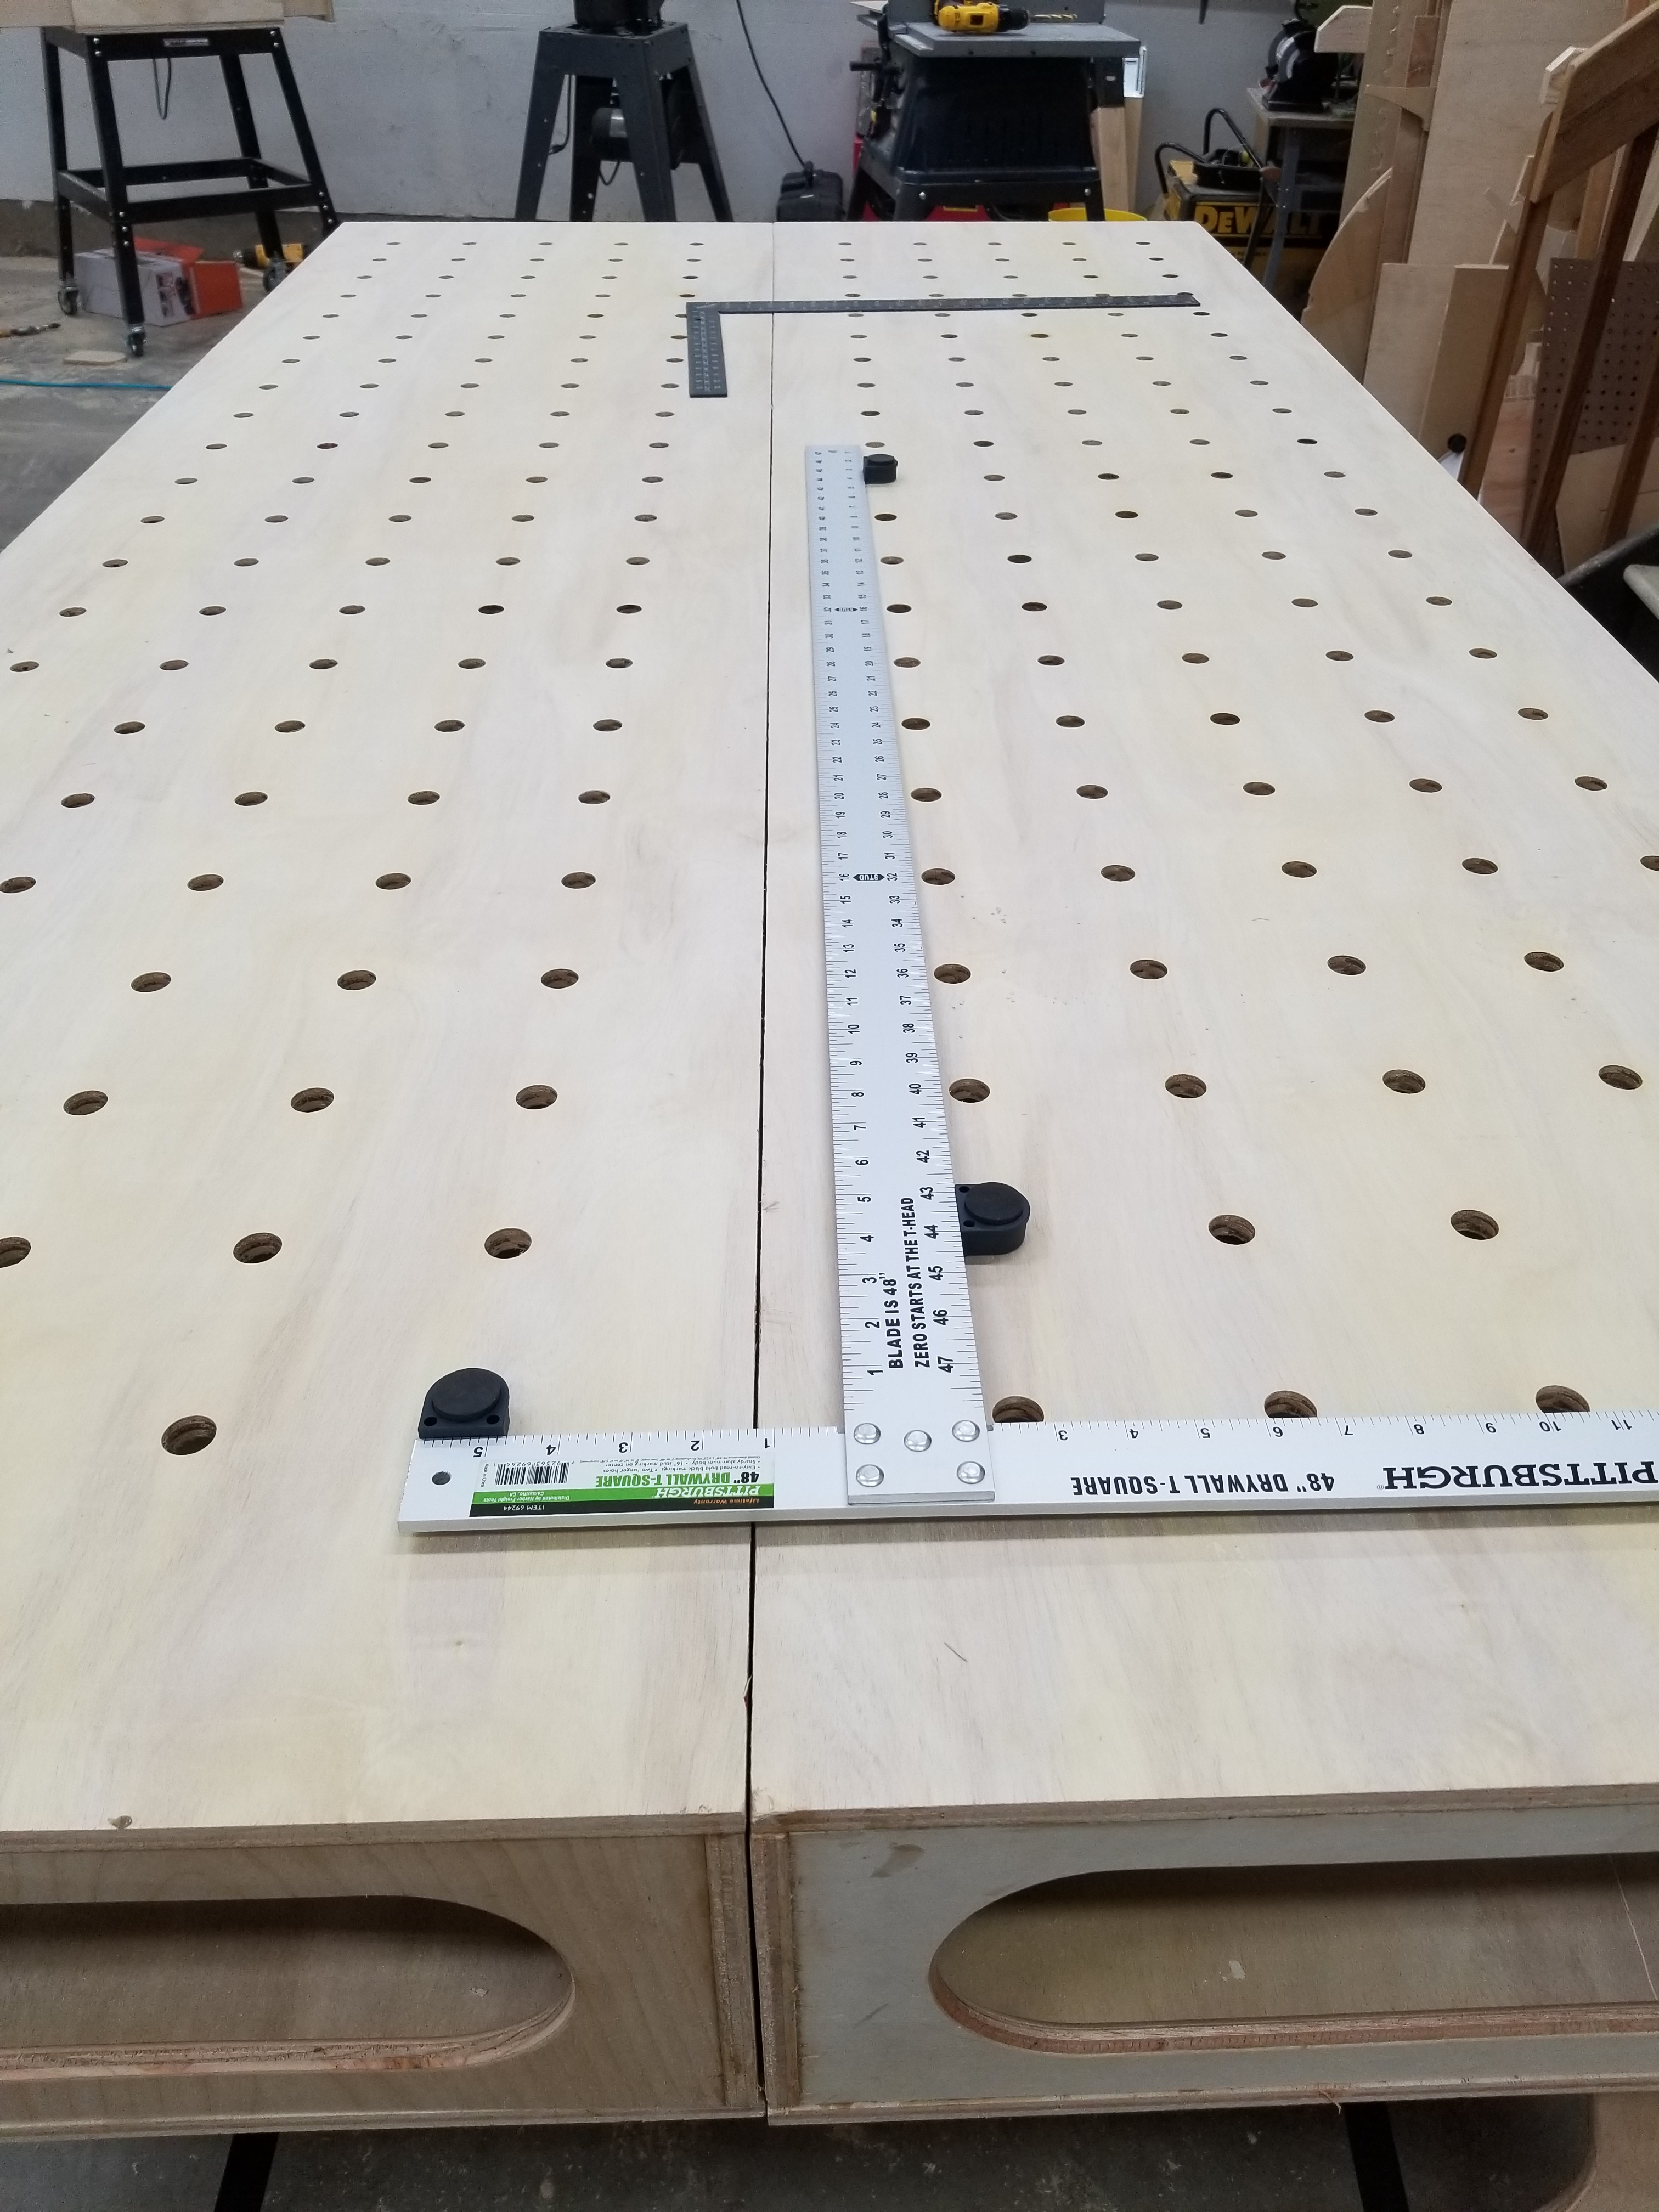
I chose to cut the tops in half like Ron suggests in his videos. In hindsight I think this was probably a mistake. It ended up getting the tops assembled in a way that allowed the dogholes to be square across the center very difficult. I also didn’t reference off of the center, which I think may have solved the issue as well. I think if I were to do it again I would cut the entire set of dogholes and then separate the top into halves.
I found that the forstner bits required aggressive feeds and speeds. Additionally, they leave a plug at the bottom of a hole when breaking through to the other side.
For me this was causing added heat and sometimes, even with the four-flute bit would smoke. I think a reasonable solution for this might be to use a special spoilboard that have pockets cut out to provide some space for that plug to go when breaking through. It could give you a poor surface finish on the underside of the cut, though.
Pocket screws
There are lots of pocket holes on this build. Mark them all at once and setup a station so you can get into a rhythm.
This project could really use some 3/4" coarse pocket screws. I was unable to find them and because of that had to grind off more than a couple screws that pierced the top, unfortunately.
Assembly

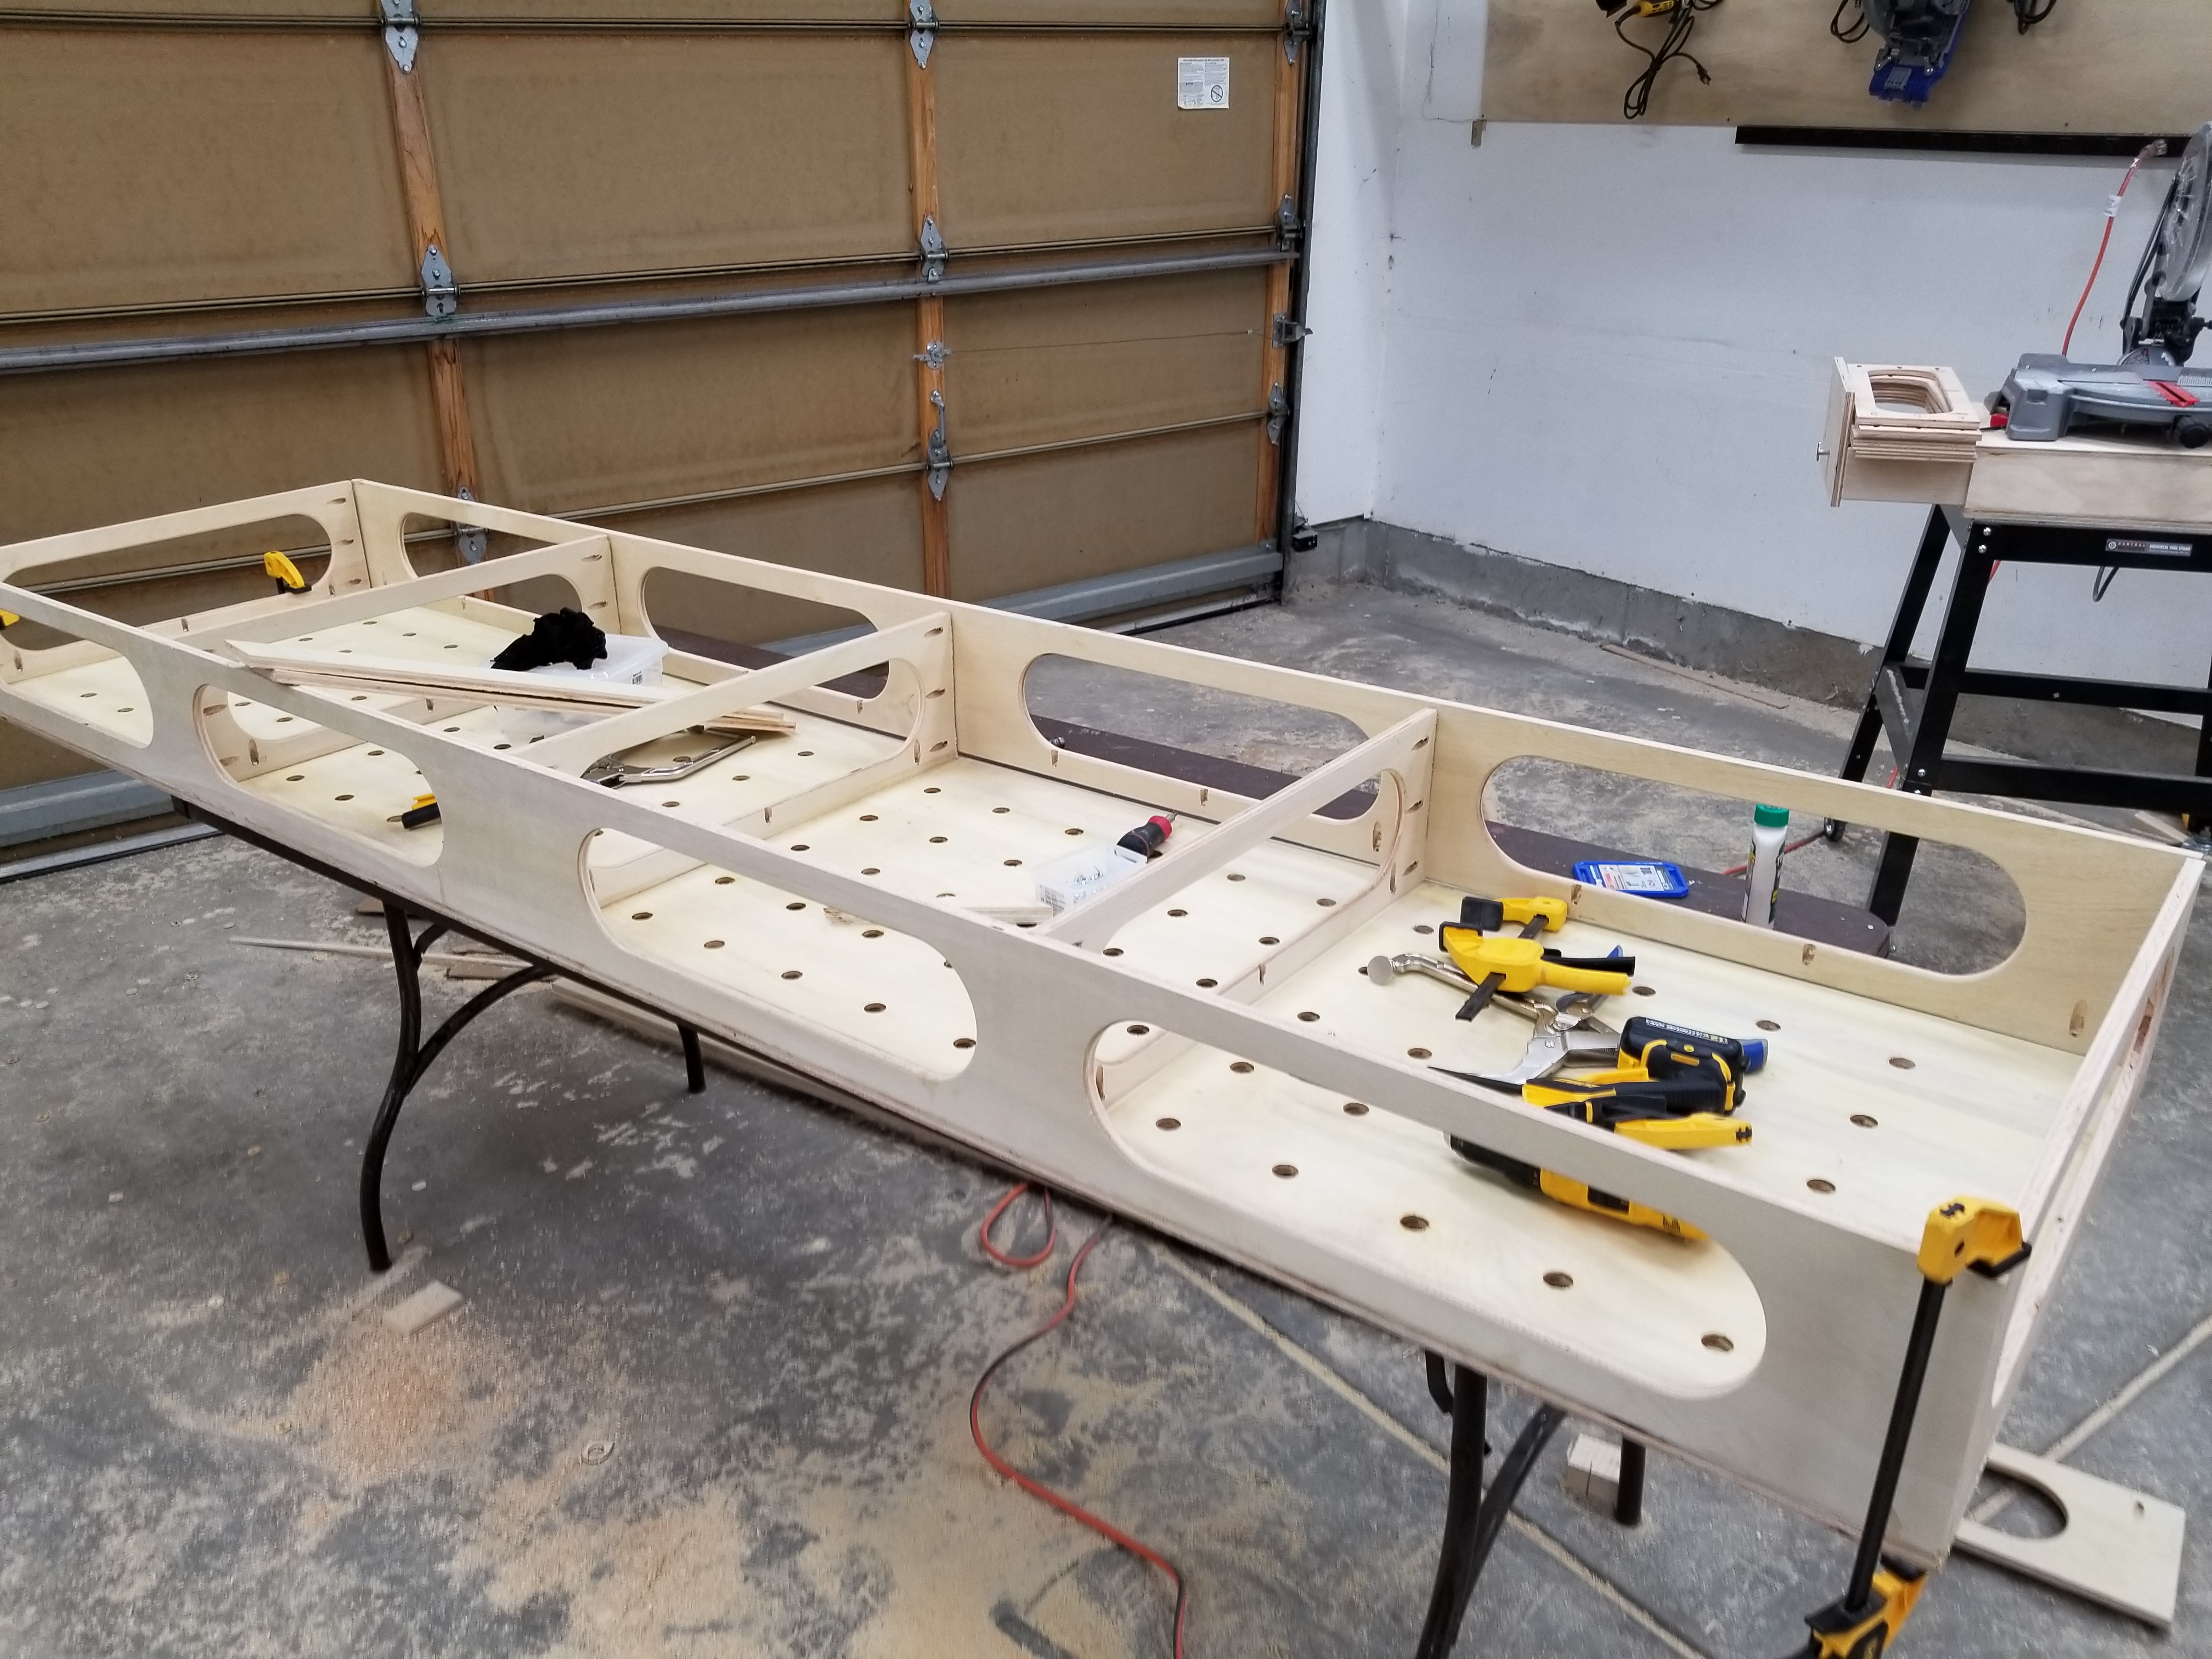
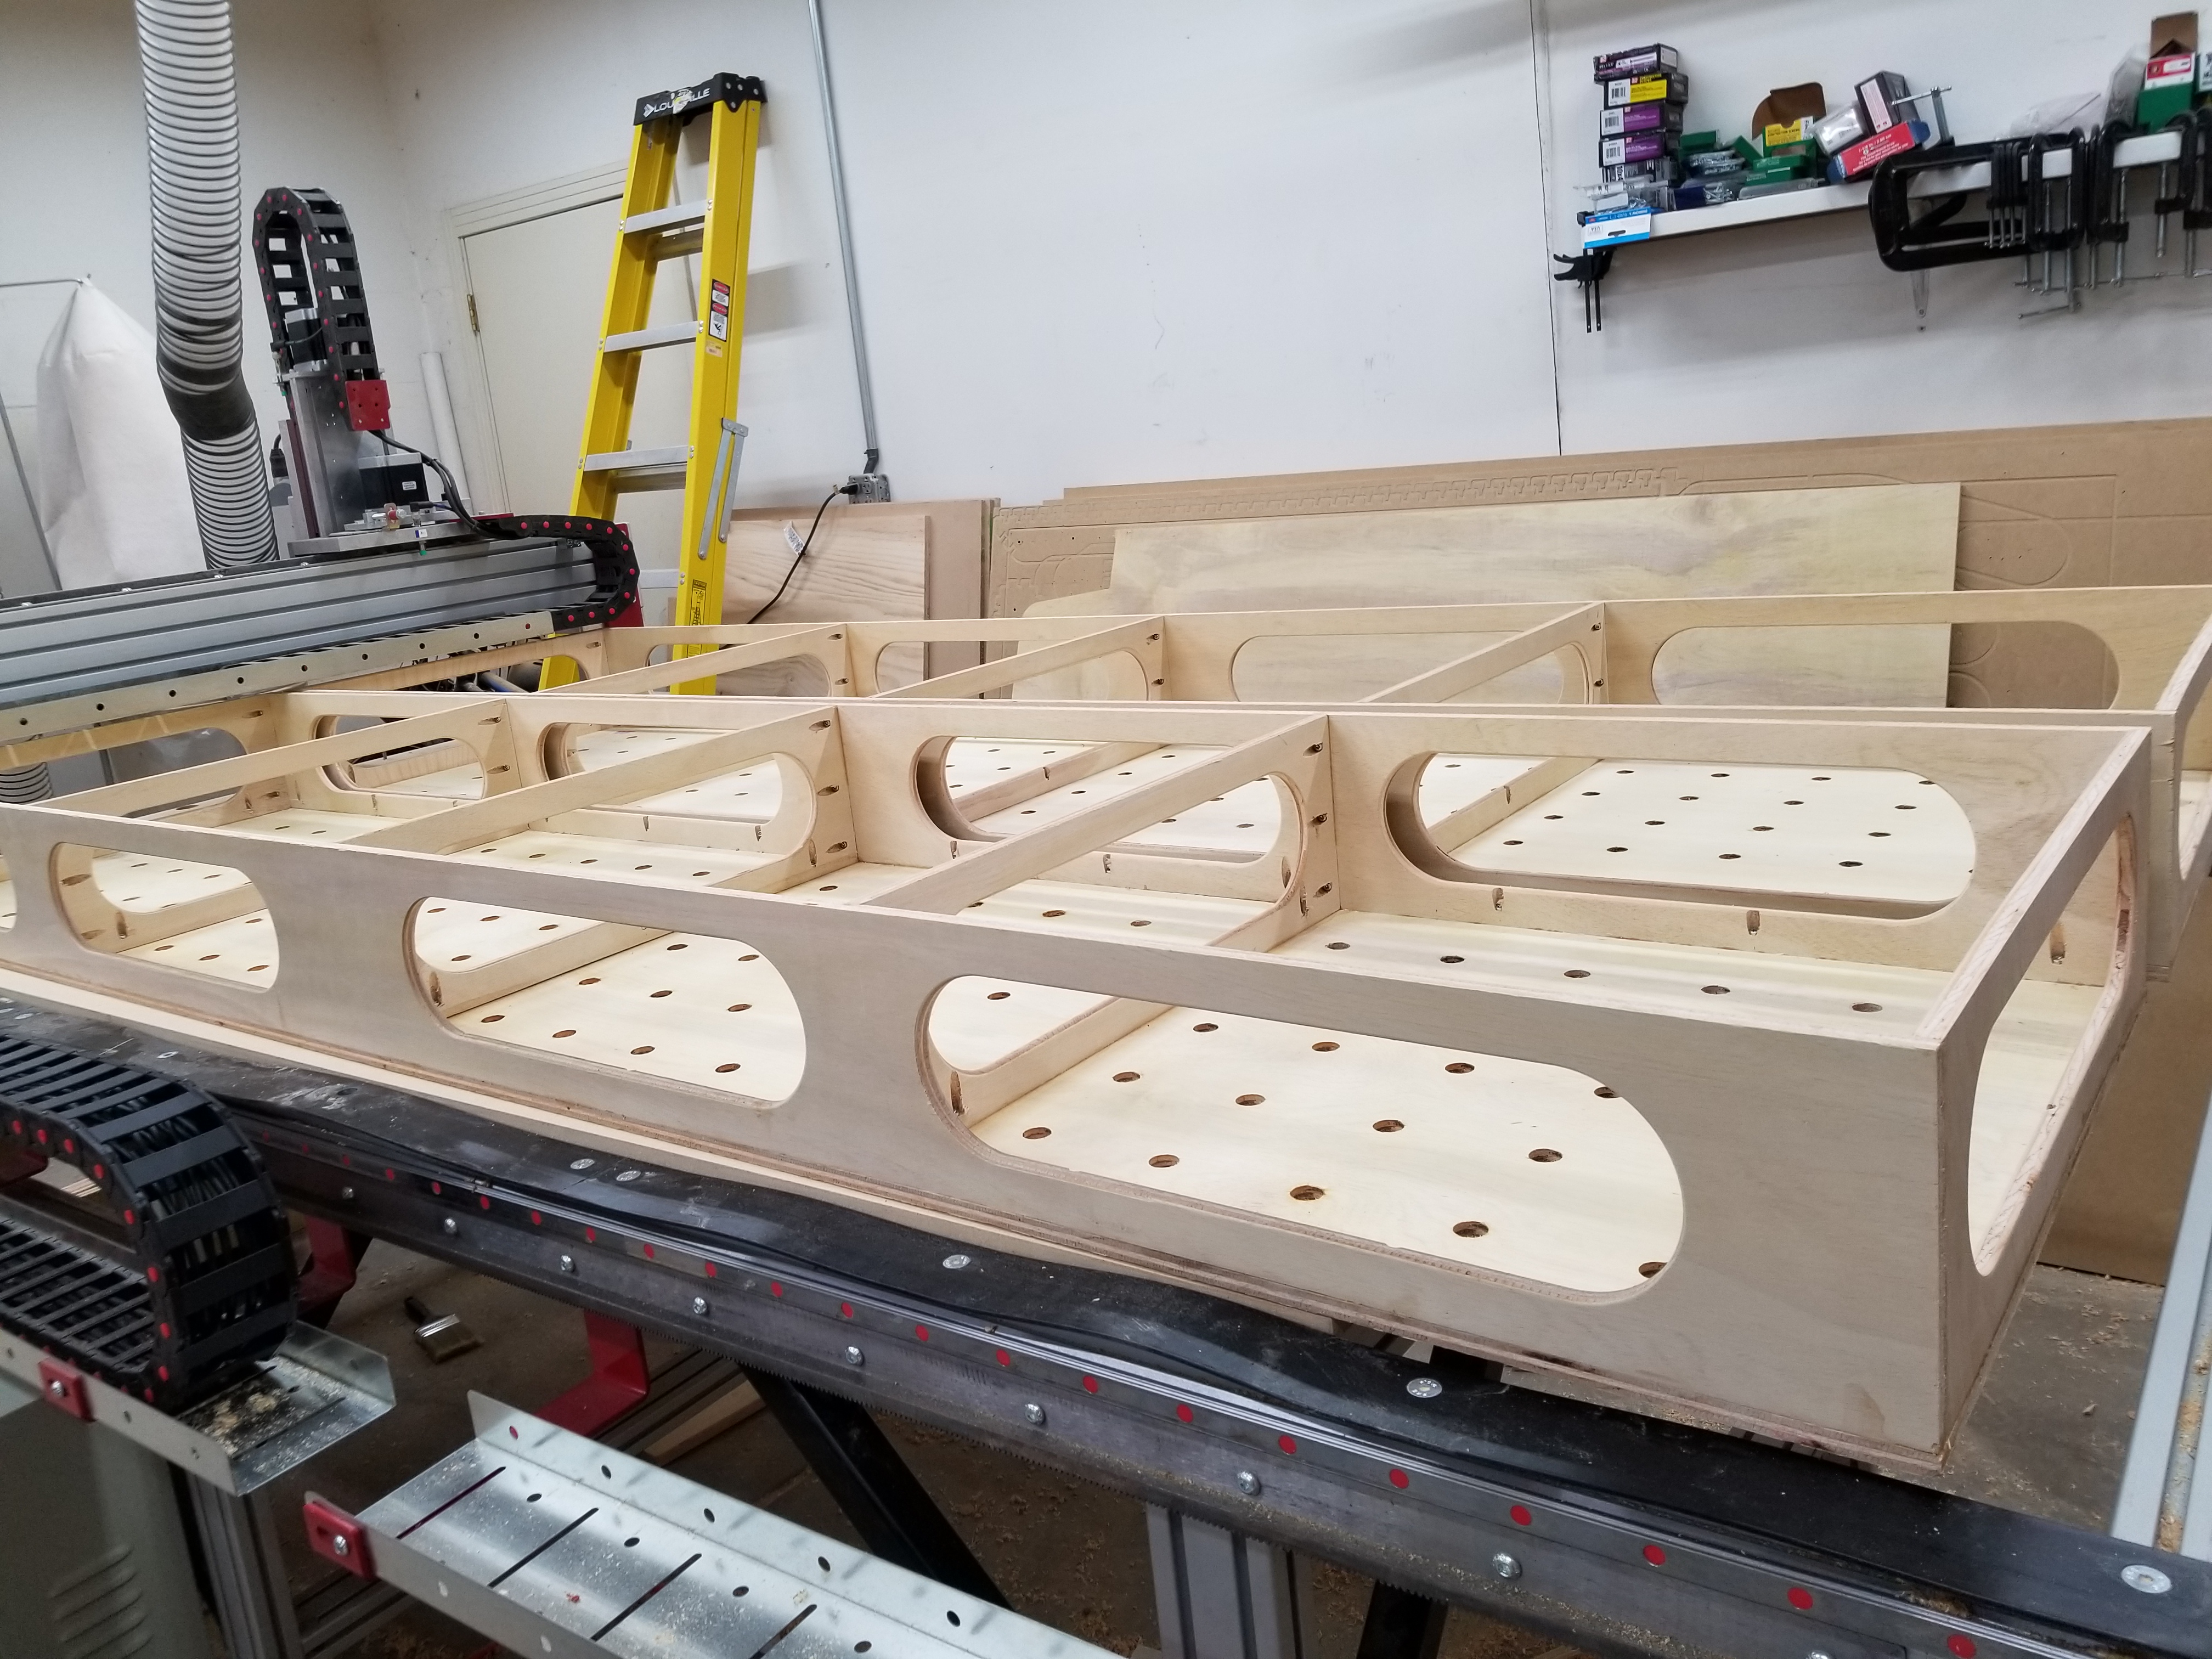
Ron does mention it in his walkthrough but I think it should be repeated: When assembling the torsion box do your best to set the faces behind the edges because with all the glue and screws it’s hard to get it perfect and if you have to sand something you want to sand the edges not the faces.
Results
Comments (1)
Tarek Beshara
Tuesday, Oct 4, 2022
Thank you
Your comment has been submitted and will be published once it has been approved.
OOPS!
Your comment has not been submitted. Please go back and try again. Thank You!
If this error persists, please open an issue by clicking here.
Say something