A crash course in aluminum casting
in Making on July 1, 2015 | Aluminum Casting 3D Printing Silicone Mold
In my last blog post I unveiled the design for the arcade cabinet that I am going to build in July. During the brainstorming for the cabinet someone tossed out how cool it would be if I could cast my own skull joystick toppers. I think it was intended as a joke but I took it as a challenge. The following week I planned how I was going to cast the skull over the weekend. A month later I finally succeeded in creating a skull … Here’s how it went.
Initially I was going to try to carve my own skull from wax or foam. After some experimentation I quickly realized that I didn’t really have the artistic chops to pull that off. I found a few people online doing lost-pla castings and that method seemed fine but I am not a huge fan of babysitting a 3D printer and I figured there was a good chance I was going to screw this up atleast once.
I remembered seeing a silicone mold making kit at my local hobbystore and I thought that if I could create the silicone mold I would be able to make wax copies easily and quickly for the metal molds. I decided on a ABS print so that I could try giving it an acetone bath.
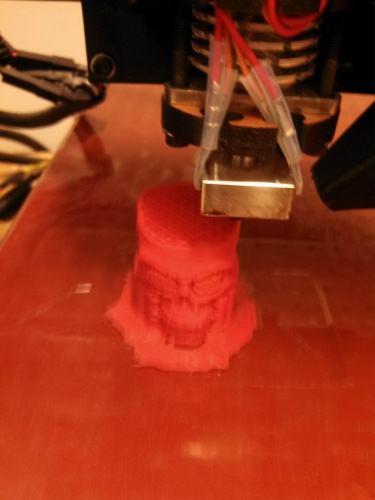
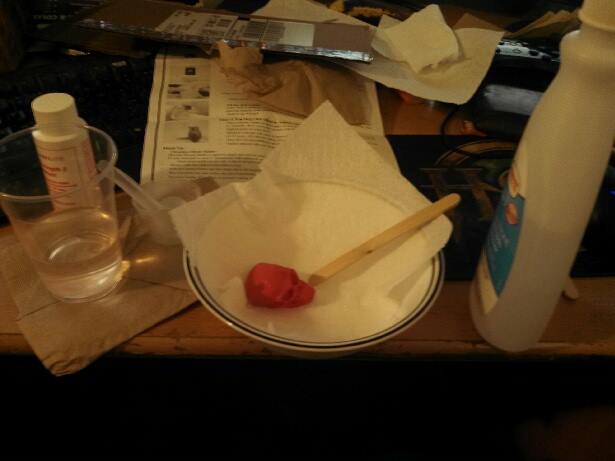
Sorry for the poor photos, documentation is never my first priority. The acetone bath was easy but required a little bit of experimentation. I tried putting the acetone into a spray bottle and selectively spraying the model but that didn’t seem to do much. In the end I think I just gave it a few quick dunks in a small cup.
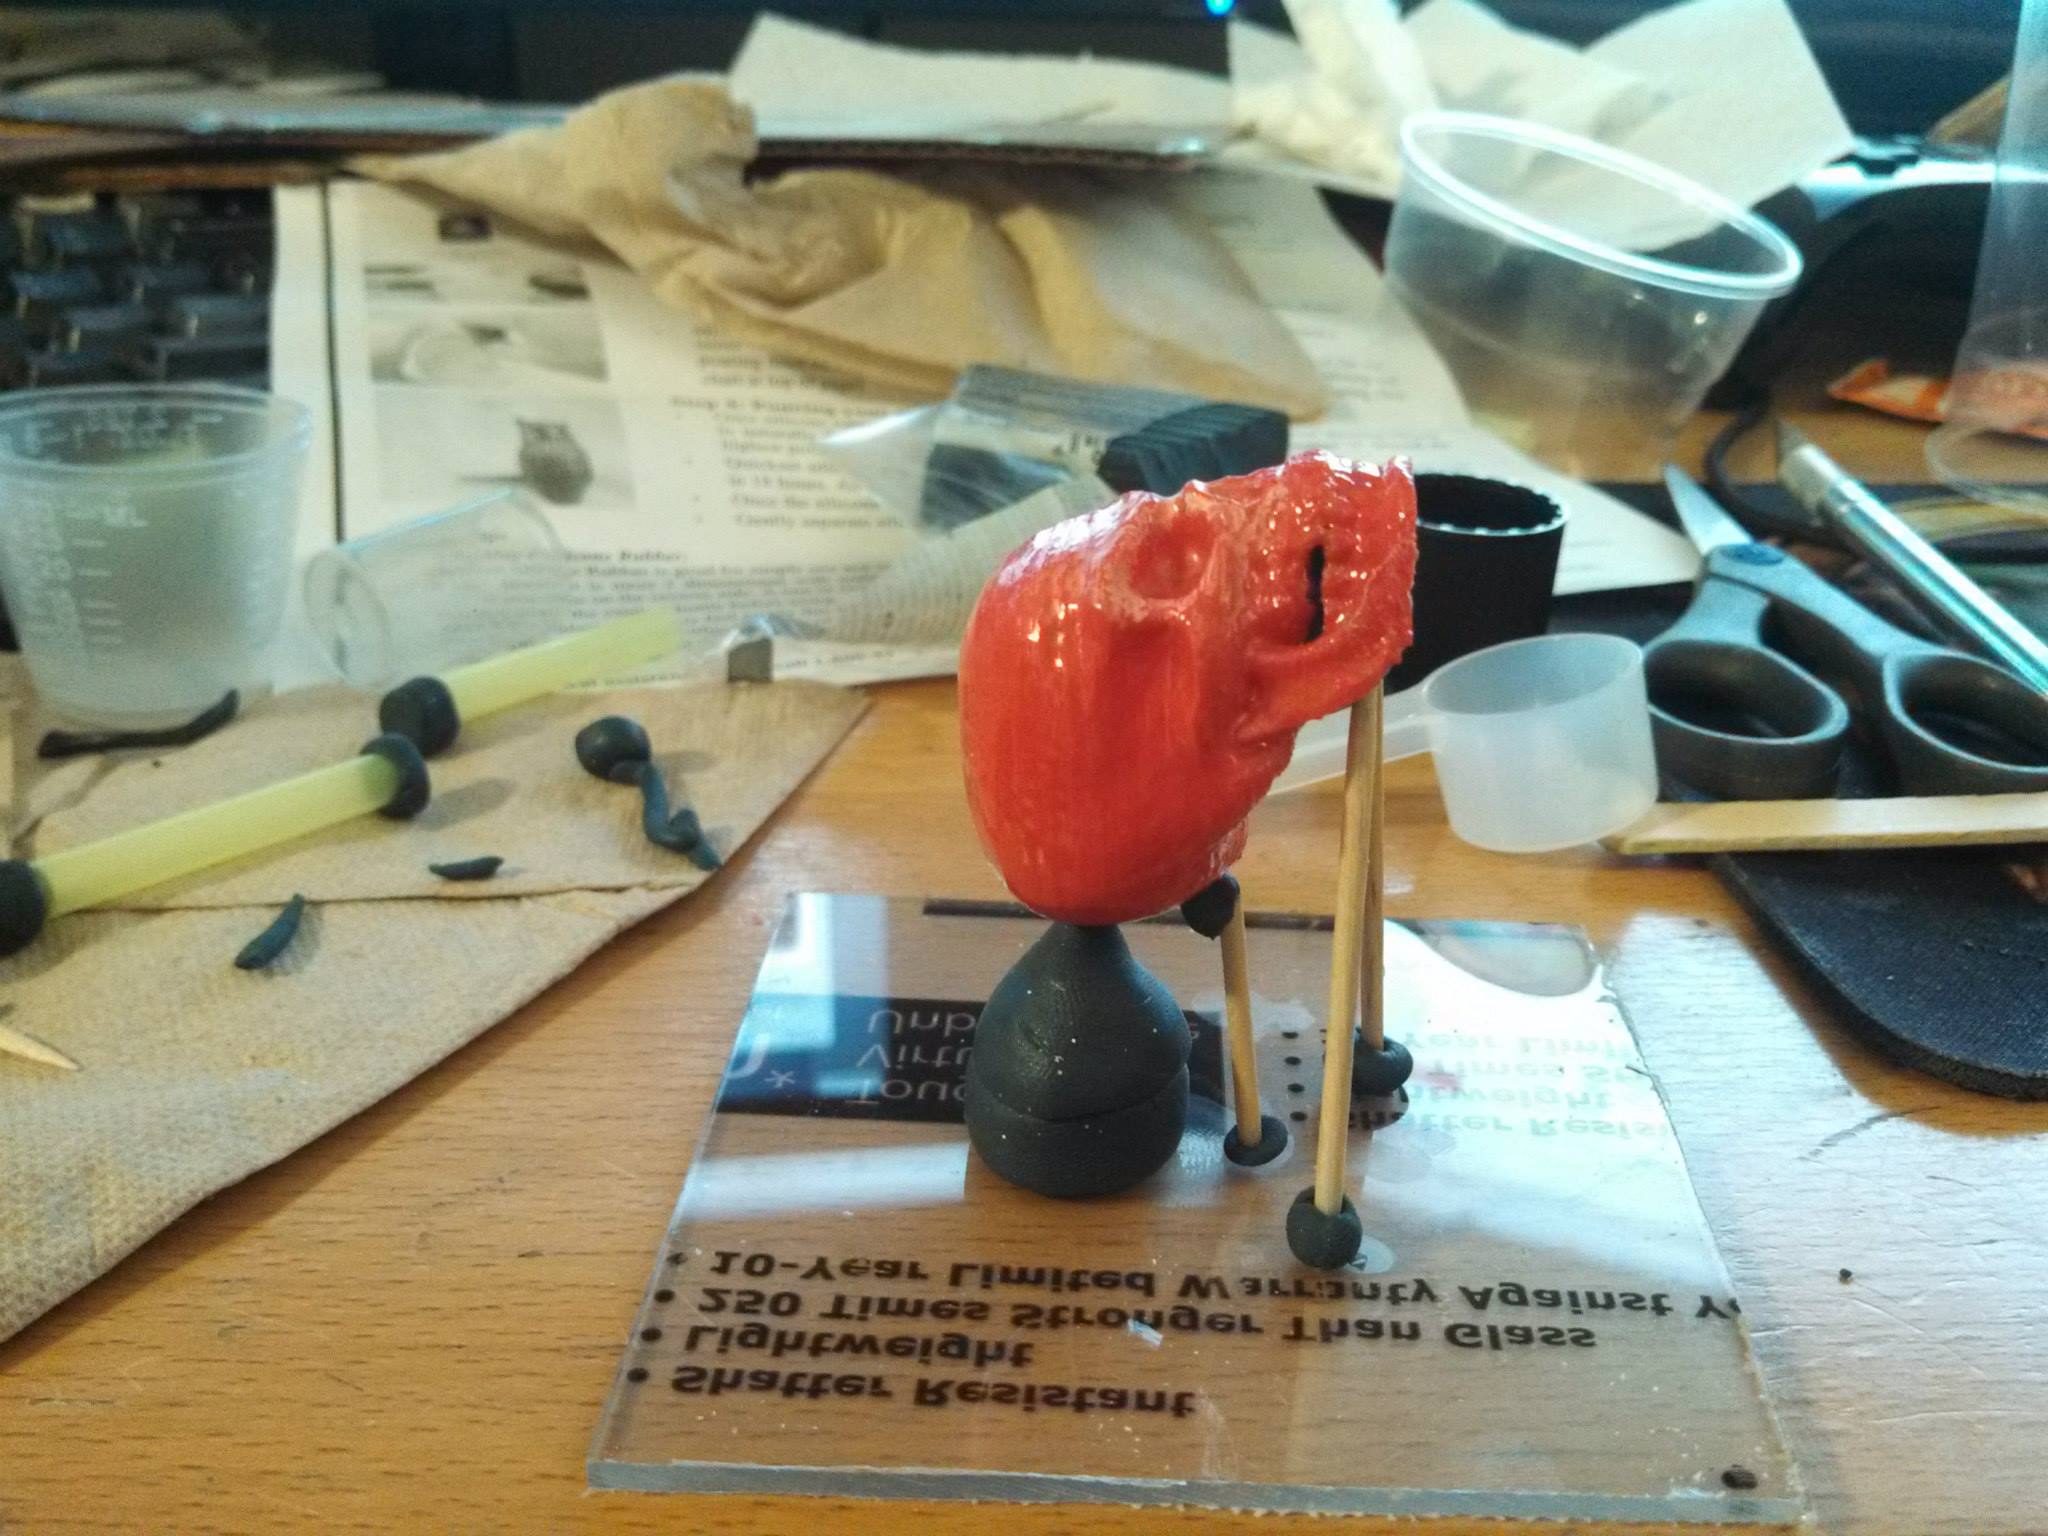
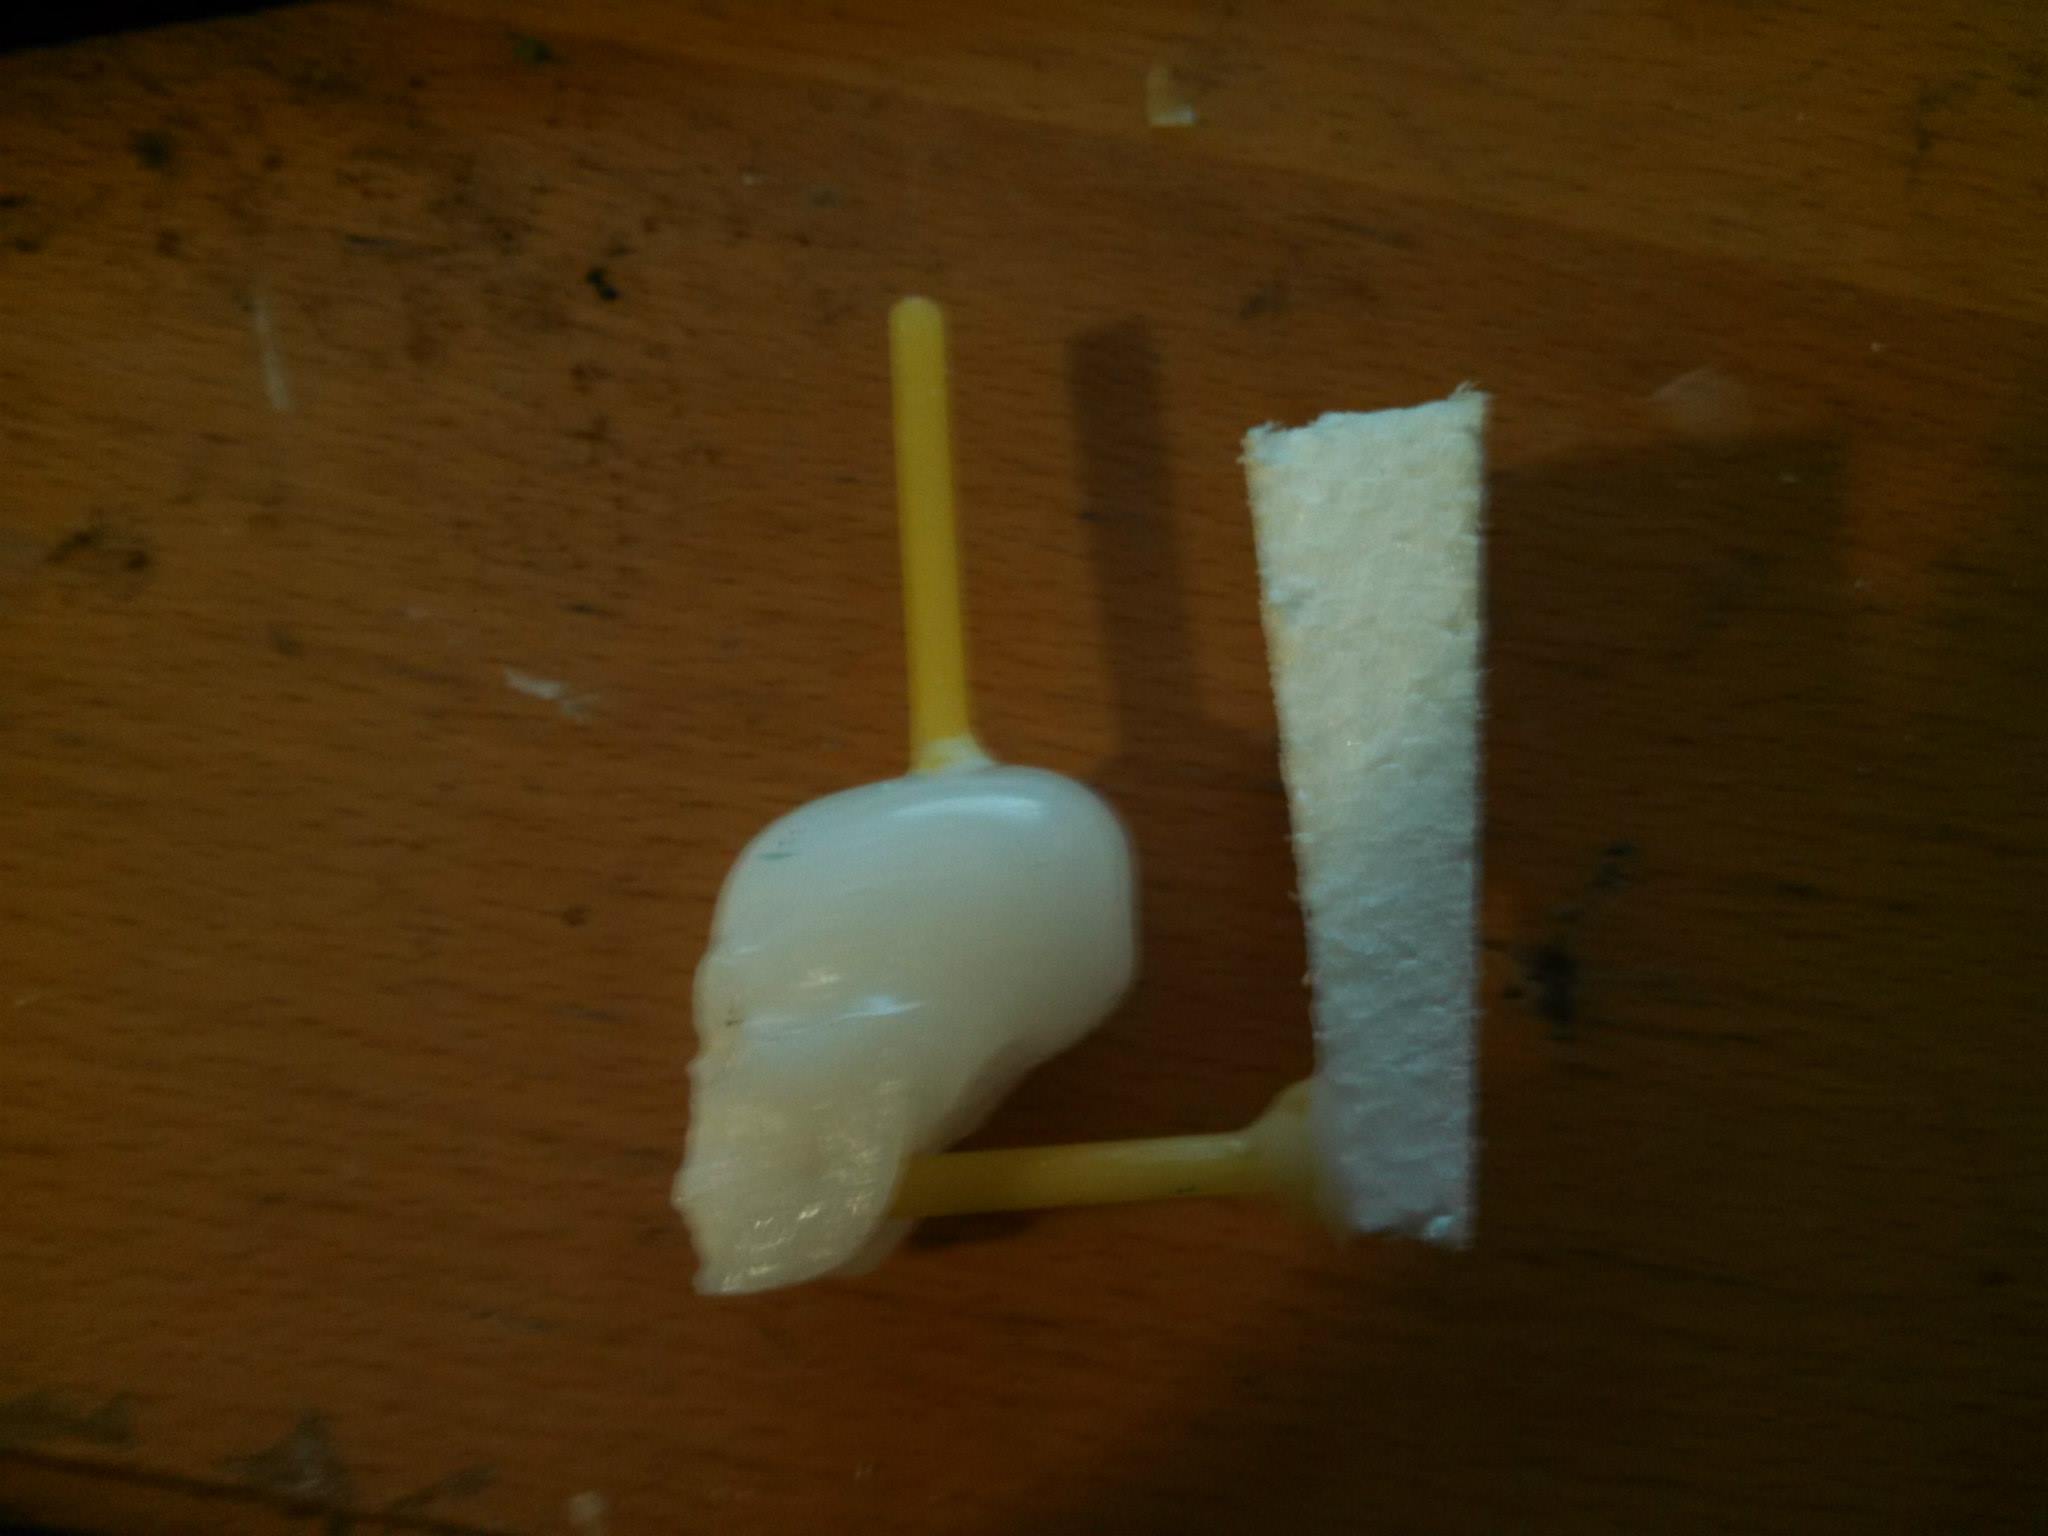
Creating the positive for the mold was a bit frustrating for someone who had no idea what they were doing. The above picture was from my first attempt. It didn’t hold well as you will see in the video. In the end it took me 3 tries to successfully create the silicone mold.
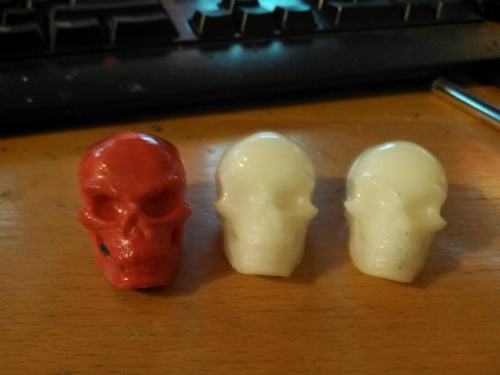
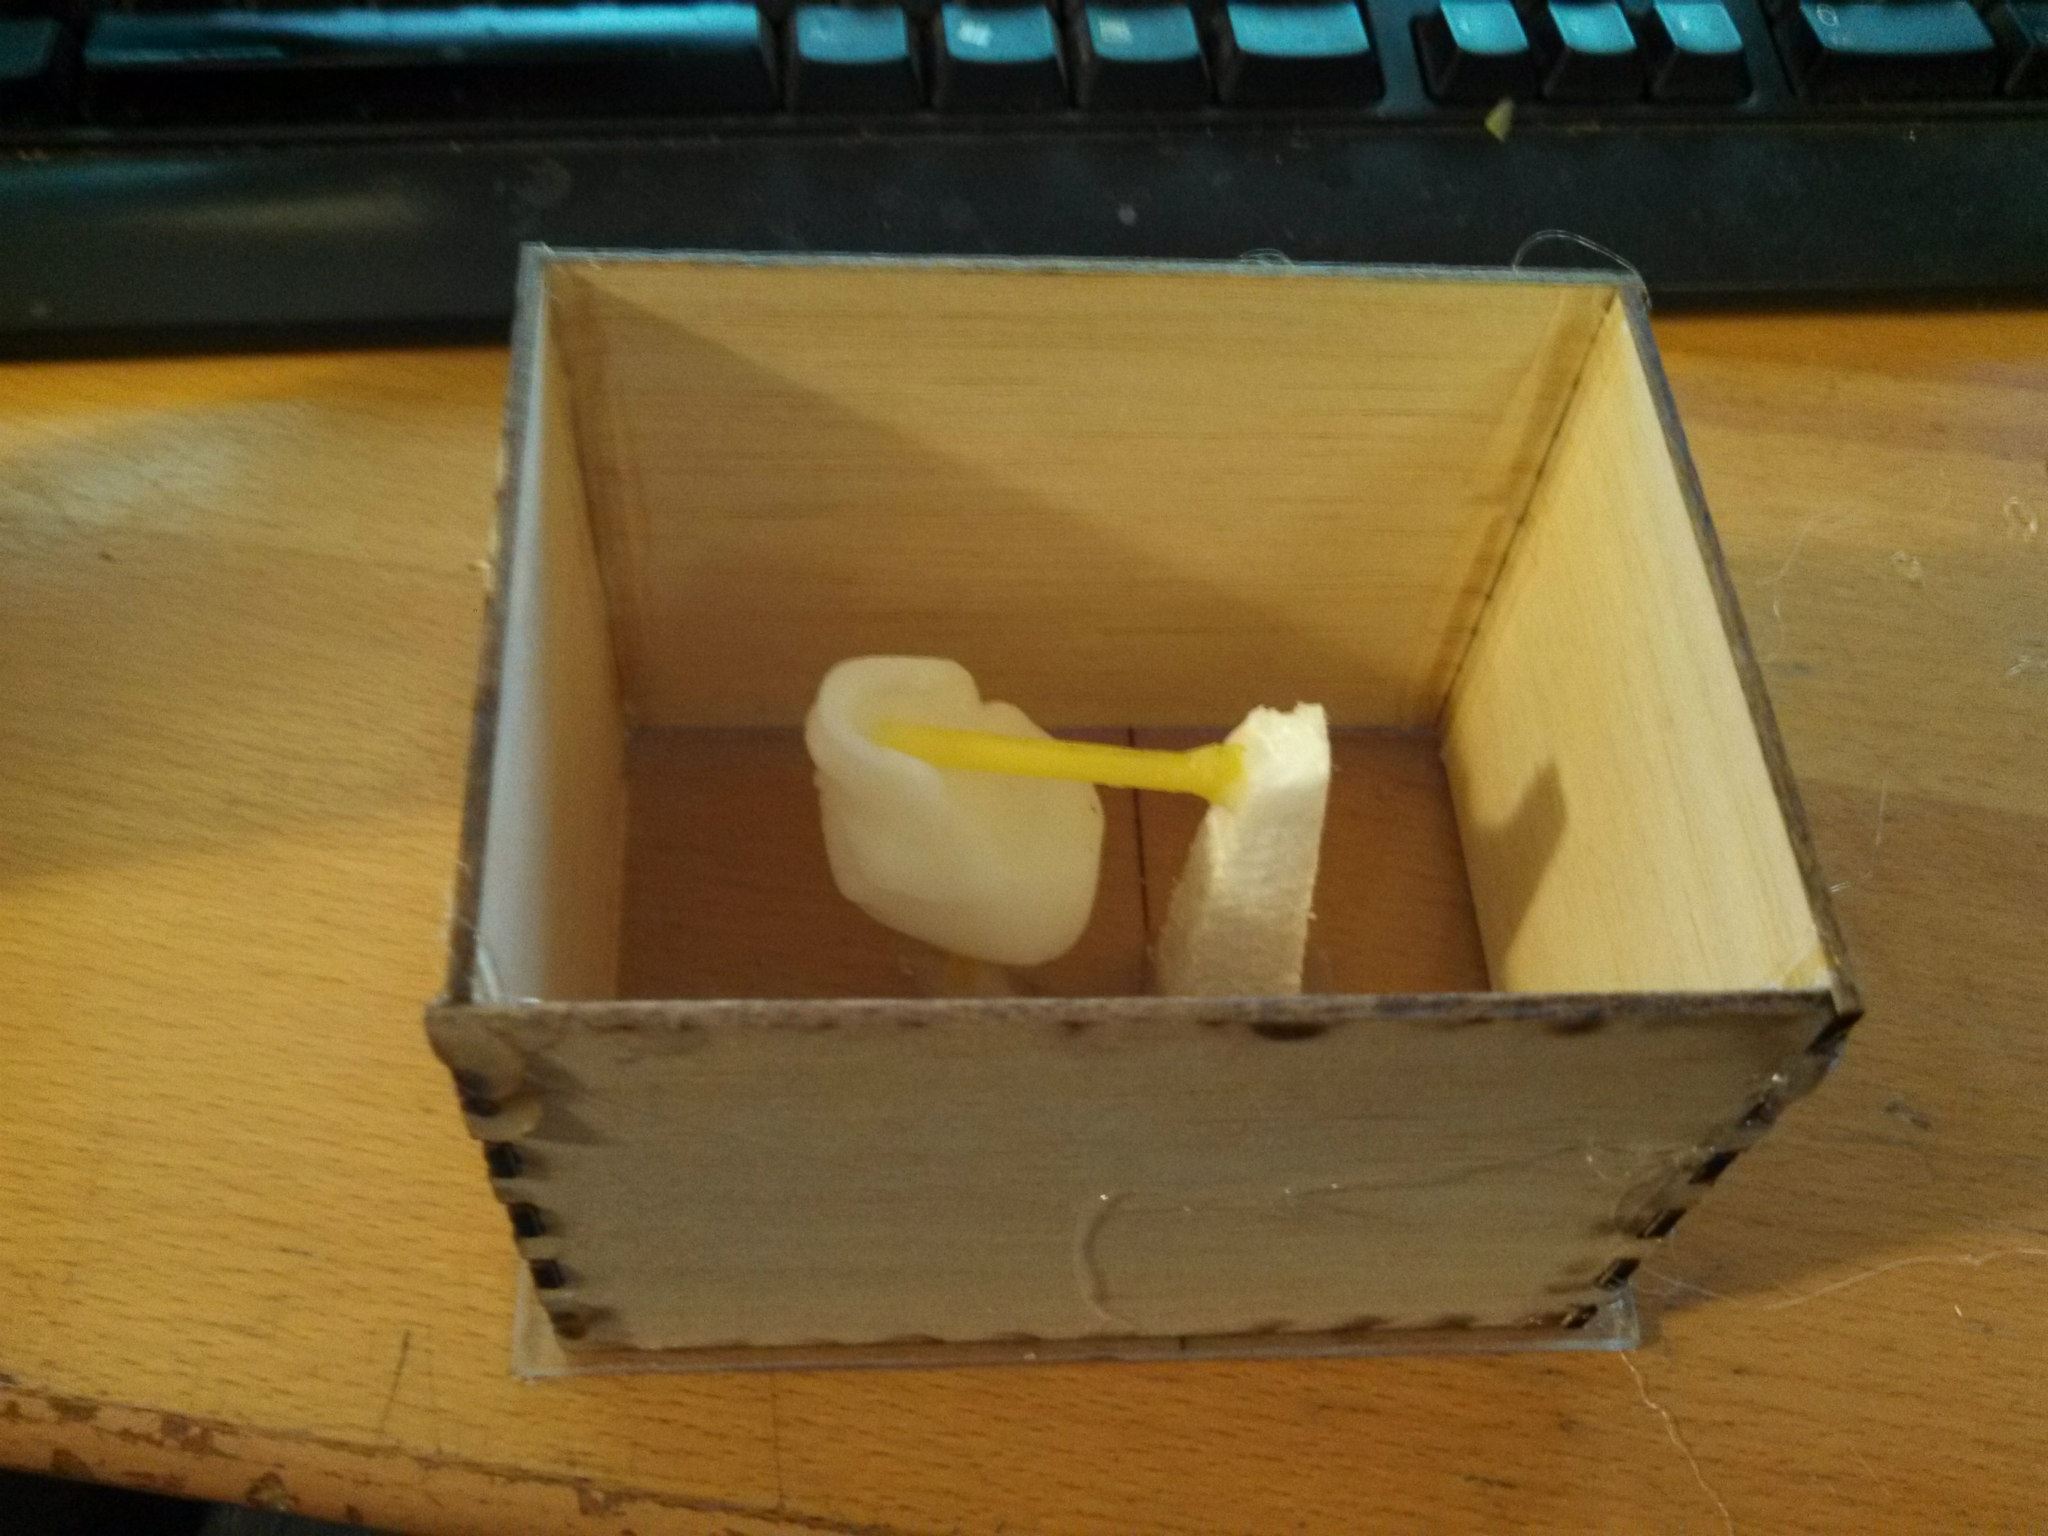
The positive kept failing because the skull would lift off the clay supports and the mold would be ruined. In hindsight the final positive design is actually very poor. As soon as wax is poured into the sprue the air vents will get clogged. Luckily due to the durability of the mold I was able to just throw it in the microwave full of wax and it would evenly fill out the cavities.
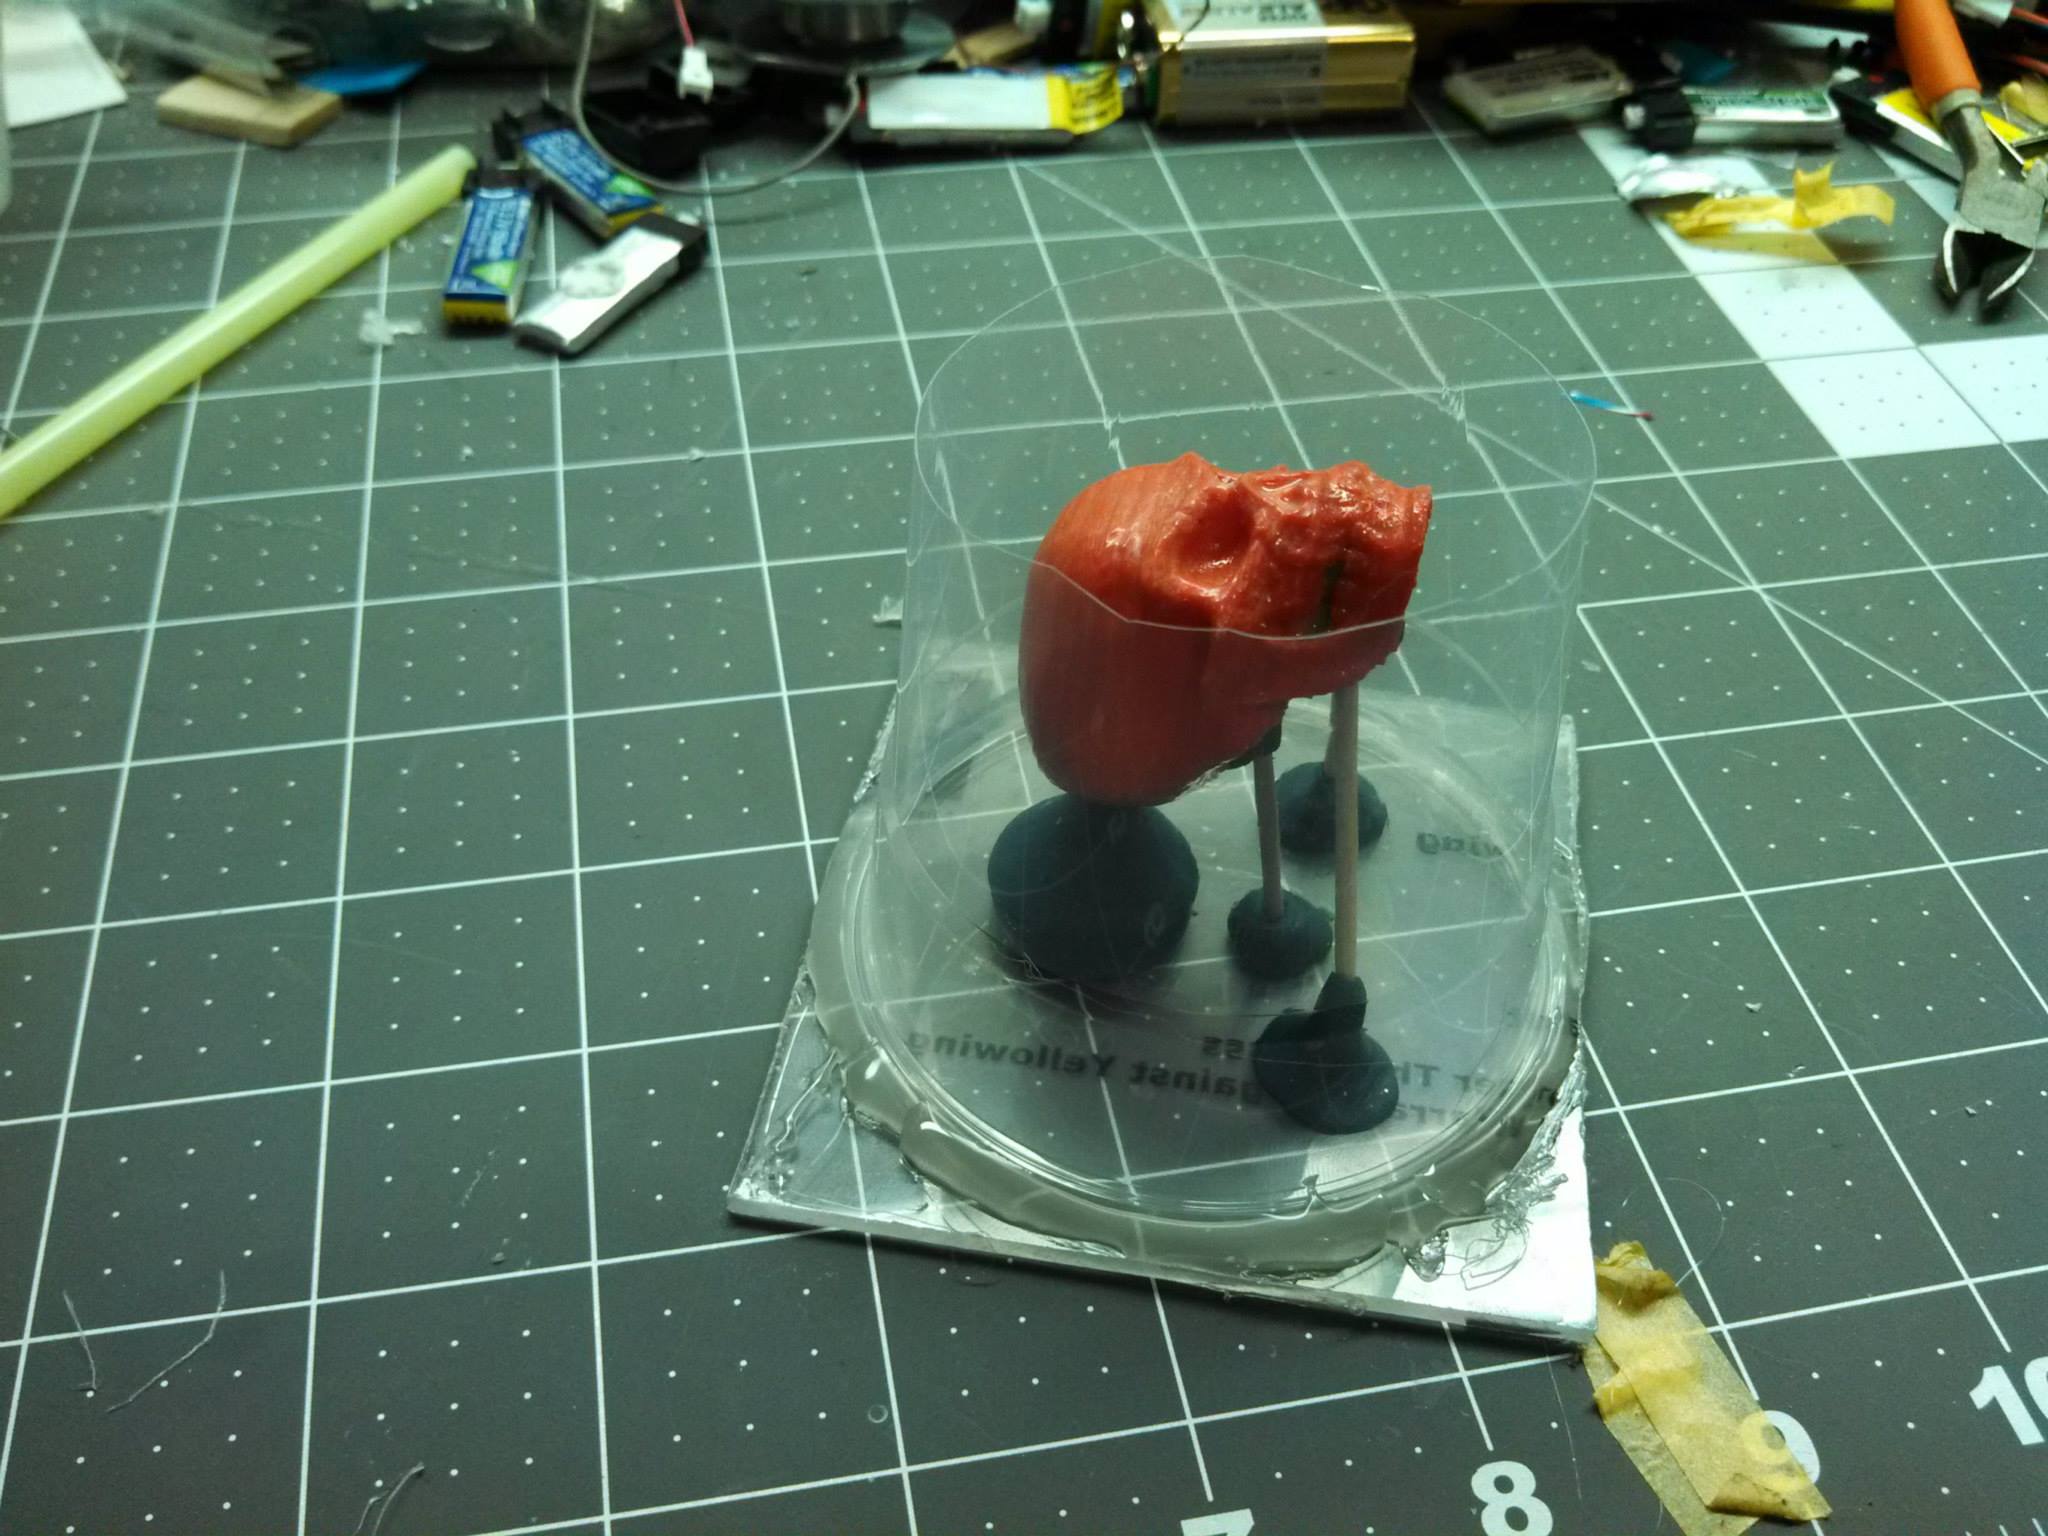
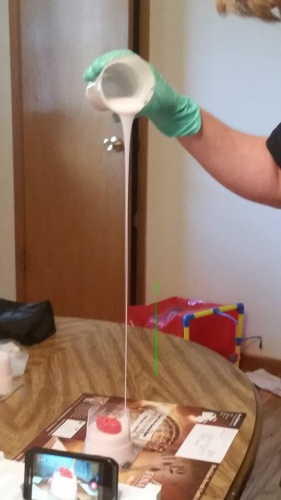
While pouring the silicone I did what is called a high pour. It causes the silicone to stretch out and release any air bubbles that were trapped inside during mixing. You also need to make sure to pour the silicone into the lowest point of the mold and let it fill in the cavities of your positive.
Once I had the wax copies I started on creating a forge to melt the aluminum. I followed a really fantastic tutorial by The King of Random on youtube.


The hardest part about the forge was figuring out the airflow. I tried an air compressor but it seemed like it was too much air and usually made a big mess. The shopvac worked but was quite loud. I found that the blower from a 3$ hair dryer at goodwill worked great.

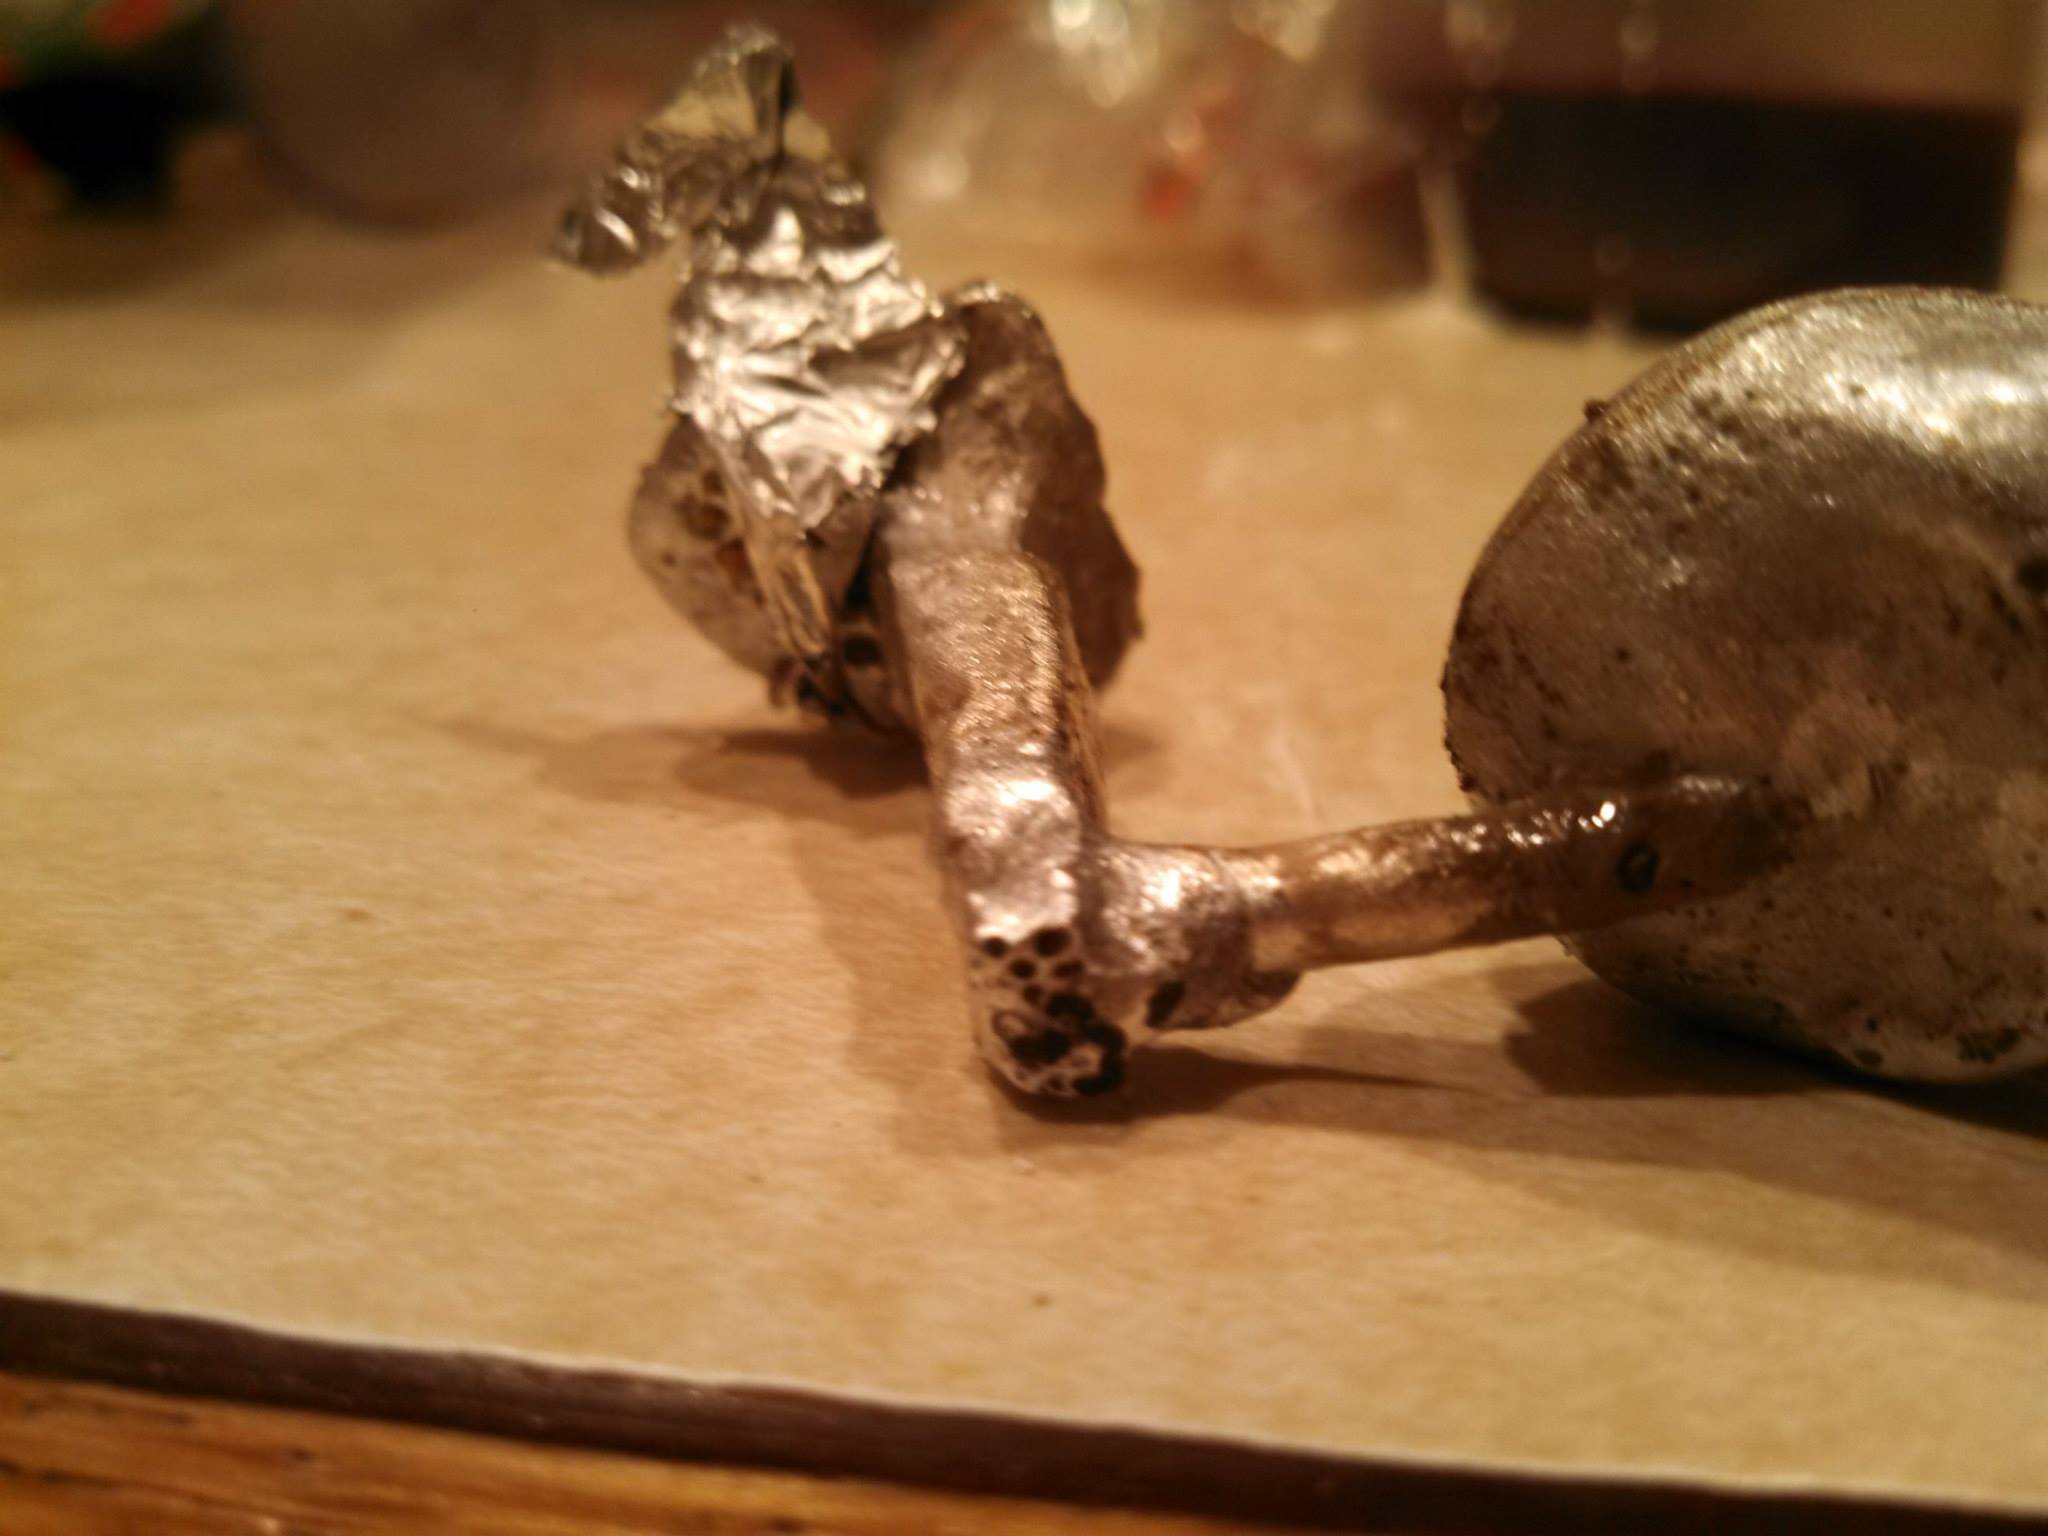
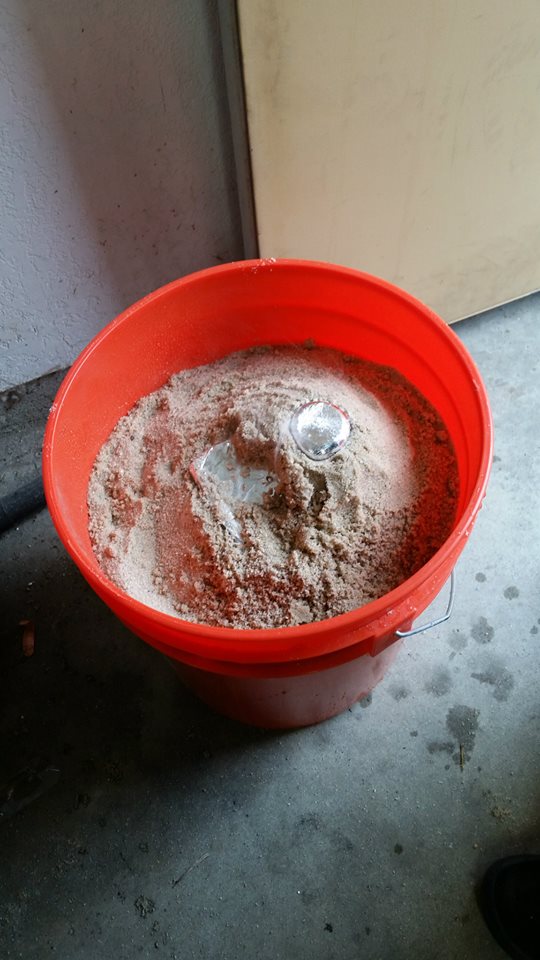
For the first pour I tried using an oil infused casting sand that I bought from a local jewelry tool store. If you are into tools and never been to one I highly recommend going to one. I knew this mold was doomed the second that I saw sand in the wax that I evacuated using my kitchen oven. I am glad I still poured it – The resulting cast has a cool T-1000ish effect.

For this mold I went with a 50/50 plaster mix just like I used for the oven’s refractory. I simply poured some in a cup, then dipped the wax model into the paster, poured around it and pressed down on the top for some reason that seemed like a good idea at the time. After letting it harden I just chipped away a few pieces of the top of the plaster to expose some wax and evacuated it the same way I did the sand mold.
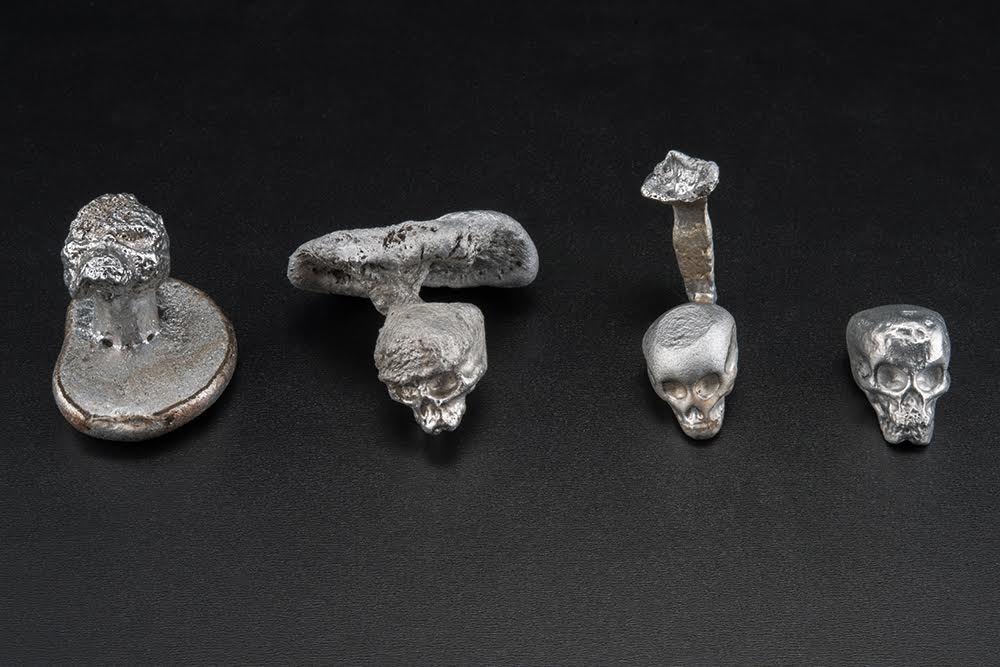
There was too little material around the wax model and the pressure from the wax expanding during the evacuation made it crack but that did not seem to hurt the resulting cast too much. I think most of the deformation here was caused by me pressing down ontop of the mold as it solidified. Honestly, I think I am pretty lucky this even remotely worked with all the mistakes made.


Before creating this mold I decided to do a little reading. I learned about how a big tapered sprue is important to build up pressure and push the molten metal into the mold. And how to use gates and runners to capture any inpurities that might fall into the mold during the pour. Also, a riser is important for two things, 1) to help prevent cavities due to shrinkage and 2) to be able to tell when the mold is full.
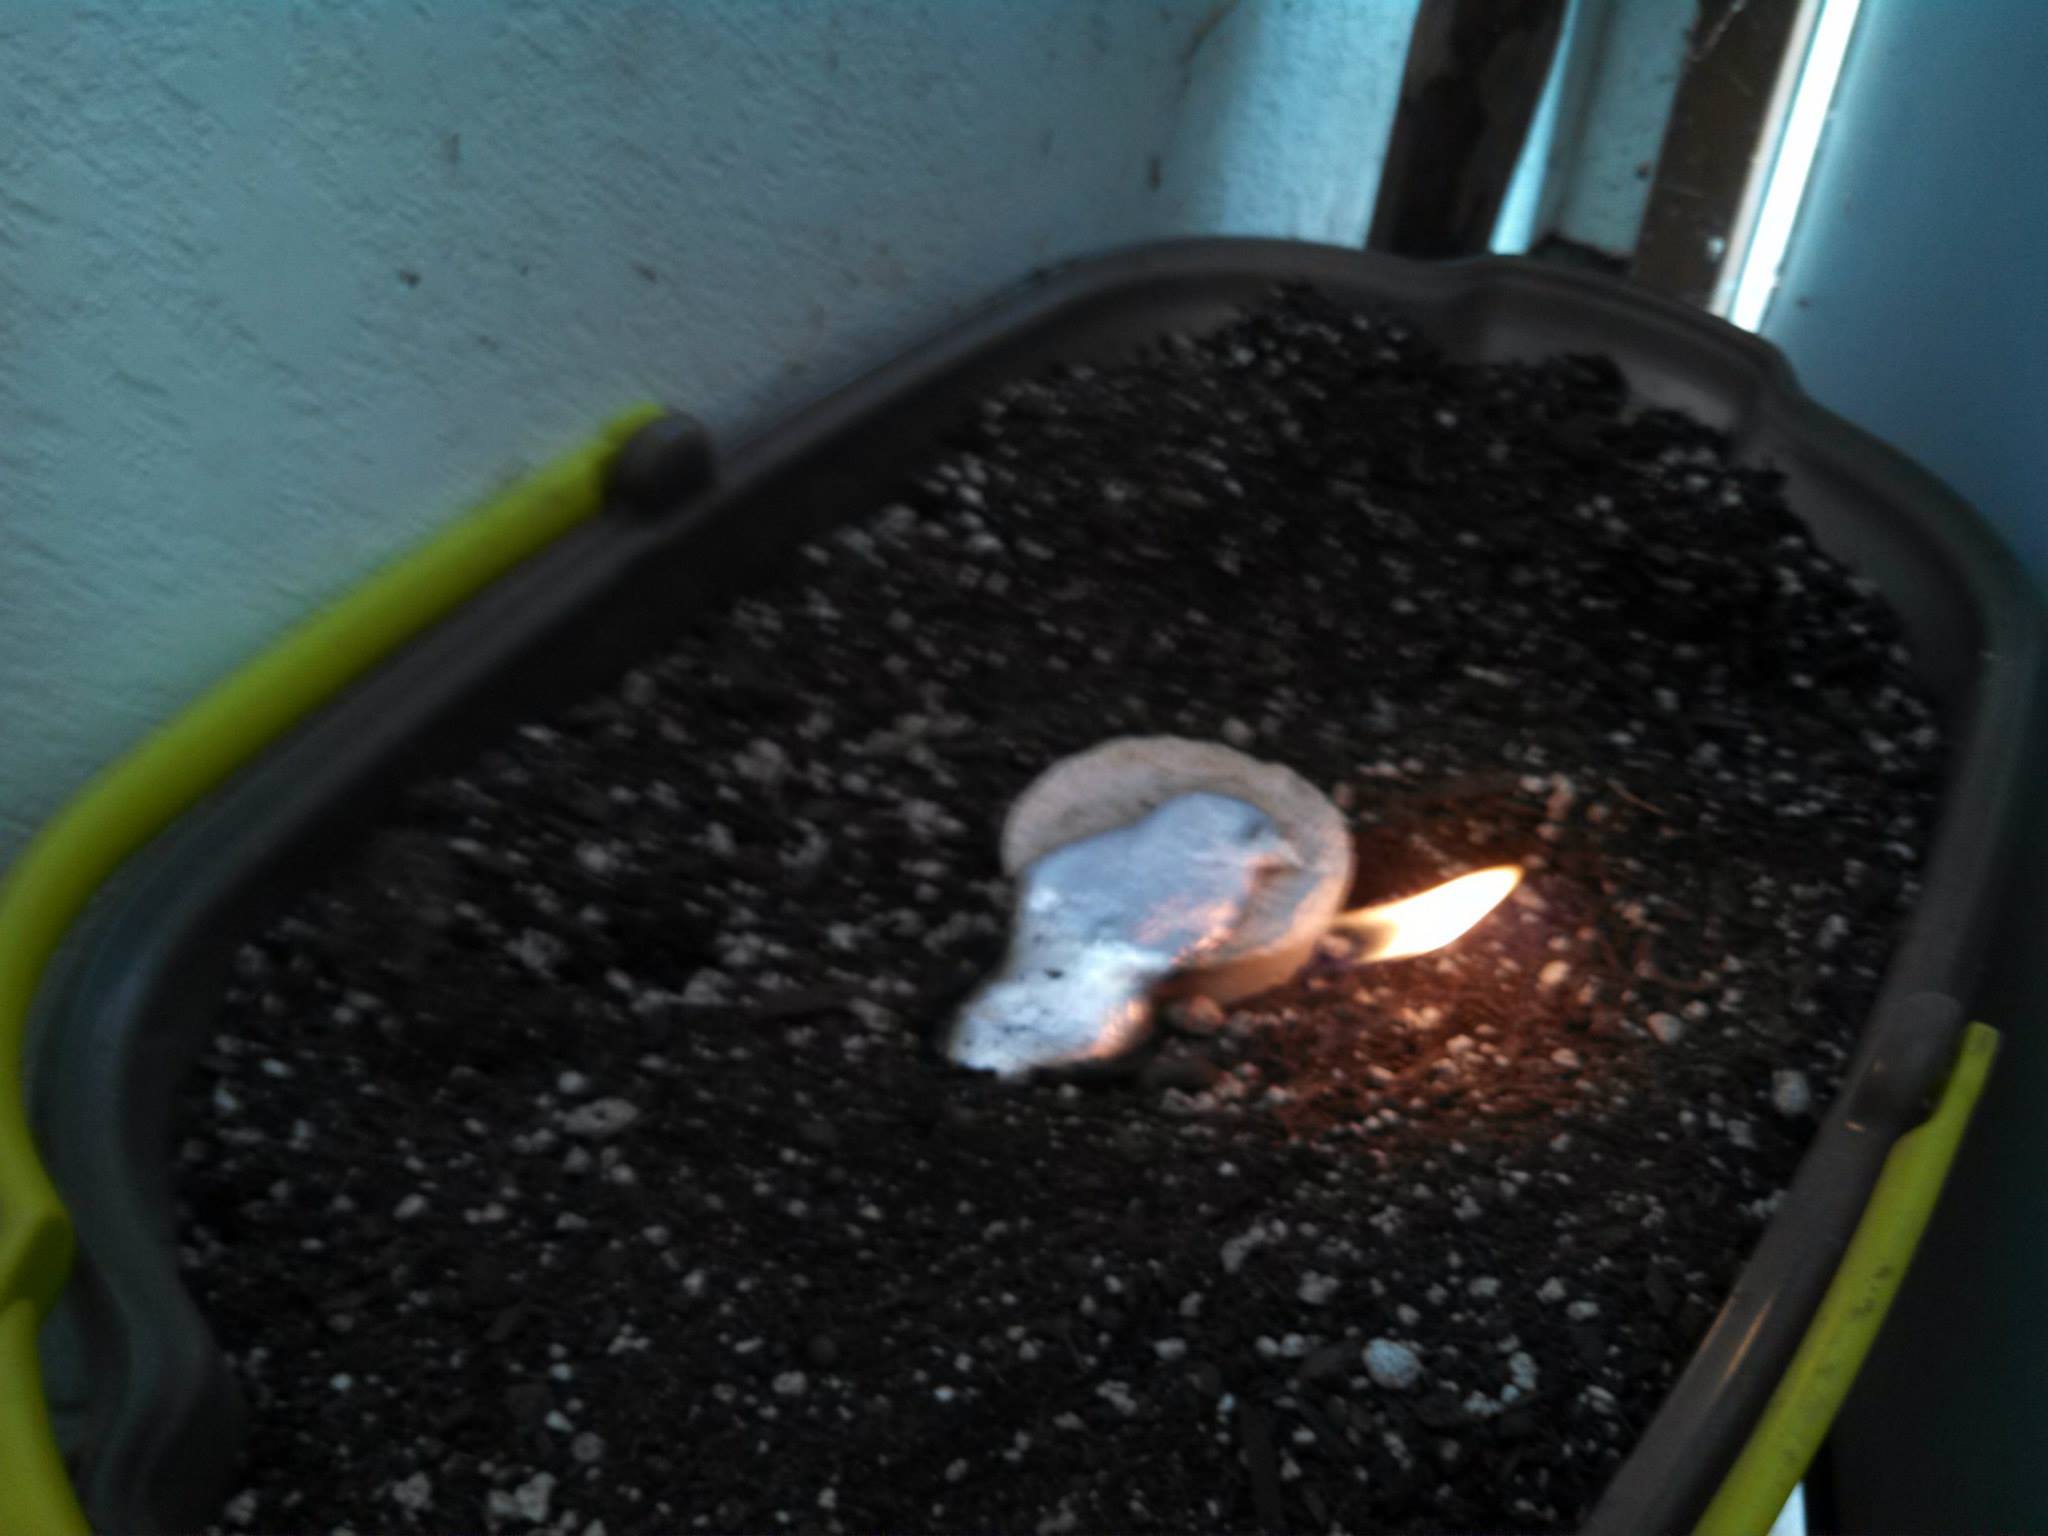
Another great thing I did for this pour was to cover the top of the mold with aluminum foil. Once you go to pour the foil will liquefy when the aluminum comes into contact with it. This keeps the sand out while you build a small “volcano” of sand on top to generate even more pressure.
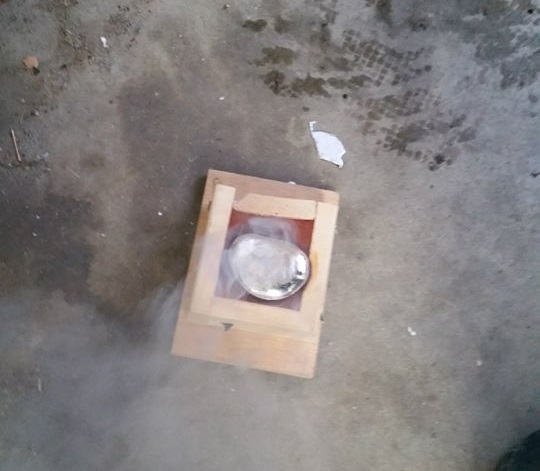
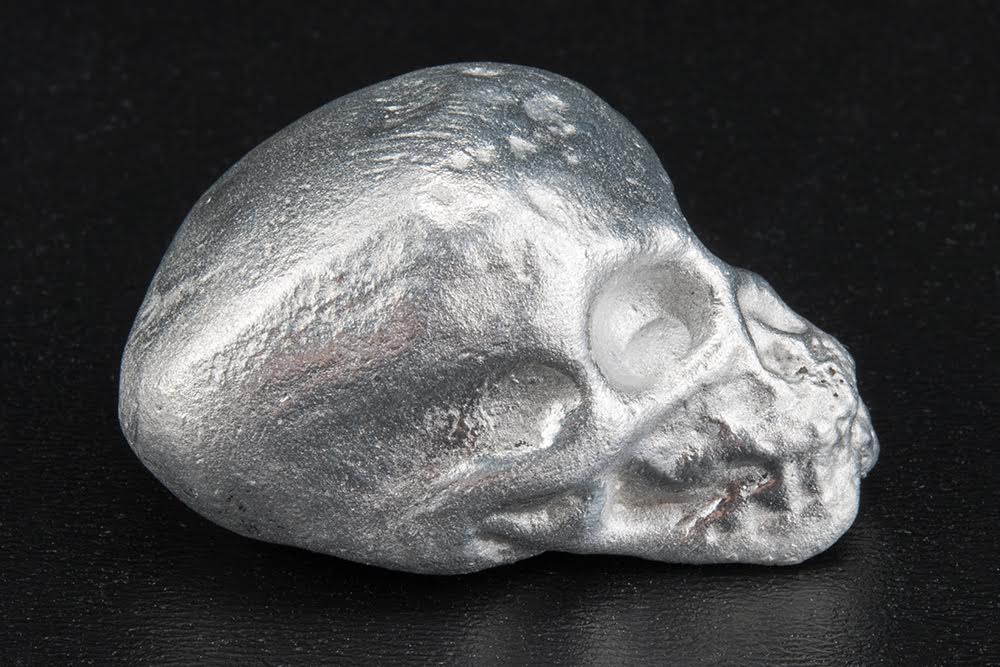
Unfortunately, I shocked the molten aluminum by adding a bit too much to the forge right before I went to pour. I didn’t have enough to fill the mold and ended up with this weird squished alien head thing. This is probably my favorite of the castings.
This mold had a bigger sprue and I made the mold significantly larger than any of the previous ones. I used a cheap unscented dinner candle to drip wax to use as a glue.
After filling the mold with plaster I set it on a diy vibrating table. After evacuating the wax I left the mold in the oven and turned it up to ~450F. I did this to try to keep the aluminum molten for a longer amount of time inside the mold. I sure wish I had a kiln! 😉
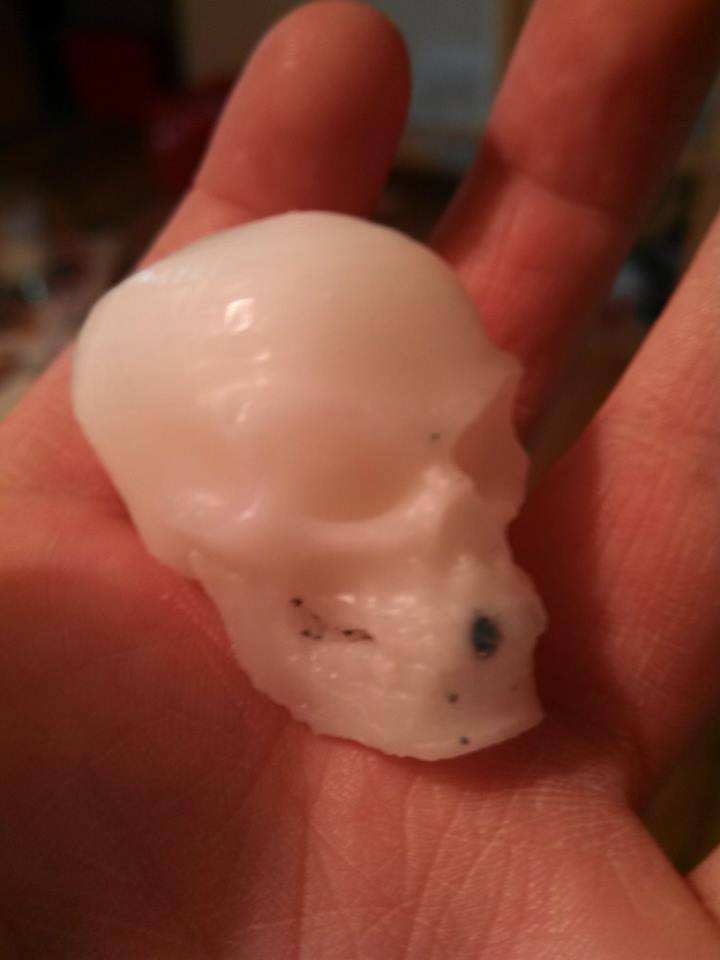
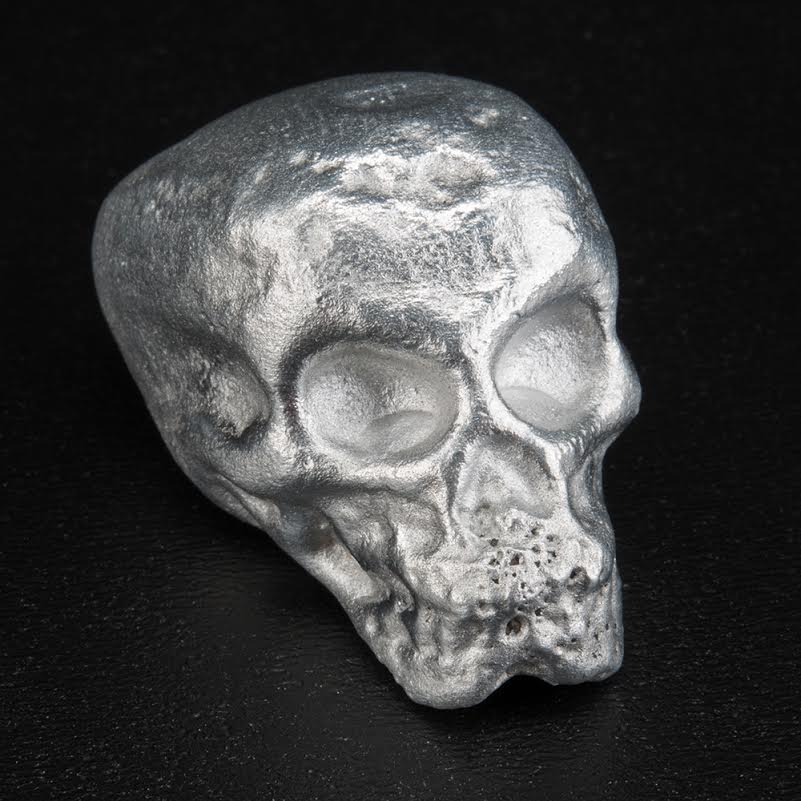
I made a mistake when pouring: I decided I wanted to puncture the foil above the riser so that I could see if the mold was full easier and a big chunk of sand fell right into the unprotected area. You can see that sand in the teeth area of my final casting.
Thank you
Your comment has been submitted and will be published once it has been approved.
OOPS!
Your comment has not been submitted. Please go back and try again. Thank You!
If this error persists, please open an issue by clicking here.
Say something